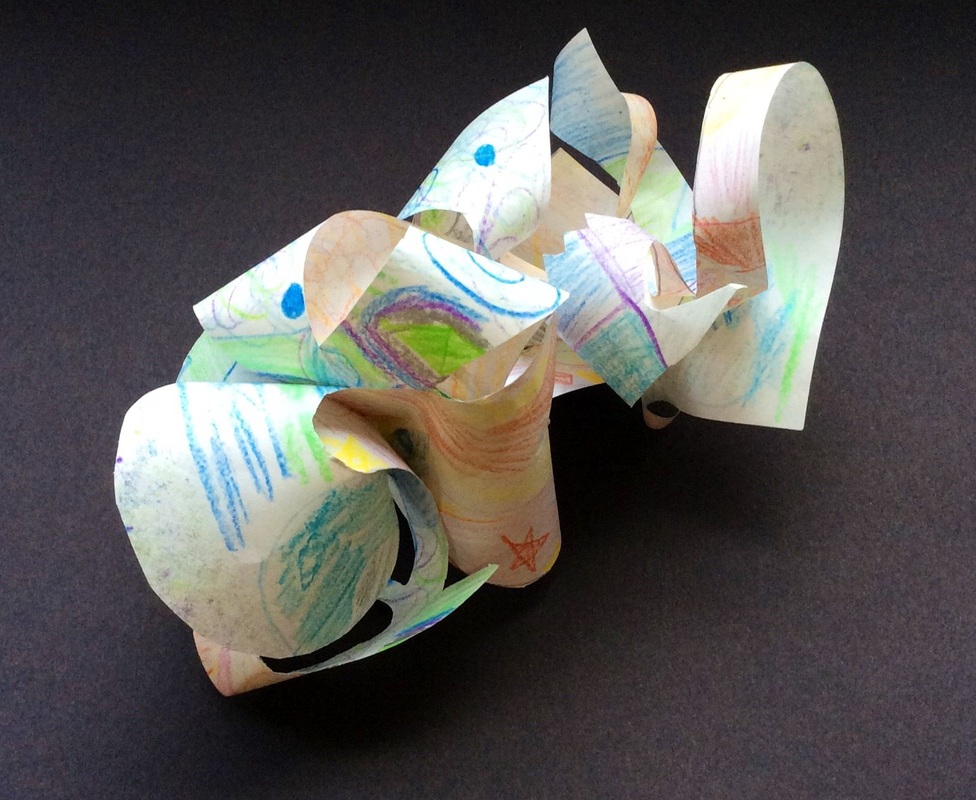
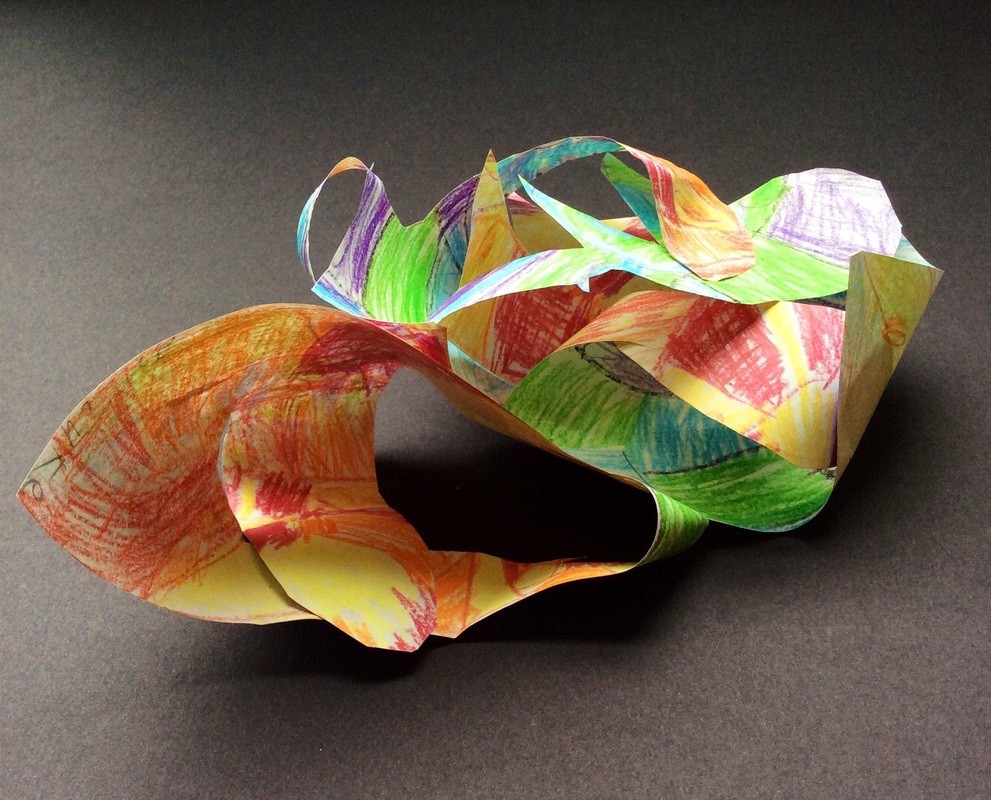
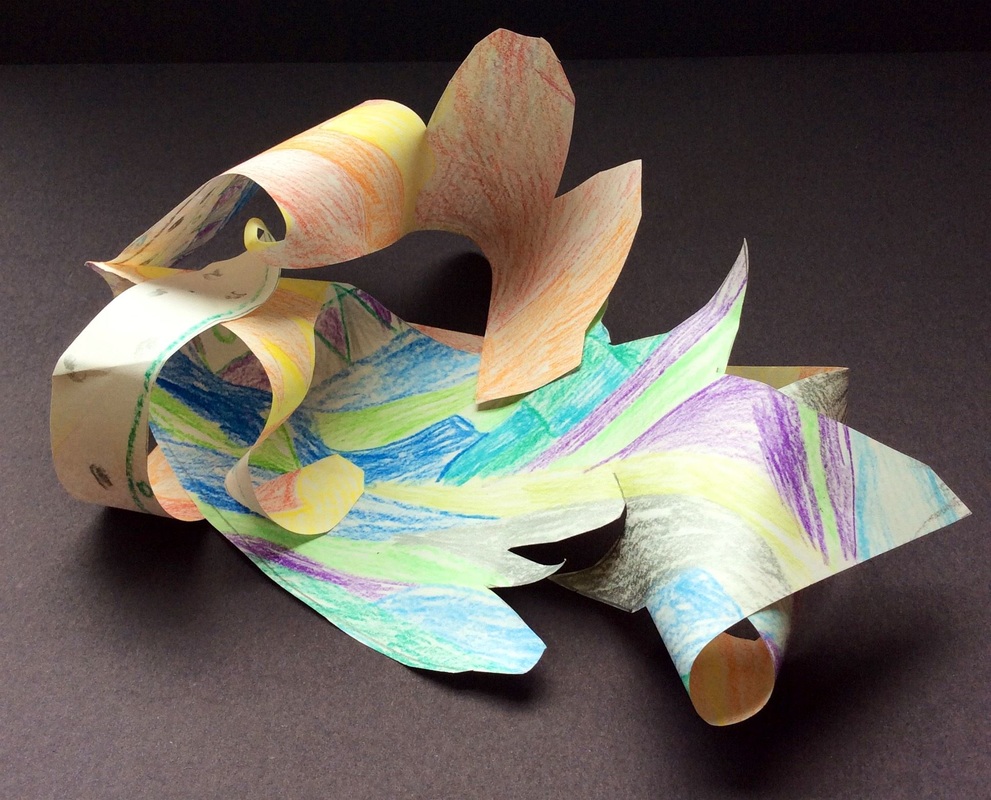
 This is a project that I got from Don Masse over at his blog: shinebritezamorano.com I really like Don's use of contemporary artists with his students. Forms again!!!!!! We've really been hammering form a lot lately. Form is when something is 3D or has the appearance of being 3D. First we made our 3D paper mache dogs which have form. Then we did our chalk drawings of the paper mache dogs and made them look 3D. For this project, we manipulated a 2D piece of paper into something that was 3D. We we looked at Frank Stella's work. Frank is a living American artist known for his minimalist style, most notably his paintings. However, we really focused on his sculptures which look like sheets of metal that have been twisted and turned into sculptures. For this project, we talked about the difference between warm and cool colors. Warm colors appear to be active and seem closer to us while cool colors are perceived as looking further away. They used warm colors to create designs on one side of a sheet of paper and they used cool on the other. This creates contrast for when we twist and turn our sculpture later on in the project. After they finished coloring one side warm and the other side cool they drew and then cut a line that started somewhere on the inside of their paper and only touched the edge of the paper once. This created a long goofy looking strip of paper. Lastly, they twisted and turned and glued parts of their paper together to create forms. These turned out super cool!
0 Comments
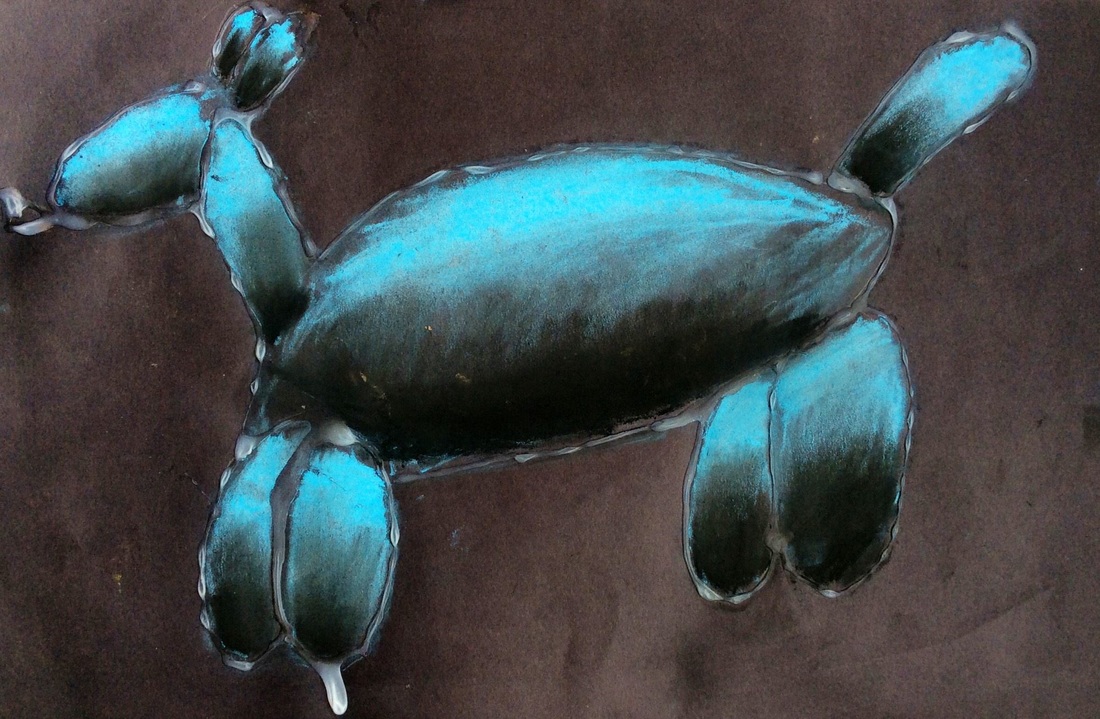
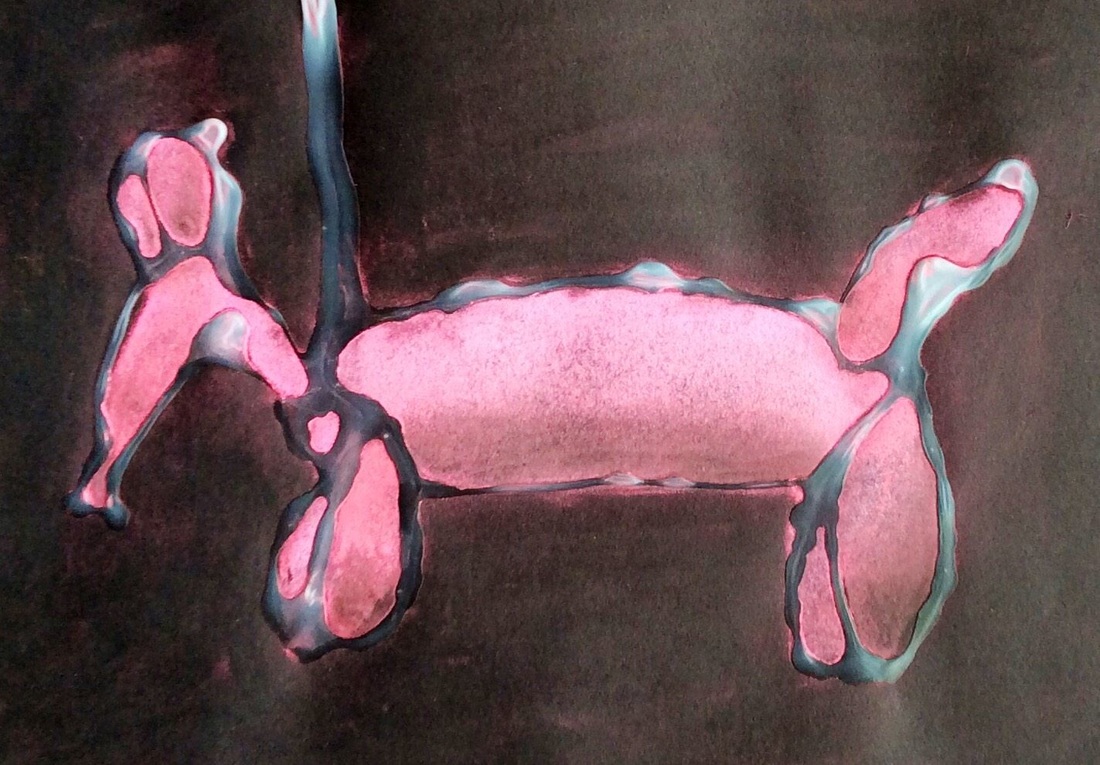
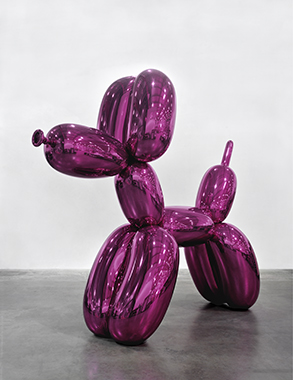
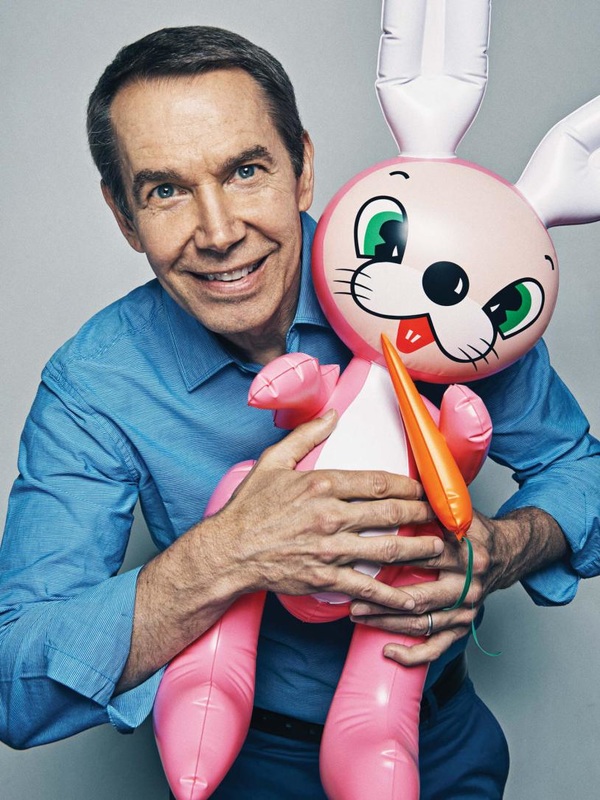
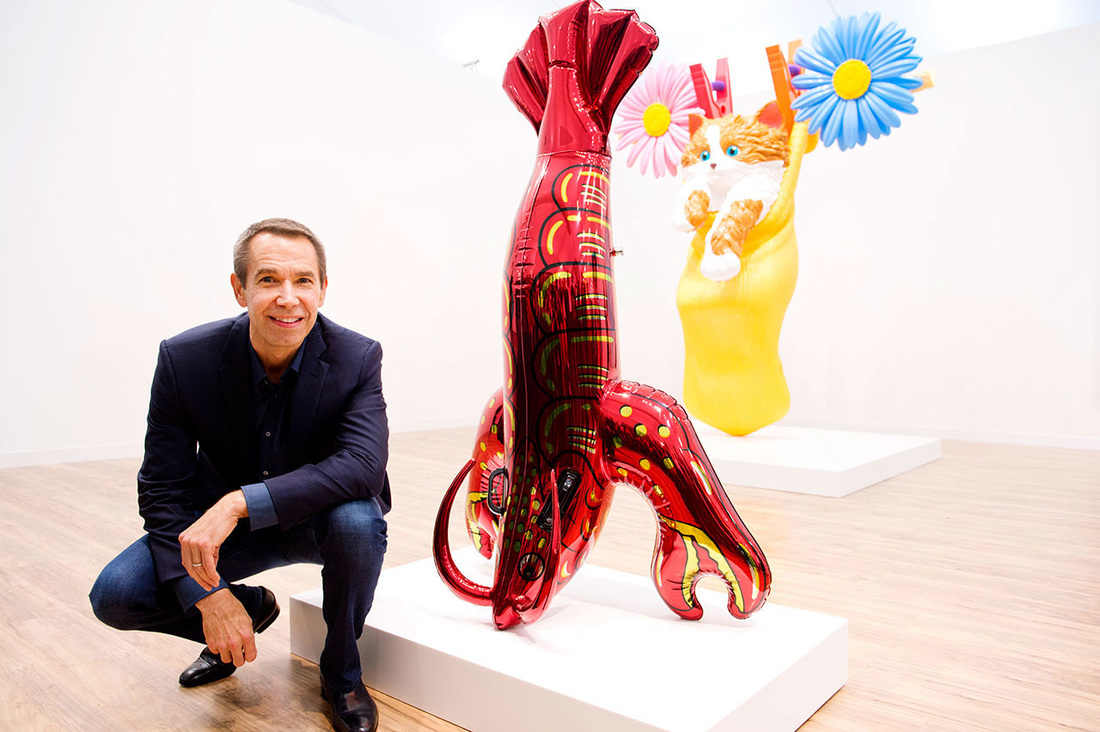
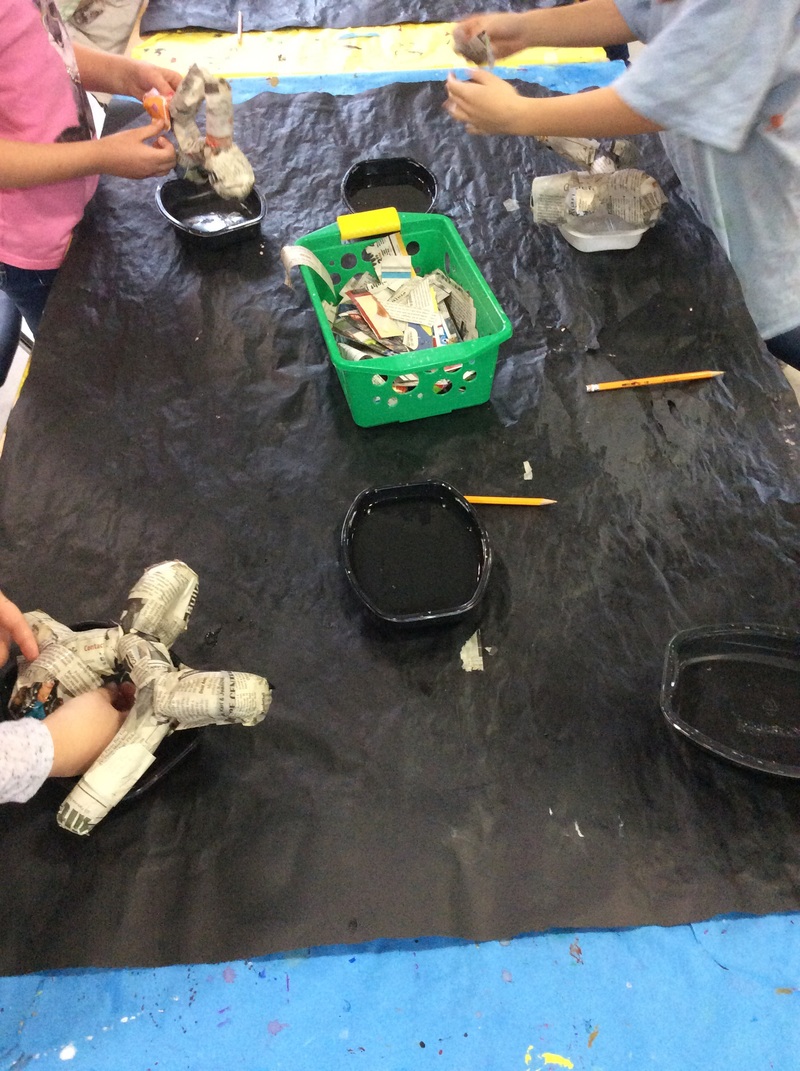
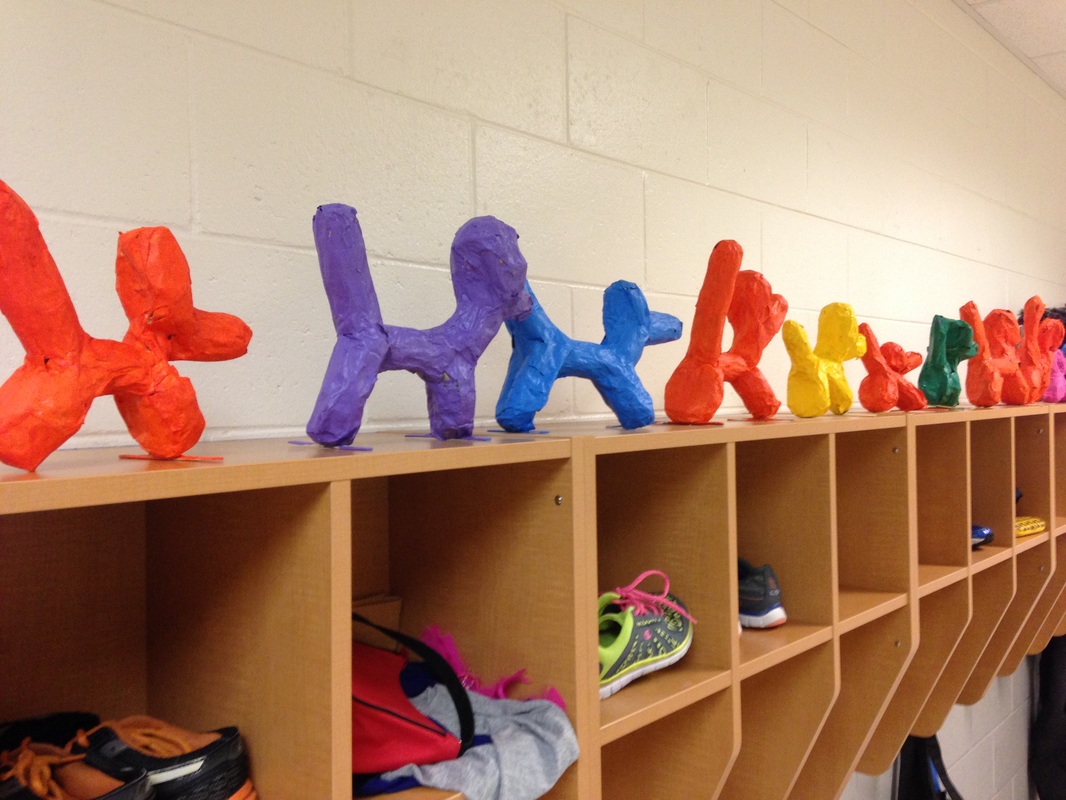
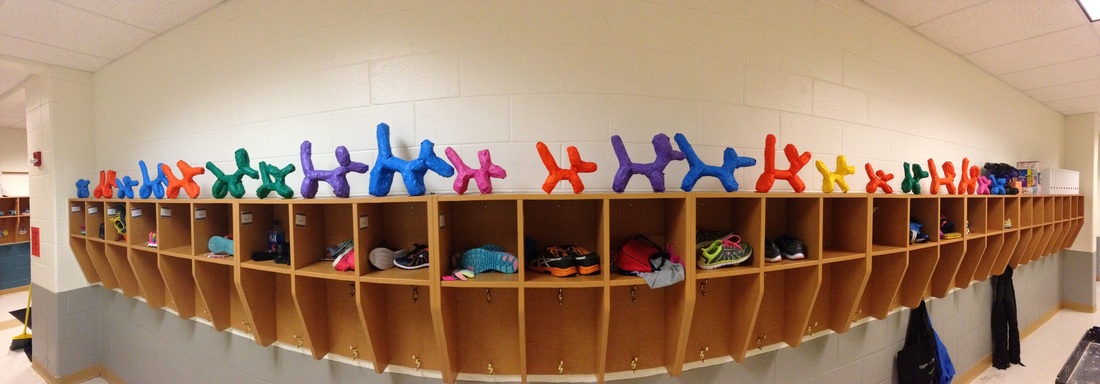
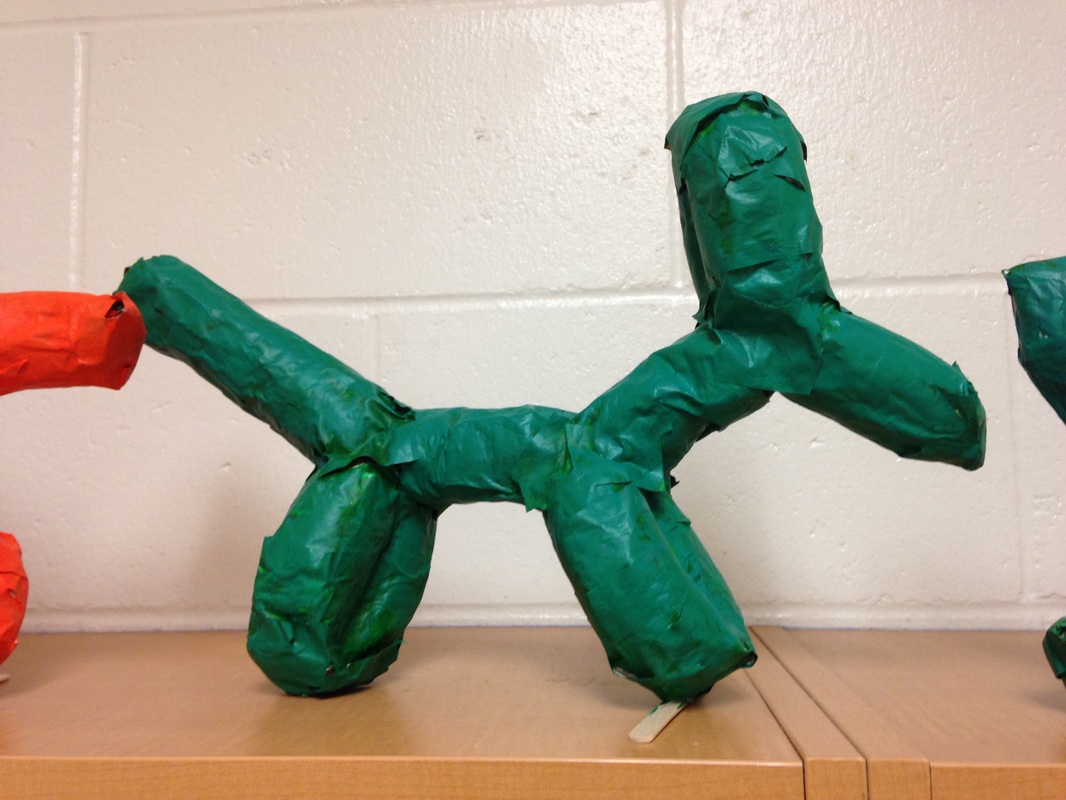
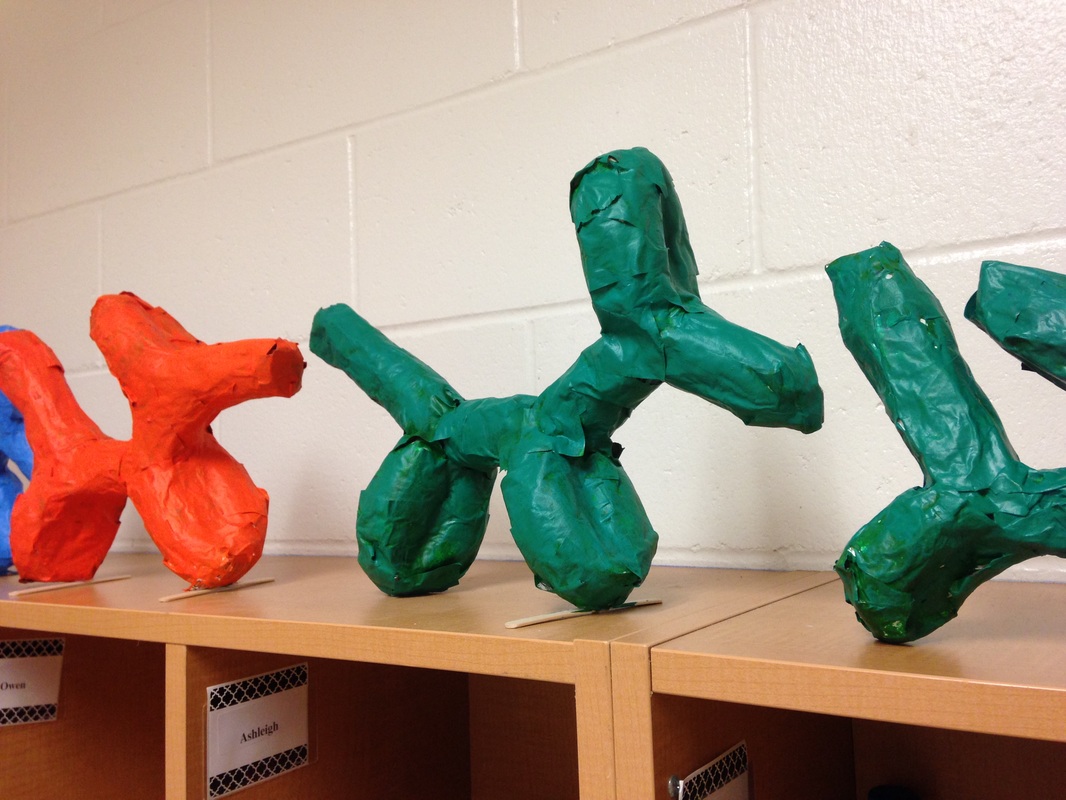
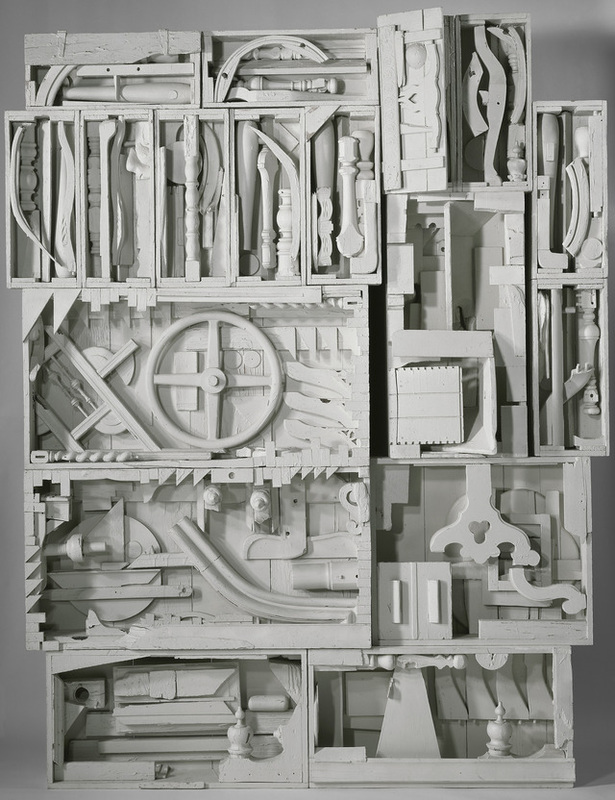
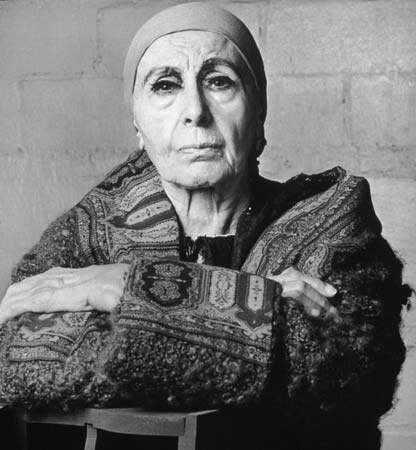
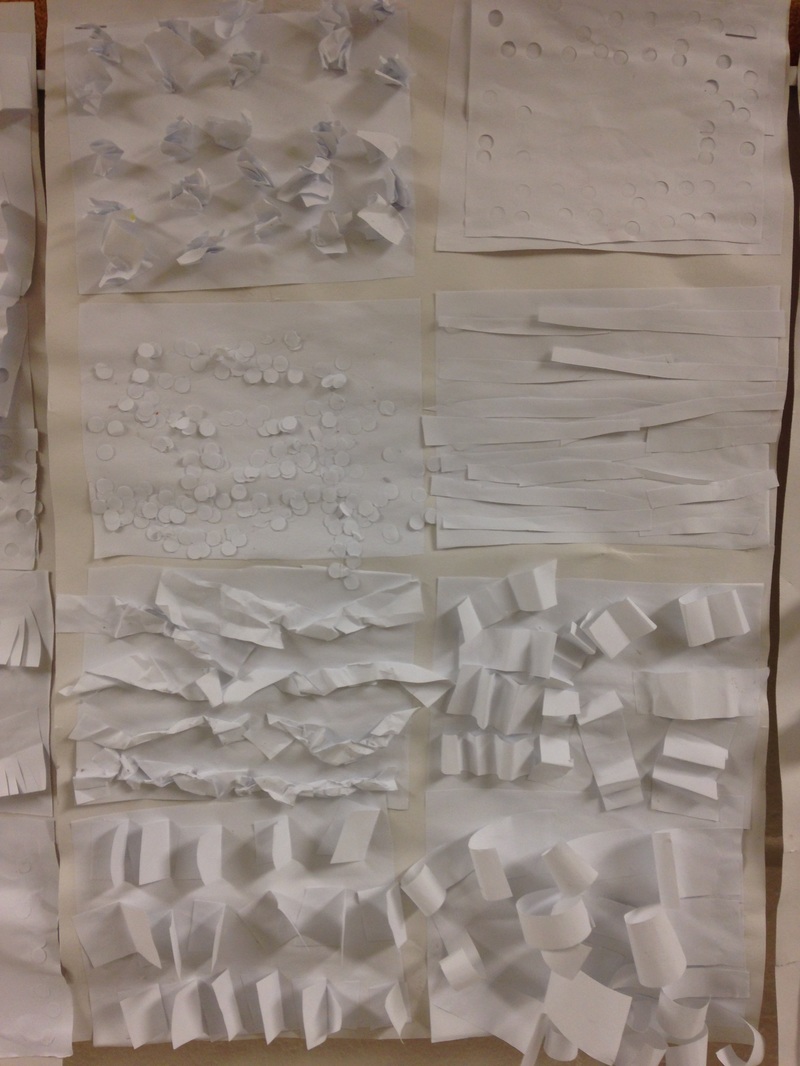
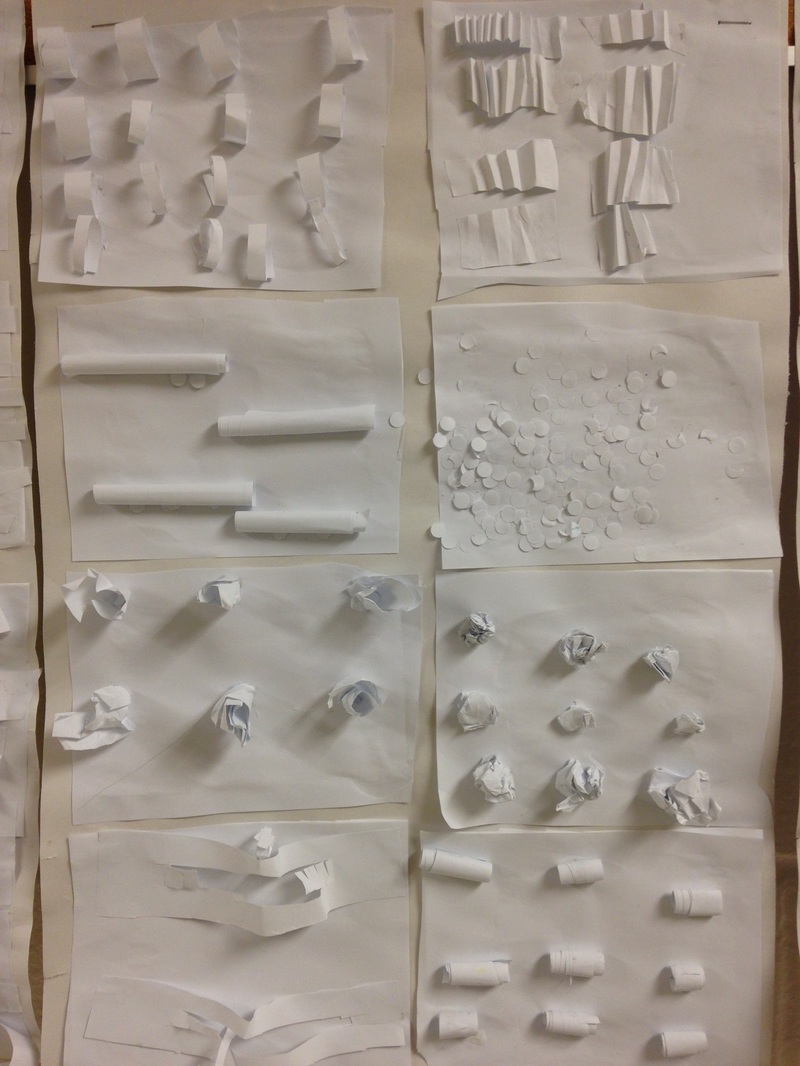
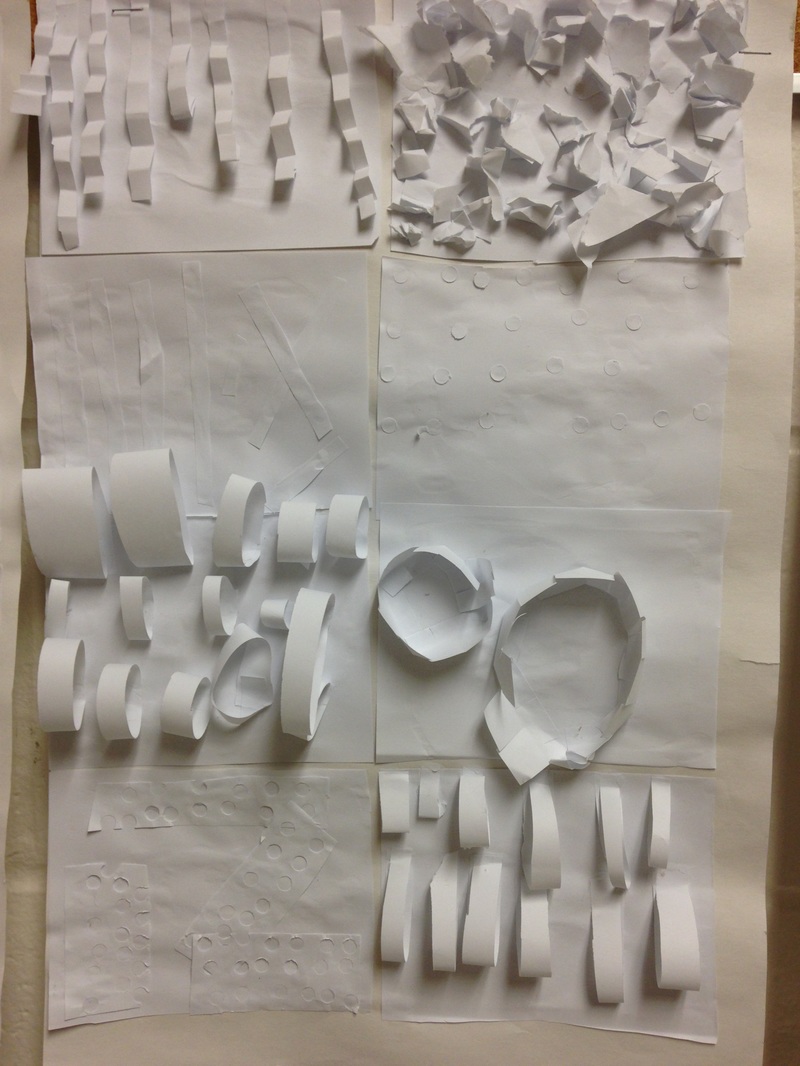
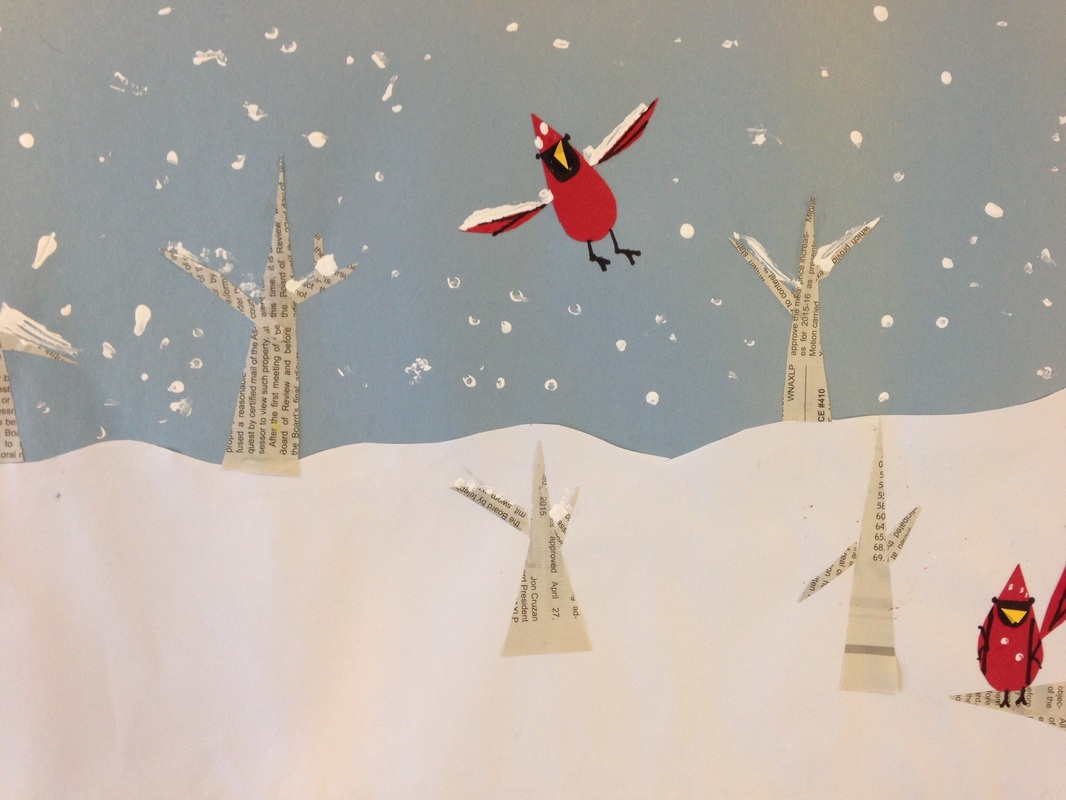
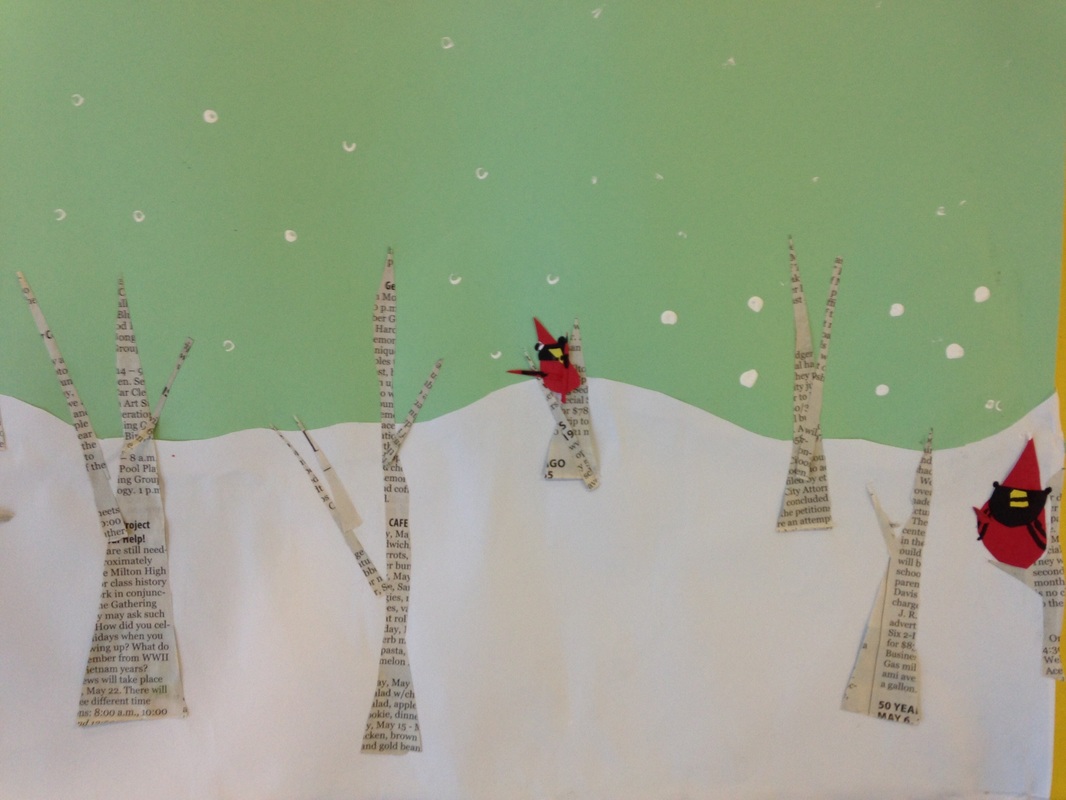
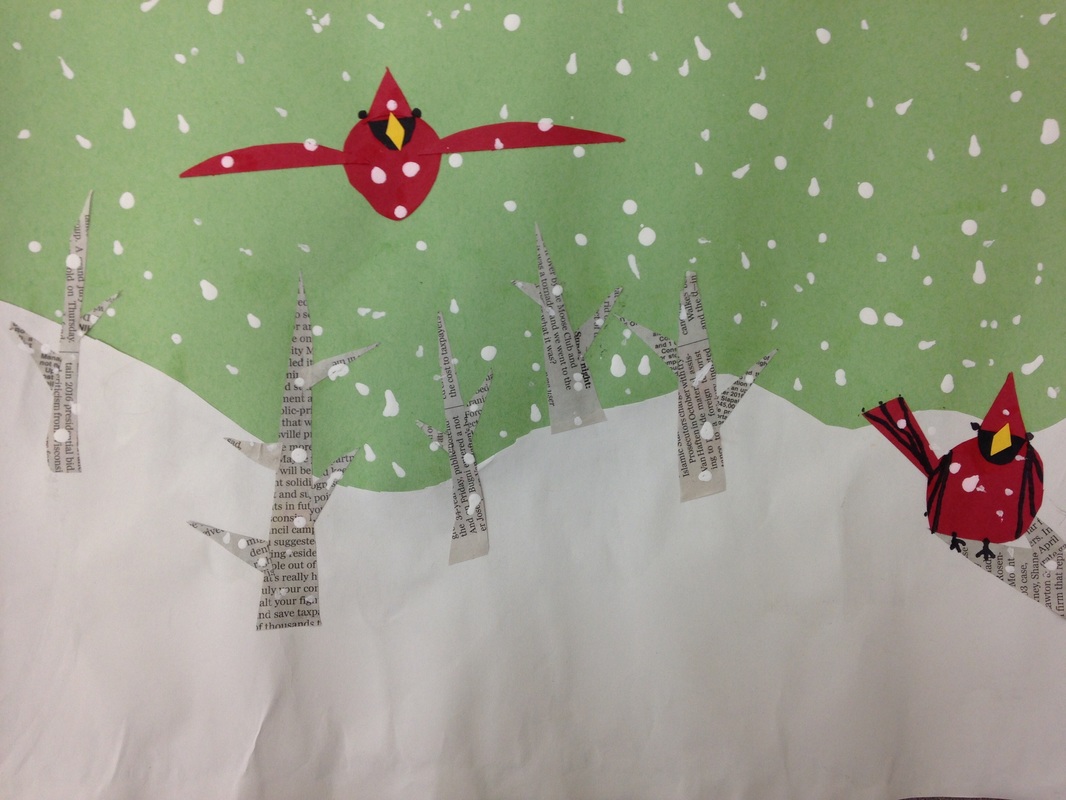
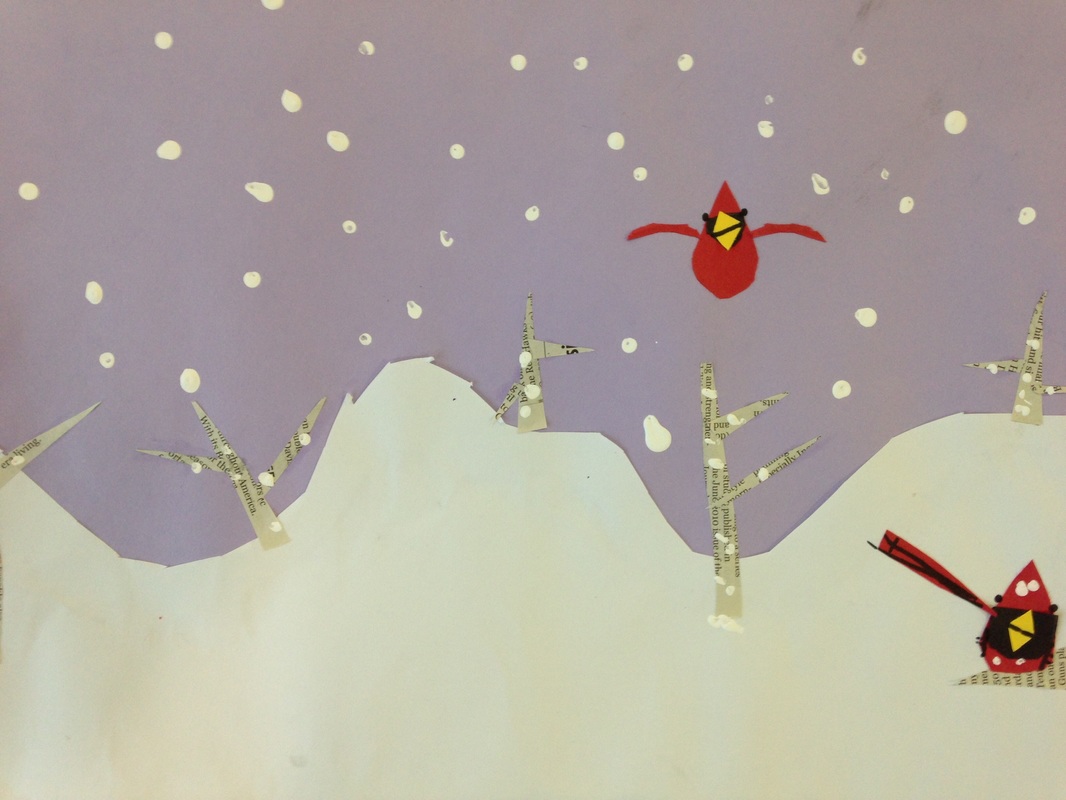
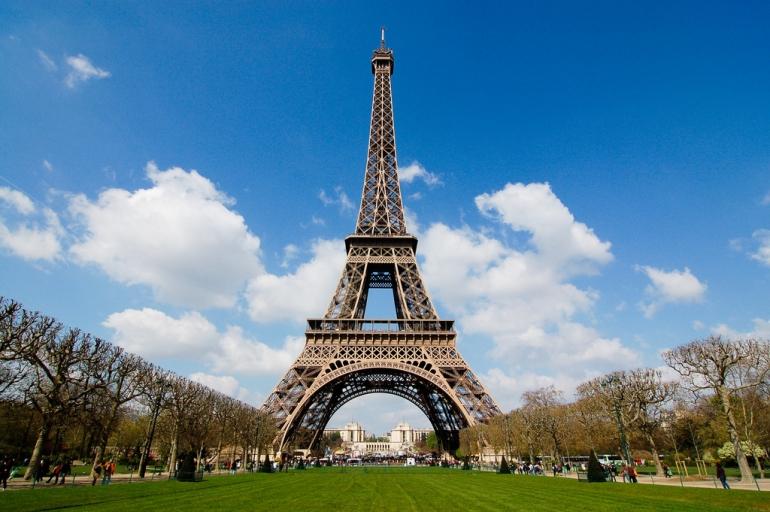
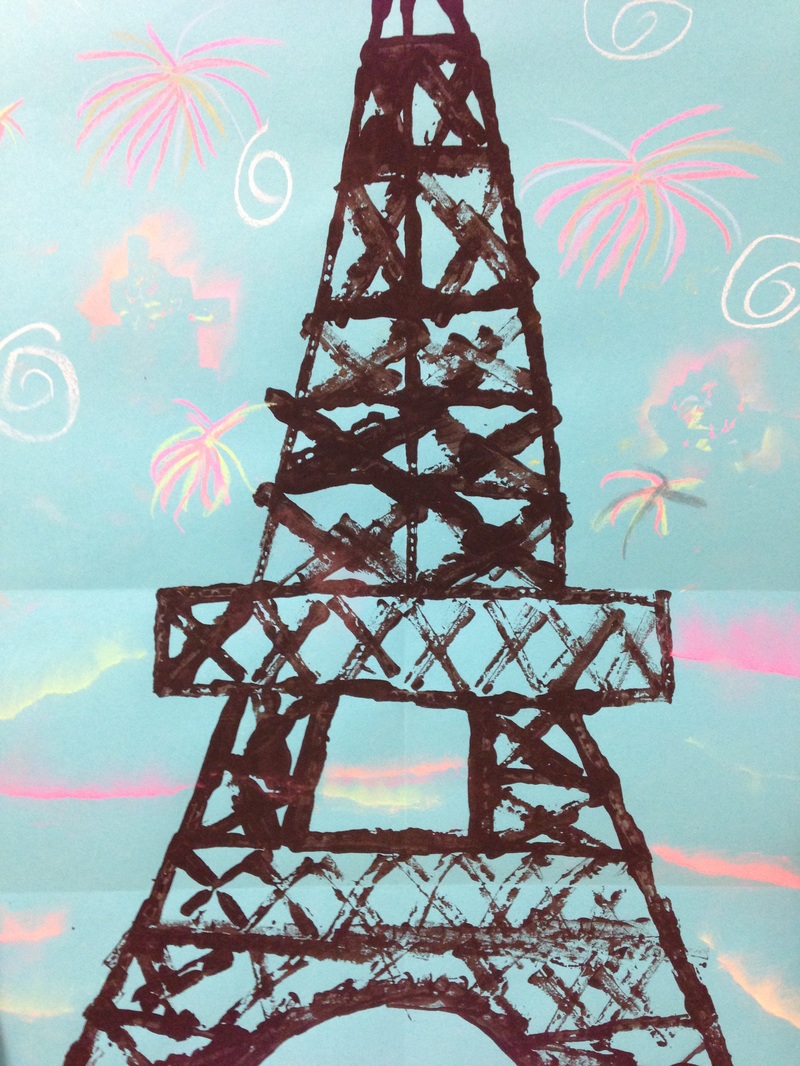
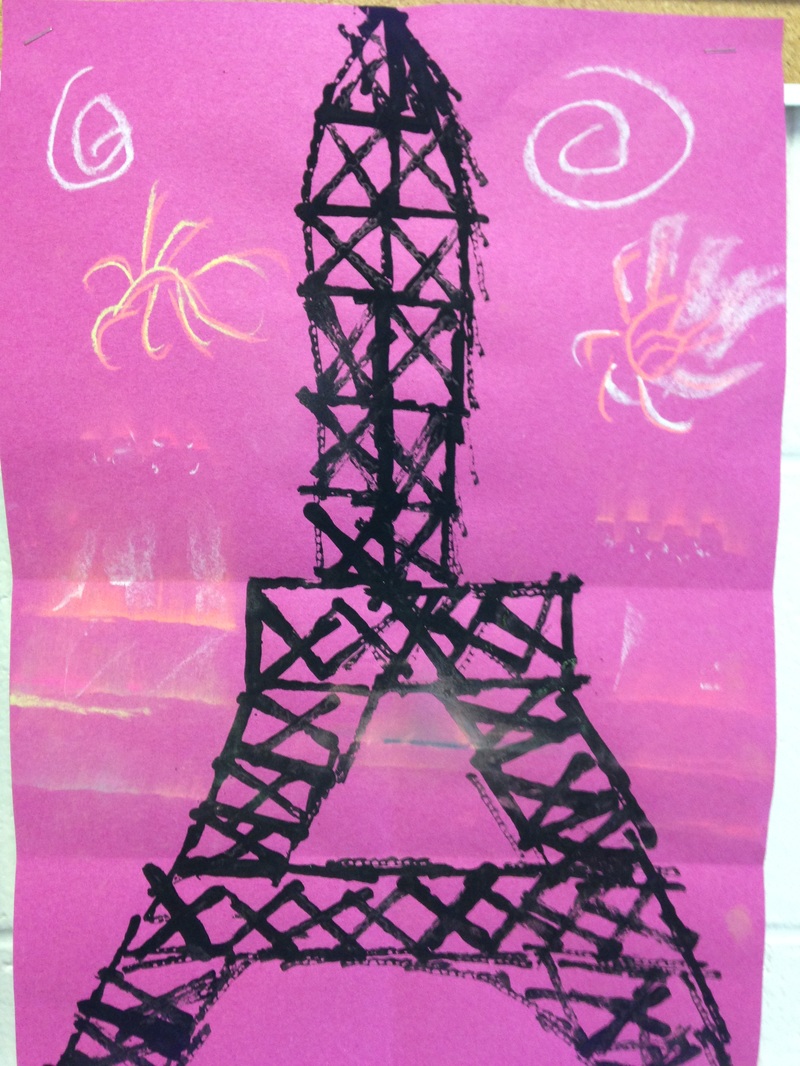
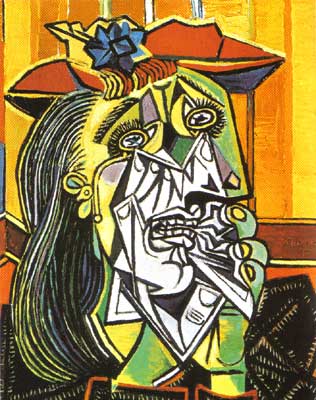
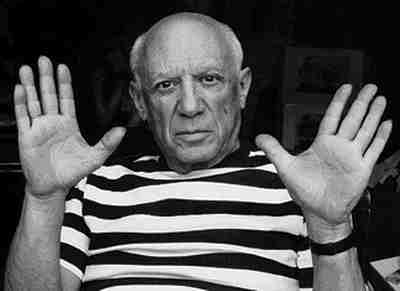
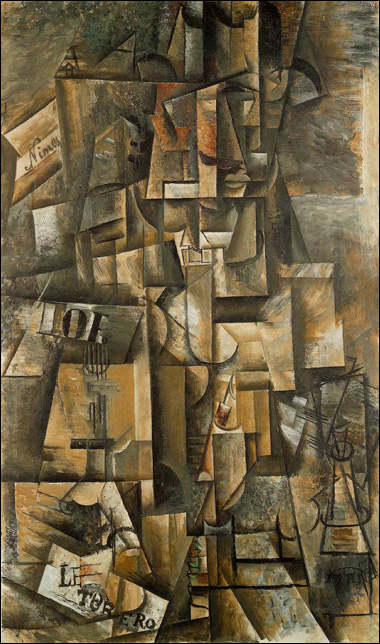
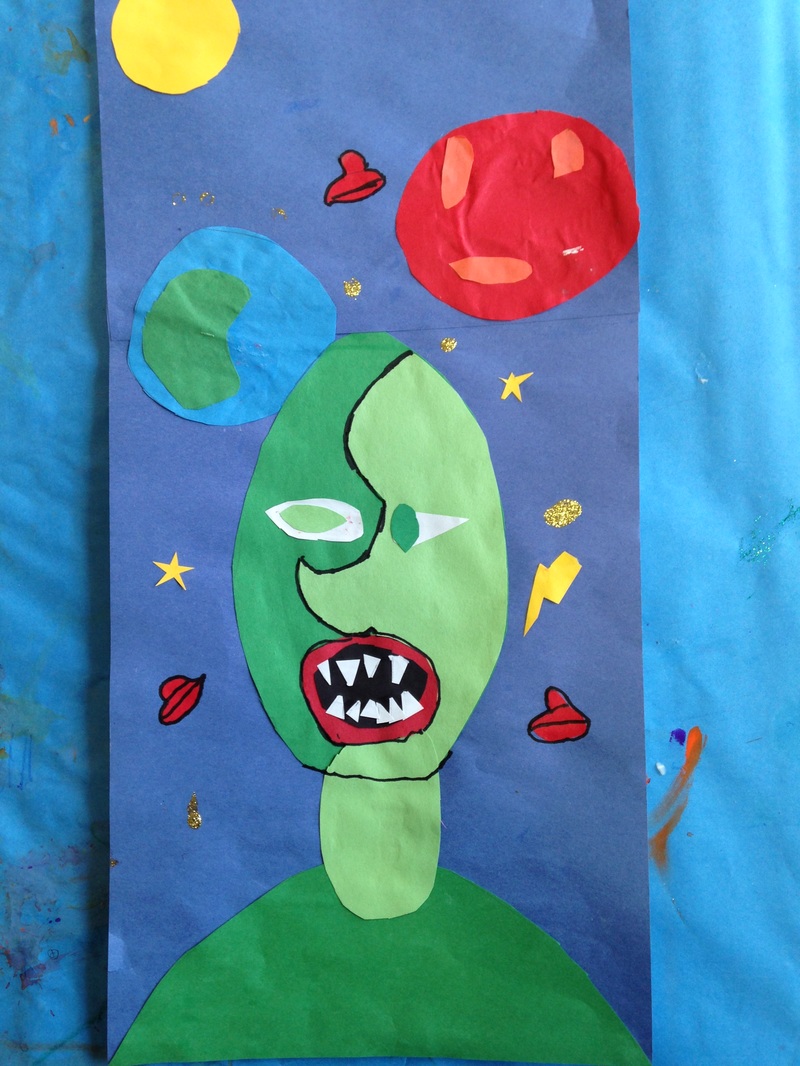
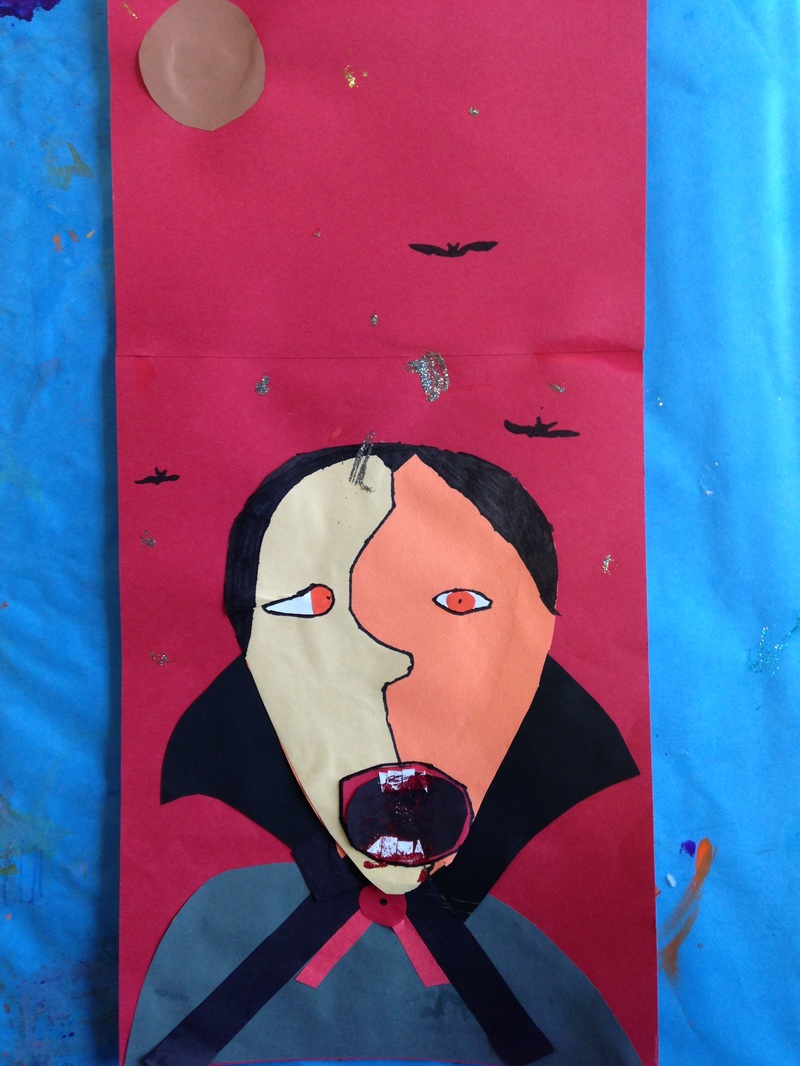
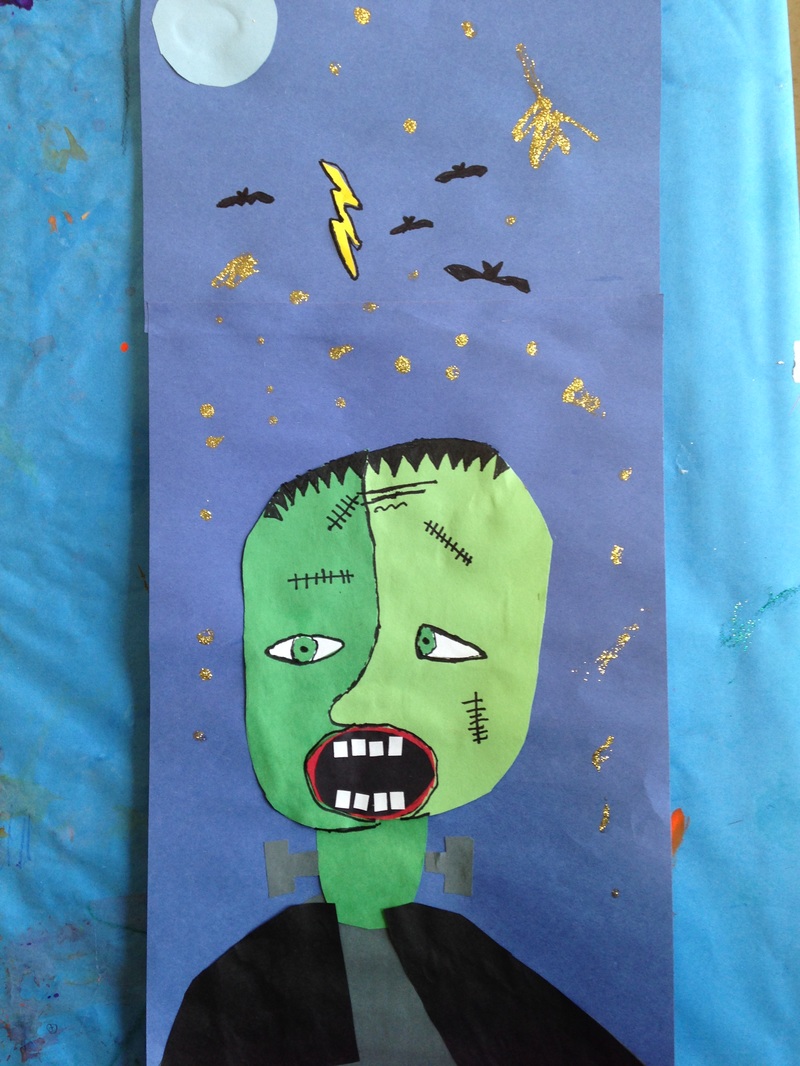
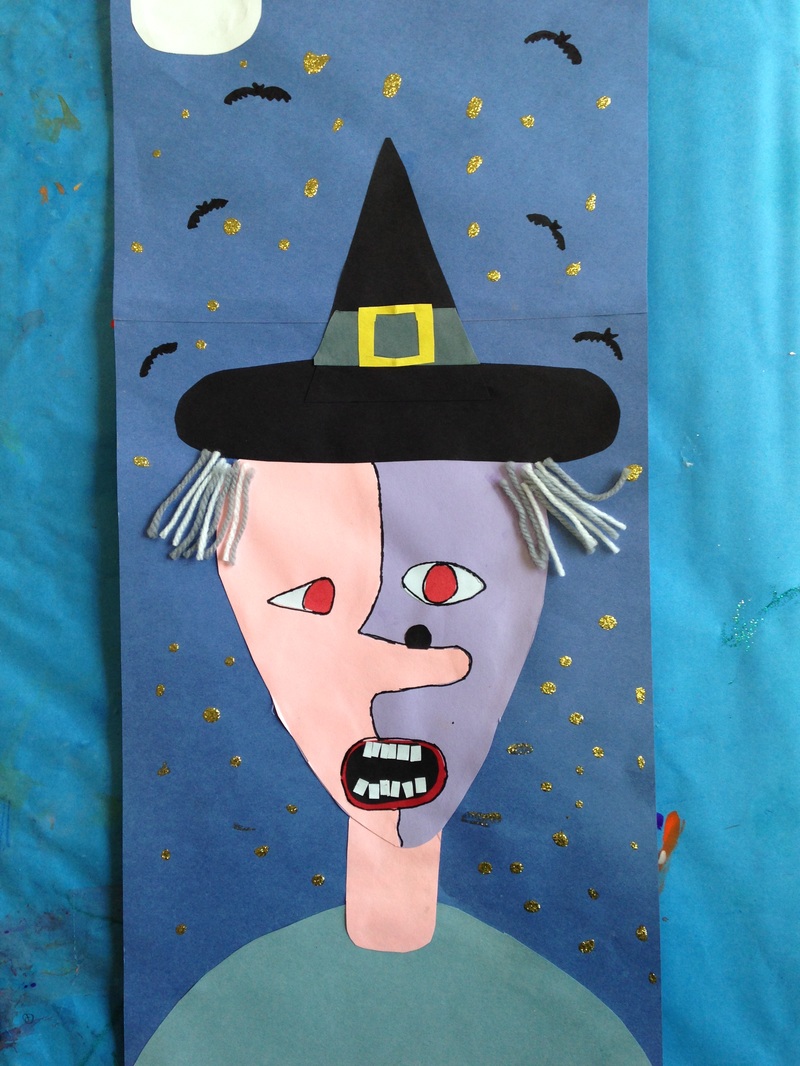
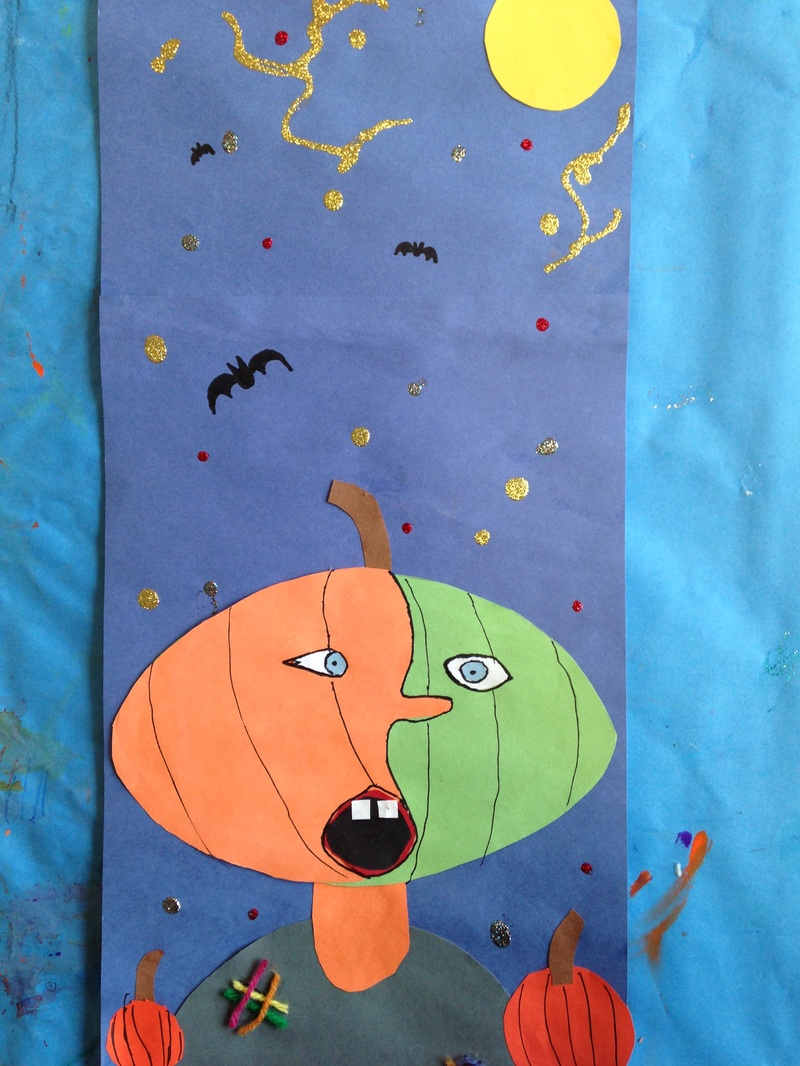
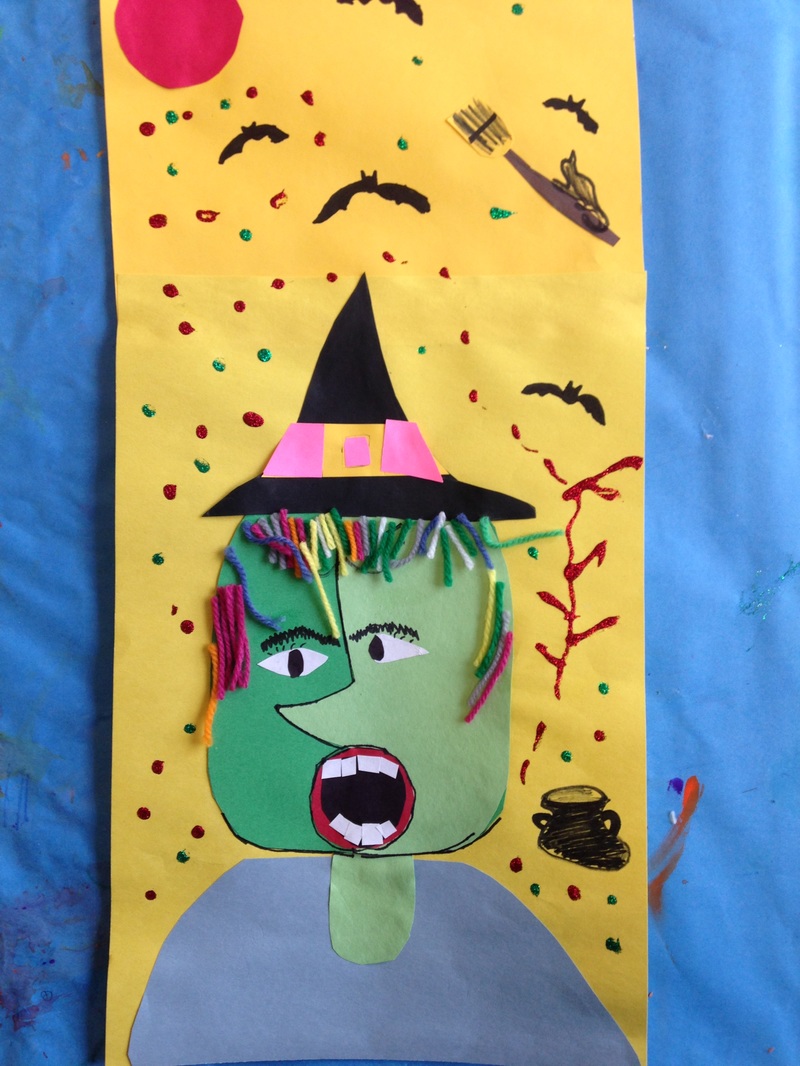
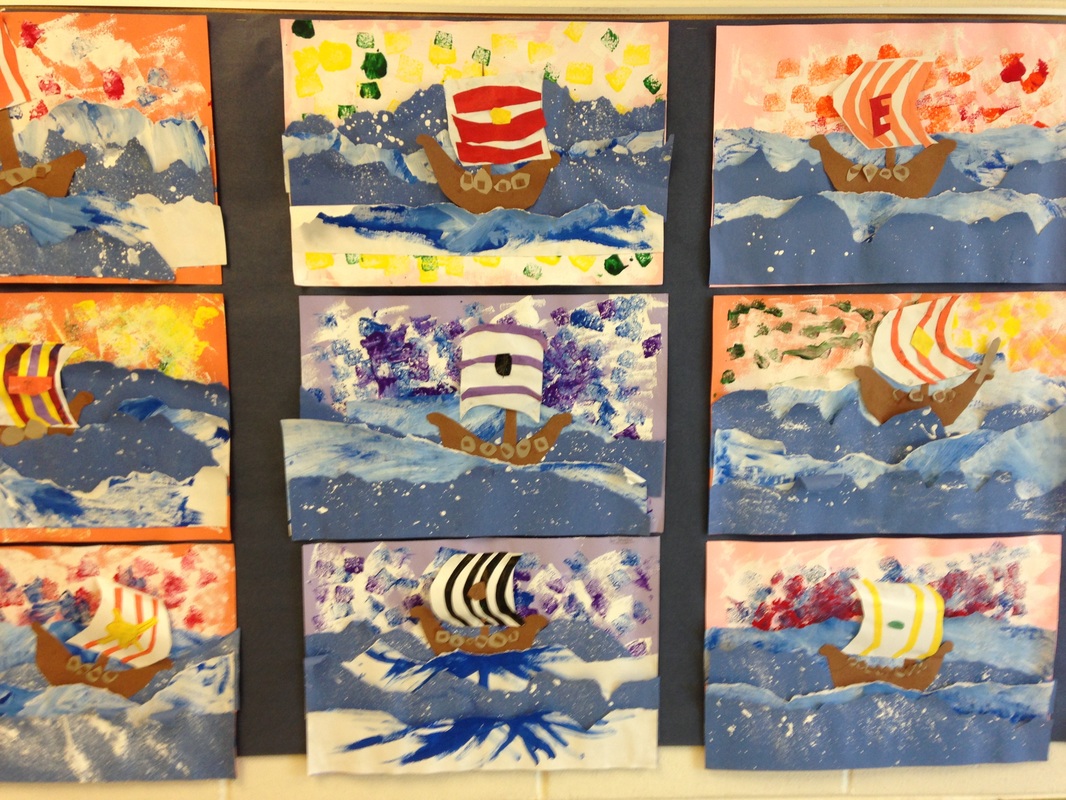
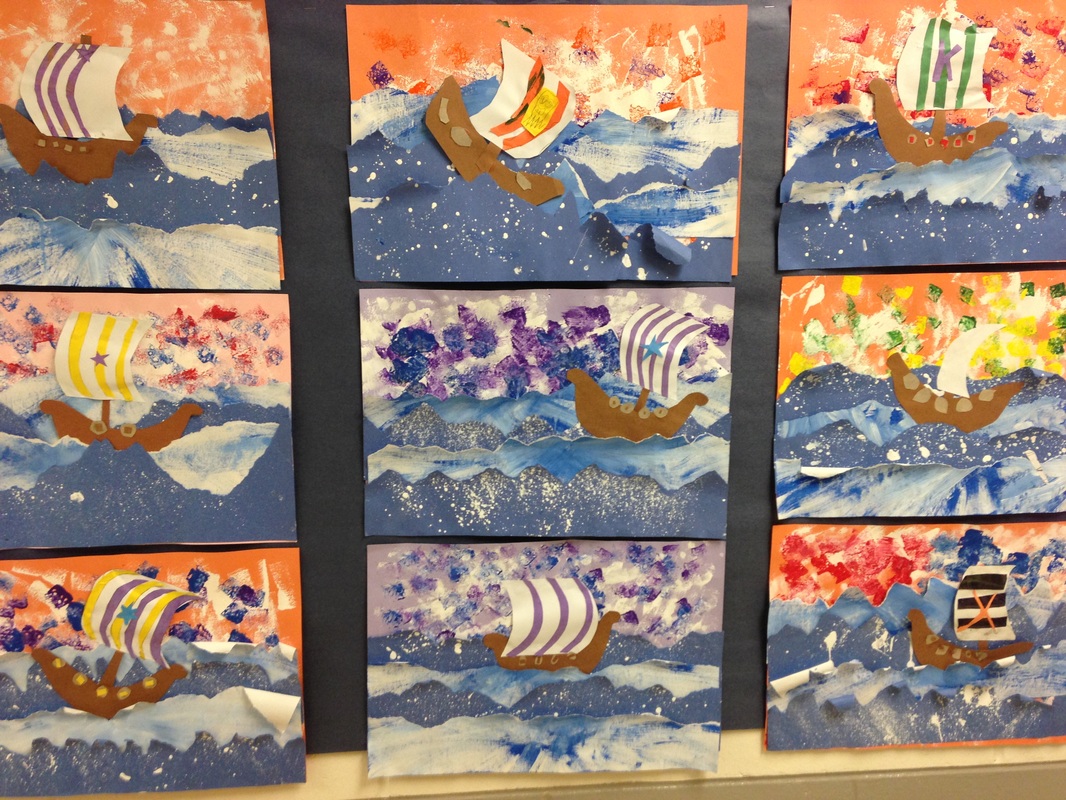
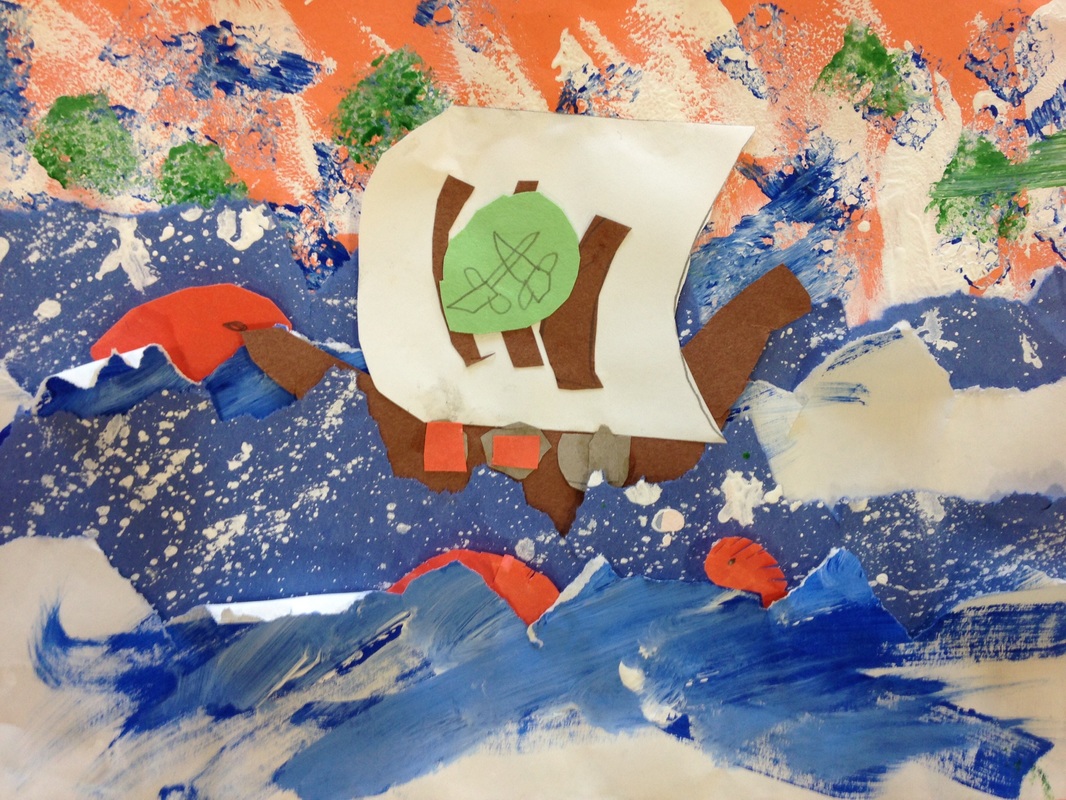
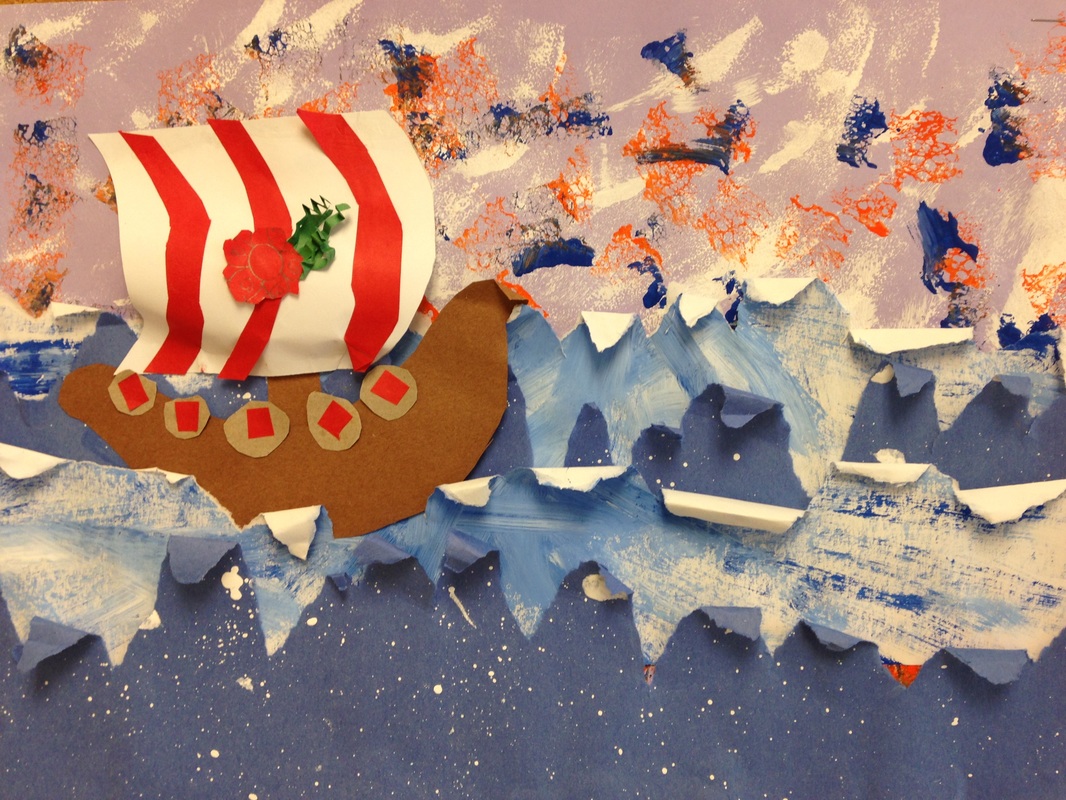
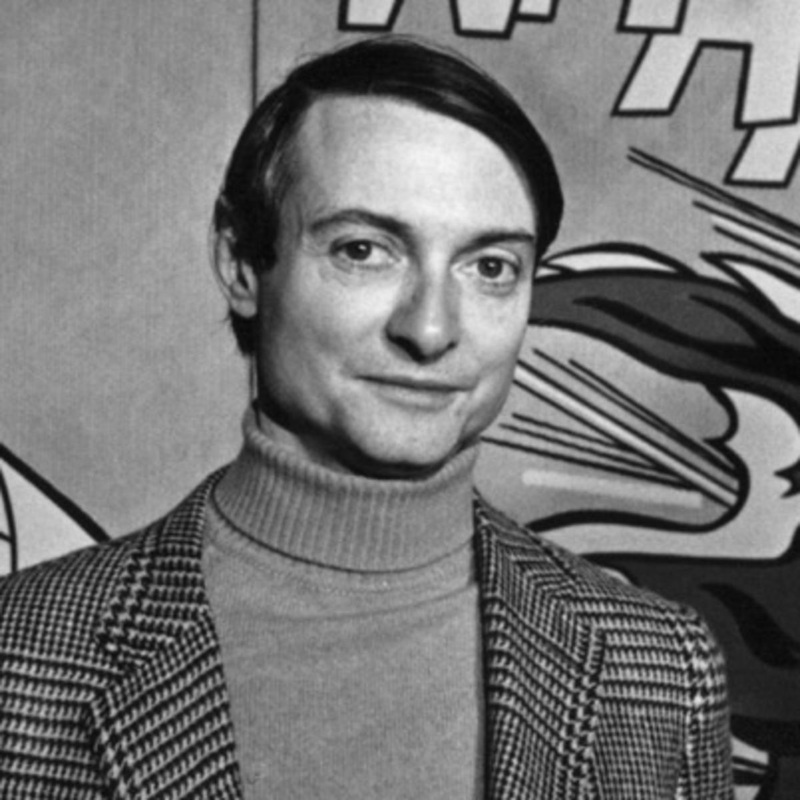
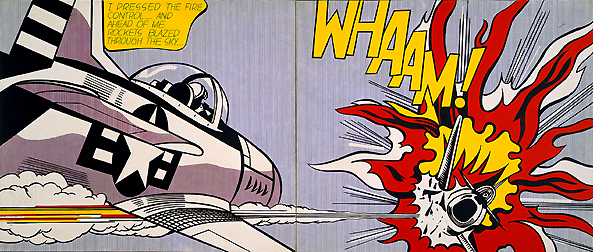
This was a quick extension project. As students were finishing up their chalk drawings of their balloon dogs, I taught them how to make a circle look like a sphere. This was once again building on their knowledge of form. We've really been hammering form a lot in class. I probably should've started with this quick project because it is MUCH easier to add form to a circle than it is to a balloon animal drawing. We turned our circles into spheres by adding highlights (bright spots) and shadows. I like to use chalk when working with form because it blends so easily which makes it a bit easier to produce form. Each student made two spheres and then cut them out. I then cut a slit into each circle and interlocked them together to create a large 3rd grade collaborative project. It looks great on my classroom door right now! 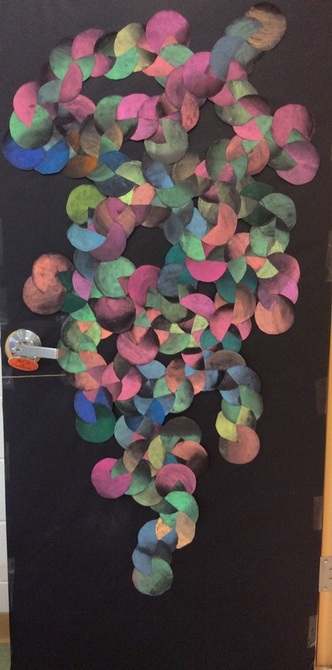 For the second part of this project we did an observational drawing of our balloon dog. To do this, we had to learn to break the dog's shape down into different sized ovals. After drawing it, we then traced over our lines with glue then left them to dry on the drying rack. For the second day of the project, we talked about form again. Typically, we talk about form as being something that is 3D but it can ALSO be something that has the illusion of being 3D. To do this we would need to add shadows and highlights to our dogs. To do this, we chose a color and LIGHTLY chalked the various sections of our dog. The glue lines help to contain the chalk and the chalk also wipes off of the glue lines easily at the end of the project. They gently blended the chalk and then re-chalked it, making sure not to chalk quite to the bottom this time. Then smoothed and chalked again, going even less far down on the dog. By going over parts of the dog over and over, it creates a bright spot on the dog called a highlight. This gives the illusion that the sun/light is hitting that part of the dog. Lastly, we added a touch of black opposite of the highlight to give the dog some shadows. By adding highlights and shadows, our dogs now looked like they were 3D or had form. This was a loooooooong project for my third graders. We looked at Jeff Koons' work. Koons is an American Post-Pop artist. He is most well-known for his large reflective sculpture balloon dogs. Most of his sculptures use a reflective surface. He likes how the reflective surface changes the way you perceive the area around you by warping and distorting the room on its shiny shell. He depicts objects that are popular in pop culture such as balloon animals, Popeye, and pool inflatables. His sculptures are highly rendered, down to the subtle creases along the seems of his metal pool inflatables. I find his balloon dogs particularly interesting because they toy with the idea of life and death. When something is full of air/breath like a human or a balloon, the item is thought to have life. But when those things run out of air, they become deflated or lifeless. By creating balloon dogs out of metal, they lose their ability to deflate making them immortal. He is a highly controversial artist who uses around 130 "assistants" to produce his ideas. The kids were amazed that he is the second richest living artist and is worth $500 million. Throughout this project, I began to try to incorporate the use of videos in the art-making process so that you all can see what goes on in the art room. This was a SUPER stressful project for me. First of all, we were paper mache-ing which is something that I am NOT very good at. Because we were paper mache-ing balloon dogs, I had to get up really early each morning to blow up the balloons. If I tried to do it the night before, the balloons would deflate too much over night. For the initial paper mache-ing, I paired the kids up because I worried that if they worked individually, they wouldn't get the full first coat on. Then the balloon would deflate before the next class and they would have to start over. So two students worked on a dog. Then the next class, they worked on the other dog for their partner. After everyone got their first coat on, we added two more coats of paper mache. Throughout the project, we talked about form and how things that are 3D have form which means they are tall, wide, and have depth. At Harmony, we painted several coats of acrylic paint onto our dog to give it color. At Consolidated, we paper mache'd colored paper onto the dog to give it color. We also talked about our personal beliefs on whether students thought he was an artist or not. Some felt that because he came up with the idea for the project, he was an artist. Others felt that because he didn't physically make the artwork, he shouldn't be considered the artist. 34 students believe Jeff Koons is an artist. 22 believe he is not.Louise Nevelson was an American (after immigrating from Russia as a child) sculptor most well-known for her monochromatic (all one color) assemblages. Her assemblages usually featured various sized wooden boxes with random objects such as chair legs, tools, car wheels, etc placed within the boxes Everything was then painted the same color. Mrs. Nevelson helped to pave the way for female artists around the world. This was probably one of my favorite projects all year. I saw the idea on Pinterest and decided to tie in Louise Nevelson as an art history reference. We started out by folding two sheets of printer paper into quarters. Those quarters were cut apart and then glued onto a larger sheet of white paper. For this project, I required that everyone use white paper. From there, I demoed how to manipulate paper in different ways by folding it, crumpling it, bending it, curling it, etc. We talked about how doing these different processes to the paper created different textures. Texture is how something feels. We briefly talked about how texture can be broken down into two categories: actual and implied. Implied texture is when an artwork conveys how something might feel such as a lamb LOOKING like it is soft. Actual texture is how something ACTUALLY feels. So for our project, we focused on actual texture. The students spent three or four days manipulating paper. It was pretty open-ended and allowed for students to experiment with the paper to create new textures that I hadn't thought of. I was so so sooooooo happy with how this project turned out. 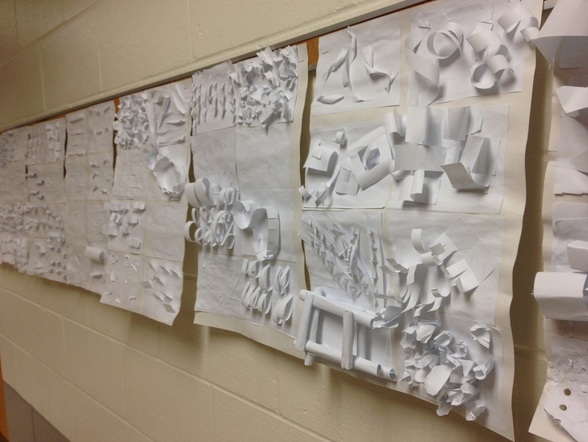 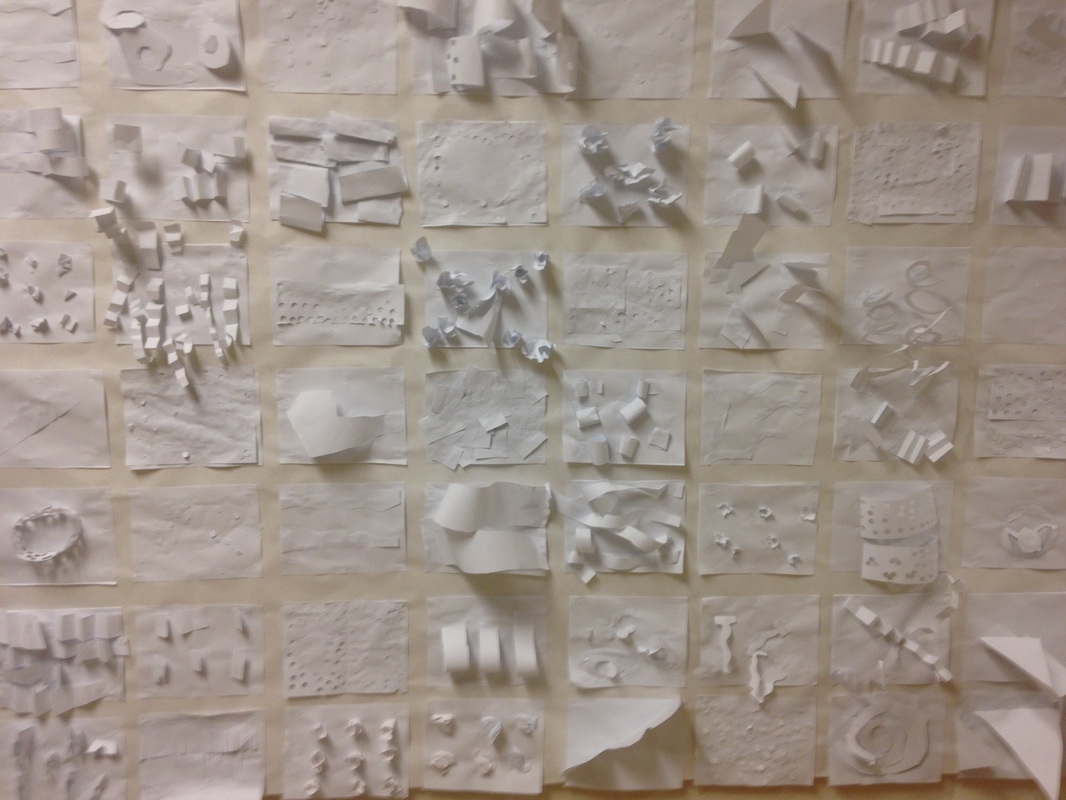 Early finishers were expected to continue making textures. These extra textures were put onto a big sheet of paper to create a large texture wall. This was a quick project that only a couple of my 3rd grade classes got to do. I used it as a filler because we lost a few of our art classes due to practicing for the winter concert (which they did fabulous at!). Mr. Harper was an American illustrator who is most well-known for his depictions of wildlife. His works are featured often in calendars, prints, and books. He referred to his style as minimal realism. This meant that he attempted to depict his animals as realistically as he could with as few shapes, colors, lines, and textures as he could. To get this project rolling, students chose a pastel colored background. Then they cut some curves into a white sheet of paper which created our snowy ground. Then we used newspaper to cut various shaped triangles out which we then glued together to become trees. The white newspaper with the black text made for a good birch tree effect. On our second day, we began to create our cardinals. We took a look at how Mr. Harper used simple shapes to create more elaborate pictures. Our cardinals could be broken down into tear-shaped bodies with curved wings. A black "mask" and beak were added to each bird. On the final day, we finished up our birds. We added a couple details to the birds with sharpies, such as eyes, legs, and feathers. Lastly, we used white paint and Q-tips to create some falling snow. This is a project by Cassie Stephens that I had been thinking about doing for a while. I was torn between doing it and doing something seasonal now that the winter months are upon us. But while I was making this decision, the attacks in Paris occurred and I decided that a project on Paris would be a good way to honor France. When we think of Paris, we think of the Iron Lady. However, many people don't know very much about its creator, Gustave Eiffel. Mr. Eiffel was commissioned to create the Eiffel Tower for the World's Fair in 1889. It was originally meant to be deconstructed shortly after the Fair ended but they decided to keep it around due to its architectural progressiveness. It stood as the tallest building in the world for forty years. It has played a significant role throughout history. Charles Lindbergh used the lit tower to find Paris at the end of his flight from America to Paris. In World War I, it was used as a radio tower and it also intercepted enemy messages. And in World War II, the Nazi's hoisted their flag from it which blew away a couple hours later. The French then climbed back to the top of it and once again hoisted the French flag. Gustave is also responsible for creating the skeletal structure to the Statue of Liberty. We started the project by choosing a background color and folding it in half both ways. Then we folded it a third time by folding the bottom up to the center line. These folded lines would be used as guide lines to print their towers. To make the towers, I cut up small squares of cardboard. Students dipped the cardboard into black paint and printed the outline of the Eiffel Tower (after I had demo'd how to do it). Then they added horizontal lines and “X's” which created the metal lattice of the tower. The second day of the project, we tore a paper a couple times. Then we colored along the torn edge using chalk. Holding the torn paper with chalk against their background, they rubbed their finger upward from the torn paper to off of their page. This left a chalked outline of the torn edge that resembled a landscape. Next, students cut a cityscape into a paper and repeated the chalking process. The students now had chalked land and cities on their background. We dotted some yellow chalk on the cityscape parts to make it look like lit windows. The last part of the day was spent creating fireworks out of chalk. Students also added some spirals to make it look like blowing wind. For this project, we learned about the child prodigy and leader of the Cubist movement, Pablo Picasso! As a child, Picasso was already considered one of the best in the world. We focused mainly on his cubist works. In cubism, he sought to depict all the sides of an object on a 2D surface, similar to how you can see all the sides of a 3D work of art. His art oftentimes looks like a broken mirror made up of many geometric shapes. This was a wonderful project that I saw on Mrs. Picasso's blog. The first day of the project, we talked about different monsters and what shapes their heads were. We looked at pictures of Dracula, Frankenstein, aliens, witches, pumpkin heads, and werewolves. I created a bunch of different head tracers and students chose which one corresponded to the monster they were creating. They chose two different colors papers and traced their head shape onto both papers. On one of the traced heads, they drew a side-profile of a face and cut it out. This was glued onto the second head that they had traced. Then they added a neck and body to their monster. The second day of the project, we created a mouth that had lips and teeth. Students chose whether their monster would have pointy teeth, fangs, or normal teeth. They also made the eyes. When making the eyes, they made one eye as if you were looking at the monster straight on. The other eye is more triangular-shaped, as if being looked at from the side. An iris and pupil was added to each eye. We glued an extra sheet of paper to the top of our background, making our artwork taller so that we could add more details to the background later on. The last thing they did for the day was trace out a circle and glue it at the top of their artwork to be their moon. For the third day, we used my BRAND NEW sharpies! We traced the facial features of our monsters. Then we began to add details to our monsters. Vampires added capes and widow's peak hairlines. Frankenstein added bolts to the neck, his unique hairstyle, stitches, and jackets. Witches added yarn hair, brooms, warts, hats, and buckles. Aliens added planets and spaceships. Werewolves added chest hair and claws. And pumpkin heads added curved lines to the heads, stems, vines, and mini pumpkins. The fourth day, they continued working on their details. The final day, they finished details. Added bats to the background and then used glitter glue to add stars and streaks of lightning. Leif Erikson Day was on October 9th so that seemed like a good idea to do a project on! Leif Erikson was the first European to come to North America, about 500 years before Christopher Columbus arrived. The kids thought I was joking when I told them that vikings were real. They thought that vikings were just something that was on the Minnesota Vikings (SKOL VIKINGS!) helmet. Then we had to have a discussion about the difference between vikings and dwarfs which was an understandable confusion due to their similar appearances. 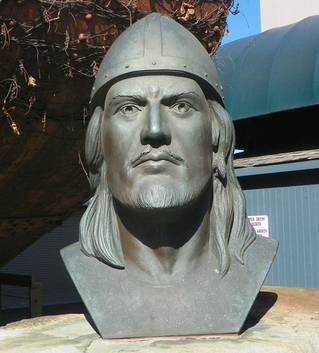 This is another one of Cassie Stephens' amazingggg projects. Our first day of the project was probably the most hectic art class I've ever had. It was CRAZY how much we had going on. First, students needed to sponge paint a large sheet of paper white. Then they were to sponge over top of that with two other colors of their choosing. Then they needed to pick up a strip of white paper and a strip of blue. With the blue one, we gently splatter painted white paint onto it. With the white one, we dry-brushed blue and then white paint, going from the center of the page out to the edge. On the second day, we tore our two strips of paper the long way. Then we layered the torn strips on top of each other, starting at the center and working our way down to the bottom of our sponge-painted paper. We only put glue on the straight edges of our torn strips, NOT the torn edges. This would allow us to curl our waves later in the project. We also used a tracer to create a ship and then added a mast. For the third day, we created a sail. We added stripes to the sail and a small tribe symbol. When we attached the sail to our mast, we put glue on the top and bottom of the sail and gave it a slight pinch when gluing it down. This created a small curve to our sail so that it popped out from our artwork a bit. On our last day, we added small shields to the edge of our ship. Then we curled our torn-edge waves around a pencil so that the waves popped off the paper like our sails did. After they were done with their project, we had a little writing assignment about our viking ships. Writing in art?!?! I know. Crazy right? I asked the kids to tell me about their viking ship. Where were they going? Why were they going there? They were asked to write four COMPLETE SENTENCES. They had some pretty comical and creative responses! I got so many compliments from the other teachers about these! Our artists did so well! Continuing with our Pop Art unit, we learned about the second most famous Pop Artist (behind Mr. Warhol), Roy Lichtenstein! Roy Lichtenstein started out as a graphic designer. One day, his kids challenged him to recreate a picture of Mickey Mouse and Donald Duck that they had seen in a comic book. He took the challenge upon himself and recreated it perfectly. This would go on to spur his iconic style. He is most well-known for his paintings of comic book pictures. Many of his paintings depict women or scenes from WWII comics. He is also known for only using the primary colors (red, yellow, and blue). To create other colors, he used ben-day dots. If you have ever looked at a comic closely, the colors are made up of tiny dots of colors. If a bunch of red dots are placed closely together, the image appears red. If they red dots are spaced further apart so that there is more white space between them, the color begins to appear more purple. The primary colored dots can also be overlapped to give the appearance of other colors, such as putting red and blue on top of each other to create the illusion of purple. We started off the project by talking about words that are oftentimes seen in comics, such as whaam, pow, wow, zap, zip, boom, pow, etc. These words are called 'onomatopoeias.' Onomatopoeias are words that sound like what they look like. Our first day we learned how to make box letters and then drew an onomatopoeia word that way. The second day of class, we outlined our word with sharpie and then used tempera cakes to paint them using a primary color. Then we began to assemble our background. We cut out shapes and explosions out of primary colored paper and glued them to our background. The last step of their background was to add a large explosion cut out of newspaper to their background that went on top of all their other shapes. This was so that their words wouldn't blend into their background. On the third day, they cut out their words and glued them onto their background. Then we painted the tops to legos using the primary colors and used those to print ben-day dots onto our backgrounds. Lastly, they cut out details to add to their art such as puffs of air, lightning bolts, small explosions, etc. I told them to think about their word and to choose details that would be appropriate for that word. 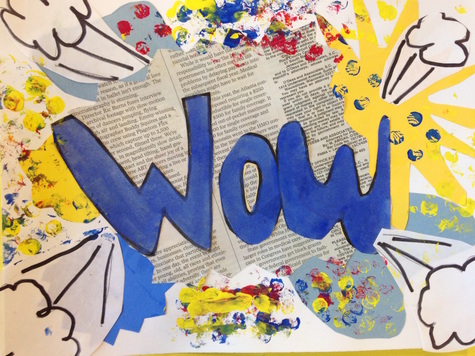 I thought this little artist did a great job drawing their word! 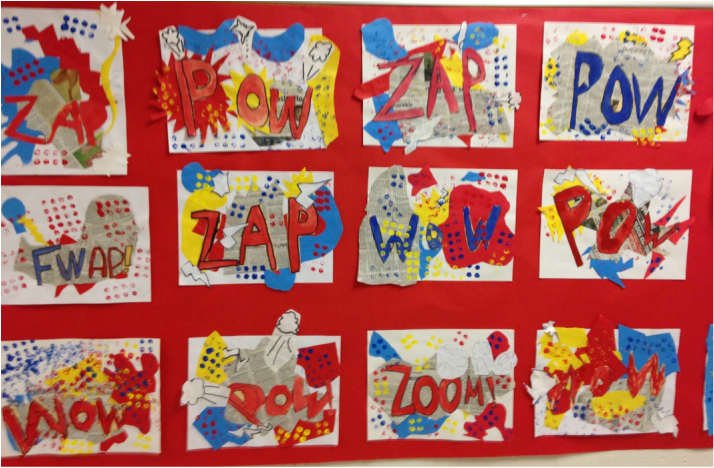 So much action in the hallways! |
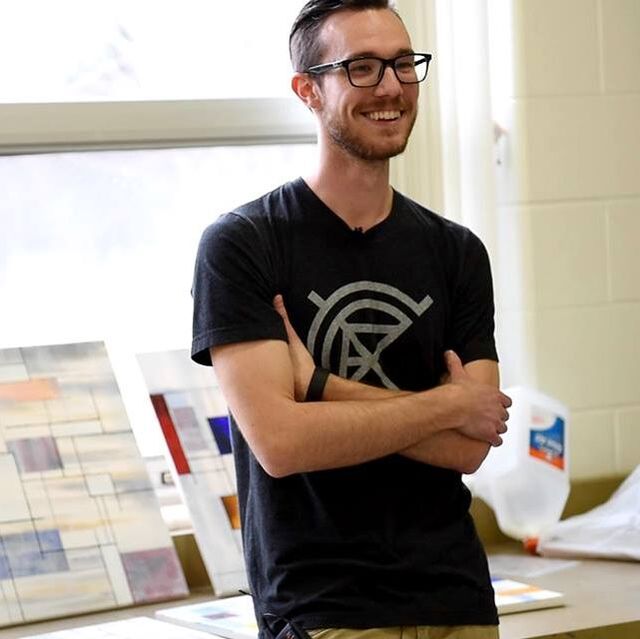
Devon CalvertHarmony and Consolidated Elementary Art Teacher in Milton, WI. UW-Eau Claire graduate. WAEA President. Apple Teacher. 
Archives
March 2019
Categories
All
|


 RSS Feed
