|
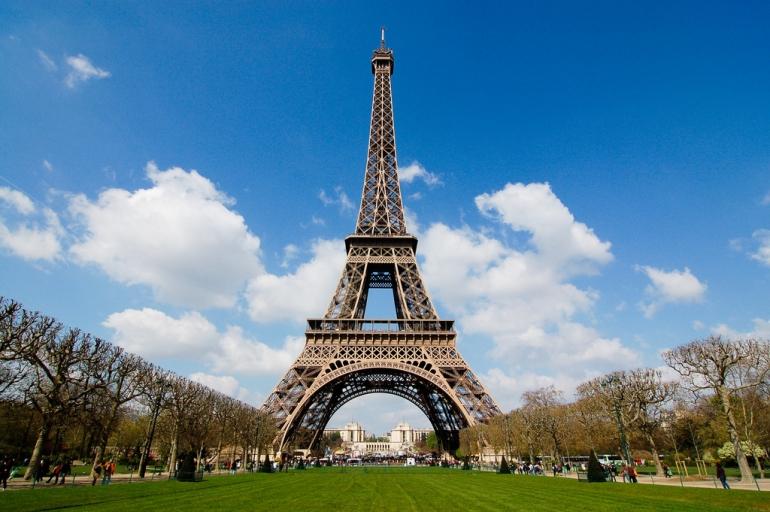
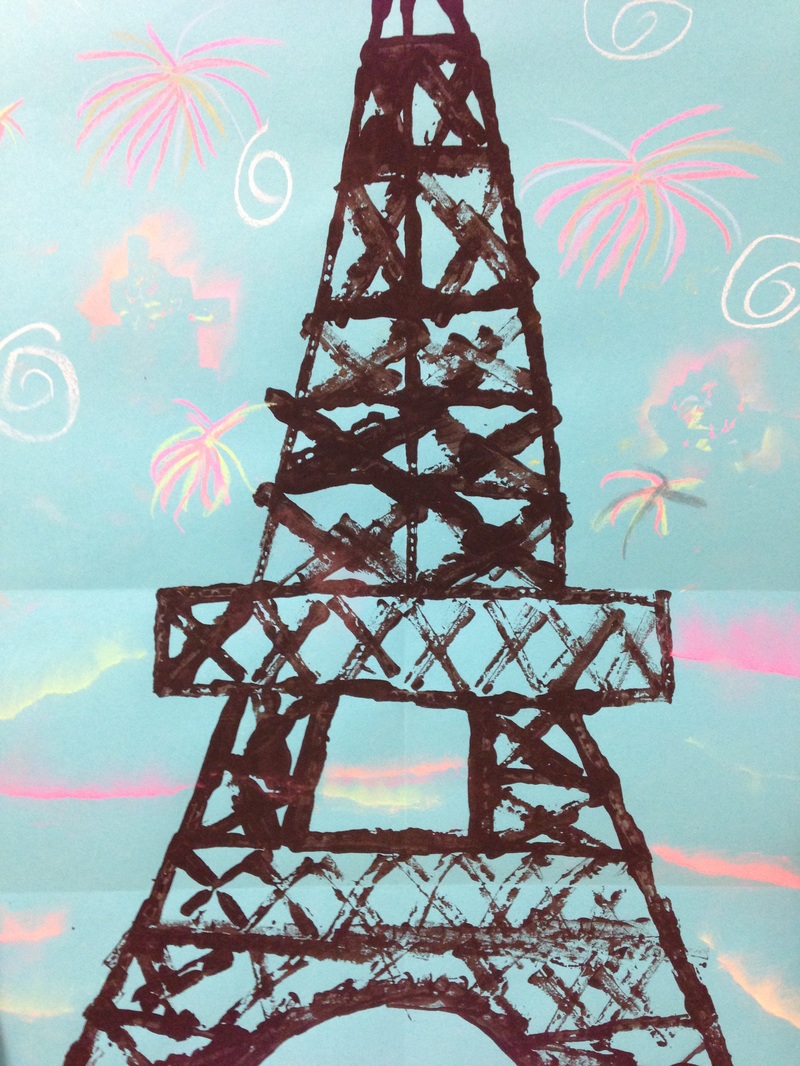
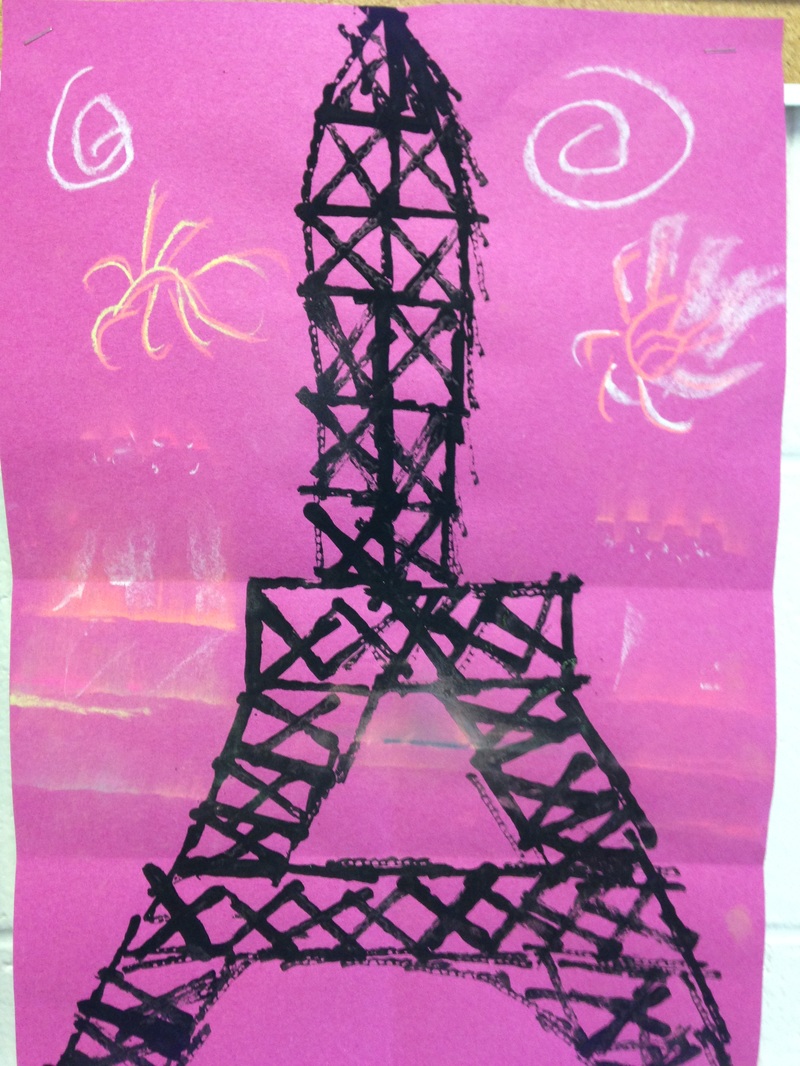
This is a project by Cassie Stephens that I had been thinking about doing for a while. I was torn between doing it and doing something seasonal now that the winter months are upon us. But while I was making this decision, the attacks in Paris occurred and I decided that a project on Paris would be a good way to honor France. When we think of Paris, we think of the Iron Lady. However, many people don't know very much about its creator, Gustave Eiffel. Mr. Eiffel was commissioned to create the Eiffel Tower for the World's Fair in 1889. It was originally meant to be deconstructed shortly after the Fair ended but they decided to keep it around due to its architectural progressiveness. It stood as the tallest building in the world for forty years. It has played a significant role throughout history. Charles Lindbergh used the lit tower to find Paris at the end of his flight from America to Paris. In World War I, it was used as a radio tower and it also intercepted enemy messages. And in World War II, the Nazi's hoisted their flag from it which blew away a couple hours later. The French then climbed back to the top of it and once again hoisted the French flag. Gustave is also responsible for creating the skeletal structure to the Statue of Liberty. We started the project by choosing a background color and folding it in half both ways. Then we folded it a third time by folding the bottom up to the center line. These folded lines would be used as guide lines to print their towers. To make the towers, I cut up small squares of cardboard. Students dipped the cardboard into black paint and printed the outline of the Eiffel Tower (after I had demo'd how to do it). Then they added horizontal lines and “X's” which created the metal lattice of the tower. The second day of the project, we tore a paper a couple times. Then we colored along the torn edge using chalk. Holding the torn paper with chalk against their background, they rubbed their finger upward from the torn paper to off of their page. This left a chalked outline of the torn edge that resembled a landscape. Next, students cut a cityscape into a paper and repeated the chalking process. The students now had chalked land and cities on their background. We dotted some yellow chalk on the cityscape parts to make it look like lit windows. The last part of the day was spent creating fireworks out of chalk. Students also added some spirals to make it look like blowing wind.
0 Comments
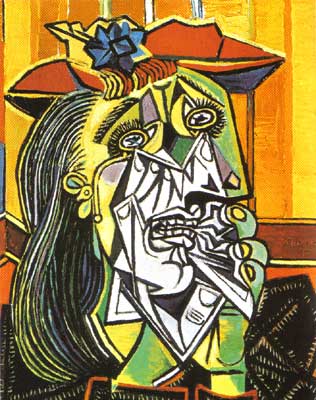
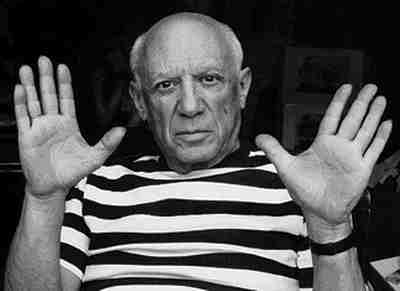
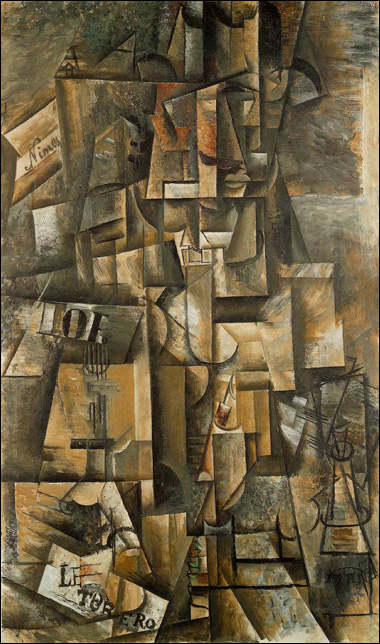
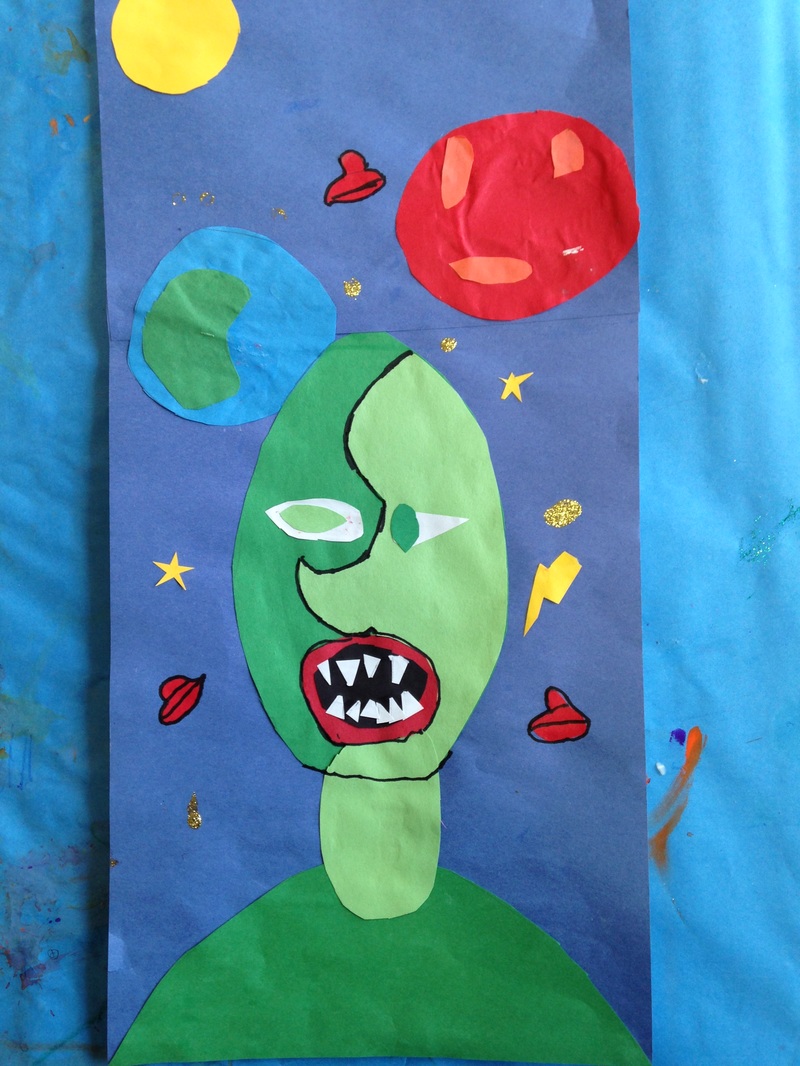
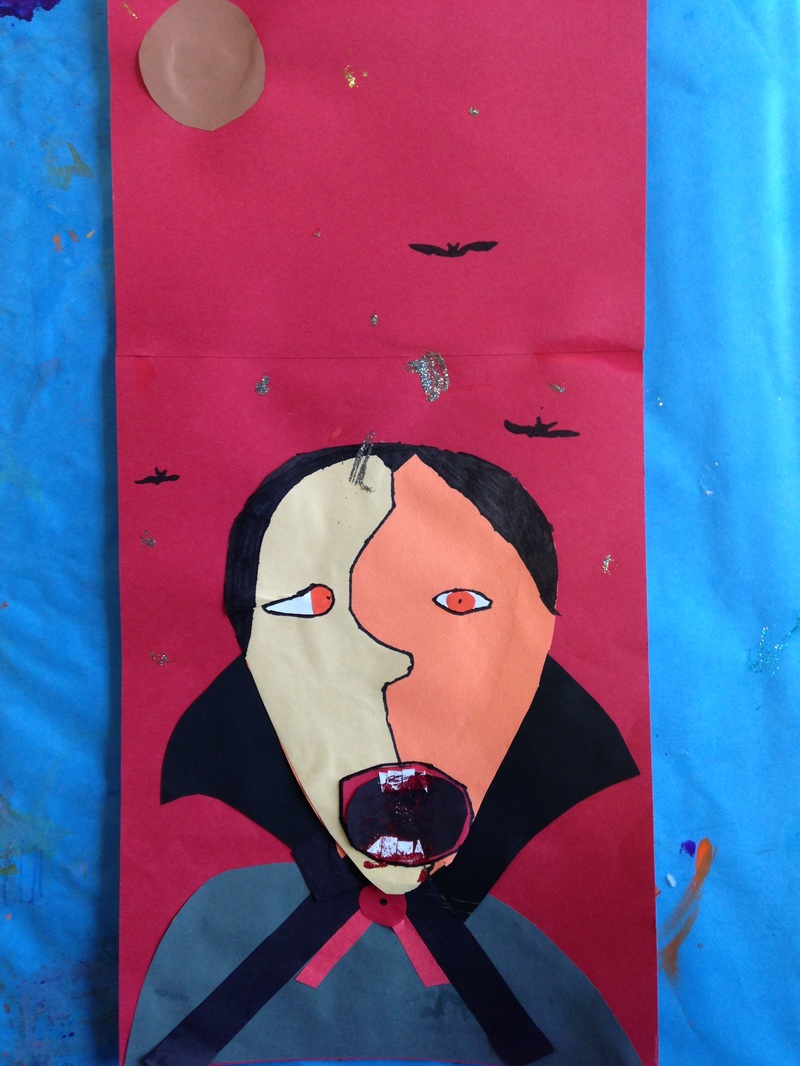
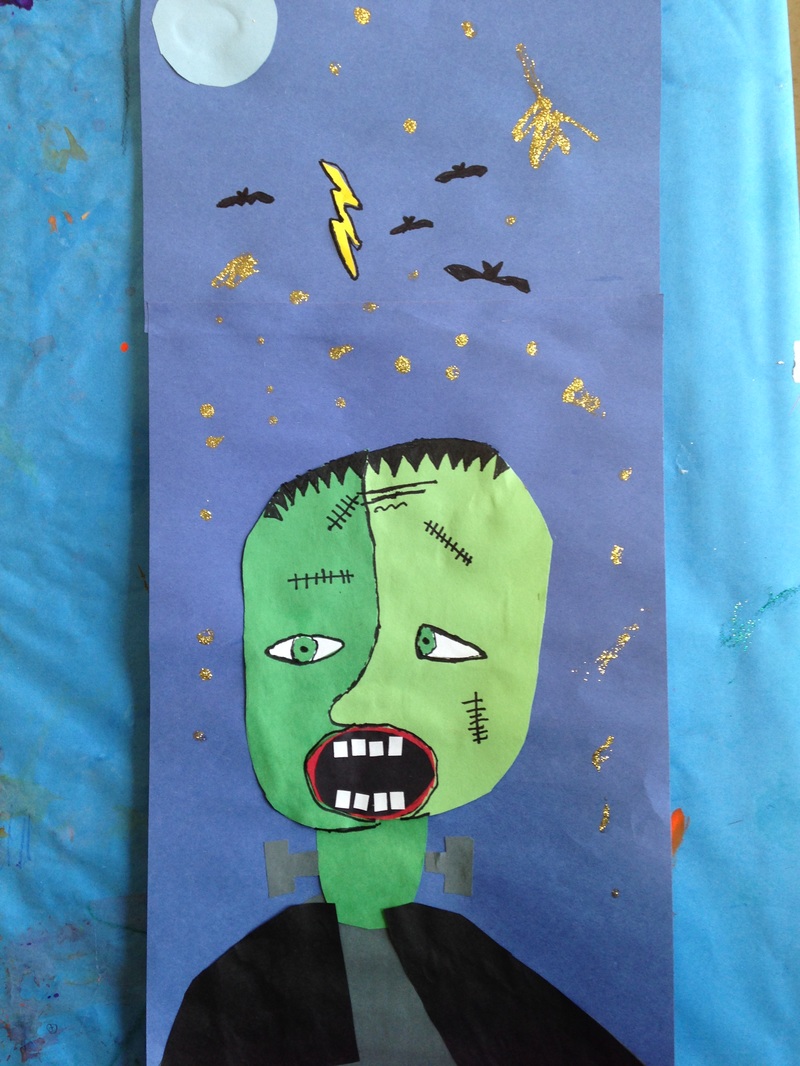
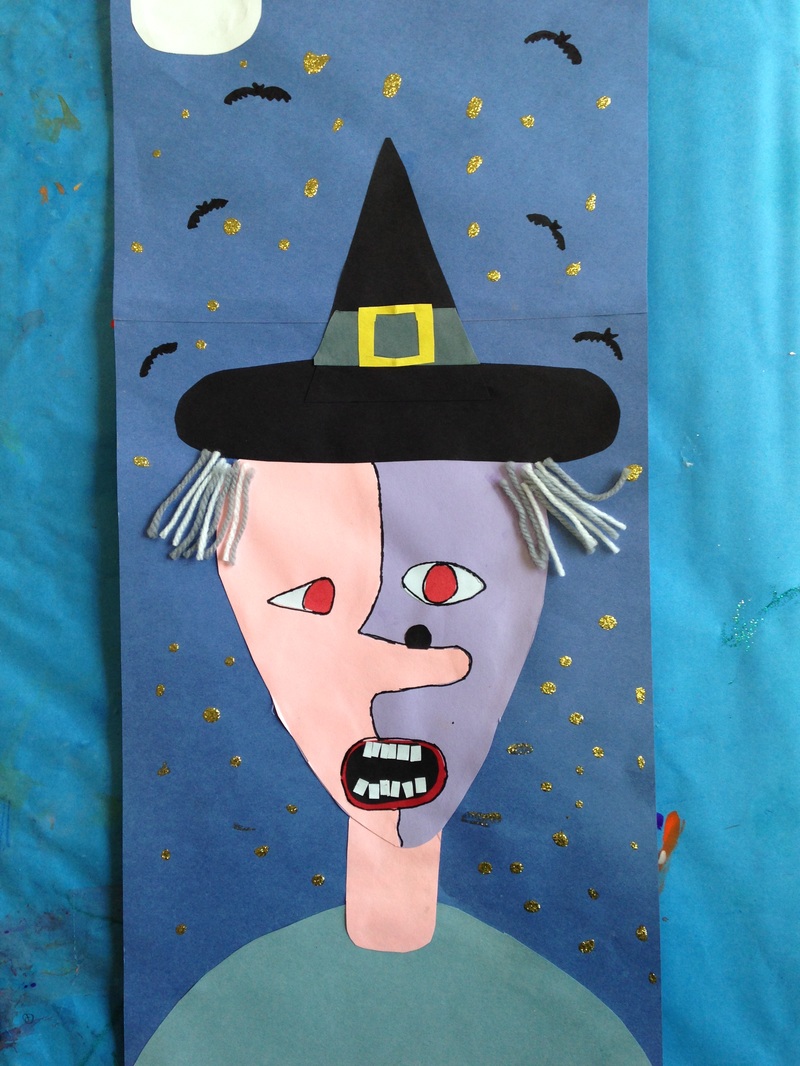
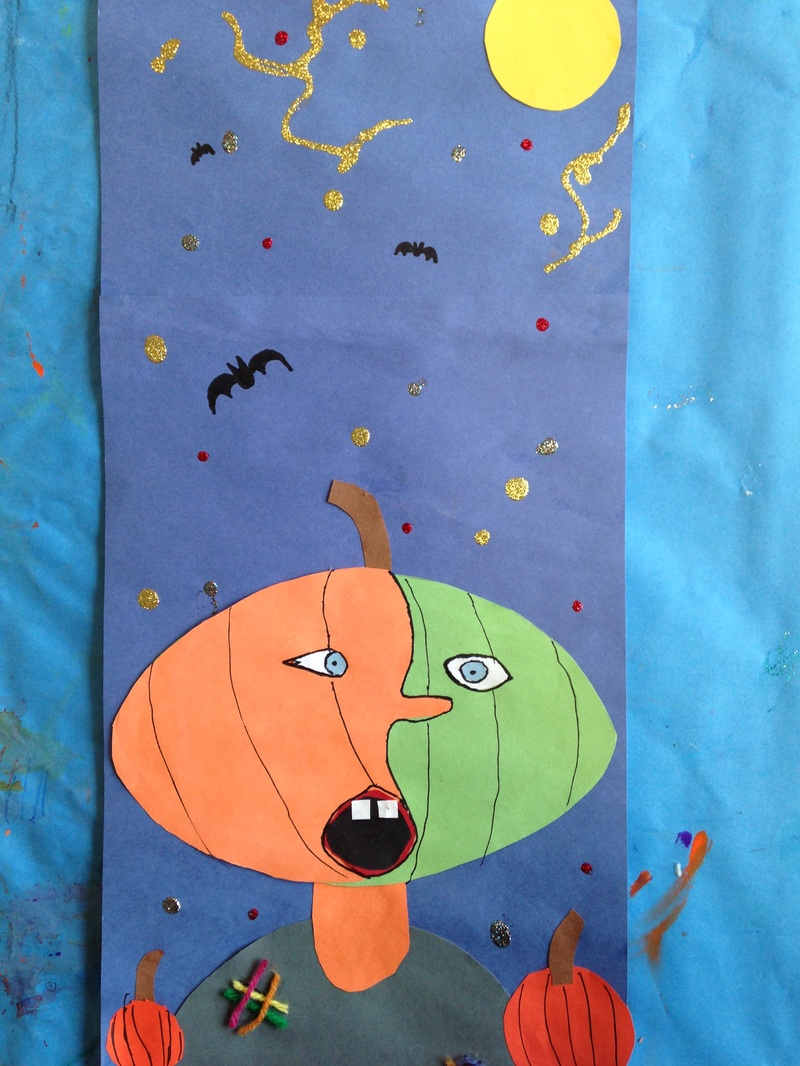
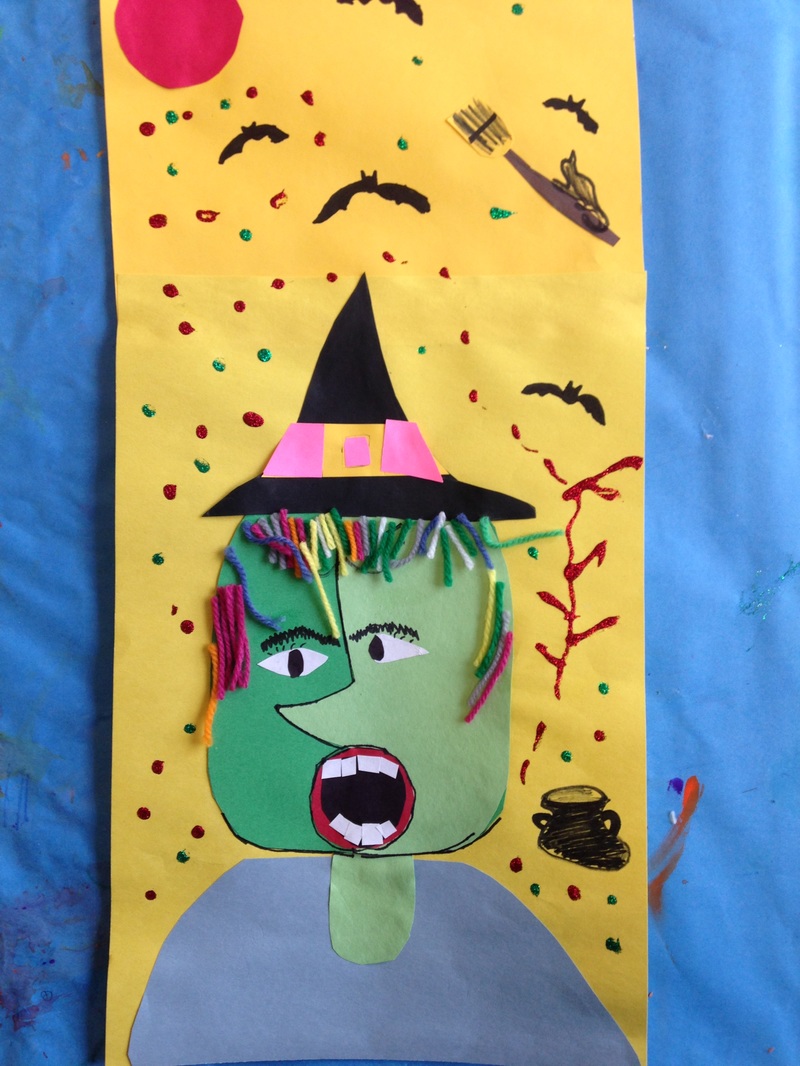
For this project, we learned about the child prodigy and leader of the Cubist movement, Pablo Picasso! As a child, Picasso was already considered one of the best in the world. We focused mainly on his cubist works. In cubism, he sought to depict all the sides of an object on a 2D surface, similar to how you can see all the sides of a 3D work of art. His art oftentimes looks like a broken mirror made up of many geometric shapes. This was a wonderful project that I saw on Mrs. Picasso's blog. The first day of the project, we talked about different monsters and what shapes their heads were. We looked at pictures of Dracula, Frankenstein, aliens, witches, pumpkin heads, and werewolves. I created a bunch of different head tracers and students chose which one corresponded to the monster they were creating. They chose two different colors papers and traced their head shape onto both papers. On one of the traced heads, they drew a side-profile of a face and cut it out. This was glued onto the second head that they had traced. Then they added a neck and body to their monster. The second day of the project, we created a mouth that had lips and teeth. Students chose whether their monster would have pointy teeth, fangs, or normal teeth. They also made the eyes. When making the eyes, they made one eye as if you were looking at the monster straight on. The other eye is more triangular-shaped, as if being looked at from the side. An iris and pupil was added to each eye. We glued an extra sheet of paper to the top of our background, making our artwork taller so that we could add more details to the background later on. The last thing they did for the day was trace out a circle and glue it at the top of their artwork to be their moon. For the third day, we used my BRAND NEW sharpies! We traced the facial features of our monsters. Then we began to add details to our monsters. Vampires added capes and widow's peak hairlines. Frankenstein added bolts to the neck, his unique hairstyle, stitches, and jackets. Witches added yarn hair, brooms, warts, hats, and buckles. Aliens added planets and spaceships. Werewolves added chest hair and claws. And pumpkin heads added curved lines to the heads, stems, vines, and mini pumpkins. The fourth day, they continued working on their details. The final day, they finished details. Added bats to the background and then used glitter glue to add stars and streaks of lightning. |
Devon CalvertHarmony and Consolidated Elementary Art Teacher in Milton, WI. UW-Eau Claire graduate. WAEA President. Apple Teacher. 
Archives
March 2019
Categories
All
|


 RSS Feed
