|
This was a project that I snagged from Cassie Stephens. You can check out her details here.
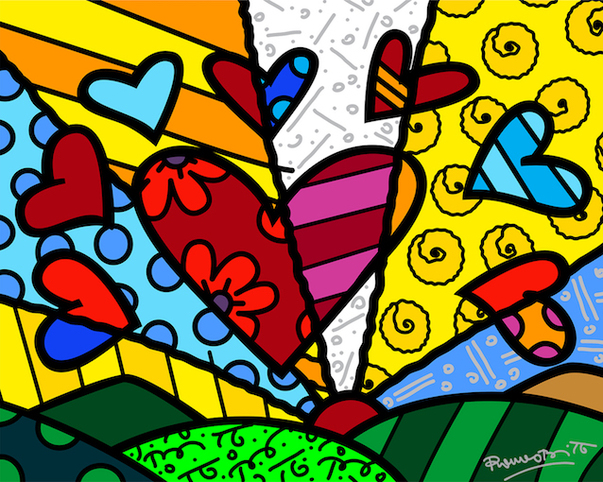
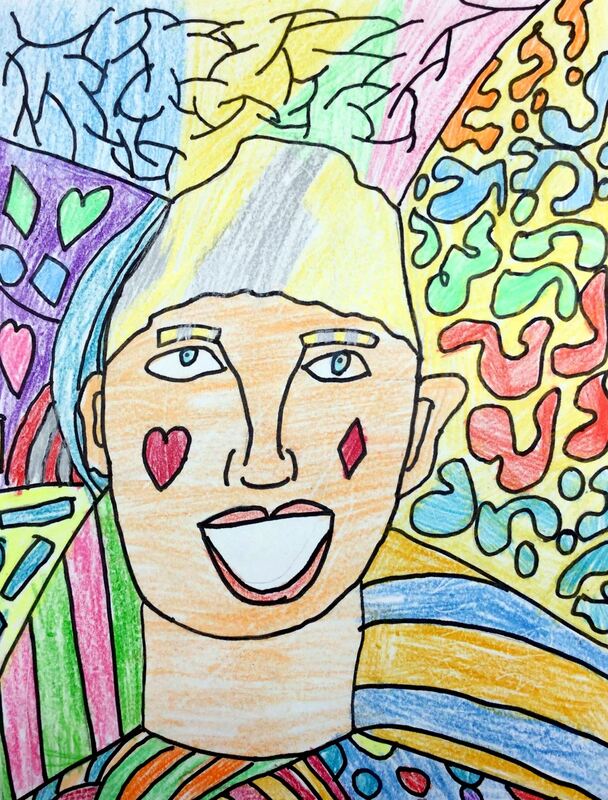
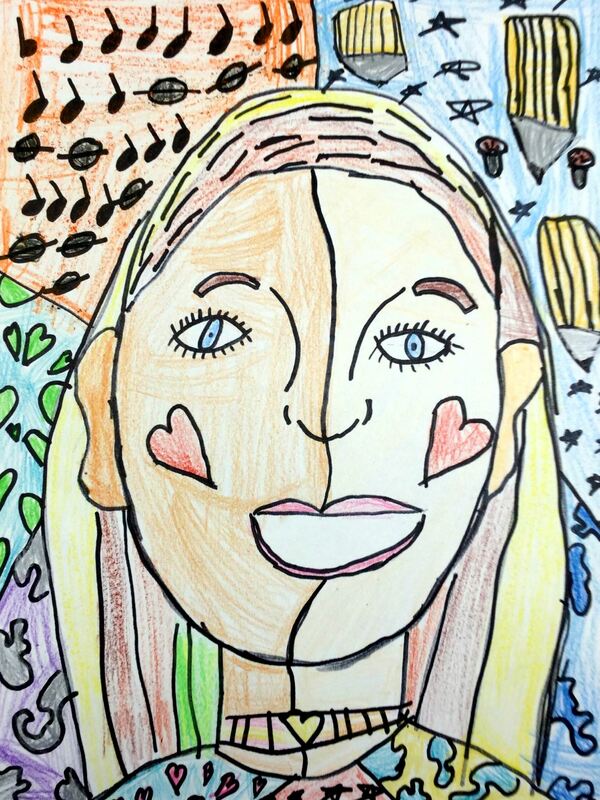
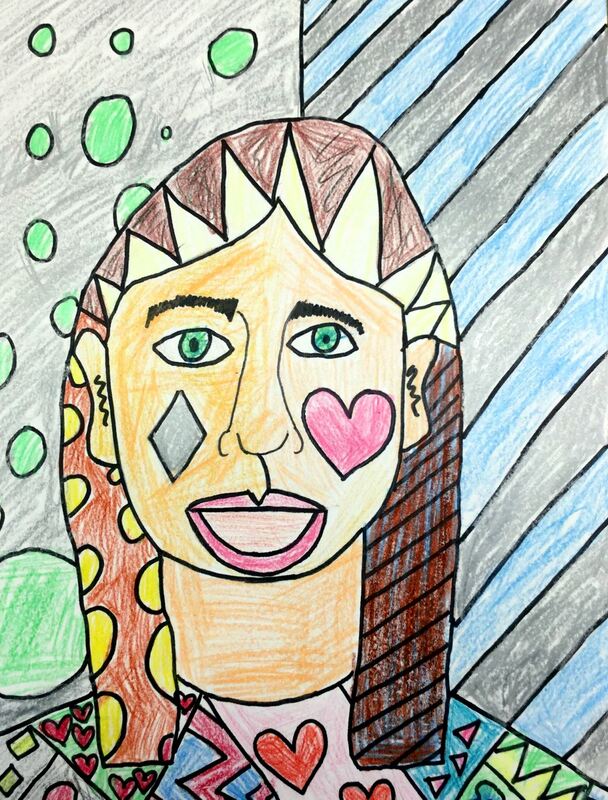
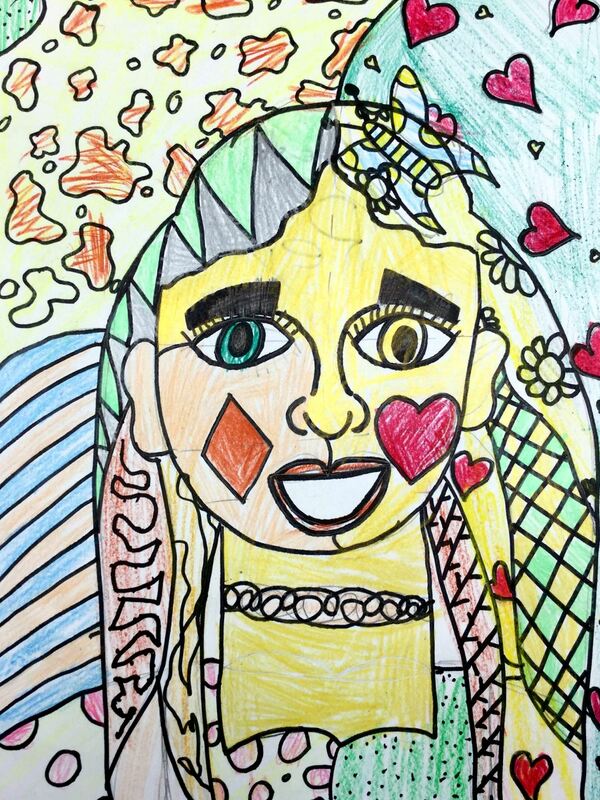
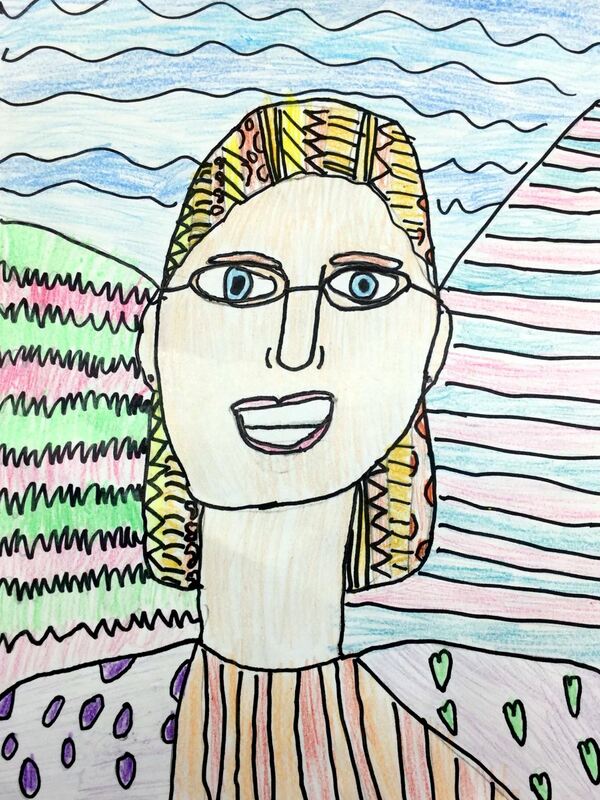
To start off the year, third grade learned about the pop artist, Romero Britto. Romeo's work also draws upon influences from cubism. His work typically shows a picture that has been divided up into many shapes by bold black lines. then within all those shapes, she adds bright colors and patterns. he is a very popular artist at the moment, having made work for many large events such as: the Super Bowl, World Cup, Olympics, and Disney. I always start off the year with my third graders by making self portraits. I do this because I like to show students how much they can grow over the course of one project. I typically give them five minutes to draw the best self portrait that they can without any instruction. Afterwards, I give them a crash course in facial proportions, teaching them where things belong on your face. With this information, they begin to redraw their self portrait while keeping this new information in mind. After drawing their self portraits, they use a Sharpie to outline everything and then erase their pencil line. Then they divide their paper into different sections by drawing lines across it. Then they are expected to add patterns in each section of the background. They are also encouraged to add some patterns to their hair. After everything has been drawn, sharpie'd, and erased, then they used plastic crayons to fill in their artwork.
0 Comments
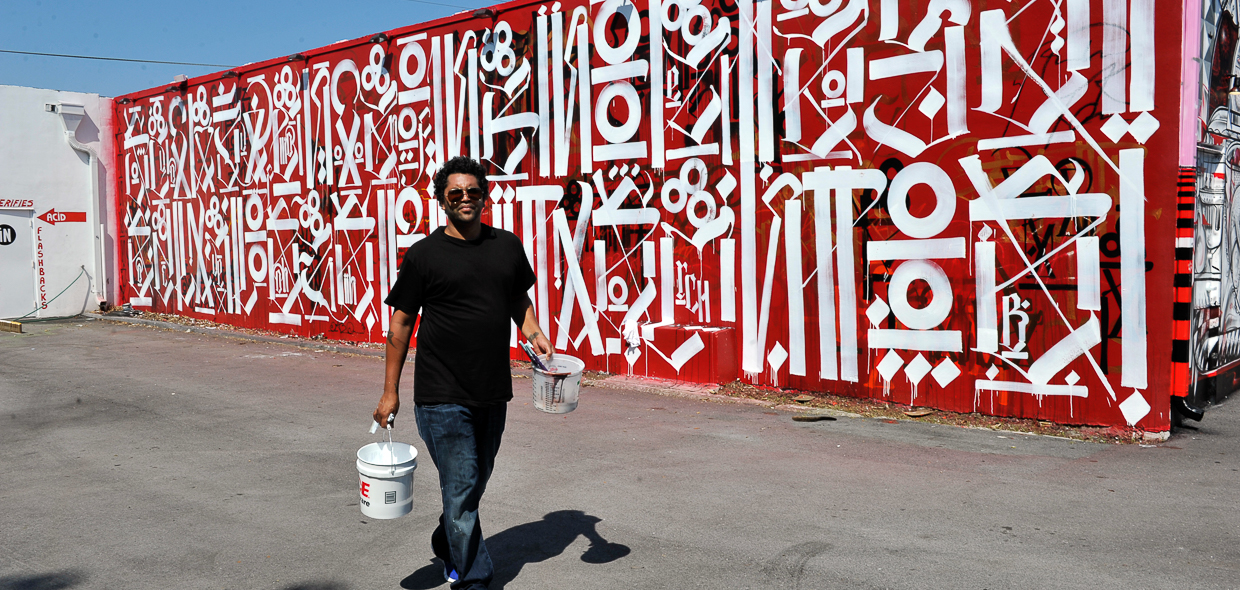
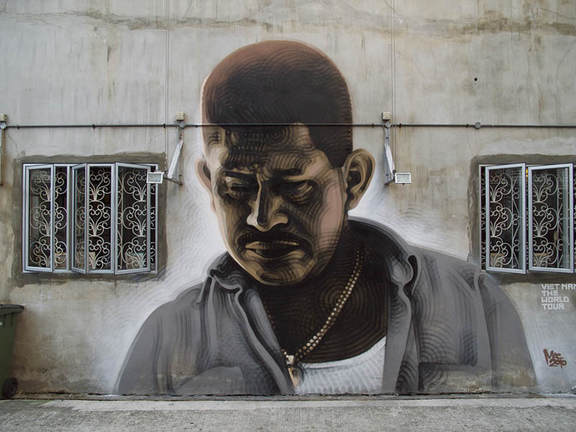
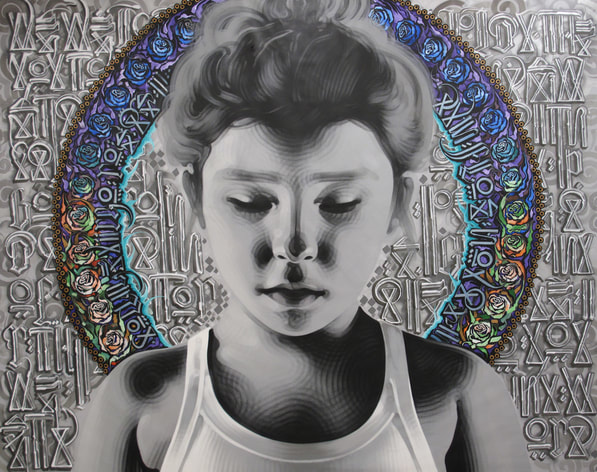
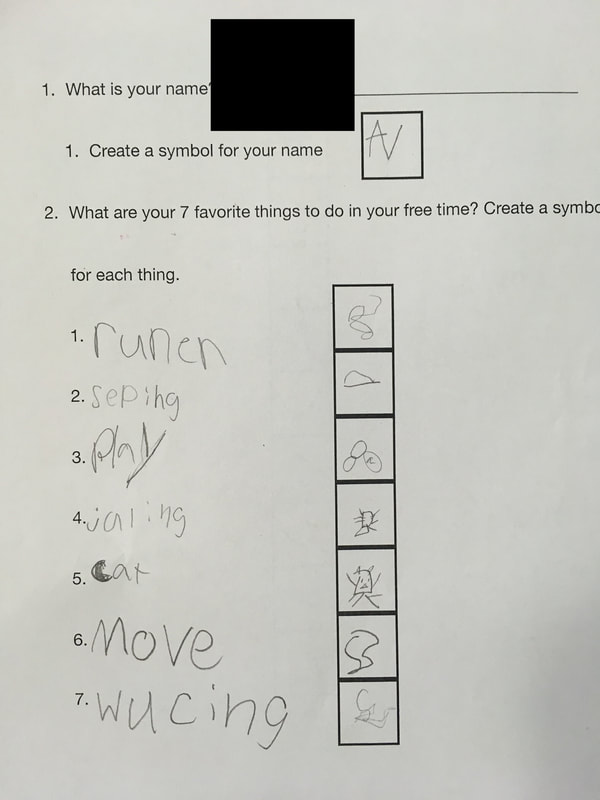
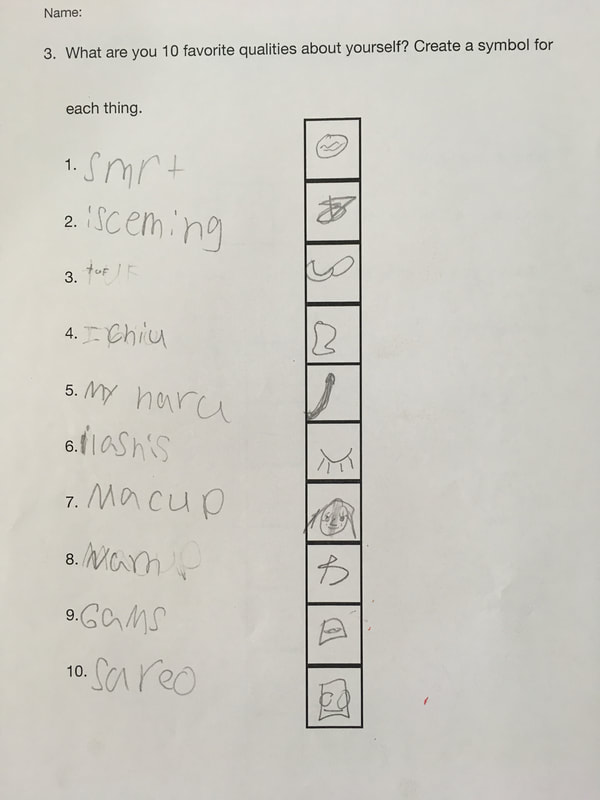
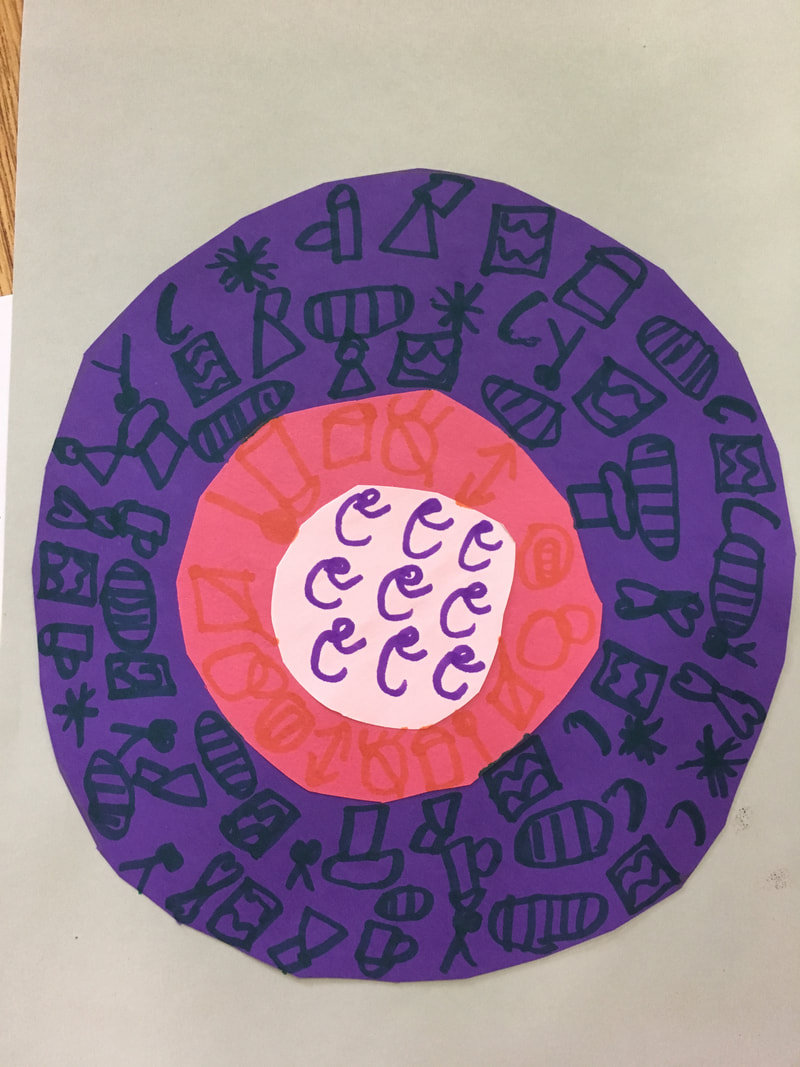
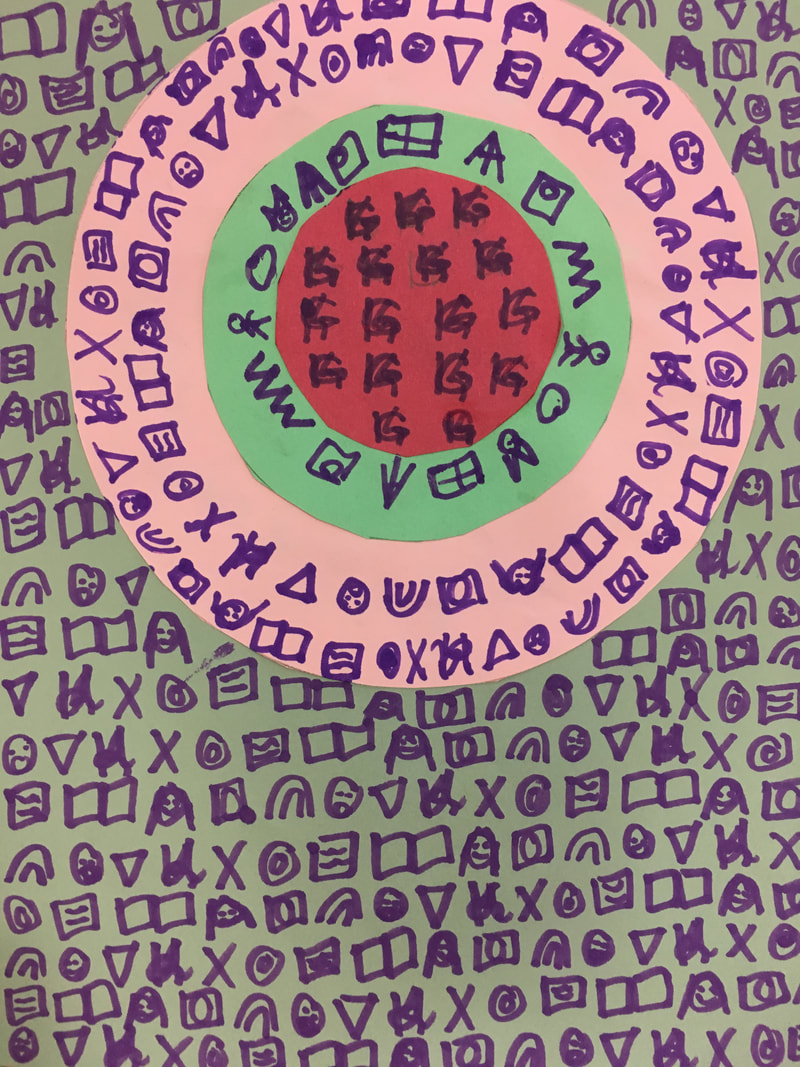
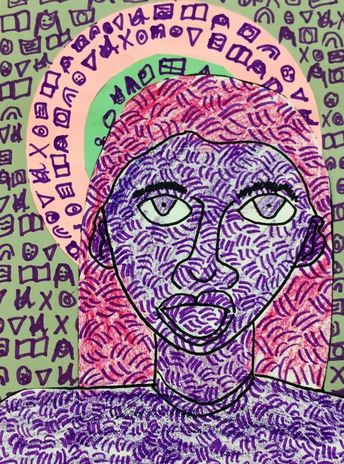
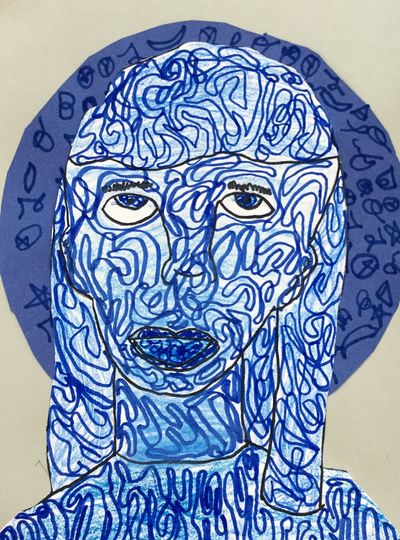
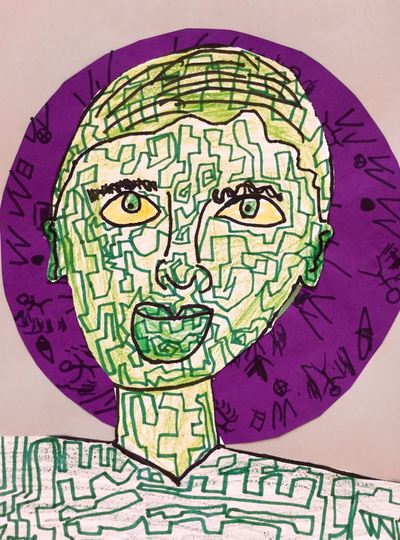
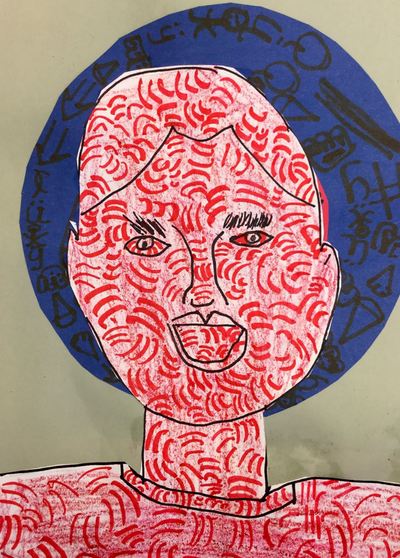
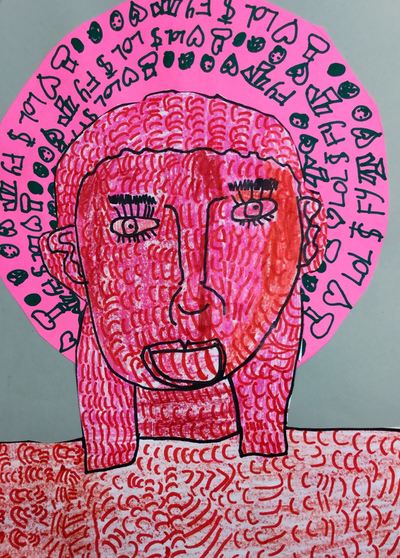
3rd grade started off the year learning about RETNA and El Mac. Both are street artists from Los Angeles. RETNA . RETNA is an artist who has created his own language using symbols. His symbols are influenced by different languages from around the world. He mixes all of these different languages together to create a new language that nobody can read, but everybody can relate to because of a recognition of some of the symbols. El Mac is an artist who creates portraits of people who he sees in everyday. His portraits are typically painted monochromatically. This means that he uses only one color to depict the portraits. He also uses short spray paint strokes which creates a line effect. At times, RETNA and El Mac will collaborate to create a mural together. RETNA typically makes the background with El Mac incorporating a portrait on top. Students started off with a worksheet that had them create their own symbols. They had to create a symbol that represented their name, seven symbols that represented their favorite things to do in their free time, and 10 symbols that represented their favorite qualities about their selves. I emphasized that their symbols should be simple because they would have to repeat them over and over and over. It was their choice if they wanted their symbols to be more representational or more abstract. Next, students cut out 3 different sized circles and created what looked like a target. Then they added these symbols to the target. In the smallest circle in the center, they repeated their name symbol over and over. In the medium sized circle, they repeated the seven things that they like to do in their free time. And in the larger circle, they repeated the 10 symbols that represent their favorite qualities about themselves. If they wanted to go above and beyond my expectations, they could also add these symbols to the grey background. The next part of the project we learned about self-portraits. I had them do a drawing without my help of the best self-portrait they could draw. After they were finished, I gave them a crash course in facial proportions and where things belong on our face and how big they should be. Students were amazed at how much better they got in one class. After drawing their self-portrait, they used a Sharpie to trace their lines and then he erased any leftover pencil lines. Then they chose one color to make marks all over their self-portrait. This was meant to be representative of El Mac’s line work on his portraits. Students had the liberty to choose squiggly lines, geometric lines or cross hatching. Lastly, students used crayons and colored pencils of the same color that they had previously used to color in their self-portrait. This created a monochromatic look.
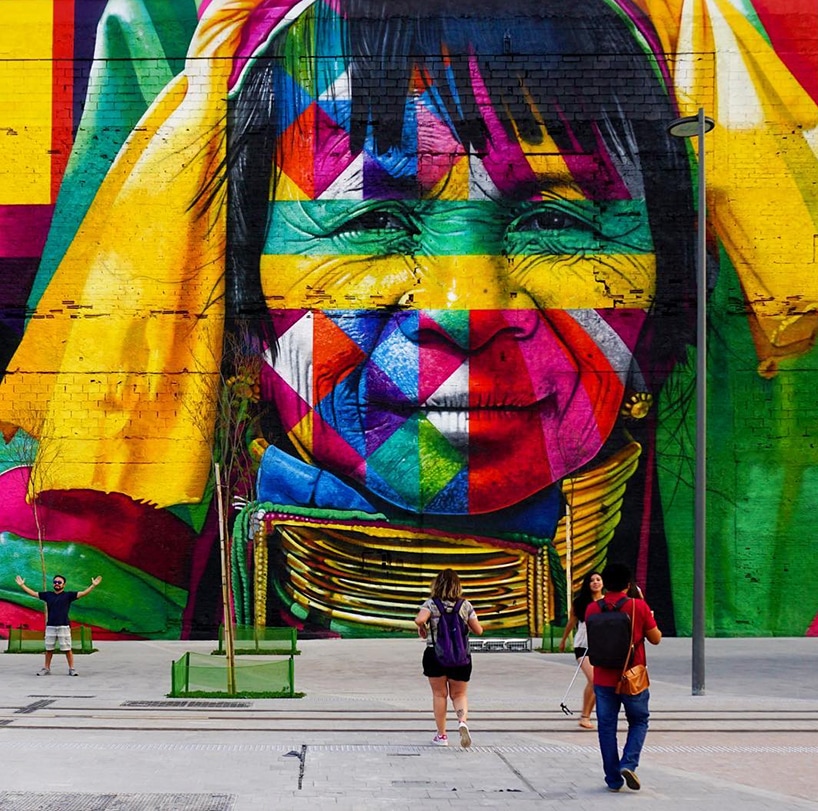
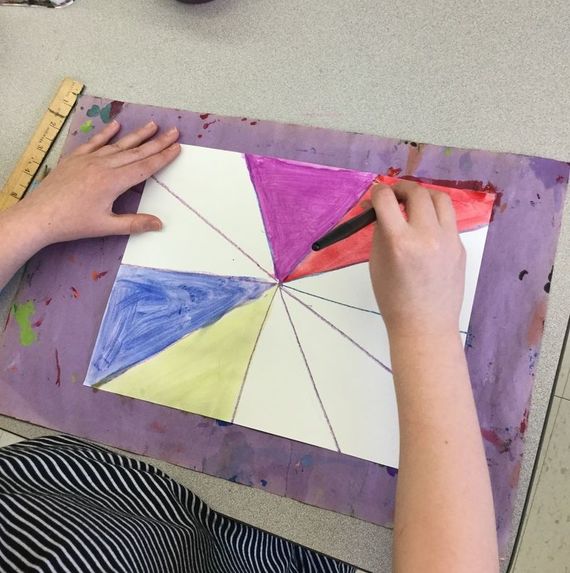
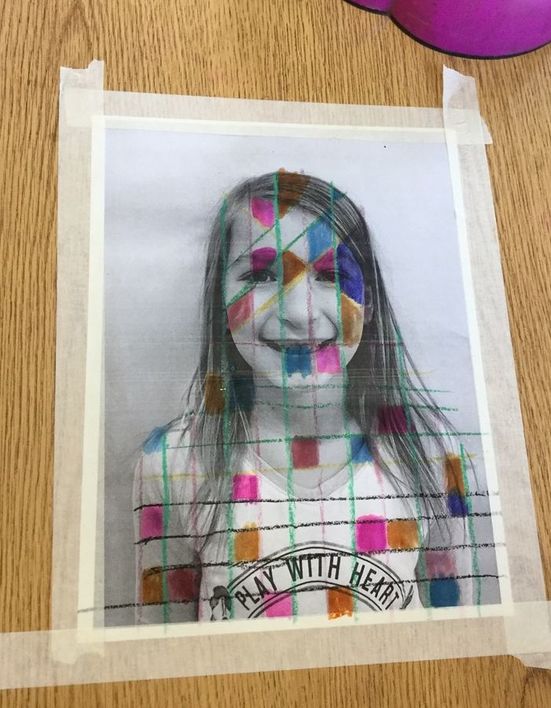
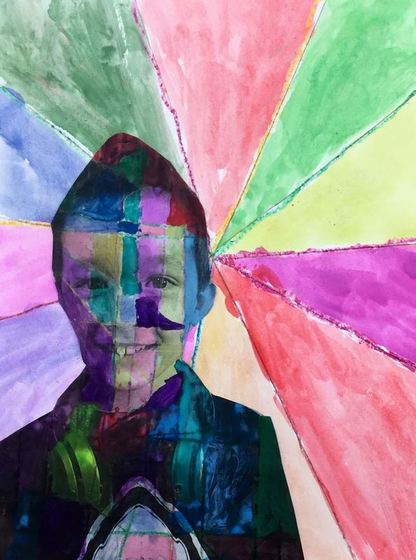
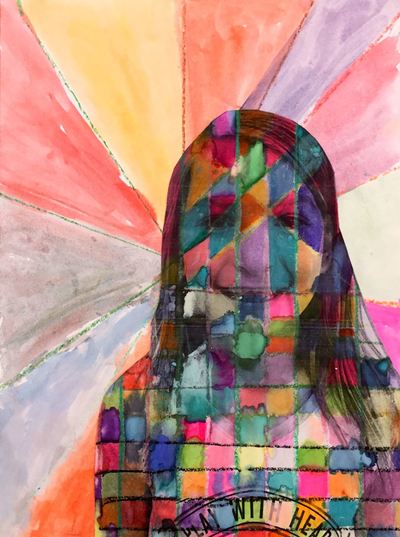
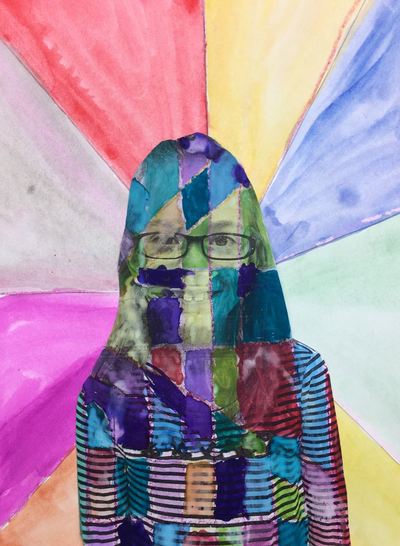
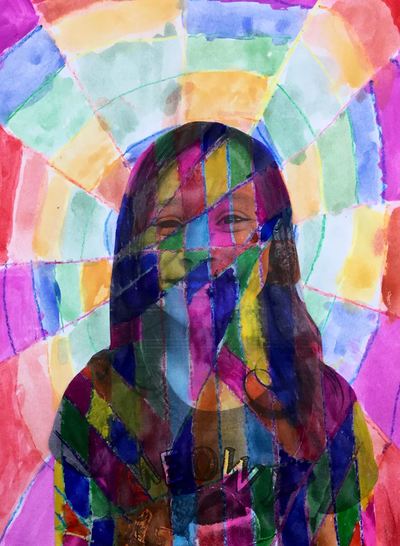
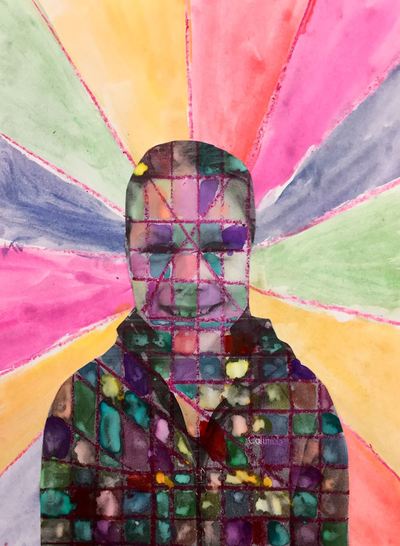
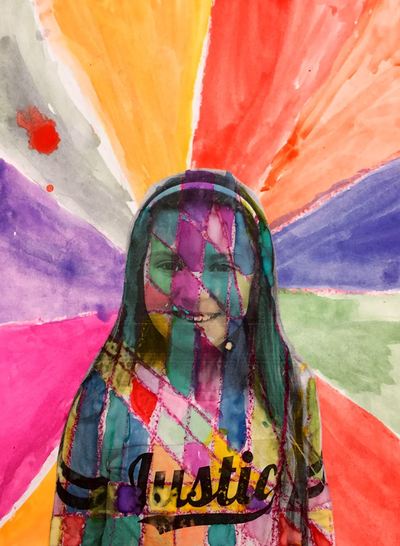
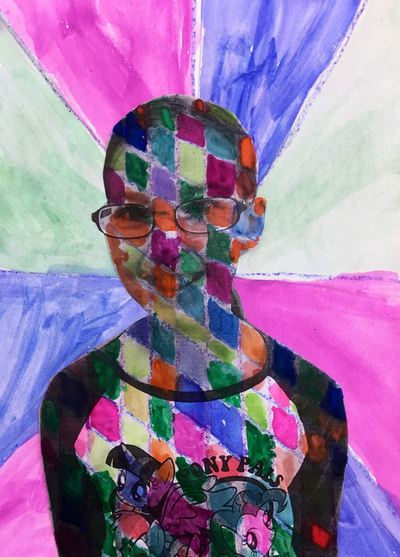
Students were a little bummed that their self-portrait covered up so many of their symbols. We talked about how WE knew how much hard work had gone into those backgrounds and symbols and that it didn't matter if it was covered. Eduardo Kobra is a street artist from Brazil who makes large murals of important historical figures. He breaks the figures into geometric shapes and overlays bright colors on top of a black base-layer. He recently painted the world's largest mural for the past Olympic Games that were in Rio de Janeiro. We have been plugging away on self-portrait projects for our upcoming art show at the end of the school year. After learning a bit about Eduardo during our Art Madness tournament, I thought he would be a great artist to inspire our latest project! We started off by making the background. Each student put a dot somewhere on their paper and then drew lines from the edges of their paper to the dot. Students traced their lines with crayons and then used tempera cakes to paint in each section they had created. While students worked, I pulled some of them aside and took headshots of them for the next part of the project. The next day, I precut some strips of tagboard that were half an inch wide. Students used these strips to draw straight vertical lines on top of their black and white photo that I had printed out. After drawing their vertical lines, they drew horizontals and diagonals. This broke their photo up into a bunch of small shapes that they would then paint next class. The final two days were spent filling in their self-portraits with watercolors. Before they could paint, I had them tape their paintings to the table to prevent them from wrinkling. They were expected to fill in each little section with a different color. Because of watercolors translucency, the black from the photo showed through the paint while also adding some color. Some of the students really rocked it when it came to painting, others added just a bit too much paint and were left with more opaque colors in which you couldn't see the details of their photos.
I was super psyched with this project and can't wait to see it up for our art show at the end of the year! My goal with 3rd grade this is to introduce them to a completely contemporary curriculum. They will be introduced to famous artists of the past all throughout their life. I want to shed light on artists of today. This is an area that is typically overlooked when teaching.
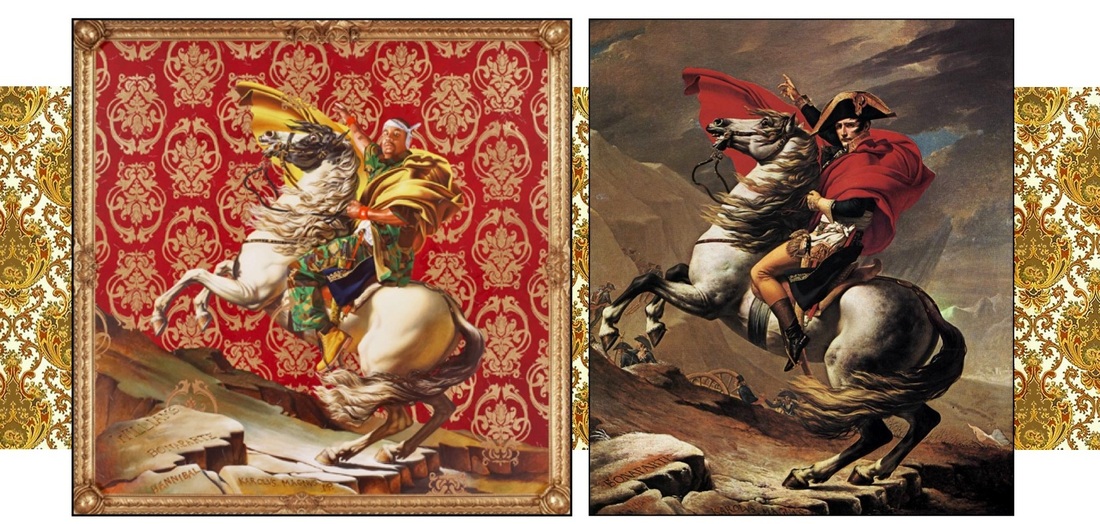
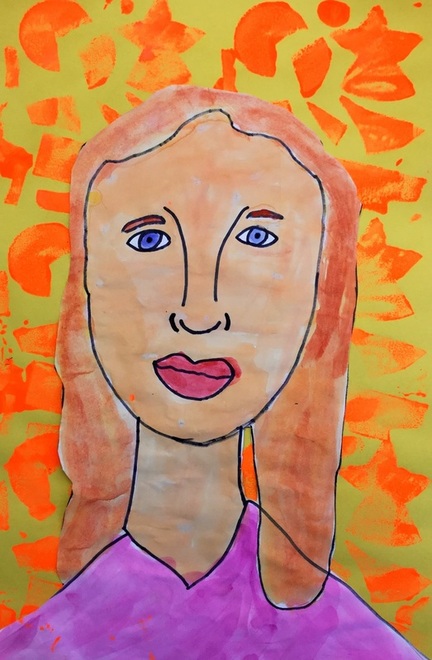
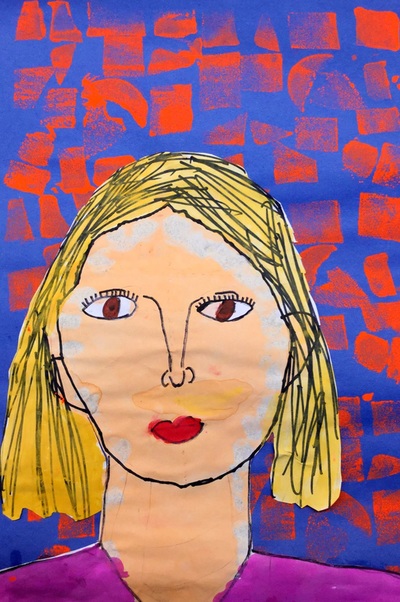
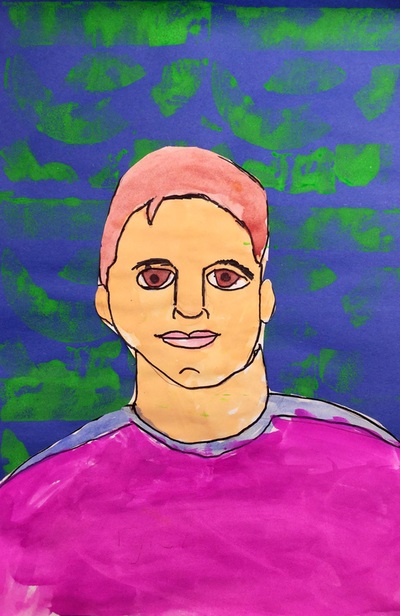
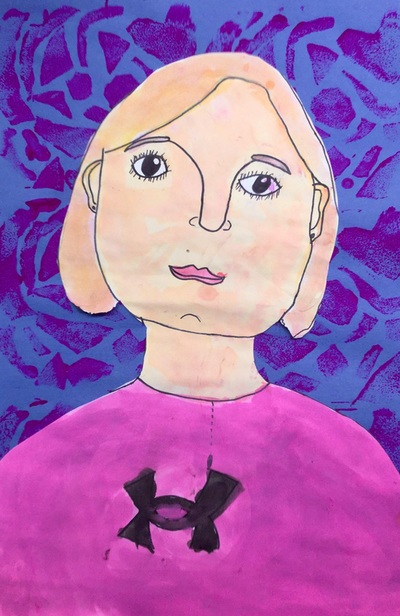
Kicking off the year, we learned about one of my favorite artists, Kehinde Wiley. Kehinde is an African-American portrait artist. Growing up in a rough neighborhood in LA, his mom enrolled him in as many art classes as she could to keep him out of trouble and this really fostered his artful side. His work focuses on the lack of black people throughout art history. He has taken it upon himself to re-paint history. His work shows appropriated paintings from master painters. However, he replaces typically white powerful men in the paintings with young black men in their hip hop/urban attire. He also replaces the traditional background with a patterned one that is influenced by the depicted man’s culture. While our school is vastly of Euro-American decent, the students were super interested in Kehinde’s work and his struggle to give blacks a place in art history. The first day of class was spent talking and practicing drawing self-portraits. I gave them 5 minutes to draw a self-portrait without any help from me. Nearly all students drew their self-portraits with their eyes on their foreheads, their nose where their eyes belong, etc. After the five minutes, we re-convened and I talked to them about where each facial feature actually belongs. After their crash course in portraits, they began working on a larger final version of their self-portrait. The 2nd day of class is when I introduced Kehinde’s work to them. They continued to work on their self-portraits and if they finished early, they began tracing their self-portraits with a sharpie. The 3rd day of class we finished up drawing and tracing and erasing our self-portraits. Then students painted their respective skin tones. If they finished all of that, they began working on a stamp that we would use to print their backgrounds. The 4th day was spent painting the rest of their self-portrait (hair, clothes, eyes, etc). They also continued working on their background stamp. The background stamp consisted of a piece of tagboard with pieces of foam attached to it. The previous art teacher before me left behind a bunch of foam pieces that have sticker backing on them. Students cut up these pieces of foam and attached them to the tagboard. The last day of the project was spent cutting out their self-portraits. Then they used their foam stamp to print a pattern across the background before gluing down their self-portrait. This was a long project for the students but they really seemed to dig learning about one of my favorite artists! |
Devon CalvertHarmony and Consolidated Elementary Art Teacher in Milton, WI. UW-Eau Claire graduate. WAEA President. Apple Teacher. Archives
March 2019
Categories
All
|



 RSS Feed
