|
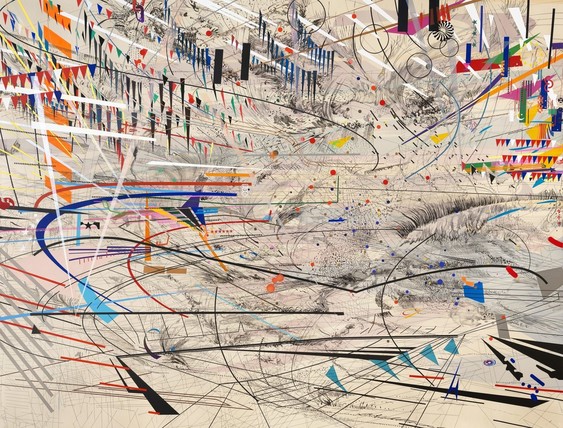
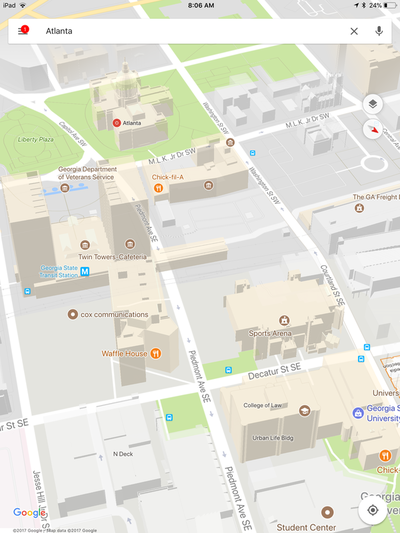
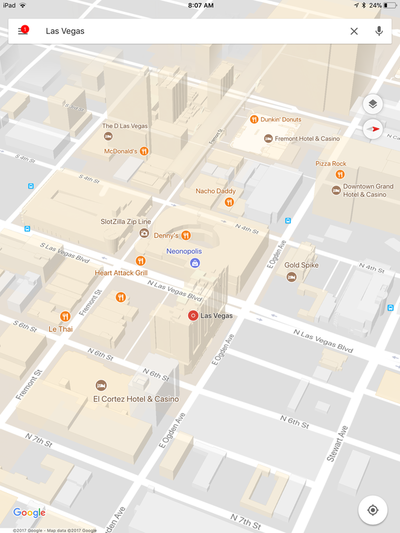
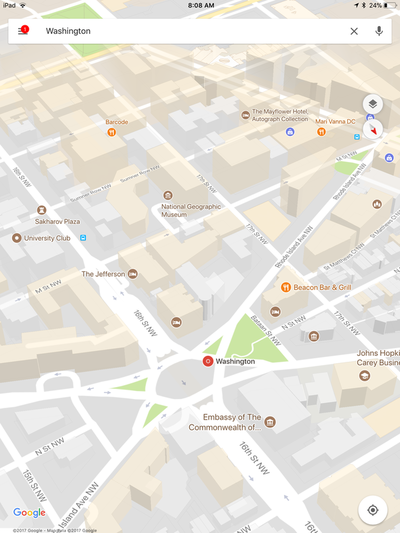
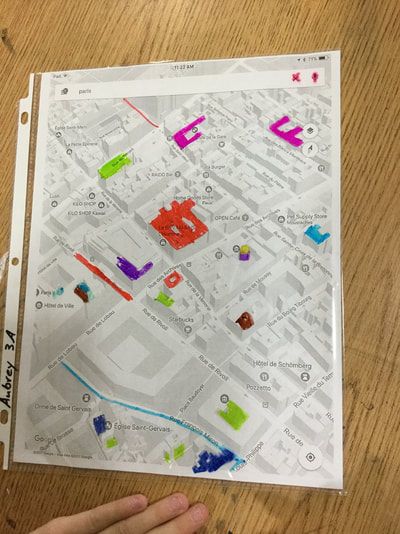
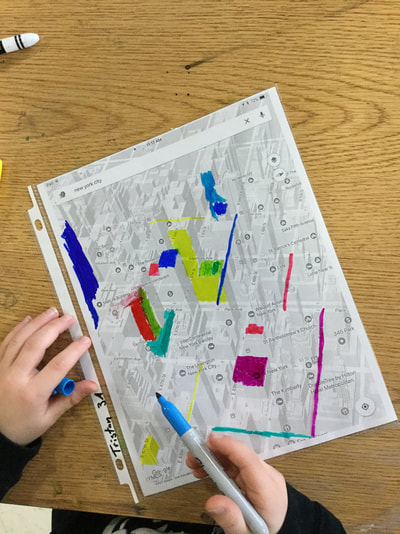
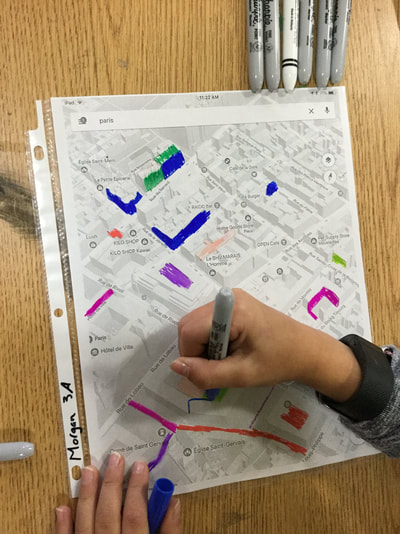
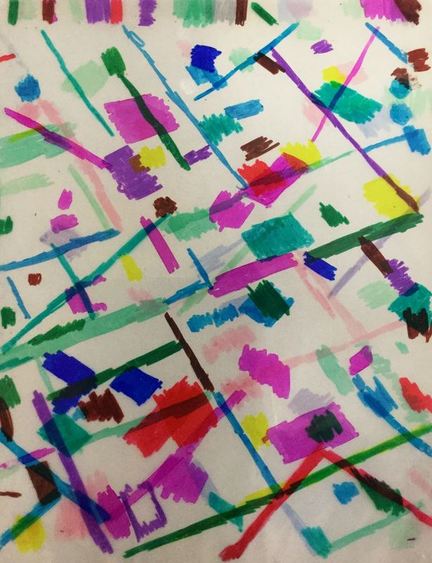
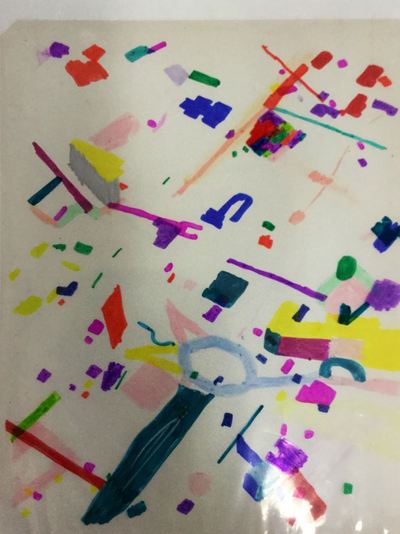
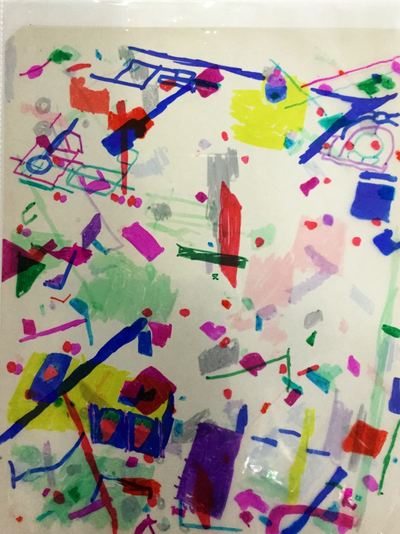
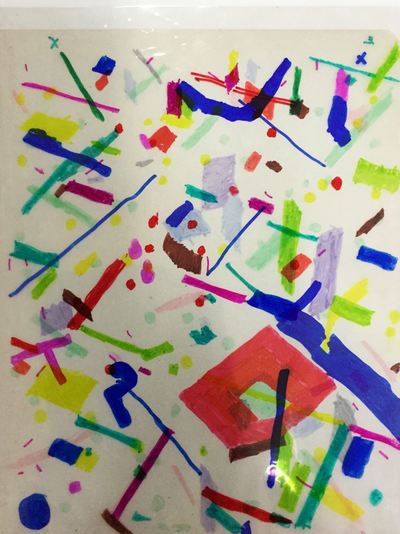
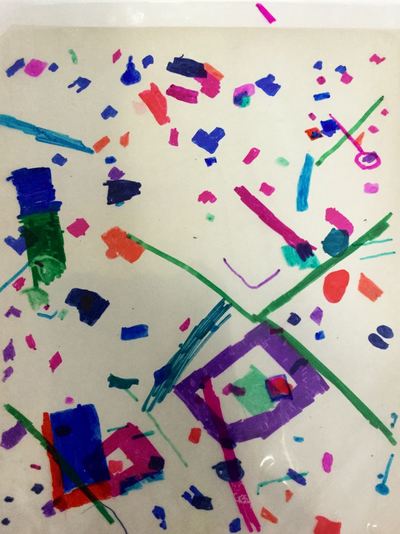
3rd grade is currently wrapping up learning about one of my favorite artists, Julie Mehretu! Each year, I give the table groups in my room a different theme and this year's theme is contemporary female artists. Julie Mehretu is one of my table groups and students have been hoping to learn about her! This project was also inspired by another art teacher who made abstractions of maps on iPads that were inspired by Mehretu. Mehretu is originally from Ethiopia but has since moved to the Michigan where she has spent most of her life. She is very inspired by architecture and chooses bits and pieces from different buildings and perspectives to paint. She also uses a lot of maps, charts, blueprints, etc in her work. She puts layer upon layer upon layer of different lines, shapes, and colors to build up her eye-catching paintings. Students were given the opportunity to choose from quite a few different maps that I had screen-shotted from Google Maps. After choosing a map, they slid their map into a see-through paper protector. Students then used sharpies to color in certain parts of the map. They could color entire buildings, parts of buildings, roads, etc. The second class, they chose a new map and slid it into their paper protectors. This time, they put it in backwards so they were working on the side of the paper protector that they didn't work on last time. They continued to color in parts of the map. The final day, students chose a final map and colored in parts of the map on a transparency sheet. While they worked, I used double-sided tape to tape their paper protector to a white sheet of paper. I did this so that their lines and shapes of color would show up better on the finished product. At the end of class, students slid their transparency into their paper protectors and this created a work of art that used 3 different layered maps.
I'm super pumped with how awesome these turned out! This has become one of my favorite projects!
0 Comments
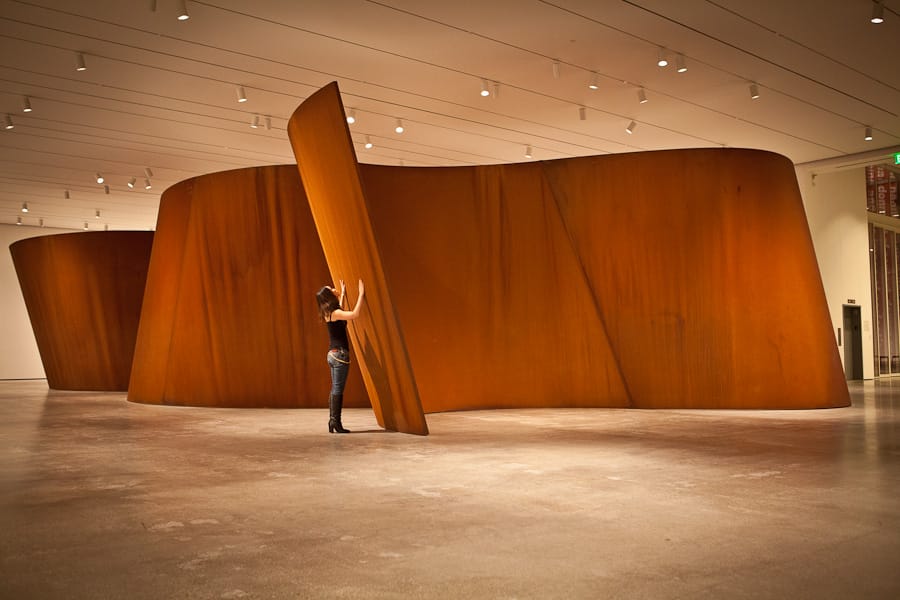
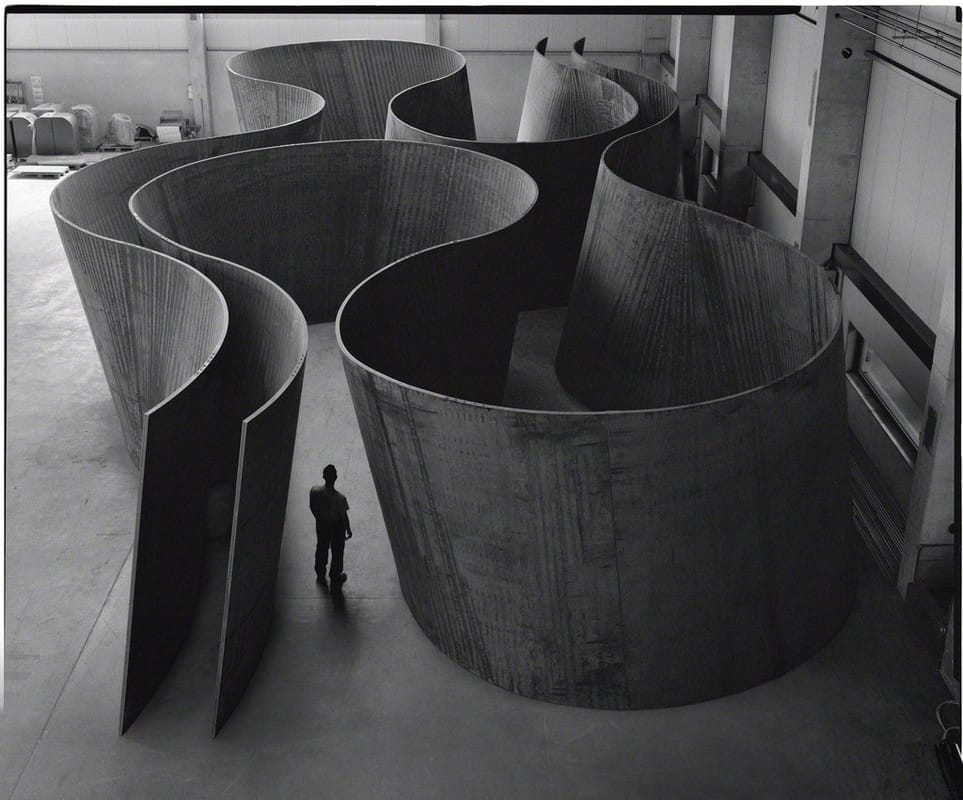
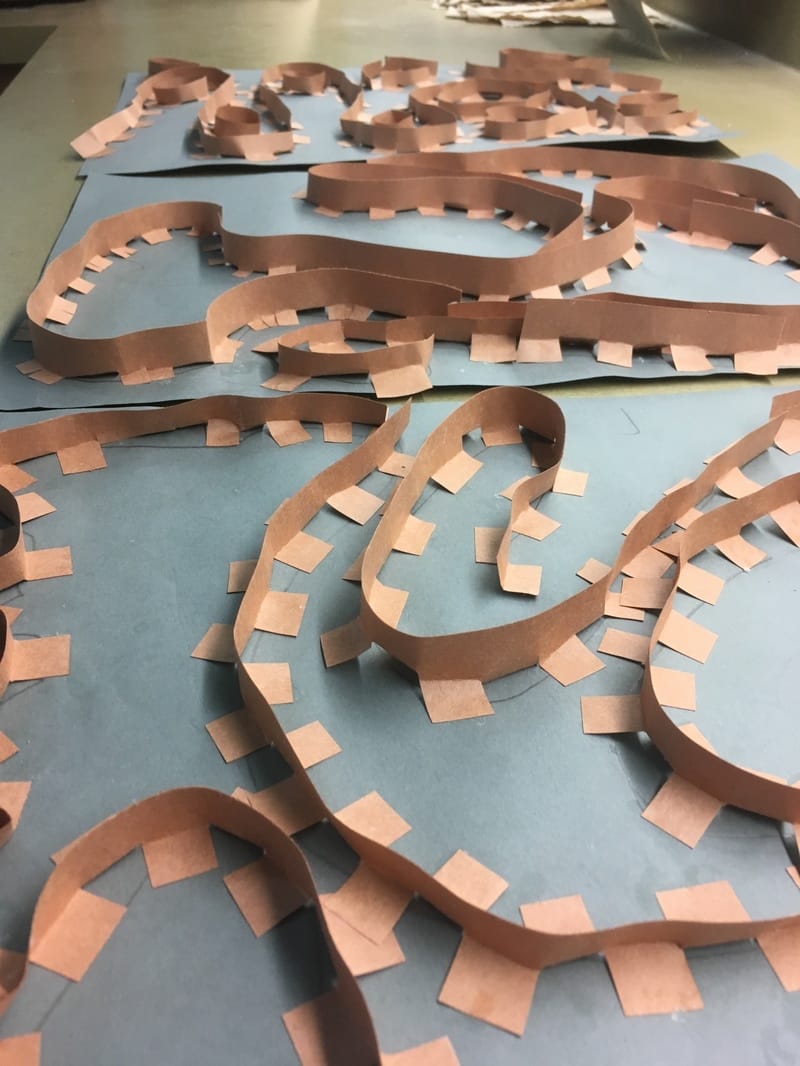
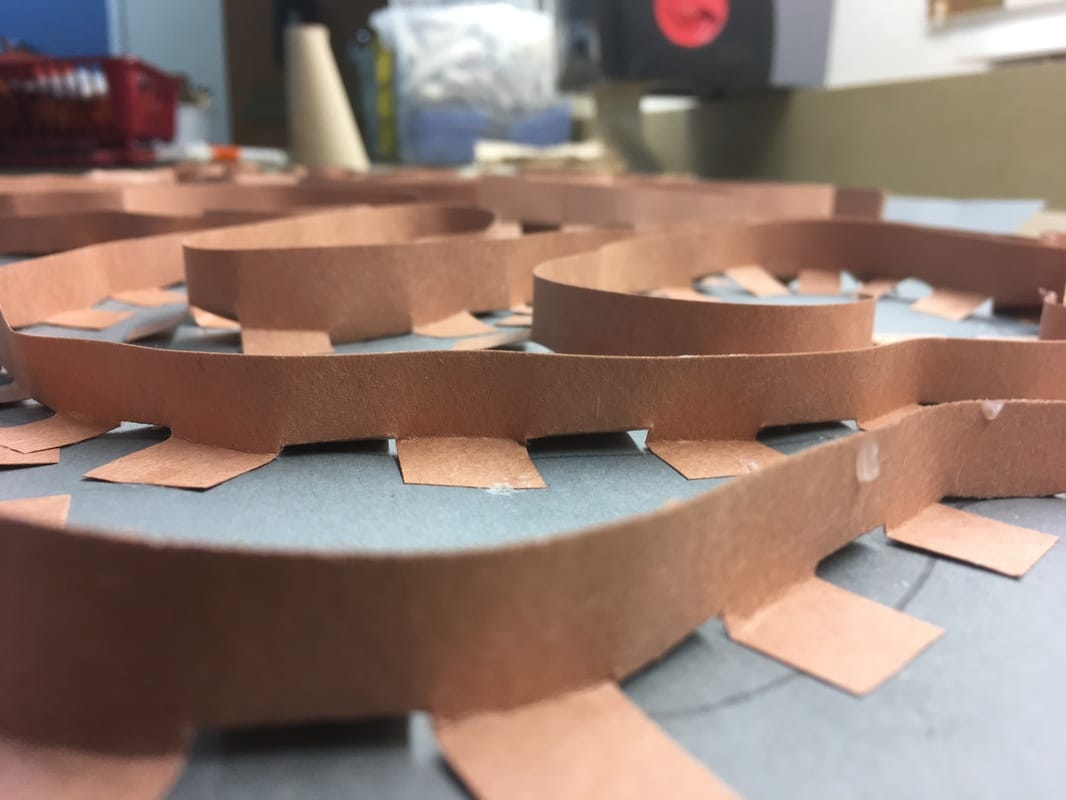
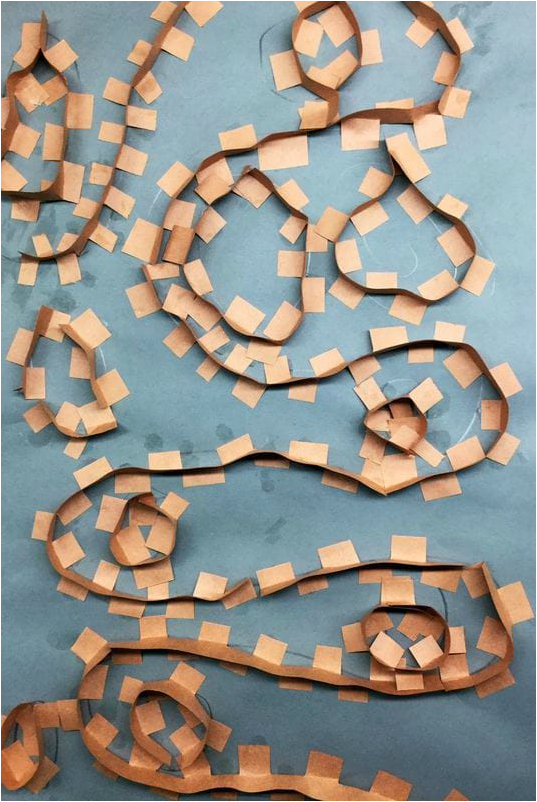
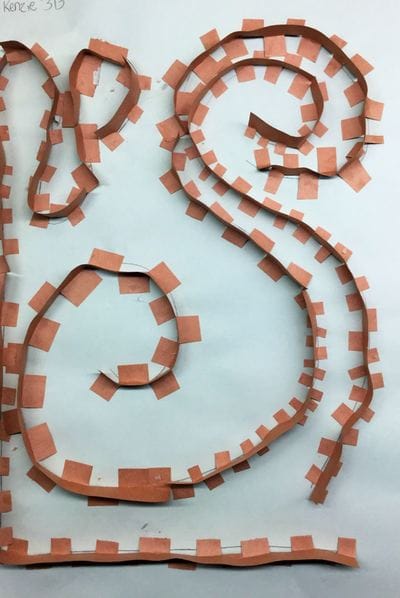
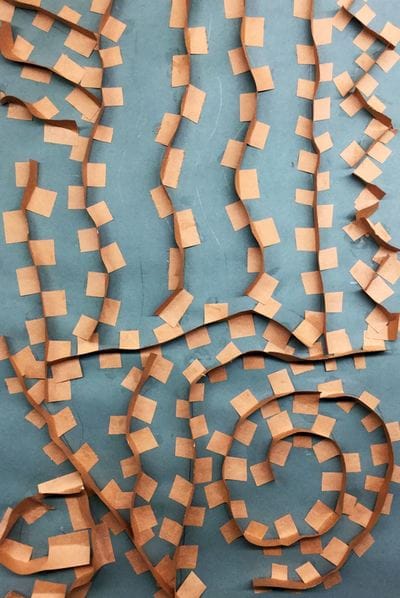
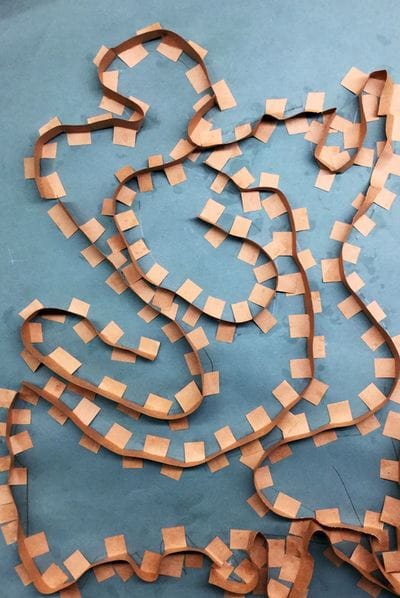
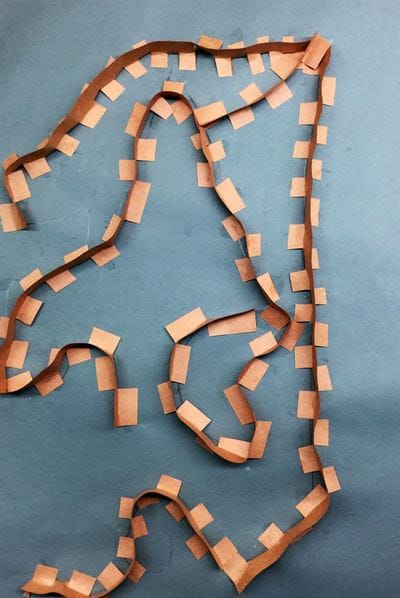
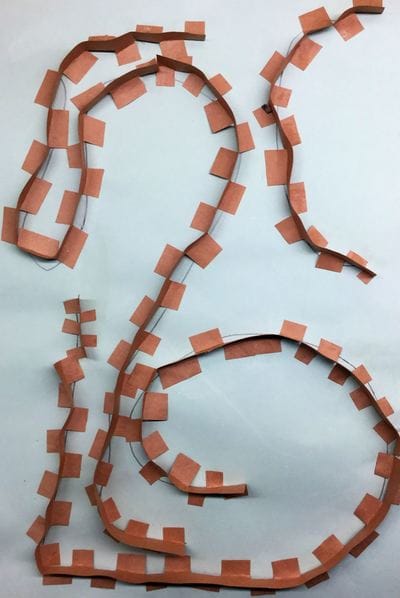
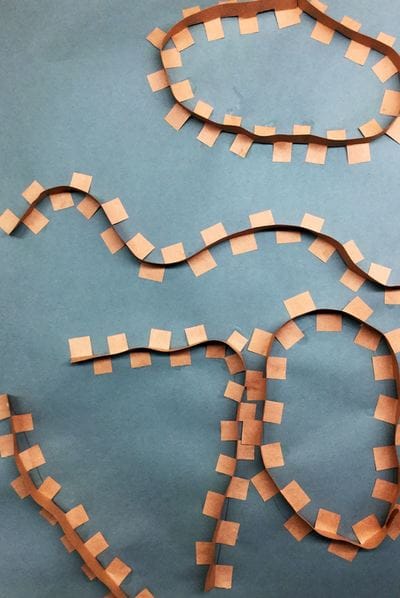
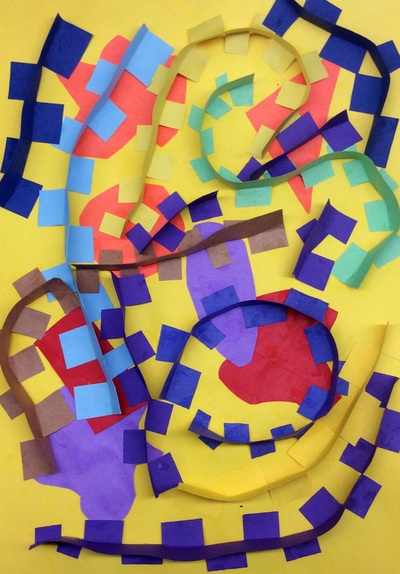
Richard Serra is an American installation artist who uses large sheets of steel to create warped walls. As a steel mill worker in college, he was influenced by the material and began to incorporate it into his work. His large walls slant at different angles with some angling over you while others angle away from you. Some walls are also close together and other areas are more open. His walls are meant to challenge a person's sense of personal space. We have talked about space as something being close or far away from us throughout this school year. This project however, we talked more about our own personal space and how those walls might change our perceptions of space. Because I didn't have this grade when they were in kindergarten and first grade, I haven't done any solid line projects with them. I like how when you can see Serra's work from above, it looks like a line design. I used this as influence to teach our artists about some different kinds of lines. After learning about Richard Serra, students created two sketches of line designs. After settling on their stronger design and getting it okay'd by me, they transferred it to a large sheet of grey paper. The 2nd and 3rd day of this project were spent adding “lines/walls” to our artwork. We did this by cutting small slits into brown strips of paper. Students then folded the tabs those slits created back and forth so that it kind of looked like a zipper. Lastly, they put a dot of glue on the bottom of each tab and glued the strip down onto their line drawings.
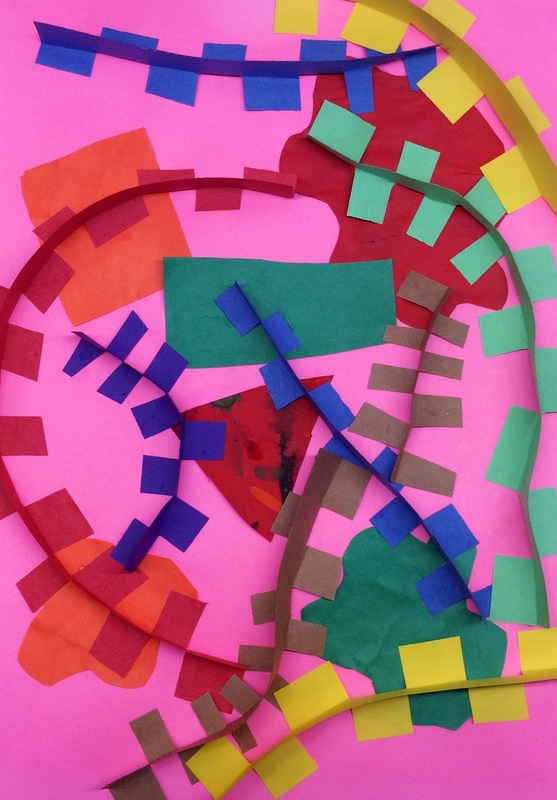
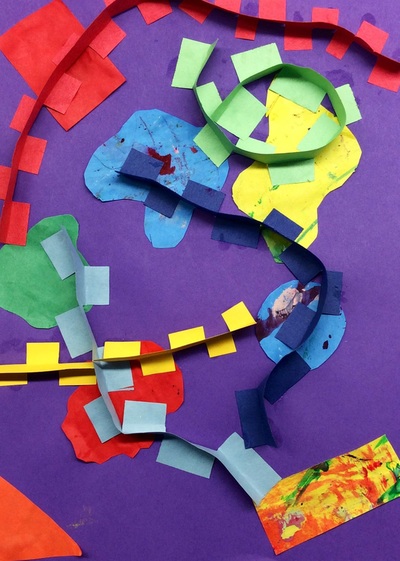
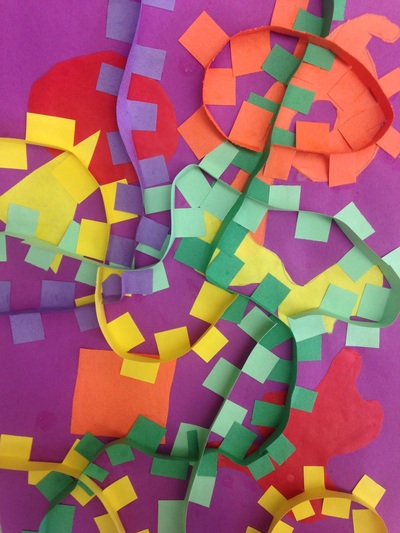
I'm blown away by these! This is one of my favorite projects this year! With spring break fast approaching, 3rd grade knocked this quick project out of the park! We super duper quickly looked at a few of Wassily Kandinsky's paintings. His paintings are a combination of various shapes and lines. This lead into a discussion about the two different kinds of shapes: organic and geometric. We also looked at and named a bunch of different lines.
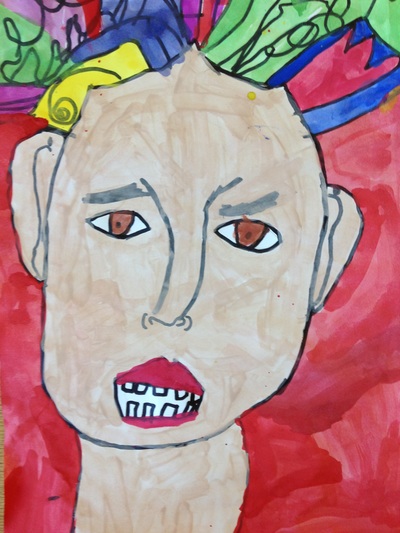
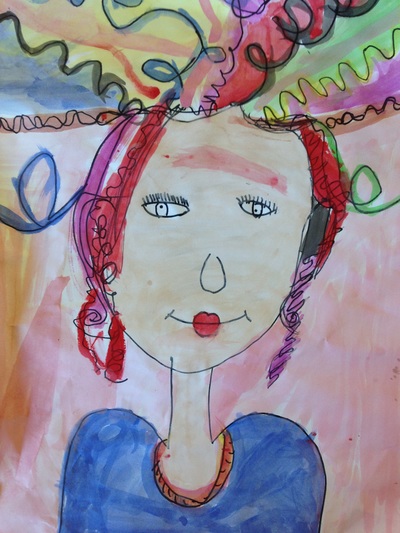
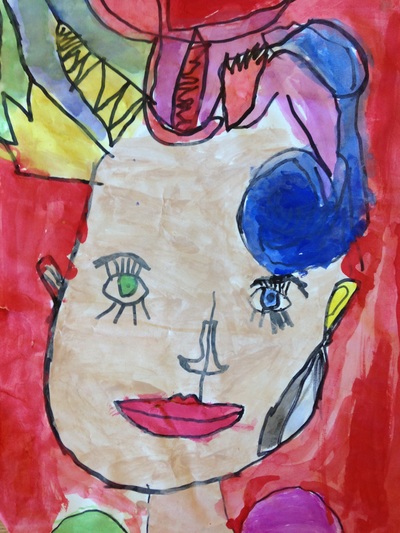
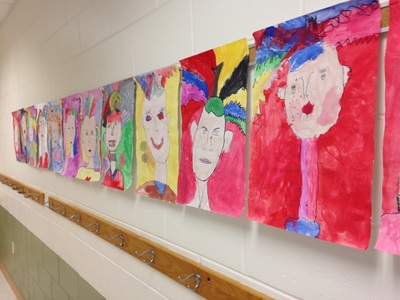
For the background, we took some of our scrap paper and made 3 organic shapes and 3 geometric. After gluing those down, we made all kinds of crazy lines! To make the lines, we took a strip of paper and cut little tabs down one side of it. Then we folded the tabs in either direction so that we could bend and curve our line easily. Students were also encouraged to intersect lines. 3rd graders had a case of the bad hair days! we started our first class with a self-portrait drawing. They were given 5 minutes to draw themselves as well as they could without my help. After their drawings, we reconvened and I taught them a few tricks to drawing faces. We talked about how our eyes are in the middle of our head, not on our foreheads (kids typically draw them this way). Then I showed them that the bottom of their nose is right in the middle of their eyes and chin. Their lips are a third of the way down from their nose to their chin. Our ears connect next to our eyes and at the bottom of our nose. And of course we needed to put our head on a neck and shoulders. We made sure that our neck was thick enough to hold up our big brains! After that, students set to work drawing their own self-portraits. They were AMAZED at how much better their drawings were after that quick lesson.
For the second class, we continued drawing. I showed them how to draw crazy hair by drawing different types of lines from my head out to the edge of my paper. I let them draw themselves with short hair but found that that was confusing for a lot of kids and then they were left with a big white background. For future reference, I think I would have the students all draw long hair that takes up the entire page. When they finished drawing, they began tracing their self-portraits with sharpies. Lastly, they erased their pencil lines. For the last couple classes, they painted with tempera cakes. I'm a sucker for tempera cakes! Can't get enough of them. Tempera cakes are small disks made of dried up tempera paint. They act like a watercolor, requiring a wet brush to activate the paint. After they finished painting, they filled out a "2 Stars and a Wish" form. This is a worksheet that I use to invoke self-critique. I ask the students to write about two things that they think they did well in their artwork and one thing that they wish they could improve upon. This is a great activity because it requires reflection, as well as strengthening their literacy skills. |
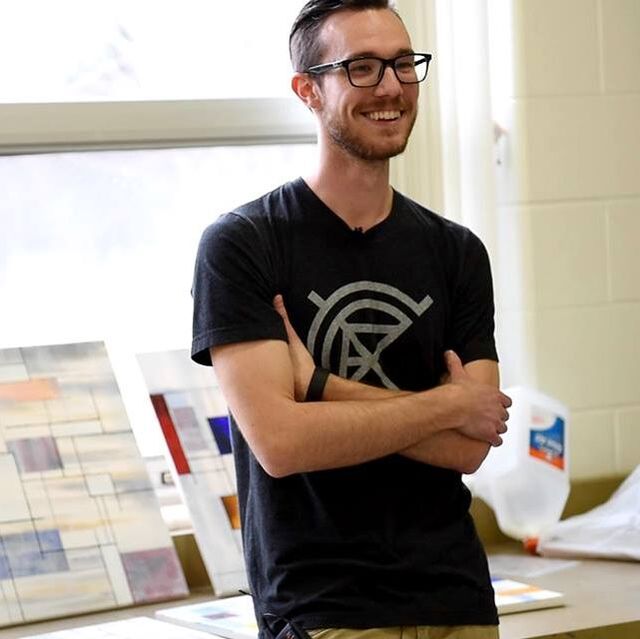
Devon CalvertHarmony and Consolidated Elementary Art Teacher in Milton, WI. UW-Eau Claire graduate. WAEA President. Apple Teacher. Archives
March 2019
Categories
All
|

 RSS Feed
