|
Here is the link to my Youtube playlist that has all of my demo videos as well as other supporting videos.
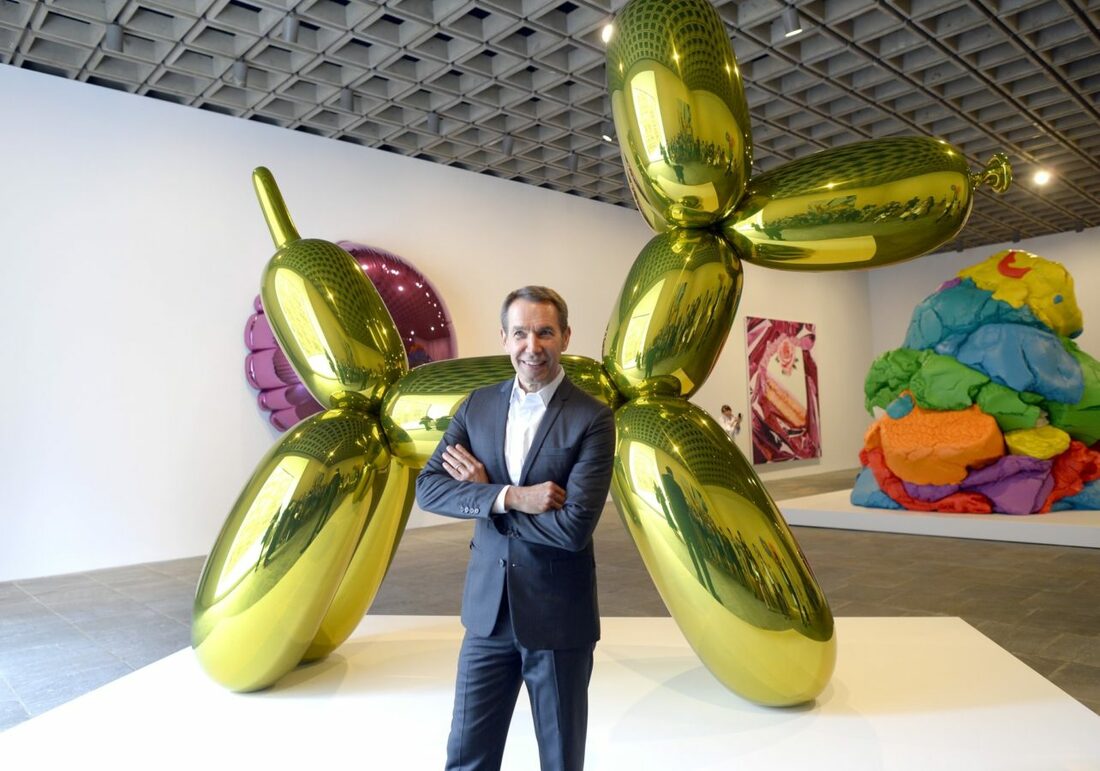
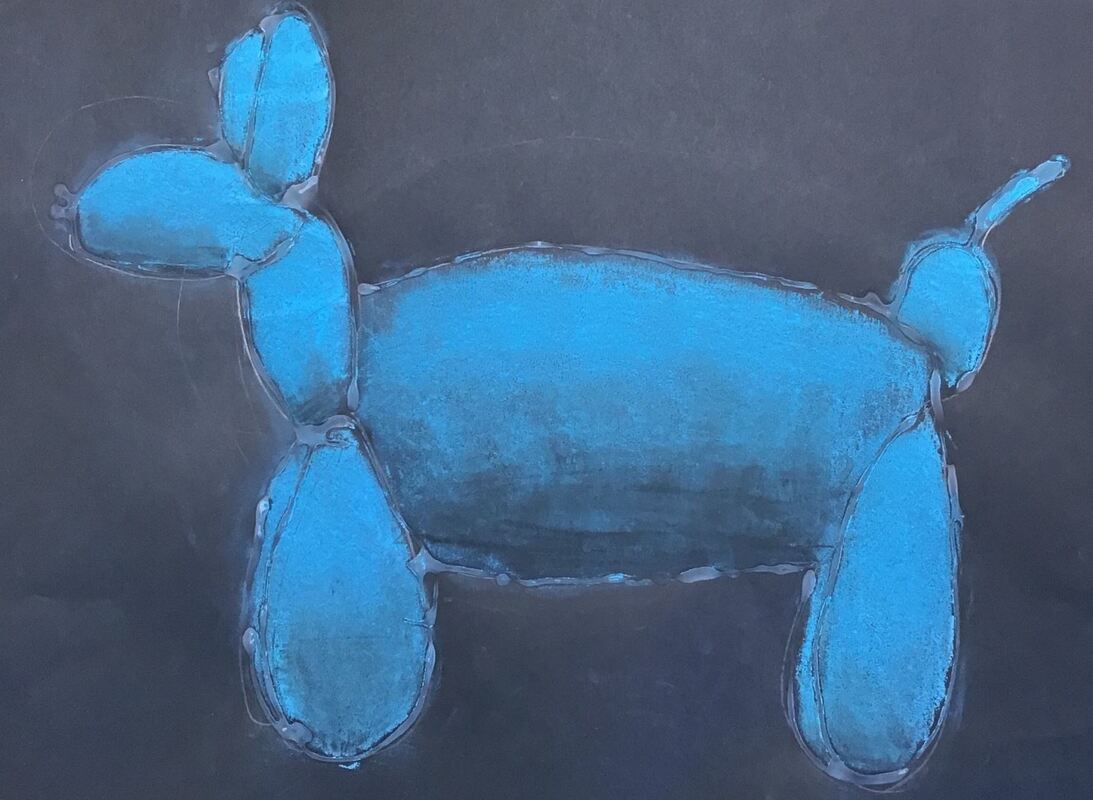
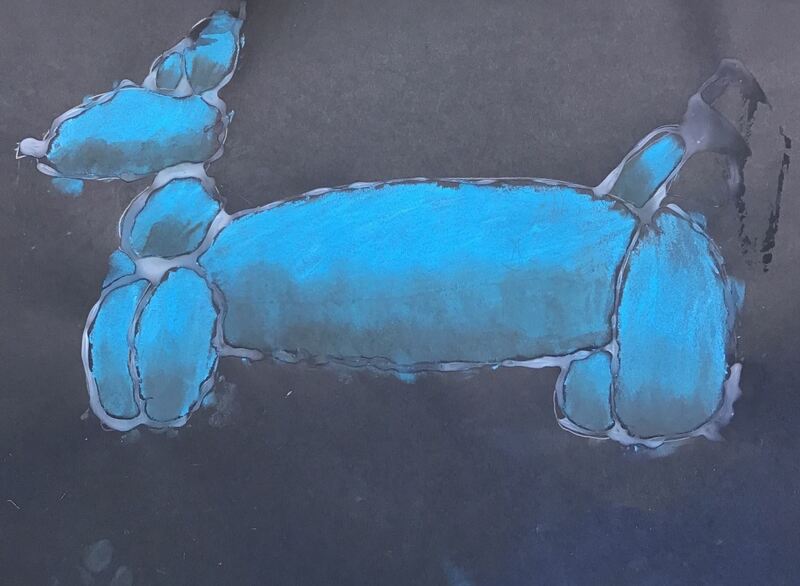
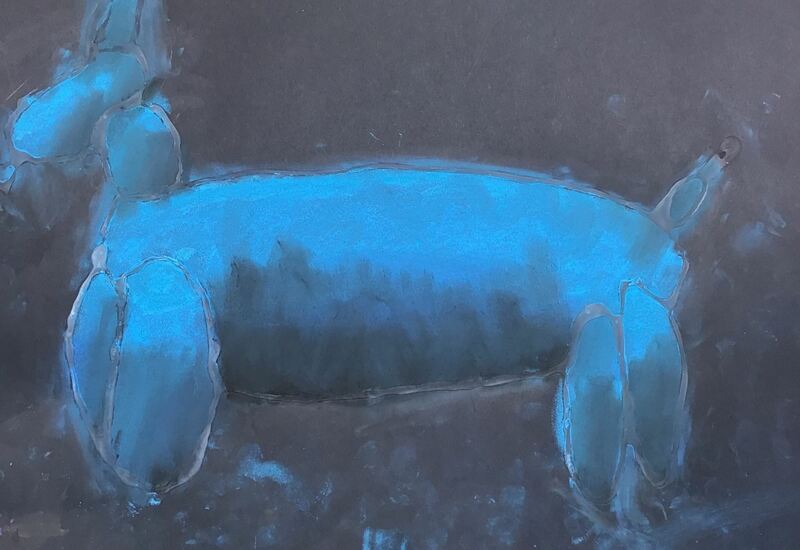
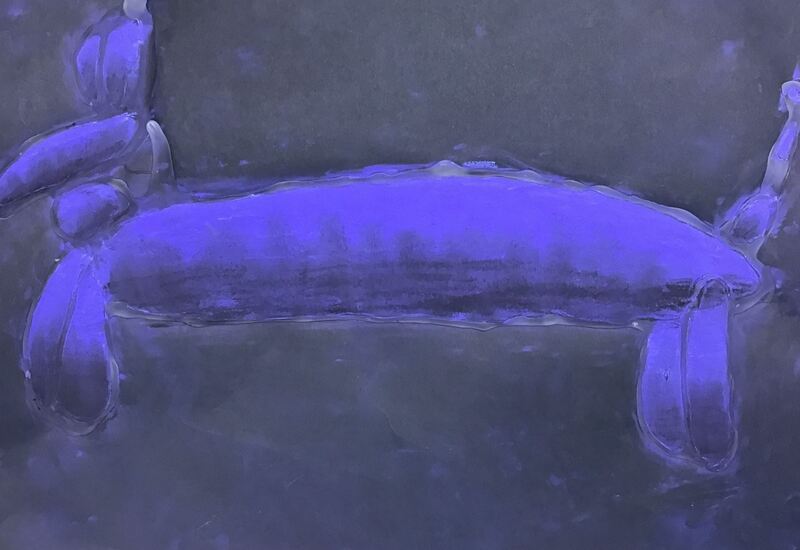
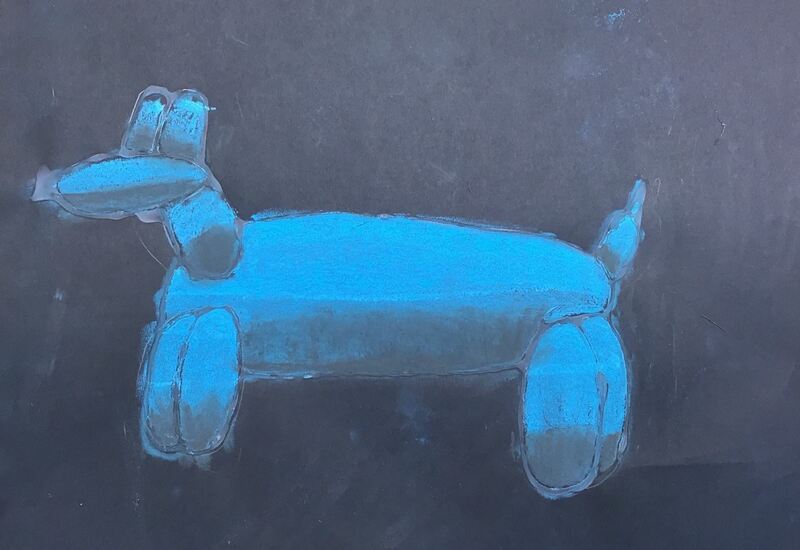
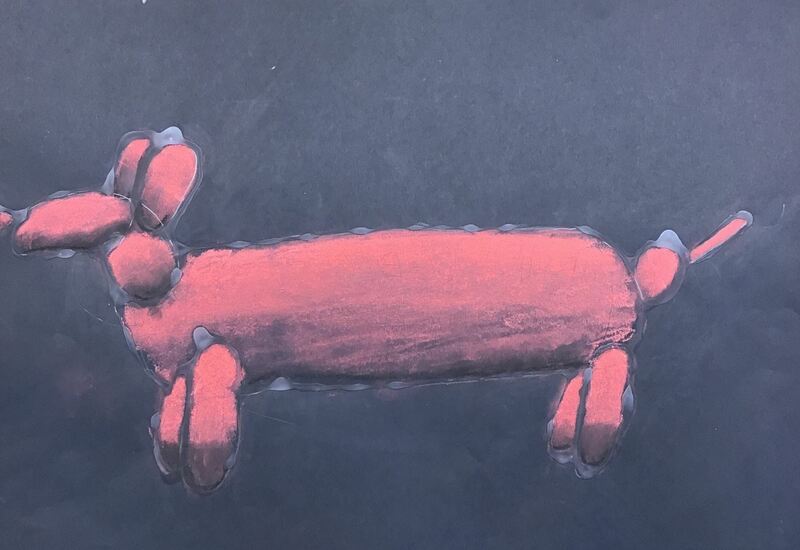
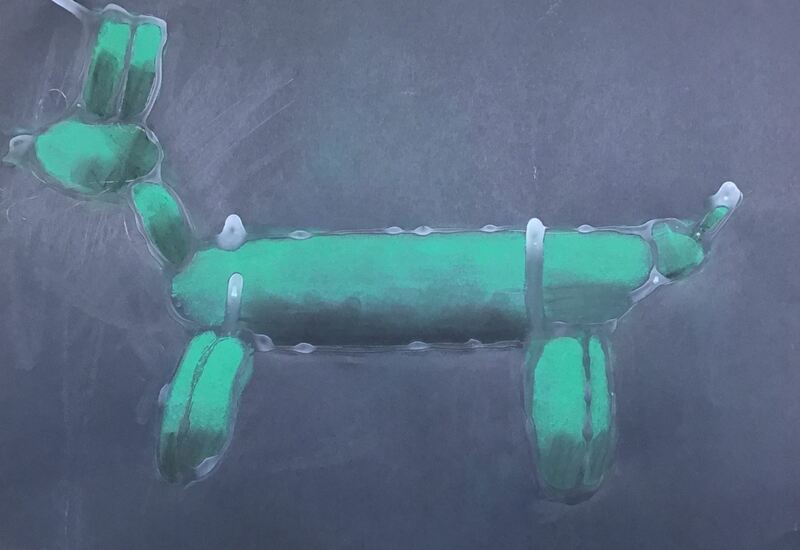
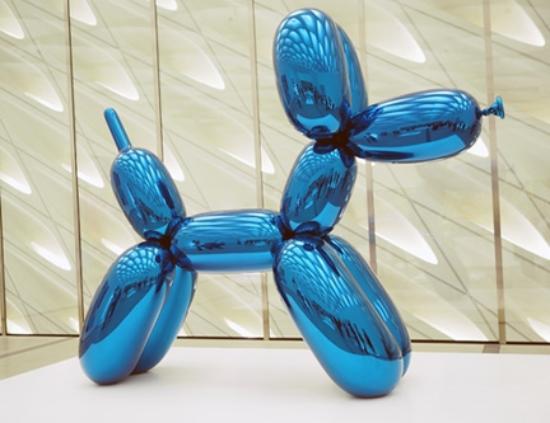
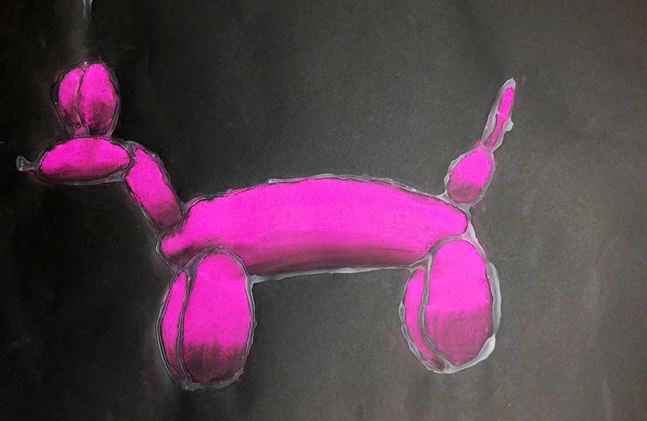
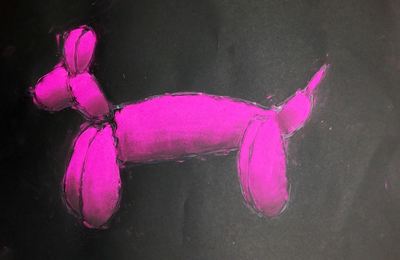
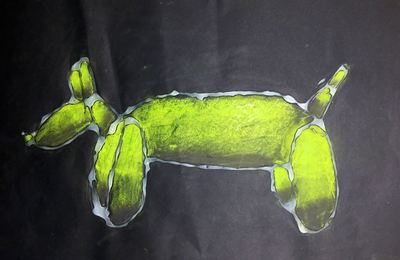
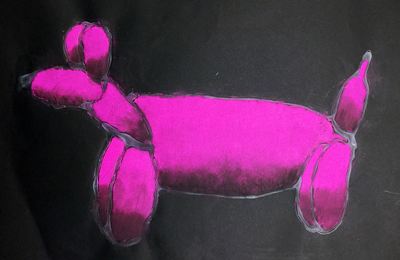
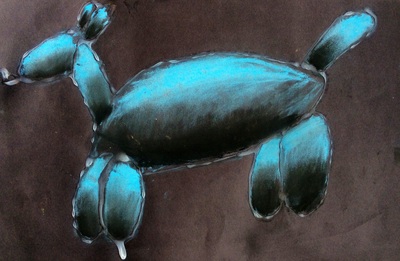
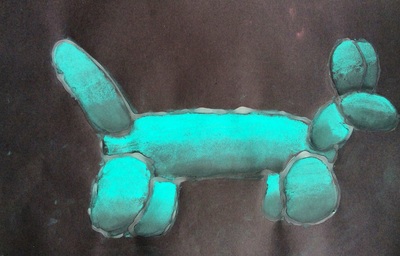
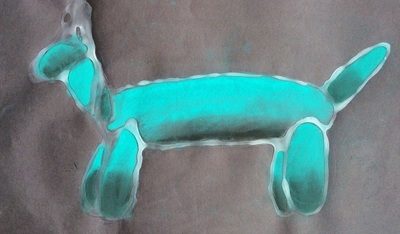
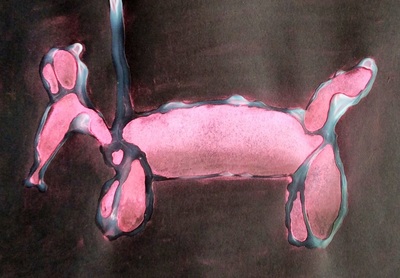
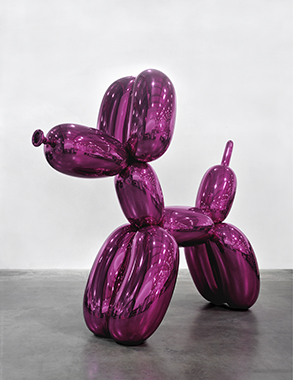
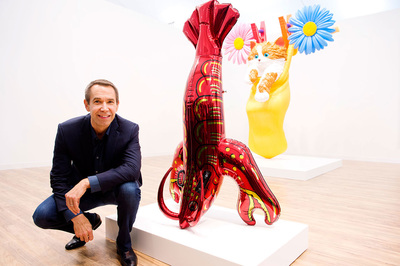
We looked at Jeff Koons' work. Koons is an American Post-Pop artist. He is most well-known for his large reflective sculpture balloon dogs. Most of his sculptures use a reflective surface. He likes how the reflective surface changes the way you perceive the area around you by warping and distorting the room on its shiny shell. He depicts objects that are popular in pop culture such as balloon animals, Popeye, and pool inflatables. His sculptures are highly rendered, down to the subtle creases along the seems of his metal pool inflatables. I find his balloon dogs particularly interesting because they toy with the idea of life and death. When something is full of air/breath like a human or a balloon, the item is thought to have life. But when those things run out of air, they become deflated or lifeless. By creating balloon dogs out of metal, they lose their ability to deflate making them immortal. The kids were amazed that he is the second richest living artist and is worth $500 million. We did an observational drawing of a balloon dog inspired by Koons. To do this, we had to learn to break the dog's shape down into different sized ovals. After drawing it, we then traced over our lines with glue then left them to dry on the drying rack. For the second day of the project, we talked about form. Typically, we talk about form as being something that is 3D but it can ALSO be something that has the illusion of being 3D. To do this, we would need to add shadows and highlights to our dogs. We chose a color and LIGHTLY chalked the various sections of our dog. The glue lines help to contain the chalk and the chalk also wipes off of the glue lines easily at the end of the project. They gently blended the chalk and then re-chalked it, making sure not to chalk quite to the bottom this time. Then smoothed and chalked again, going even less far down on the dog. By going over parts of the dog over and over, it creates a bright spot on the dog called a highlight. This gives the illusion that the sun/light is hitting that part of the dog. Lastly, we added a touch of black opposite of the highlight to give the dog some shadows. By adding highlights and shadows, our dogs now looked like they were 3D or had form.
4 Comments
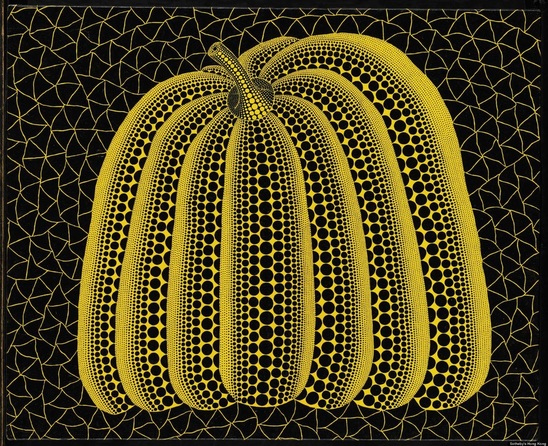
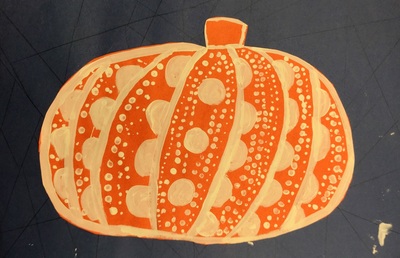
Here are the details from the Kusama project that I've done in the past.
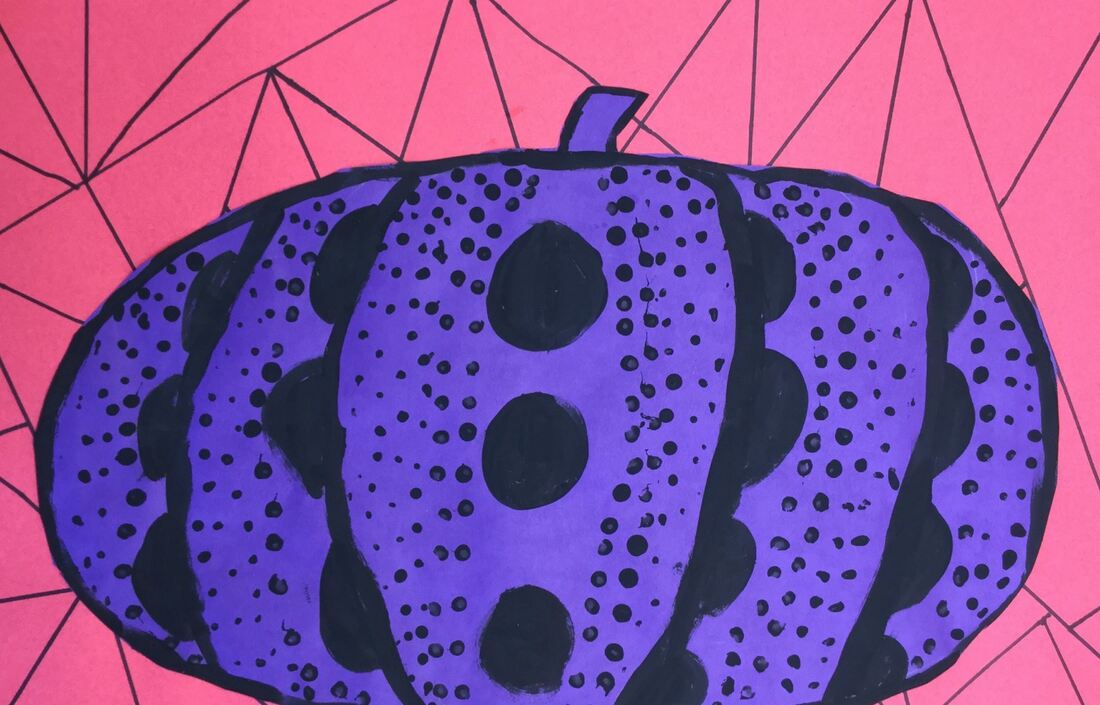
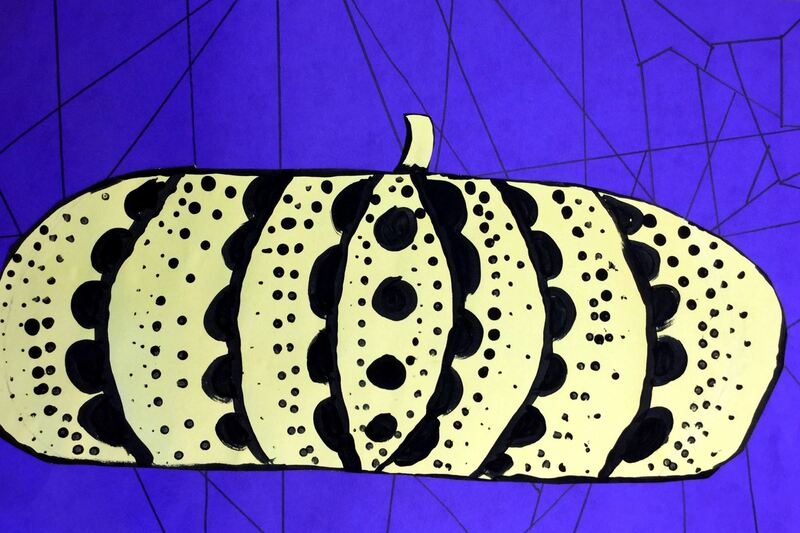
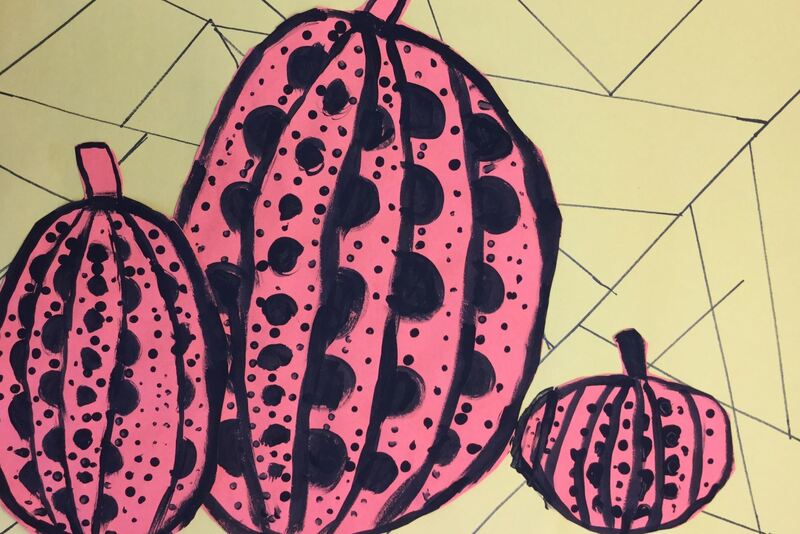
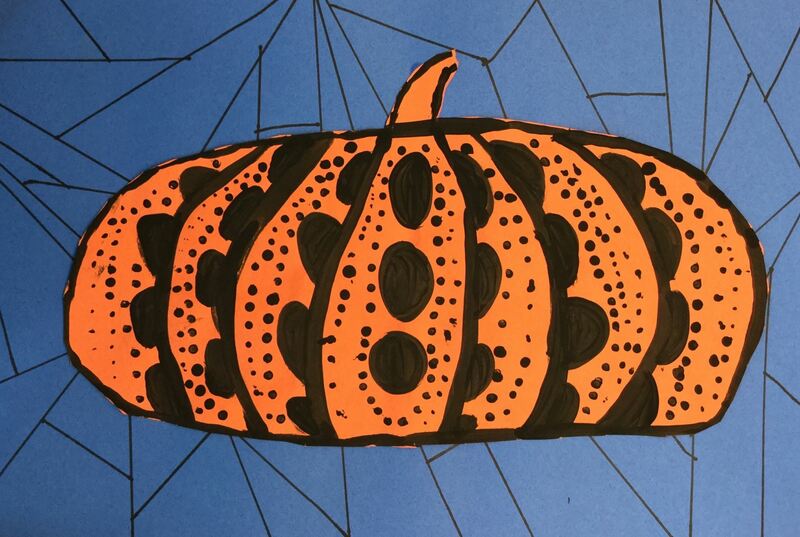
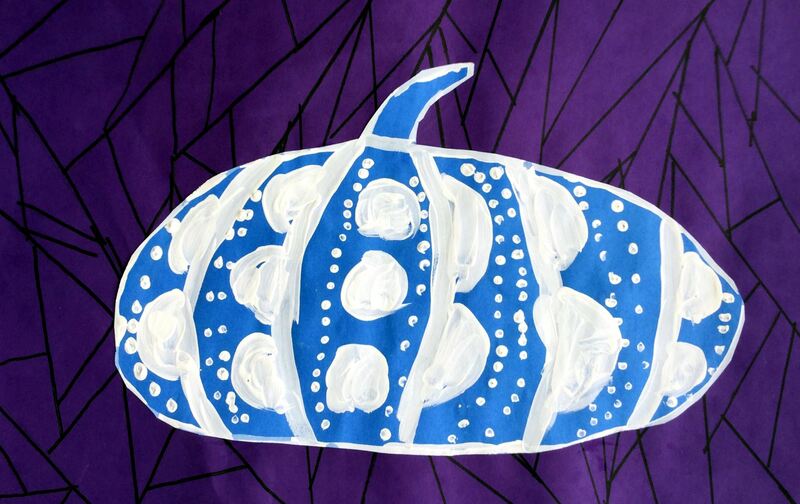
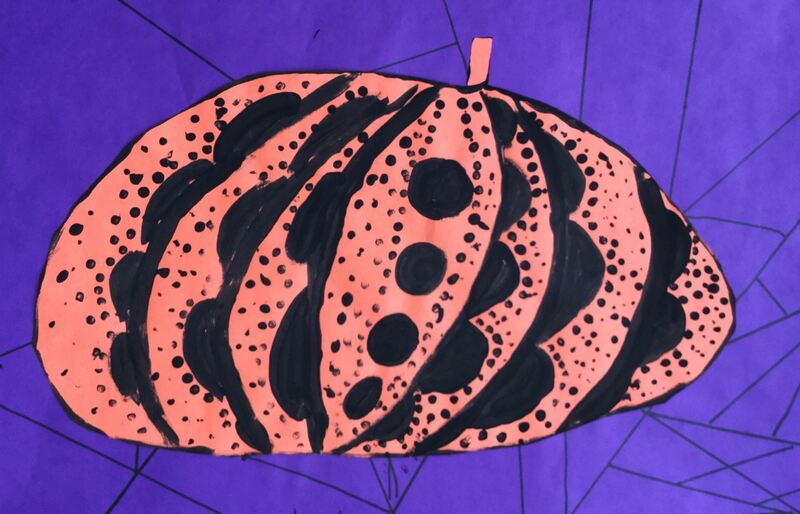
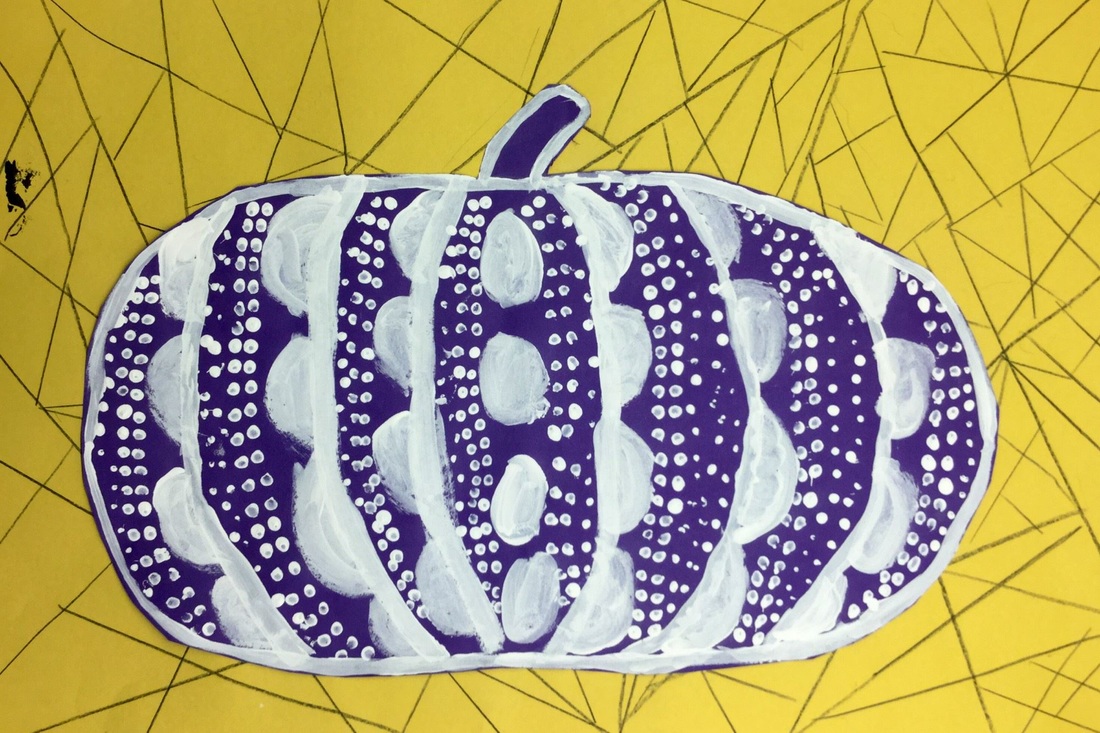
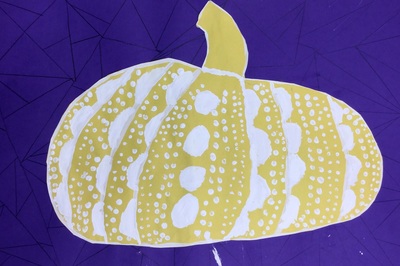
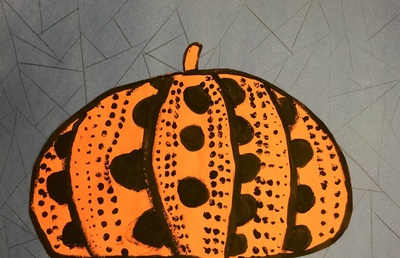
Also, here is a link to my youtube playlist that has all of my demo videos and other videos that I show. Enjoy the pictures from this year! I switched it up just slightly this year and had students use sharpies from the background instead of black colored pencils. I like how much better the lines show up with the sharpies. I also didn't ask students to use complementary colors this year. I'm thinking next year we might try to make paper mache pumpkins instead?! We looked at Jeff Koons' work. Koons is an American Post-Pop artist. He is most well-known for his large reflective sculpture balloon dogs. Most of his sculptures use a reflective surface. He likes how the reflective surface changes the way you perceive the area around you by warping and distorting the room on its shiny shell. He depicts objects that are popular in pop culture such as balloon animals, Popeye, and pool inflatables. His sculptures are highly rendered, down to the subtle creases along the seems of his metal pool inflatables. I find his balloon dogs particularly interesting because they toy with the idea of life and death. When something is full of air/breath like a human or a balloon, the item is thought to have life. But when those things run out of air, they become deflated or lifeless. By creating balloon dogs out of metal, they lose their ability to deflate making them immortal. He is a highly controversial artist who uses around 130 "assistants" to produce his ideas. The kids were amazed that he is the second richest living artist and is worth $500 million.
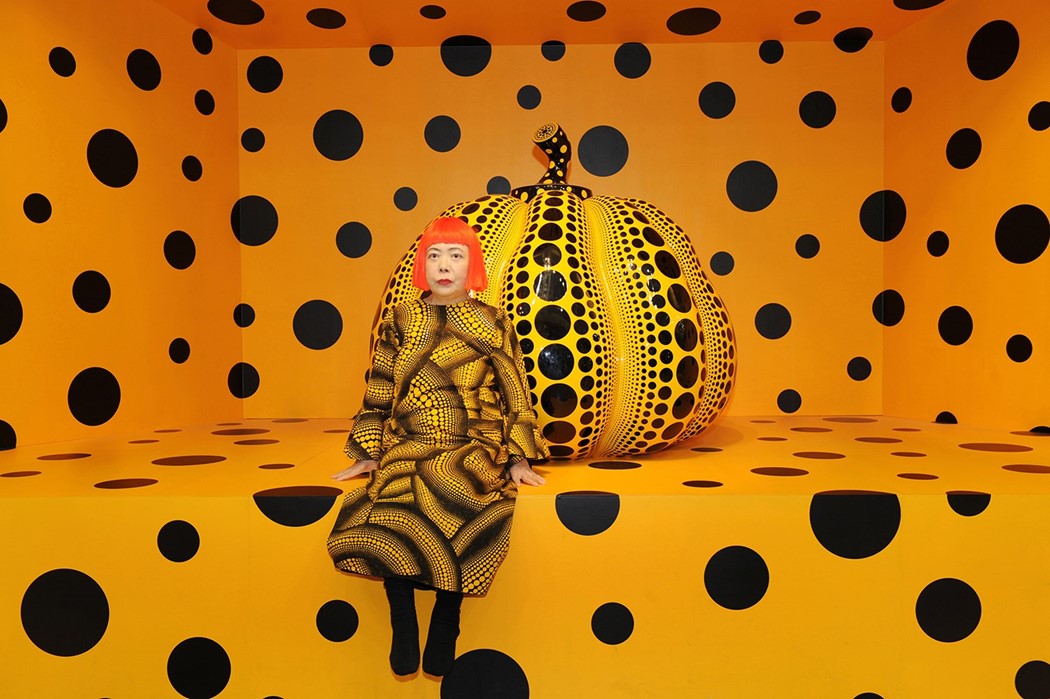
We did an observational drawing of a balloon dog inspired by Koons. To do this, we had to learn to break the dog's shape down into different sized ovals. After drawing it, we then traced over our lines with glue then left them to dry on the drying rack. For the second day of the project, we talked about form. Typically, we talk about form as being something that is 3D but it can ALSO be something that has the illusion of being 3D. To do this, we would need to add shadows and highlights to our dogs. We chose a color and LIGHTLY chalked the various sections of our dog. The glue lines help to contain the chalk and the chalk also wipes off of the glue lines easily at the end of the project. They gently blended the chalk and then re-chalked it, making sure not to chalk quite to the bottom this time. Then smoothed and chalked again, going even less far down on the dog. By going over parts of the dog over and over, it creates a bright spot on the dog called a highlight. This gives the illusion that the sun/light is hitting that part of the dog. Lastly, we added a touch of black opposite of the highlight to give the dog some shadows. By adding highlights and shadows, our dogs now looked like they were 3D or had form. To get into the fall/Halloween spirit, we studied the Yayoi Kusama's pumpkins. She doesn't just do paintings of pumpkins but even paints polka dots onto physical pumpkins! Kusama is a pop artist originally from Japan. She is known as the "Princess of Polka Dots" due to her obsession with them. As a child, she had a hallucination in which she saw a field of flowers except that the flowers had been replaced by polka dots. Since then, they have become an integral part to her work. While looking at her painting, students noticed that the pumpkin seemed as if it was 3D because of the various sized polka dots. We talked about how these polka dots created the illusion that the pumpkin had form.
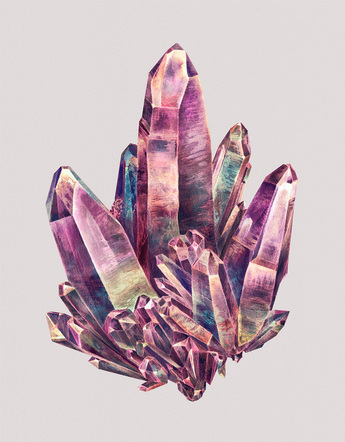
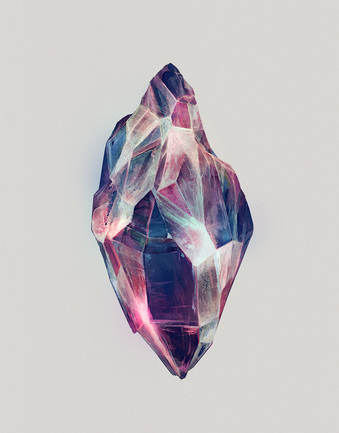
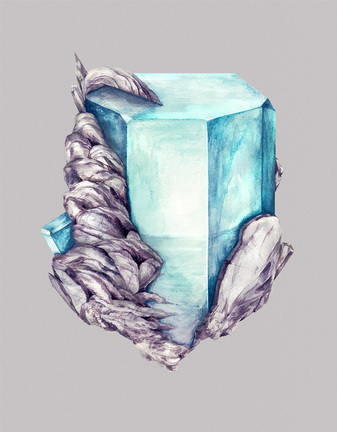
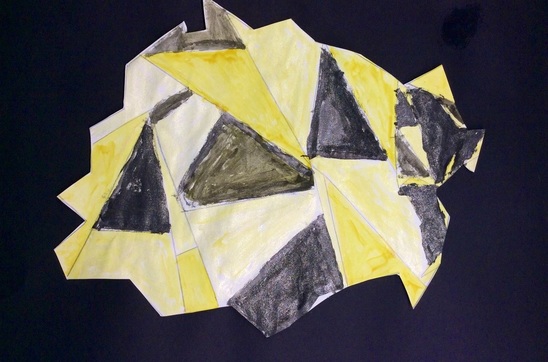
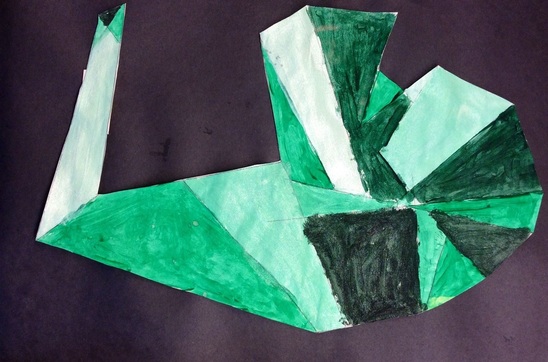
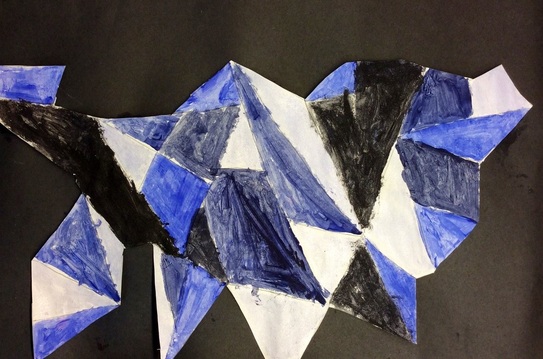
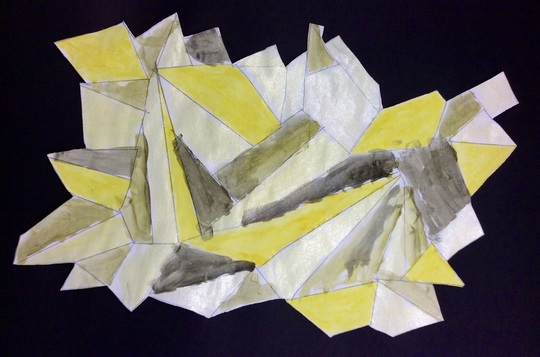
The first day of class we used a ruler as a straight edge to divide our background paper into geometric shapes. Students then drew a large pumpkin onto the complementary color of their background. The second day, we outlined our pumpkins with either black or white. Then we added large polka dots to each section of the pumpkin. The last day, we cut and glued our pumpkin to the background. Then students created rows of polka dots with a q-tip and lastly they used the backend of their brush to add more dots. Using the q-tip and back of the brush created more variations in polka dot sizes. With 3rd grades recent trip to Cave of the Mounds and all of their learning about rocks and minerals, I thought it would be cool to do a project based on minerals. We looked at Karina Eibatova's work for influence. Karina is a young Russian artist who moved from Russia to Sweden when she was 19. While in Sweden, she drew upon nature as inspiration for her works. While she depicts a variety of things from nature, I was really drawn to her mineral series. We got the project rolling by looking at the shapes seen in minerals. They are made of geometric shapes due to the chemical make-up of the mineral. We used this knowledge and a ruler as a straight edge to draw an angular shape. Then we drew lines inward from each point along the edge to break the shape up into triangles and other polygons. I really emphasized holding the ruler still while drawing so that all of their lines were nice and straight. We finished off the day by picking one color and painting about a third of the shapes in our mineral with it.
For the second day, we talked about value and how it can be used to create form. The students had already unknowingly used form on their chalk drawings of Jeff Koons' balloon dog. I introduced them to tints and shades and talked about how tints are lighter and look like light is hitting the mineral. Shades are darker and look like they are shadows on the mineral. We practiced mixing tints this class and placed them onto a value scale, showing a range of tints. I collected all of these strips of value scales and am in the process of putting them together into a big collaborative project. After finishing their practice value scale, they mixed tints and added them to their mineral. You can bet that we used sparkle paint to add a bit of shine to our minerals! For the third day, they did the same as the second, except they worked with shades this time. Students finished painting on this day. The last day, we cut out our mineral and glued chunks of cardboard to the back of it before gluing it onto a black background. Because the students didn't have much to do this day, I introduced them to the installation artist, Olafur Eliasson. While the students will not be directly making a project about Olafur, their collaborative project made from all the value scales will be based on one of his works. This is a project that I got from Don Masse over at his blog: shinebritezamorano.com I really like Don's use of contemporary artists with his students.
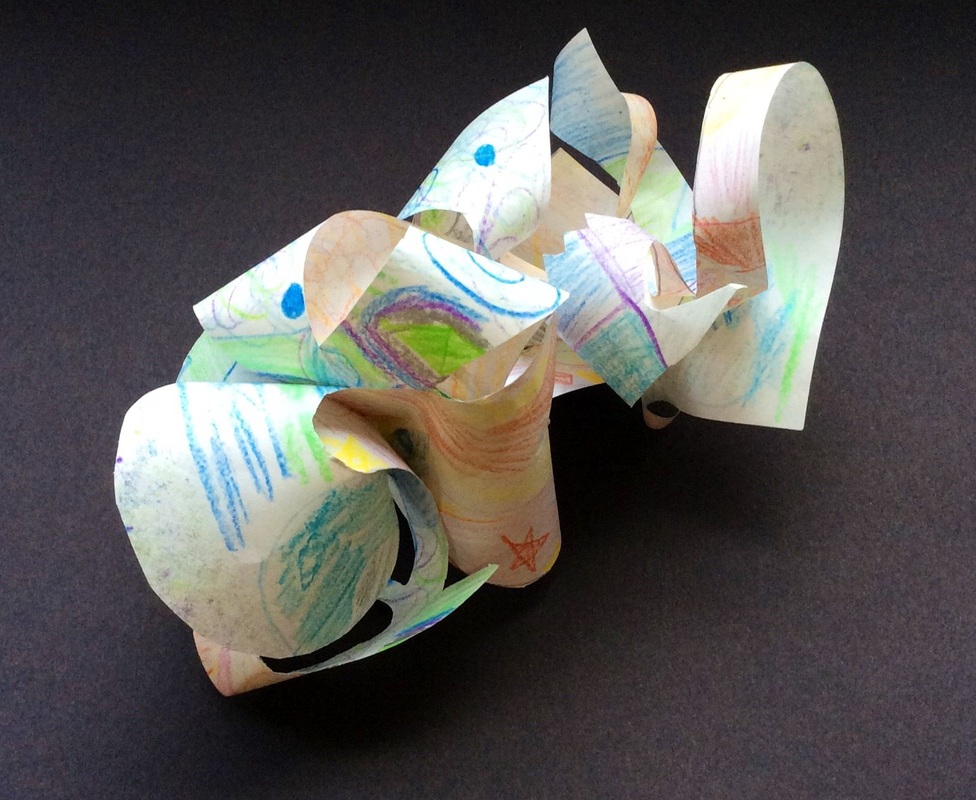
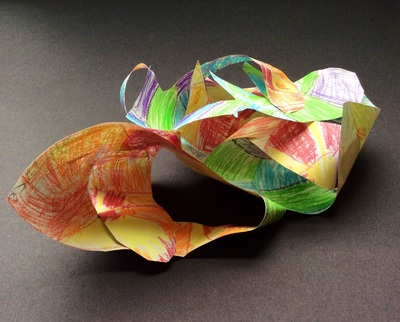
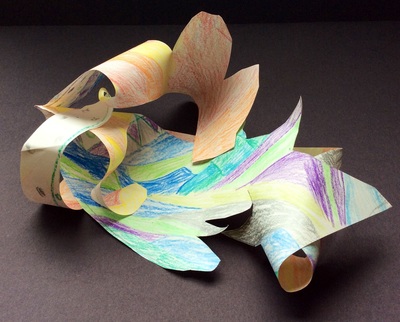
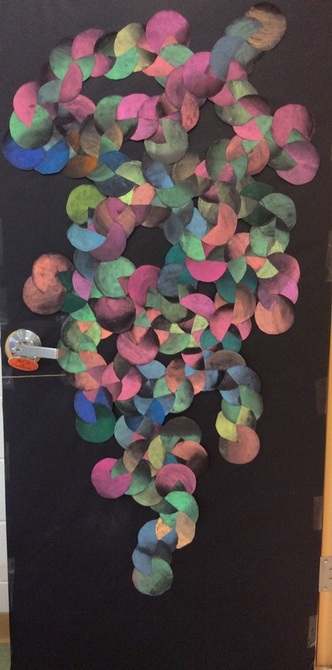
Forms again!!!!!! We've really been hammering form a lot lately. Form is when something is 3D or has the appearance of being 3D. First we made our 3D paper mache dogs which have form. Then we did our chalk drawings of the paper mache dogs and made them look 3D. For this project, we manipulated a 2D piece of paper into something that was 3D. We we looked at Frank Stella's work. Frank is a living American artist known for his minimalist style, most notably his paintings. However, we really focused on his sculptures which look like sheets of metal that have been twisted and turned into sculptures. For this project, we talked about the difference between warm and cool colors. Warm colors appear to be active and seem closer to us while cool colors are perceived as looking further away. They used warm colors to create designs on one side of a sheet of paper and they used cool on the other. This creates contrast for when we twist and turn our sculpture later on in the project. After they finished coloring one side warm and the other side cool they drew and then cut a line that started somewhere on the inside of their paper and only touched the edge of the paper once. This created a long goofy looking strip of paper. Lastly, they twisted and turned and glued parts of their paper together to create forms. These turned out super cool! This was a quick extension project. As students were finishing up their chalk drawings of their balloon dogs, I taught them how to make a circle look like a sphere. This was once again building on their knowledge of form. We've really been hammering form a lot in class. I probably should've started with this quick project because it is MUCH easier to add form to a circle than it is to a balloon animal drawing. We turned our circles into spheres by adding highlights (bright spots) and shadows. I like to use chalk when working with form because it blends so easily which makes it a bit easier to produce form. Each student made two spheres and then cut them out. I then cut a slit into each circle and interlocked them together to create a large 3rd grade collaborative project. It looks great on my classroom door right now!
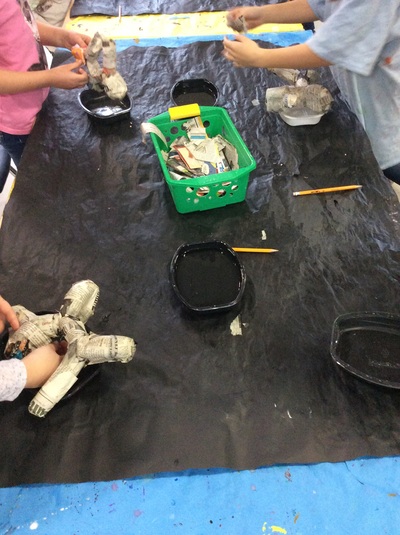
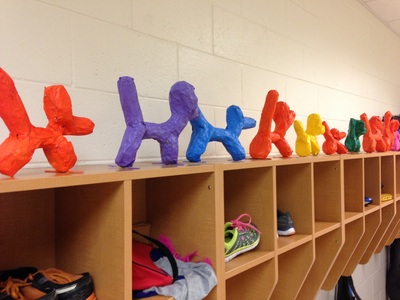
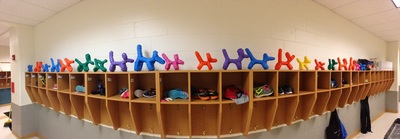
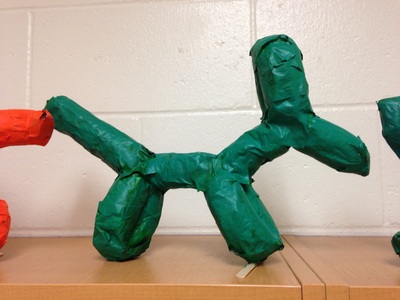
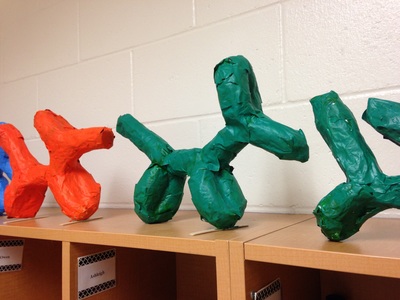
For the second part of this project we did an observational drawing of our balloon dog. To do this, we had to learn to break the dog's shape down into different sized ovals. After drawing it, we then traced over our lines with glue then left them to dry on the drying rack. For the second day of the project, we talked about form again. Typically, we talk about form as being something that is 3D but it can ALSO be something that has the illusion of being 3D. To do this we would need to add shadows and highlights to our dogs. To do this, we chose a color and LIGHTLY chalked the various sections of our dog. The glue lines help to contain the chalk and the chalk also wipes off of the glue lines easily at the end of the project. They gently blended the chalk and then re-chalked it, making sure not to chalk quite to the bottom this time. Then smoothed and chalked again, going even less far down on the dog. By going over parts of the dog over and over, it creates a bright spot on the dog called a highlight. This gives the illusion that the sun/light is hitting that part of the dog. Lastly, we added a touch of black opposite of the highlight to give the dog some shadows. By adding highlights and shadows, our dogs now looked like they were 3D or had form. This was a loooooooong project for my third graders. We looked at Jeff Koons' work. Koons is an American Post-Pop artist. He is most well-known for his large reflective sculpture balloon dogs. Most of his sculptures use a reflective surface. He likes how the reflective surface changes the way you perceive the area around you by warping and distorting the room on its shiny shell. He depicts objects that are popular in pop culture such as balloon animals, Popeye, and pool inflatables. His sculptures are highly rendered, down to the subtle creases along the seems of his metal pool inflatables. I find his balloon dogs particularly interesting because they toy with the idea of life and death. When something is full of air/breath like a human or a balloon, the item is thought to have life. But when those things run out of air, they become deflated or lifeless. By creating balloon dogs out of metal, they lose their ability to deflate making them immortal. He is a highly controversial artist who uses around 130 "assistants" to produce his ideas. The kids were amazed that he is the second richest living artist and is worth $500 million. Throughout this project, I began to try to incorporate the use of videos in the art-making process so that you all can see what goes on in the art room. This was a SUPER stressful project for me. First of all, we were paper mache-ing which is something that I am NOT very good at. Because we were paper mache-ing balloon dogs, I had to get up really early each morning to blow up the balloons. If I tried to do it the night before, the balloons would deflate too much over night. For the initial paper mache-ing, I paired the kids up because I worried that if they worked individually, they wouldn't get the full first coat on. Then the balloon would deflate before the next class and they would have to start over. So two students worked on a dog. Then the next class, they worked on the other dog for their partner. After everyone got their first coat on, we added two more coats of paper mache. Throughout the project, we talked about form and how things that are 3D have form which means they are tall, wide, and have depth. At Harmony, we painted several coats of acrylic paint onto our dog to give it color. At Consolidated, we paper mache'd colored paper onto the dog to give it color. We also talked about our personal beliefs on whether students thought he was an artist or not. Some felt that because he came up with the idea for the project, he was an artist. Others felt that because he didn't physically make the artwork, he shouldn't be considered the artist. 34 students believe Jeff Koons is an artist. 22 believe he is not. |
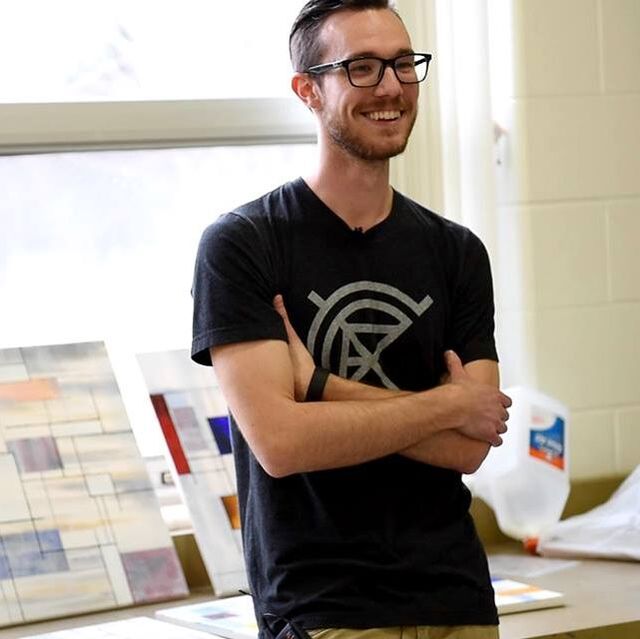
Devon CalvertHarmony and Consolidated Elementary Art Teacher in Milton, WI. UW-Eau Claire graduate. WAEA President. Apple Teacher. Archives
March 2019
Categories
All
|


 RSS Feed
