|
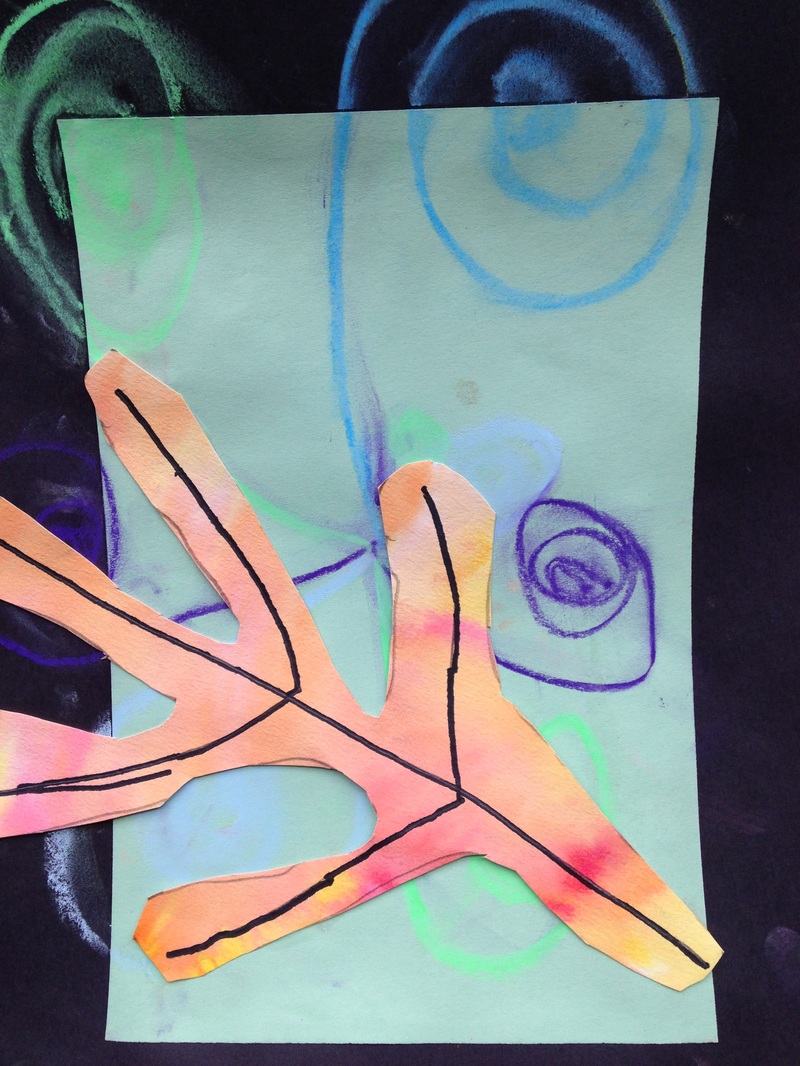
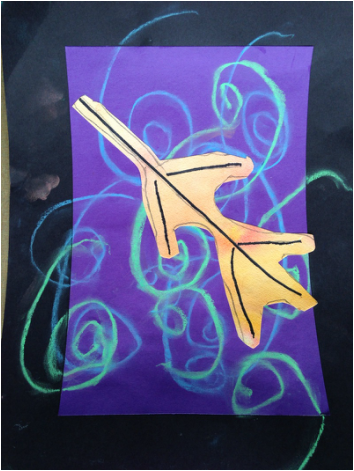
This is a project that I saw on Mrs. Picasso's blog. I've recently taken a liking to her blog. She has some really cool projects. Because our Leif Erikson Day project had pushed us back a bit into the fall, I wanted to do a quick fall project to celebrate the falling of the leaves. During this project, we started out by retouching on cool colors. We had previously learned about these on our Echelman weavings. Then I introduced warm colors to them. Warm colors typically remind us of fire (red, yellow, orange) while cool colors remind us of water and ice (blue, purple, green). Students chose a cool colored paper and glued it in the center of a larger black sheet of paper, creating a black frame around the cool color. This then went on the drying rack to dry for next class. Next, I showed them the wet-on-wet watercolor technique. We used super nice paper (being careful to emphasize how important this paper was) to paint water all over it. Then we took warm colored watercolors and painted them on our wet paper. This causes the colors to bleed and spread out. For the next class, we took our black and cool colored background and created cool colored chalk swirls on the background. We traced the lines a couple times with our fingers to smear the lines a touch. Then we drew a leaf onto our warm colored wet-on-wet paper and added some veins to the leaf with a sharpie. To finish off the project, we cut out the leaf and glued it onto the background. When gluing it to the background, we talked about composition and how good artists let their artwork come off the page a bit. We also talked about making our leaf look like it was floating down to the ground, rather than just being in the center of our page. I also gave them a writing prompt at the end of the project in which they were to write three sentences about why they liked fall.
0 Comments
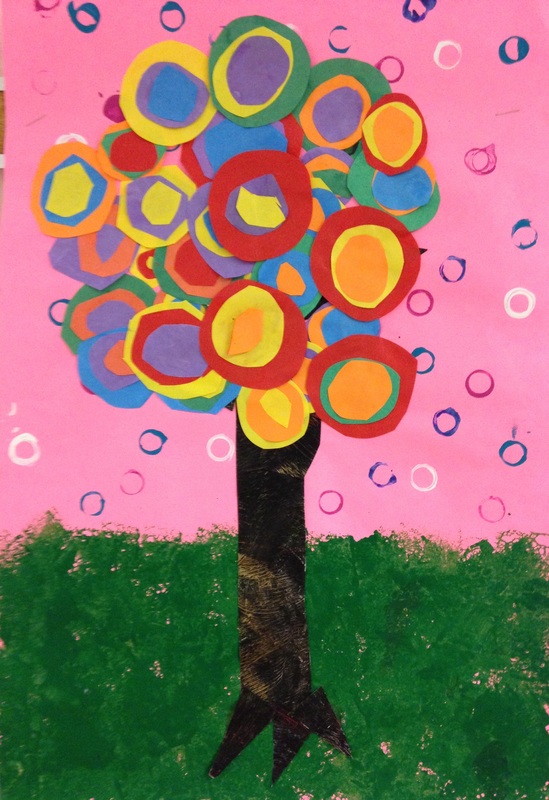
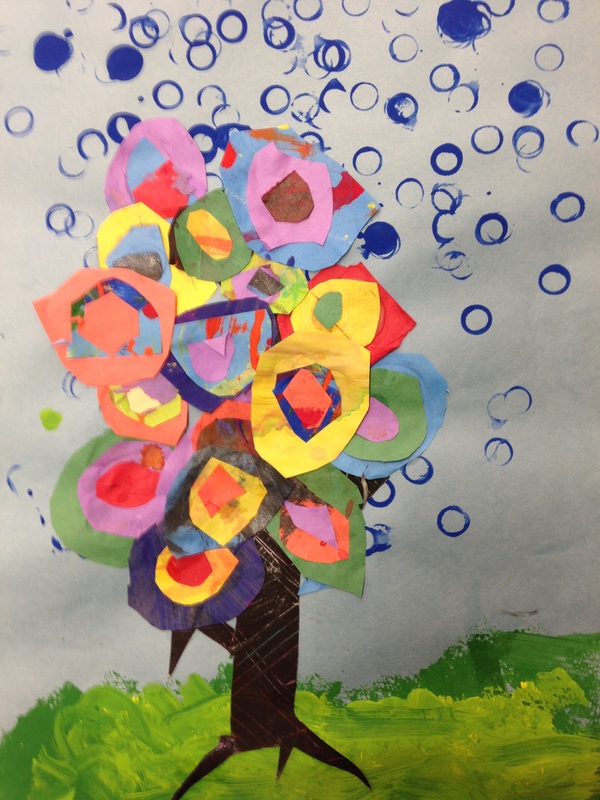
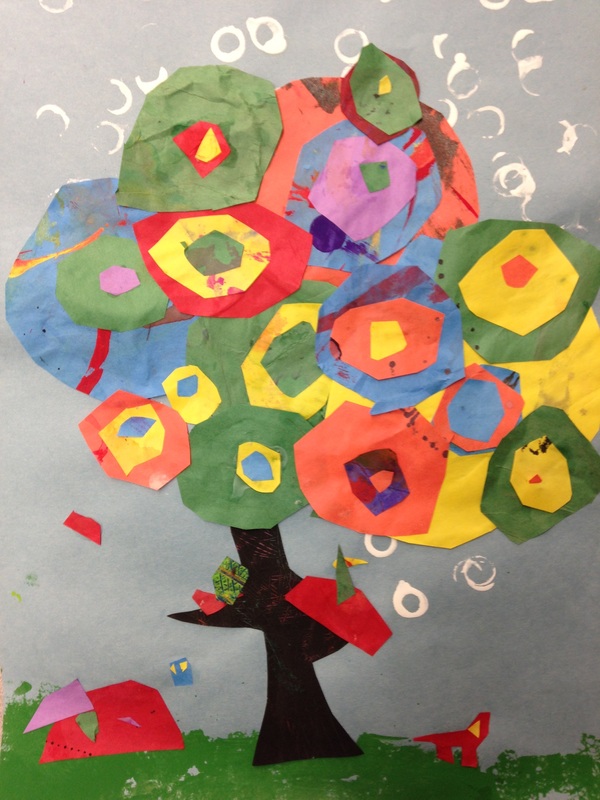
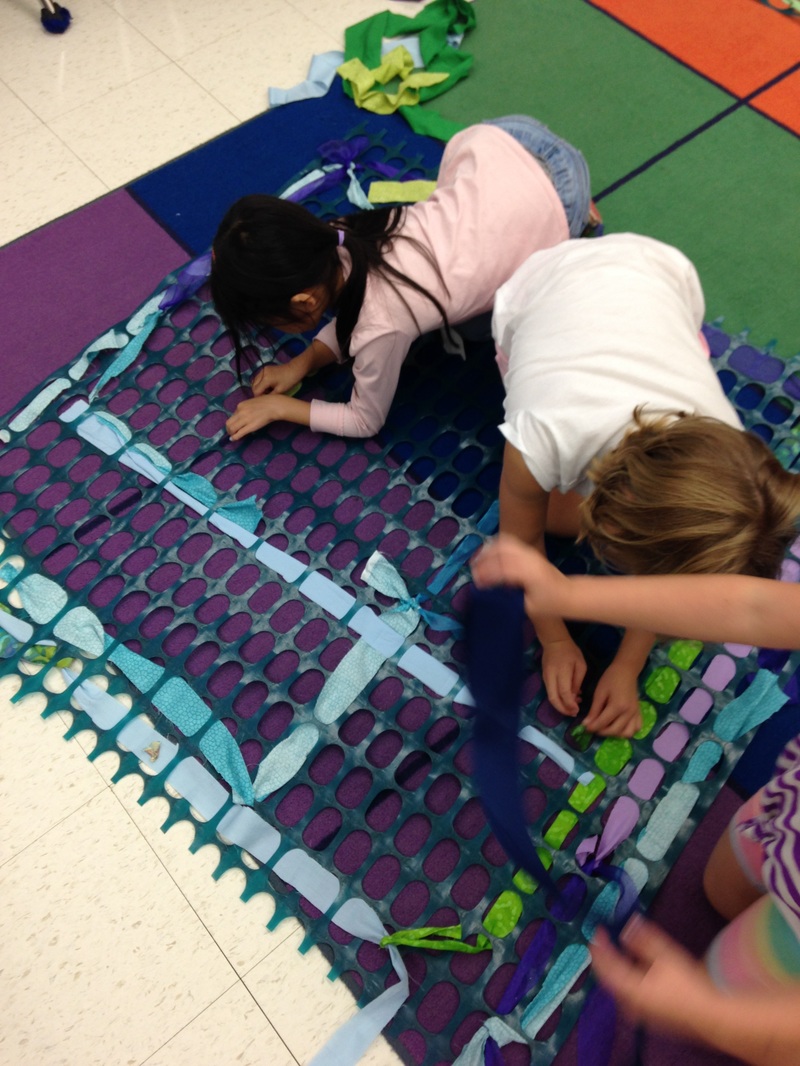
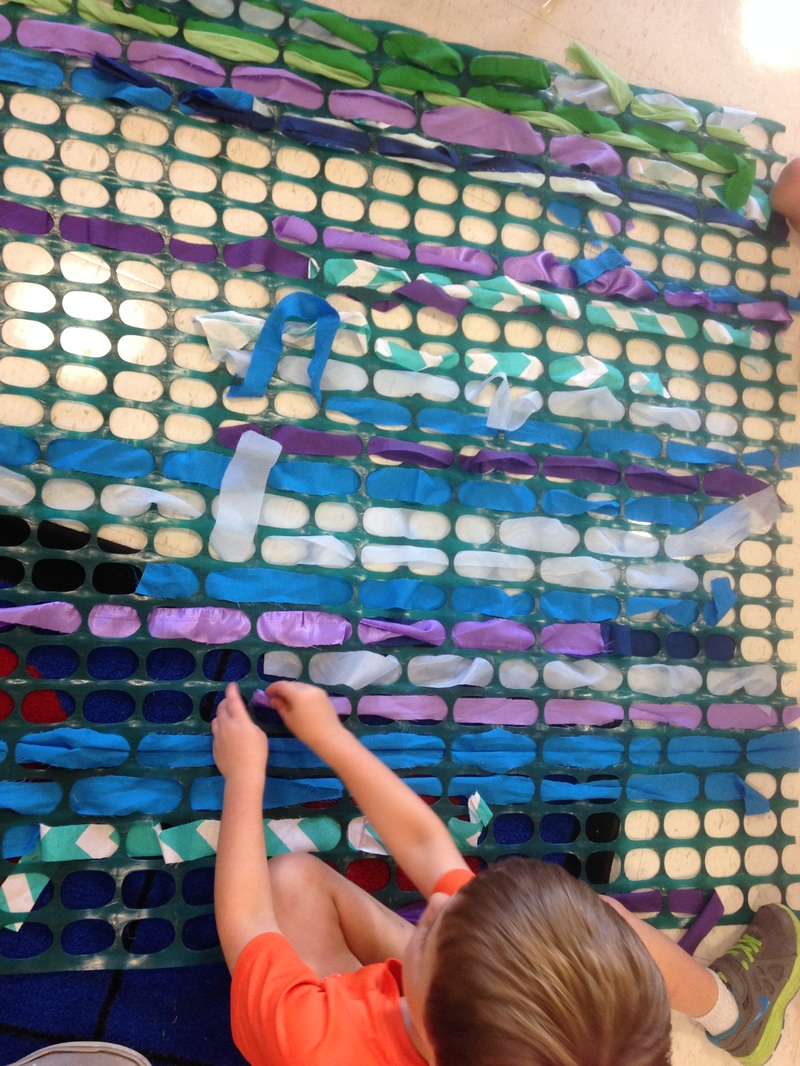
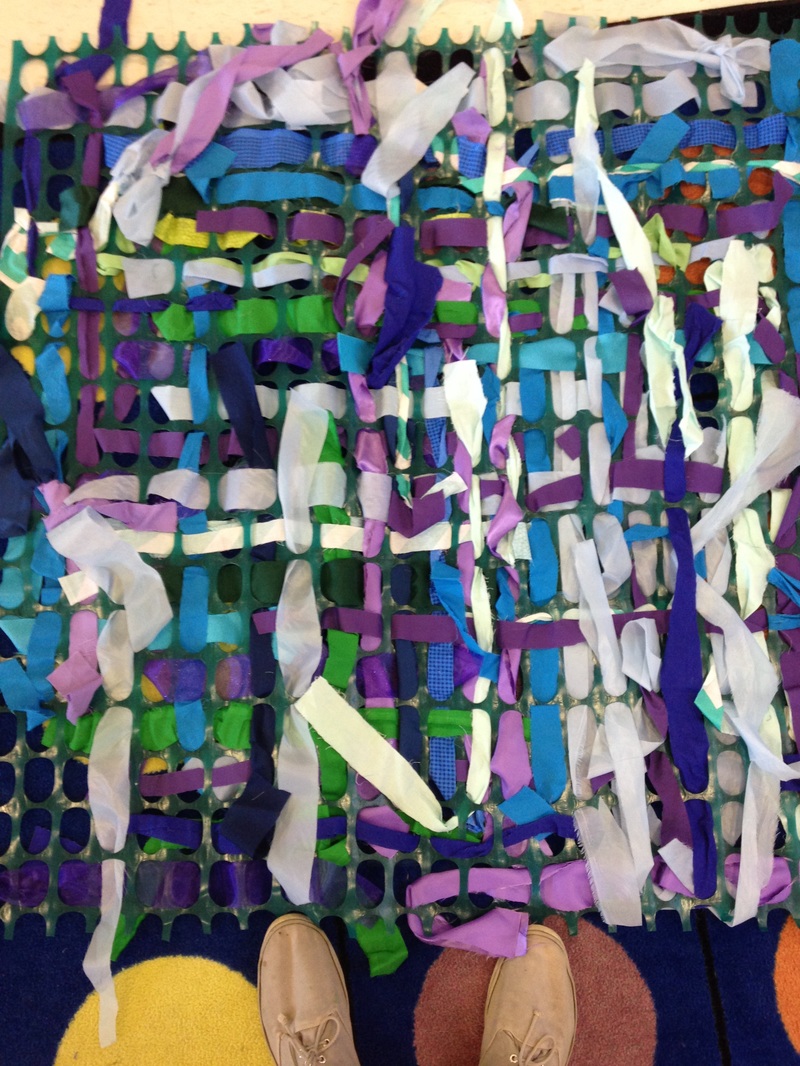
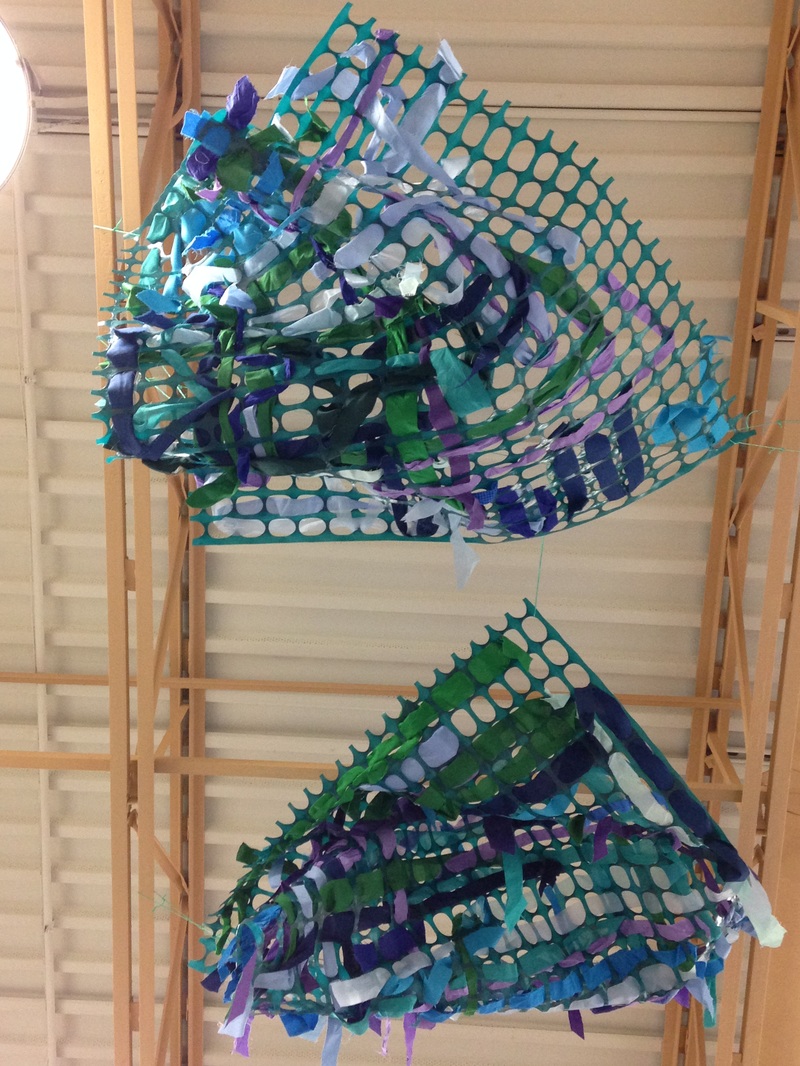
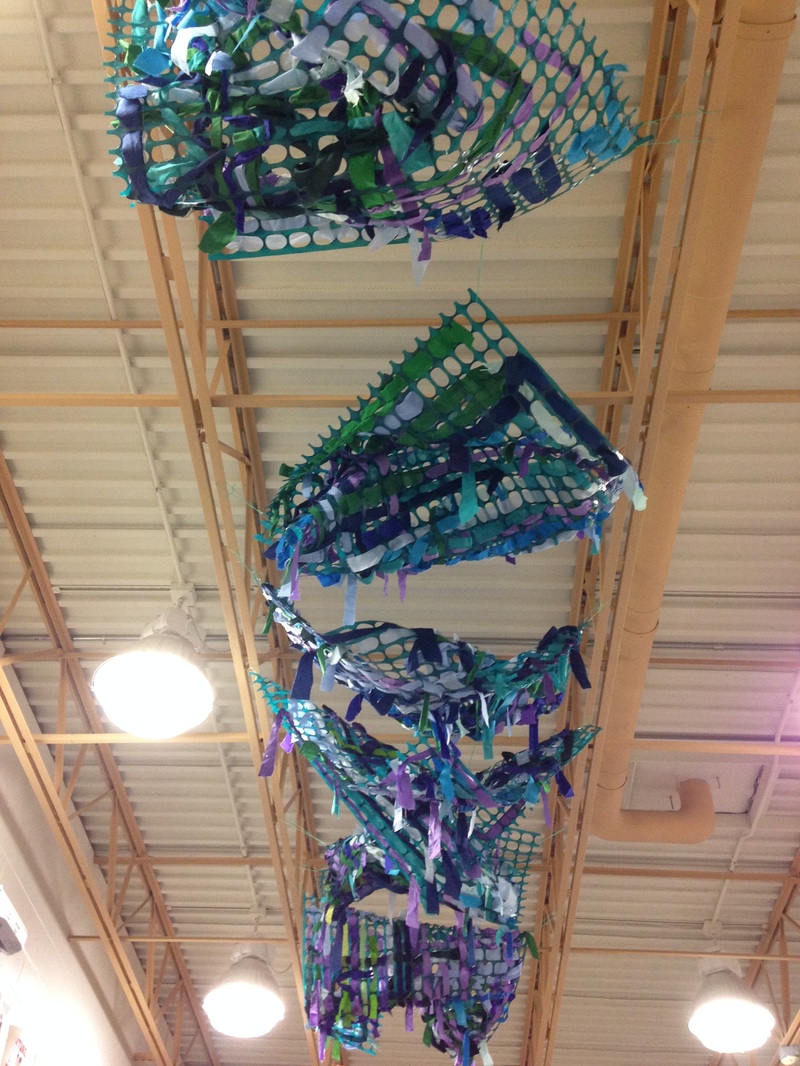
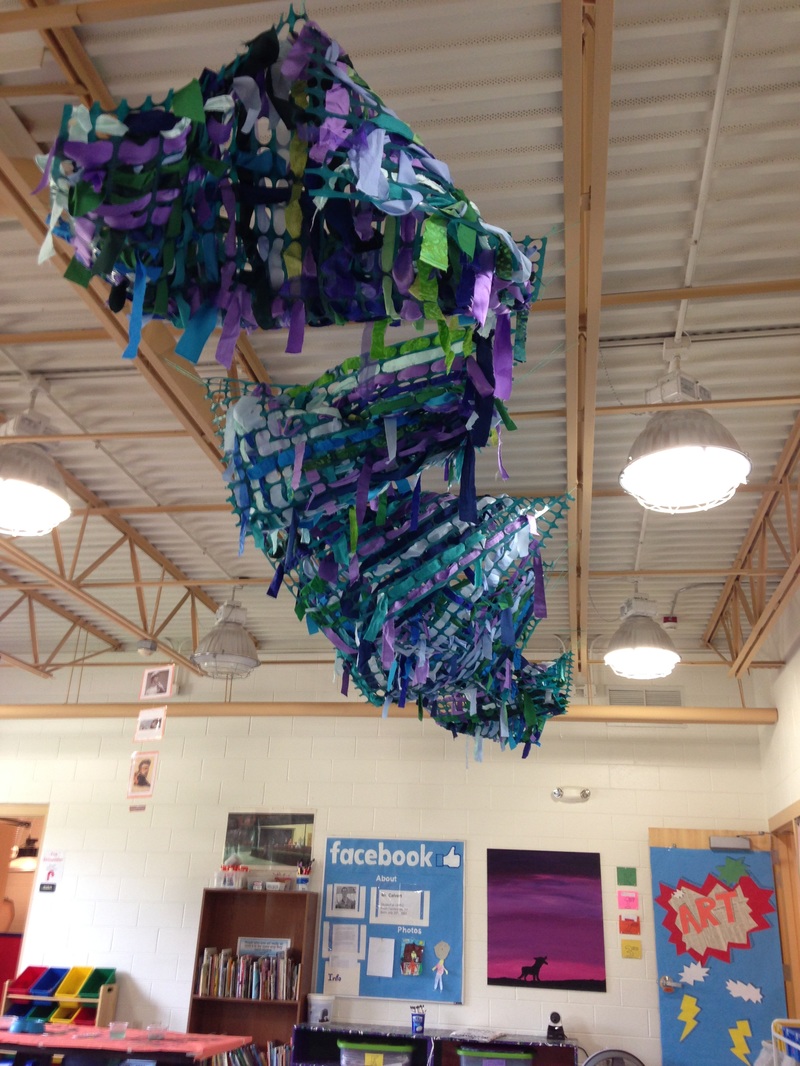
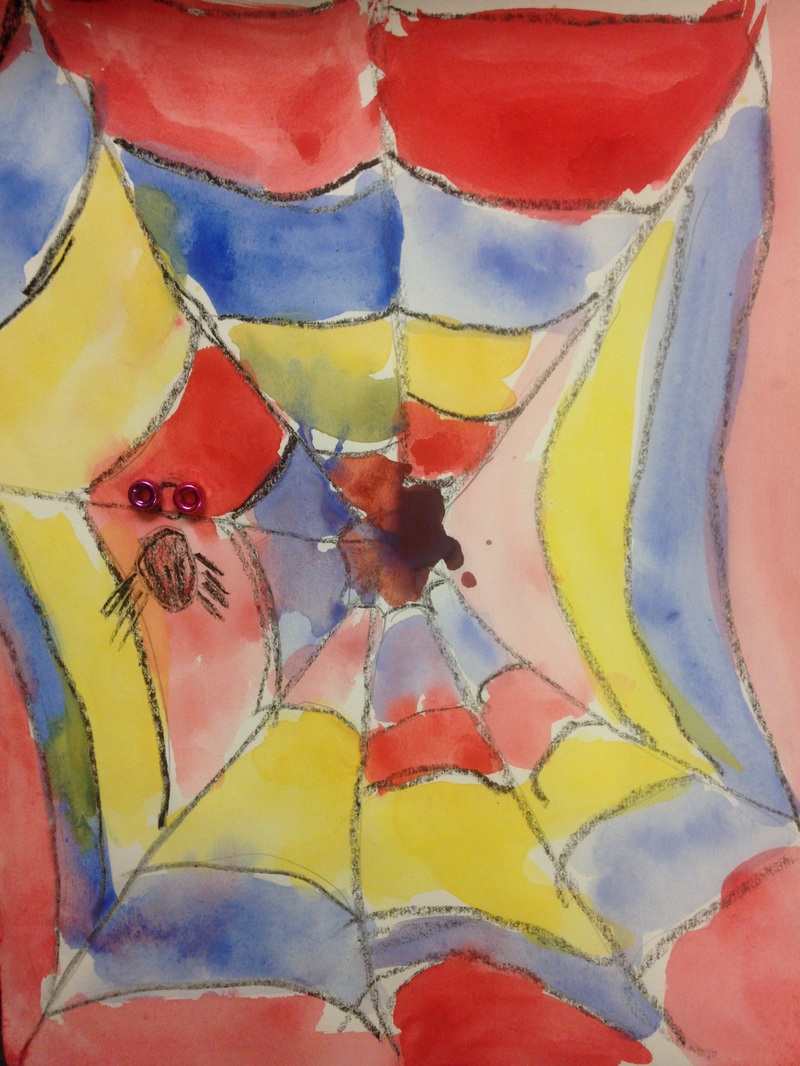
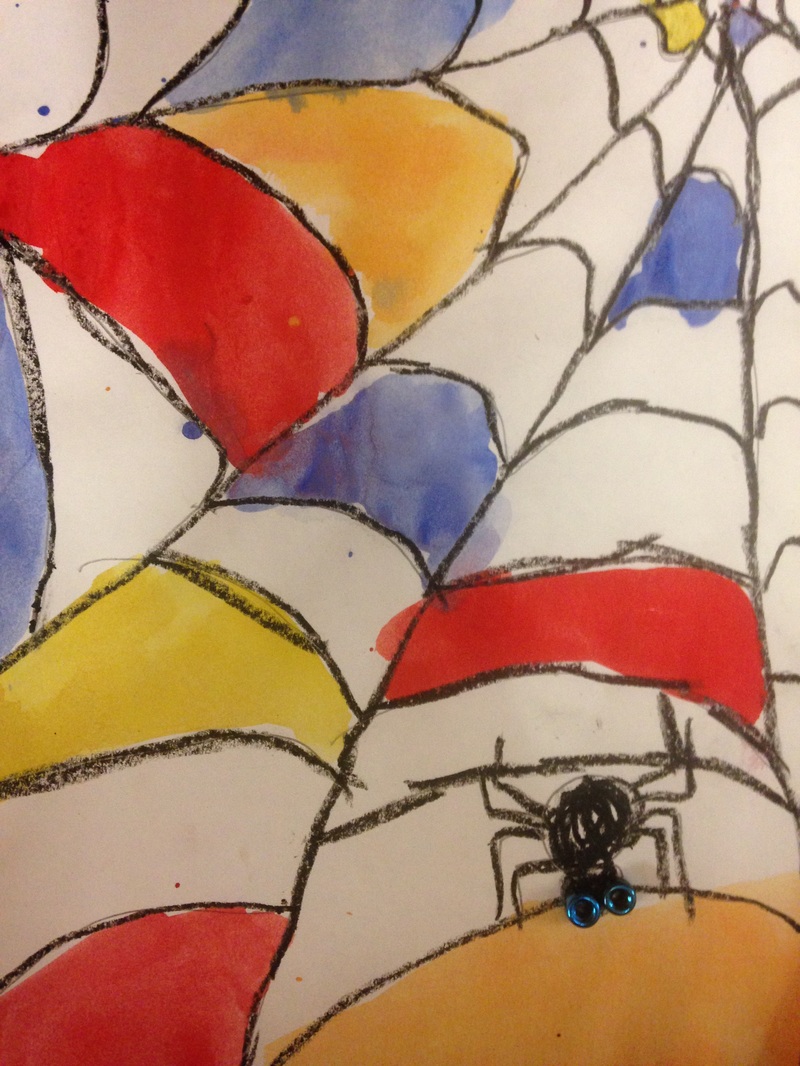
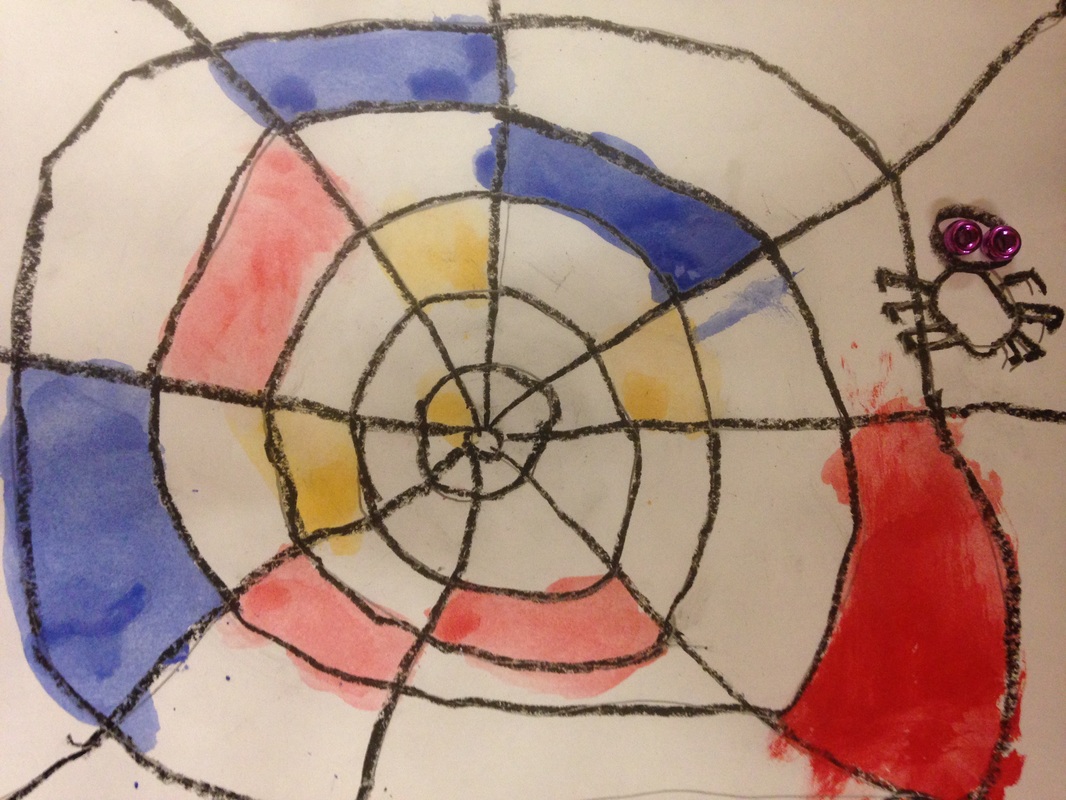
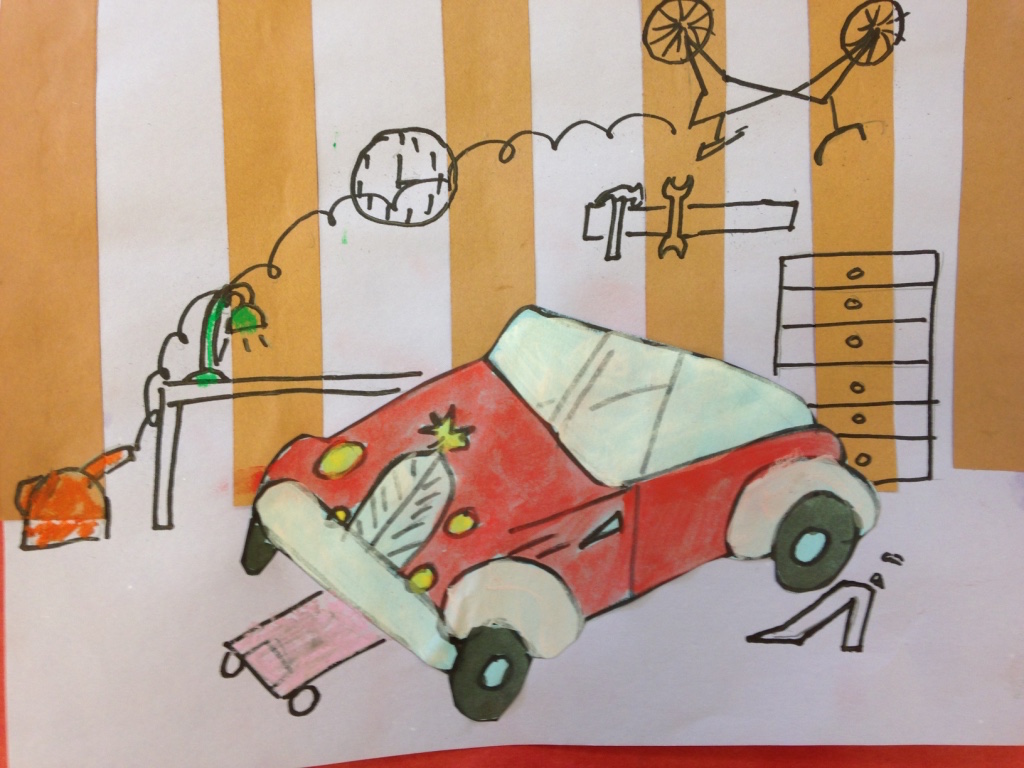
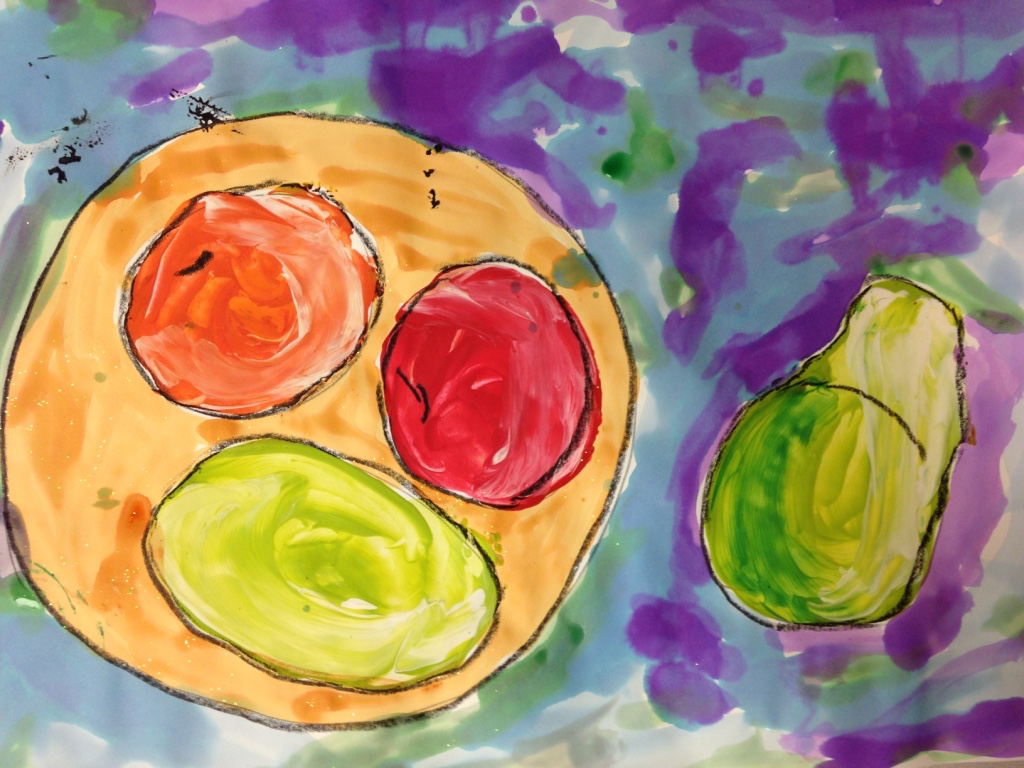
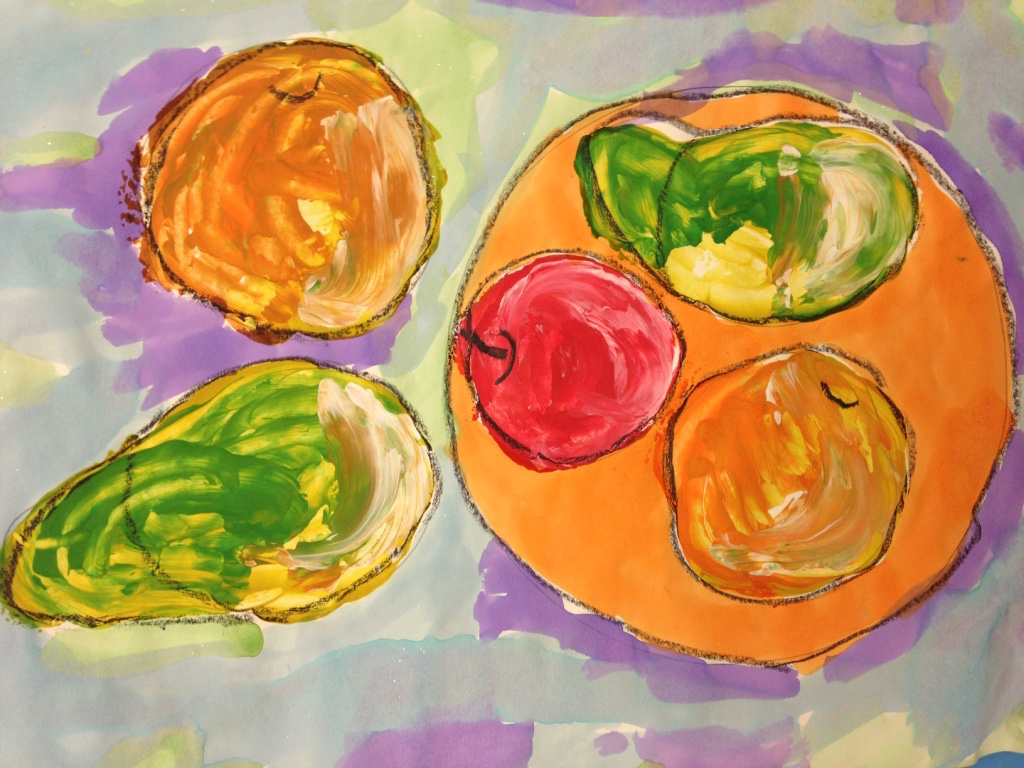
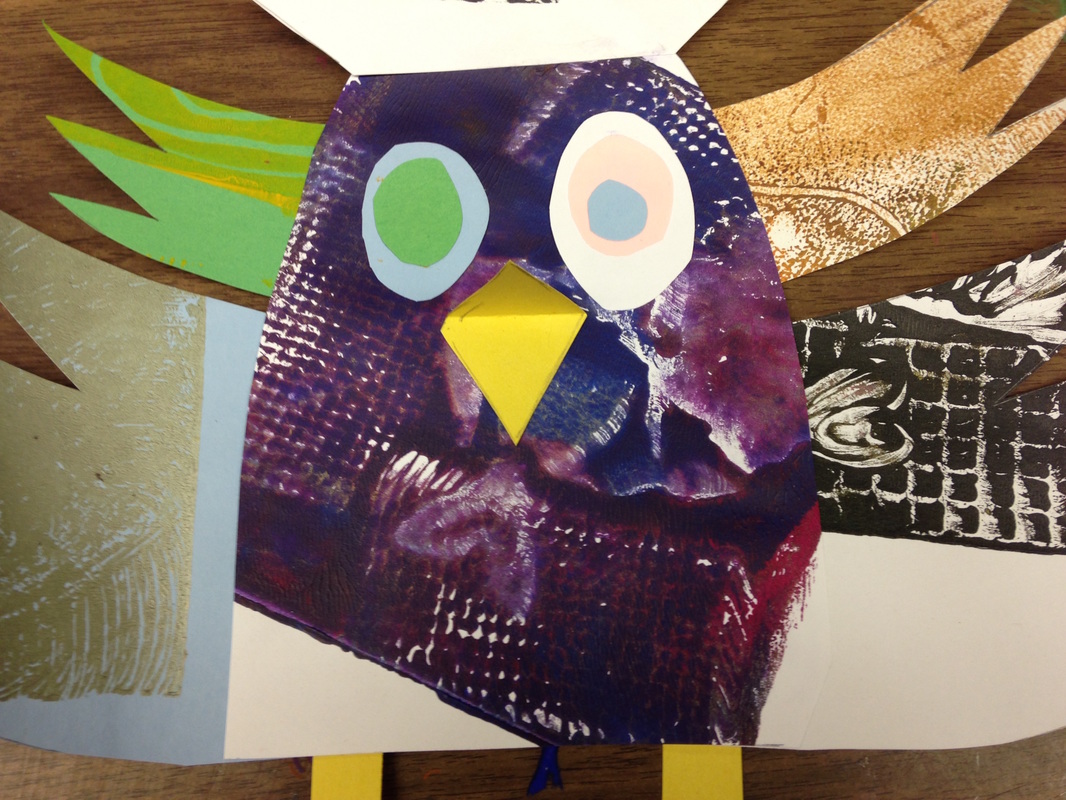
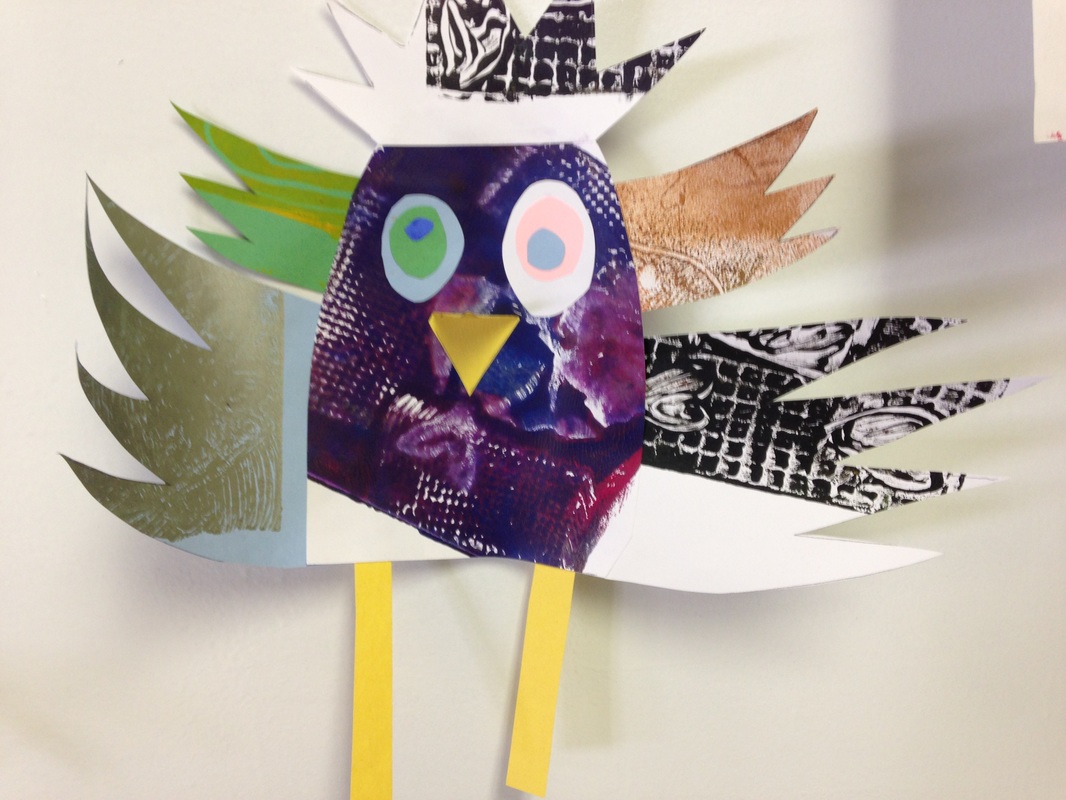
For this project, we took a look at some artwork by Wassily Kandsinky. Mr. Kandinsky was a Russian painter who was one of the first people to ever paint abstractly/non-representationally. He was largely influenced by music due to his synesthesia. Synesthesia is a condition in which one of your senses becomes activated due to the stimulation of another sense. So when Kandinsky heard music, he would oftentimes see colors and vice versa. 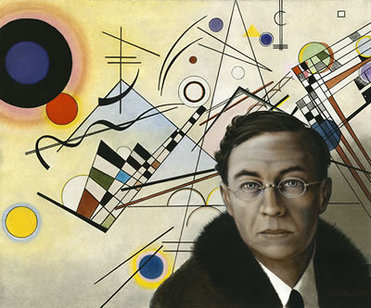 Four different classes said that I looked like Mr. Kandsinky. I guess that I found my doppelganger! 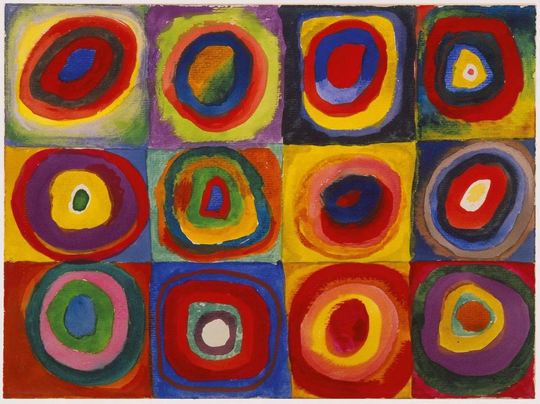 This is the work of art that we based our trees on. We started off the project making our background. Students used sponges to sponge paint the grass green. They then used marker caps to print small circles in the sky. The next class, we took a piece of paper and created patterns on it using oil pastels. Then we painted over our patterns in black and used combs and other paint scrapers to scrape designs into the paint. This makes the oil pastel colors pop against the black paint. They then cut a tree trunk and branches out of the black piece of paper. For the last part of the project, the students created concentric circles as leaves for their tree. This was good practice cutting circles for the kiddos. I think they spent three consecutive classes cutting their circles. Overall, I'm really happy with how these turned out! 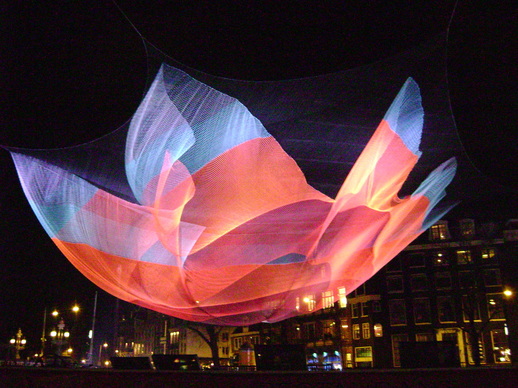 One of Janet Echelman's installations. So this summer, I was lucky enough to receive a $300 grant from the Wisconsin Art Education Association/Handweavers Guild for a fibers project. I chose to do a snow-fence weaving with some fabric. I was intrigued by Janet Echelman's work. She is an American artist who was rejected from seven different art schools but never gave up. She painted for ten years before winning a grant to go to India to make art. While there, she made a large installation out of the local fisherman's nets. She then began to create large and larger works of art. They now are oftentimes seen in large, crowded areas. They are currently trying to get the finds to have one placed in Times Square right now, actually. The sculptures are really interesting because they are made out of a light netting that catches the breeze. So when the wind blows, it's almost as if you can see the wind as it ripples through the netting. For the students, I bought blue, purple, and green fabrics. We talked about how these colors were called "cool" colors and that they had a calming effect on people's moods. Yes, I may be trying to do a little subliminal mood altering in m classroom! The kids worked on weaving into the snow fencing for three or four class periods. I asked them to start out weaving one direction and after they had finished, they could weave the other direction. Each class had 6 squares of fence that were 4x4 feet. After they finished, I have begun to install them in the classroom. I have been hanging them from the ceiling and twisting and turning them so that they create interesting forms, like Ms. Echelman's work. 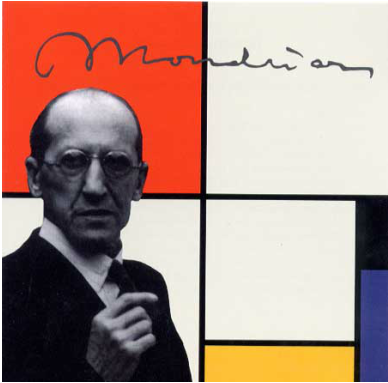 Like the second graders, the first graders also learned about Piet Mondrian so if you read my post about the second grade Mondrian project, some of this might sound familiar. This is a project that I got from Tasha Newton, a teacher I long-term subbed for, who does it with her students and I instantly fell in love with it. For our second project of the year, we learned about my favorite artist, Piet Mondrian! Mondrian was a Dutch painter who lived from 1872 to 1944. He was a leader of the artistic movement 'de stijl.' "Mondrian, and the artists of De Stijl, advocated pure abstraction and a pared down palette in order to express a utopian ideal of universal harmony in all of the arts. (www.theartstory.org)" Mr. Mondrian is known for only using the primary colors (red, yellow, and blue). He also only use straight vertical and horizontal lines which created squares and rectangles. No diagonals! These were the focus of our lessons. We began class by watching OK GO's music video The Primary Colors. Then we watchedBroadway Boogie-Woogie (named after and inspired by one of Mondrian's paintings). The kids loved theBoogie-Woogie video! And if they were super quick cleaners at the end of class, we watched it a second time. Throughout the lesson I stressed the primary colors and how they were the building blocks to all the other colors. You cannot mix any two colors together to make a primary color. You have to go to Walmart or another store to buy them! The kids caught on pretty quickly to the primary colors. Then we turned our attention to vertical and horizontal lines. They seemed to struggle with this a bit more so it's something we're going to have to go back and review in a later project. We started by drawing a small circle somewhere on the page. This acted as the center of our web. We then drew straight lines out from that circle, all the way to the edge of the paper. I then showed the kids that the webbing that went between those lines dipped, like a hammock between two trees. After they had finished drawing their web, they drew a big ole' black spider. I made sure to emphasize that spiders have one BIG body and one LITTLE head with eight legs. Next, the students had to use a black crayon to trace all of their web lines, as well as filling in their black spider. Then we got to paint! Painting is my favorite medium so it's something that I do often with my students. Students were expected to paint using red, yellow, and blue. They also could leave some of the webbing white, like Mr. Mondrian's work. Lastly, they could use some metallic beads that I had to glue them onto their spider as eyes! This was a one day project that I really tried to push the students hard on. It was tough to finish the project in one day, and several students had to rush through their painting at the end. That being said, I am very happy with how they turned out! This was a quick one day project. Beforehand, we took toilet paper tubes and pinched them in the middle and then taped them so that they held that position. Then we hot glued two popsicle sticks to the toilet paper tube. The students then painted it a solid color and added a pattern to it. 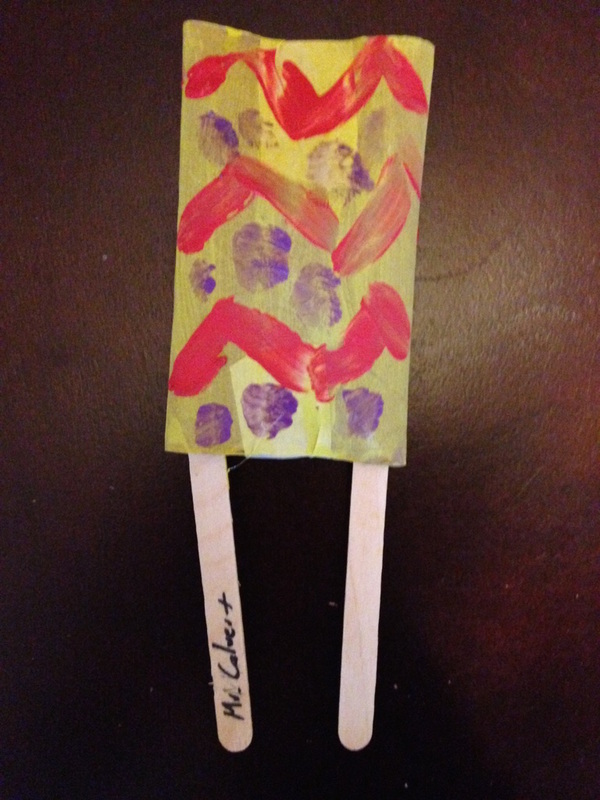 This is one of Jen Dahl's lessons that I taught while at Fall Creek. First, we drew cars and then traced them with markers. The next class, we painted the cars with tempera cakes and then glued brown strips onto our background to begin creating the garage. For the last class, we cut out and glued the car onto our background. Then we drew some things that we might find in our garage and colored some of the objects with cray-pas. Next time, I would like to talk about foreground, middle ground, background with this lesson. This was one of Tasha's lessons. We talked about what a still-life and point-of-view was. We then looked at some fruit at our tables and drew them with a top-down p-o-v (making sure not to forget to draw our plate). Then they used the back of a spoon to paint the fruit using tempera. We talked about light source and adding a highlight and shadow to our fruit. Next, we outlined everything with a black crayoned. Then they used liquid watercolor to paint the plate a solid color. Lastly, they used liquid watercolor to paint the rest of the background and assortment of colors by placing random 'splotches' of paint. Lately, I have been working with the wonderful Tasha Newton and have had the opportunity to help her first graders on this project that she designed. First they painted the puddle and then added various splatter marks to their white papers to create the rain. Next they drew and cut out their umbrellas. With the umbrellas, we added patterns using markers. Lastly, we cut out the boots and jacket (which we added details to) and glued them on top of their rainy scene. 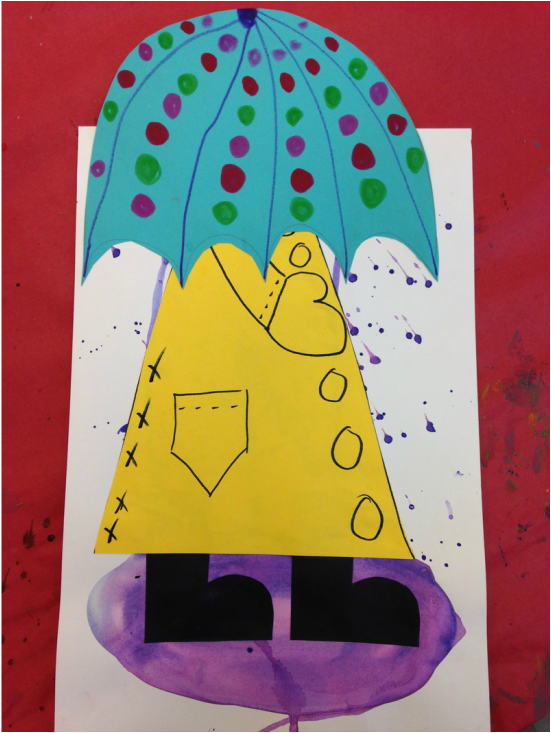 We started off class reading Chicken Little. I don't know who had more fun reading it, me or the students! We then set out to make some chickens. In a previous project, they used gel-blocks to make prints. Jen saved all those prints so that we could cut them up and use them as paper for our chickens (almost like paste-paper). We cut out the body, wings, comb, and tail separately and then glued them together. I didn't get to this part of the project with them because I was subbing, but they would then add legs, eyes, and a beak to their chickens. We did this with our first graders. We flattened out some model magic and then used paper clips to create designs in the clay. We then pressed a 'sapphire' gem into the middle of it and painted it silver. The students attached them to a wire and created a pattern up the wire using beads. Sadly, I never got to finish this project because my placement ended. 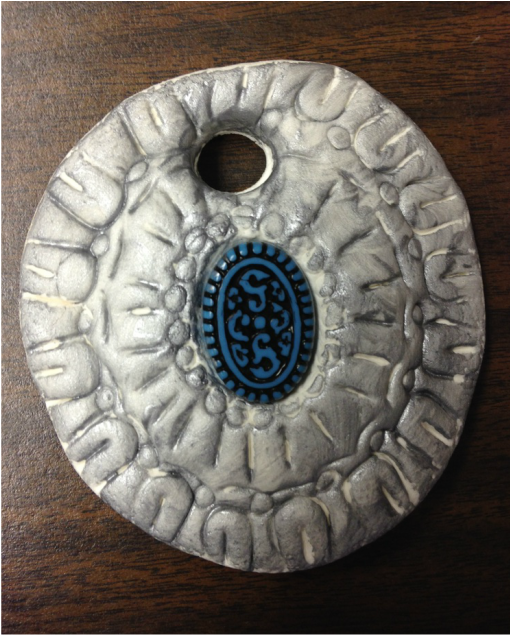 My example (without the patterned wire). |
Devon CalvertHarmony and Consolidated Elementary Art Teacher in Milton, WI. UW-Eau Claire graduate. WAEA President. Apple Teacher. 
Archives
April 2018
Categories
All
|


 RSS Feed
