|
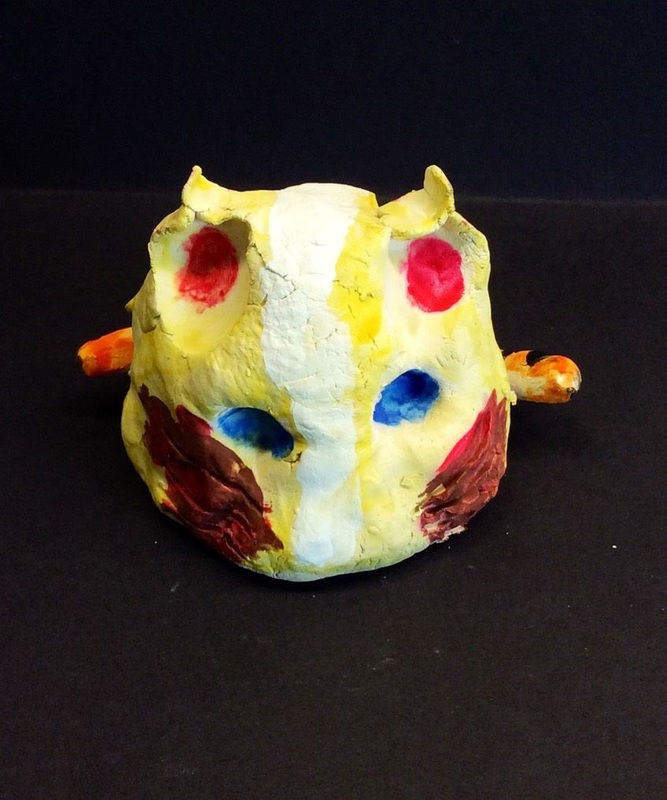
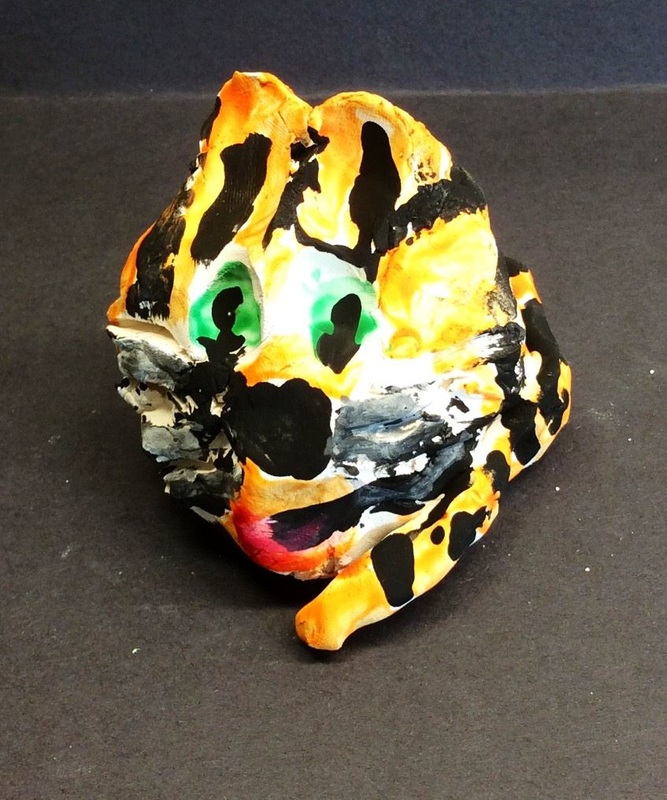
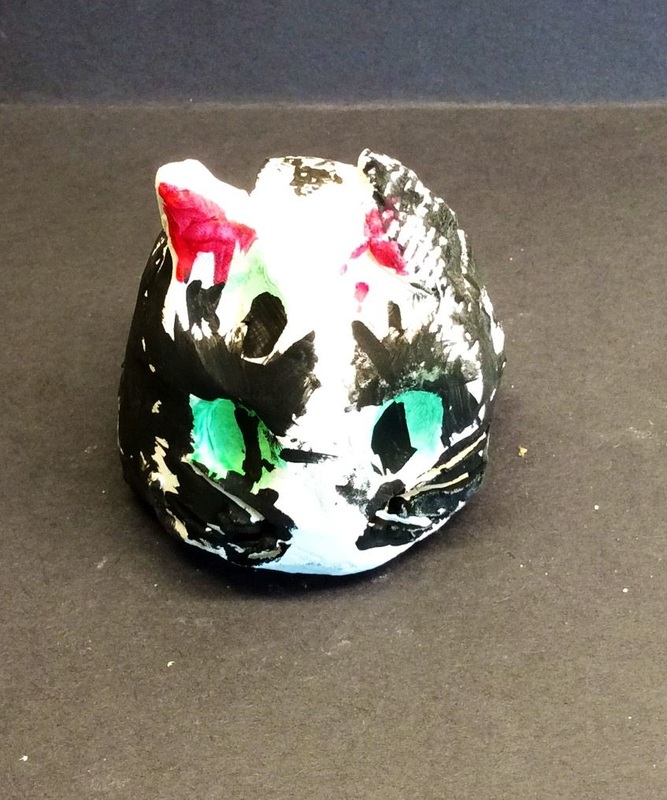
1st grade got to make two clay projects in a row! Lucky ducks! This was a project I got from another elementary art teacher in Milton who this with her students.
We started off by reading a bunch of facts from a book about cats. The kids loved hearing all of the interesting things about cats! After that, we talked about how we created a pinch pot on the previous project and how we could use that shape to make the body of a cat. After making a pinch pot, students pinched two spots and indented two spots to create ears and eyes. Lastly, they learned how to roll a coil. A coil is like a clay snake and artists use them to create details, pots, and other things from clay. After that Clay had been fired, we use tempera paint to finish them off.
0 Comments
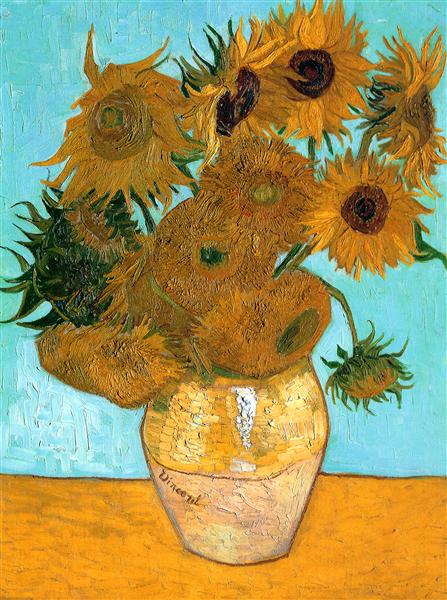
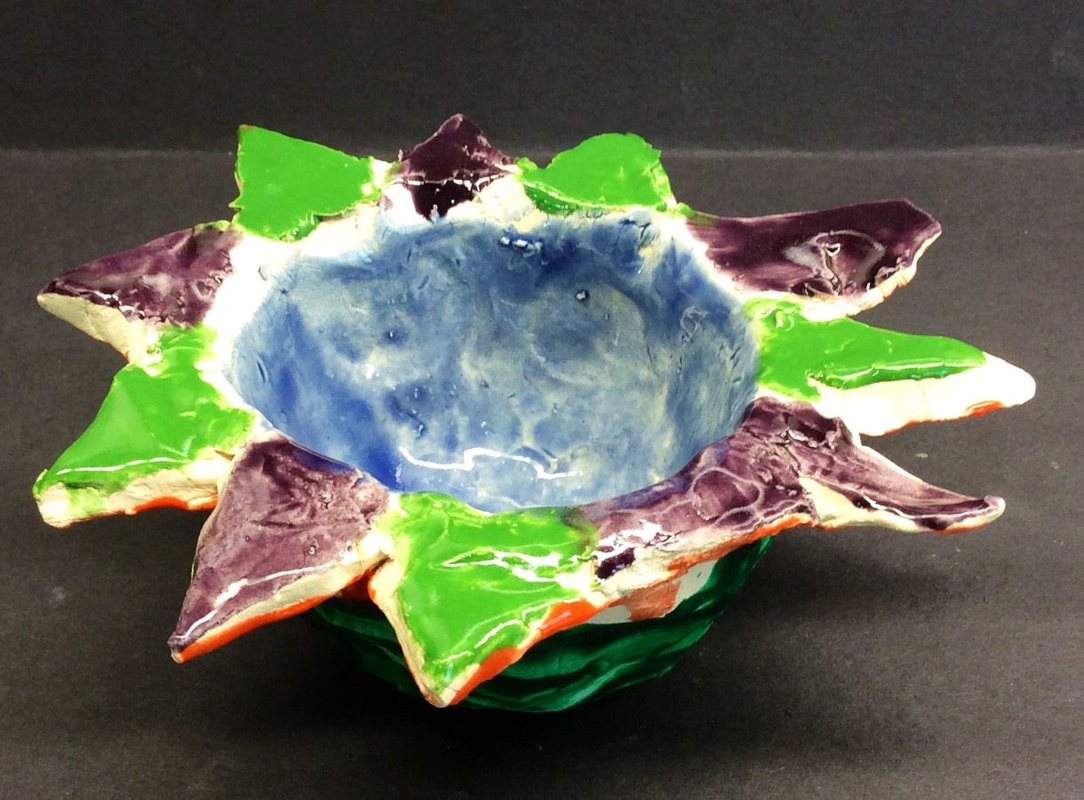
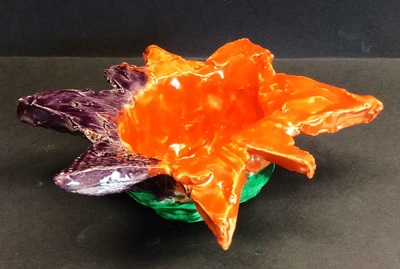
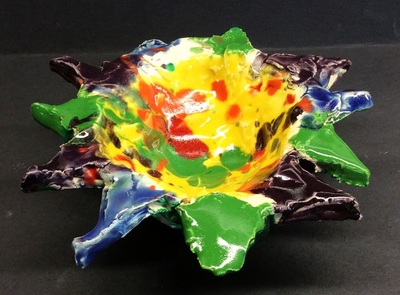
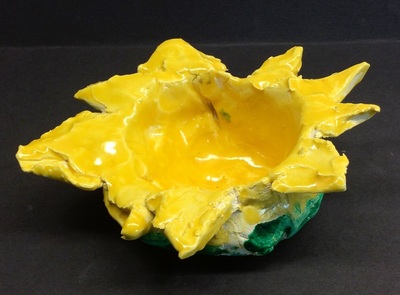
1st Grade had the chance to learn about the super famous Vincent Van Gogh! We used his love for sunflowers as an inspiration for our pinch pots! I remembered seeing a pinch pot sunflower project floating around Pinterest somewhere and thought that would be a good way to introduce the students to Vincent.
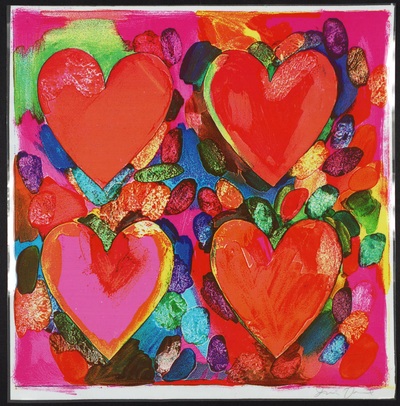
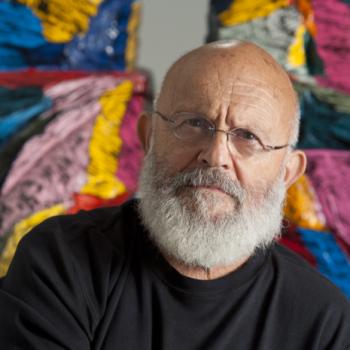
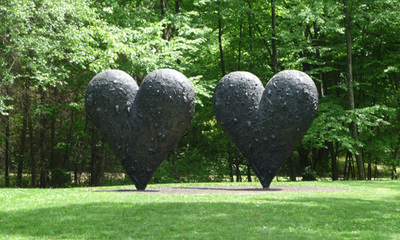
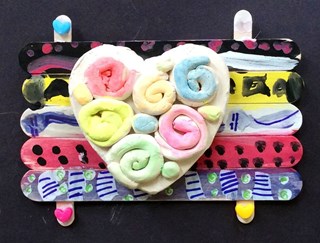
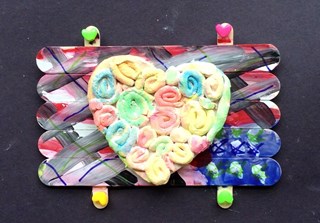
We started off by learning about how to create pinch pots, as well as learning about scoring, slipping, and smooth our flower petals to the edge of the pot so that they wouldn't fall off. I made sure to emphasize that if they didn't slip, score, and smooth, they would end up with a sad looking flower. This project proved to be a pretty tough one for them but we managed to crank it out in a single class period. After firing their clay pieces and showing the students the kiln room, we got back our flowers. Students glazed the inside of the flower and the top/bottom of its petals. I asked them NOT to glaze the bottom rounded part of their flower because it would fuse to the kiln shelf. The glazing turned out beautifully! Students finished off their flower by painting the un-glazed bottom part green with tempera paint. For this project, we checked out Jim Dine. Jim Dine is an American Pop Artist who was born in 1935 and is still alive! The kids love to learn about artists who are still living. Pop art is an art movement in which artists make art about things that are POPular. Mr. Dine chose to make art about hearts. The image of the heart is an iconic image that is recognized world-wide. I'd say that definitely falls into the "popular" category. Although we were a little late, I thought it would be nice to do an art project for Valentine's Day. 1st grade was SOOOOOOO excited to finally get to work with clay. Before the project started, I went ahead and used a cookie cutter to cut out some hearts from the clay. The hearts would act as the base to what the students would be doing.
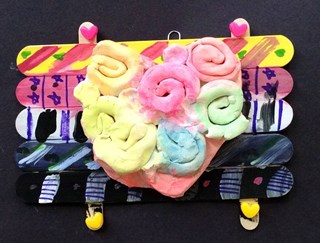
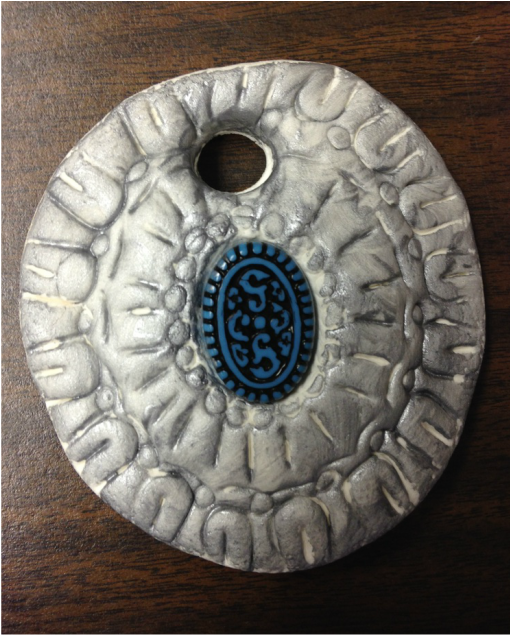
On the first day of the project, I introduced Jim Dine and clay to the students. Each student was given a heart that had been cut out of clay. I then showed them how to make coils (clay spaghetti noodles) by rolling the clay between their hands/table. These coils were then rolled up into little spirals. We attached the spirals to our clay heart base by a technique called "slipping and scoring." This is when you scratch up the two clay surfaces and rub a little water on them. This helps the two clay pieces to stick together. If you do not do this, the clay will probably fall apart in the kiln (clay oven). When I long-term subbed for Tasha Newton in Fall Creek, she showed me that you could slip and score clay using a toothbrush so that's what I had my students do. This makes slipping and scoring SOOOOO much easier. Any little spots that didn't have clay coils, students were to attach a small ball of clay. While the clay dried and was put in the kiln, we worked on our backgrounds. I made the backgrounds beforehand so i didn't have to worry about students burning themselves with the hot glue gun. We talked about patterns and how that is something that repeats over and over. You can have a pattern of lines, shapes, colors, stripes, etc. We used tempera paint to paint our popsicle sticks all one color. We then added patterns on top of the base colors. For the final day of the project, we talked about contrast. If something has high contrast, it means that two things are nothing alike (black and white, red and green, big and small, smooth and rough, etc). If it has low contrast, the two things are somewhat similar. We would be using high contrast on our project. Because our backgrounds had nice bright, saturated colors, our clay hearts would be a bit lighter so that they didn't blend in with our background. We painted our clay hearts using neon tempera cakes. The students were amazed that the clay soaked up the water and paint and was instantly dry after they had painted it! After they finished painting their heart, they used purple and lime green sharpies to add extra details to their backgrounds. We added shapes, stripes, polka dots, etc. Lastly, they glued four small heart-shaped beads onto their background. I glued their hearts to their backgrounds after school. I am not a big fan of working with clay, but I LOVEDDD how these turned out. We did this with our first graders. We flattened out some model magic and then used paper clips to create designs in the clay. We then pressed a 'sapphire' gem into the middle of it and painted it silver. The students attached them to a wire and created a pattern up the wire using beads. Sadly, I never got to finish this project because my placement ended.
|
Devon CalvertHarmony and Consolidated Elementary Art Teacher in Milton, WI. UW-Eau Claire graduate. WAEA President. Apple Teacher. Archives
April 2018
Categories
All
|

 RSS Feed
