|
0 Comments
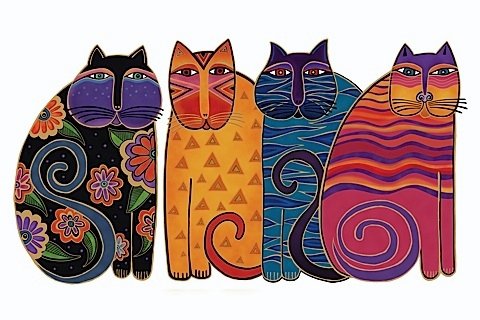
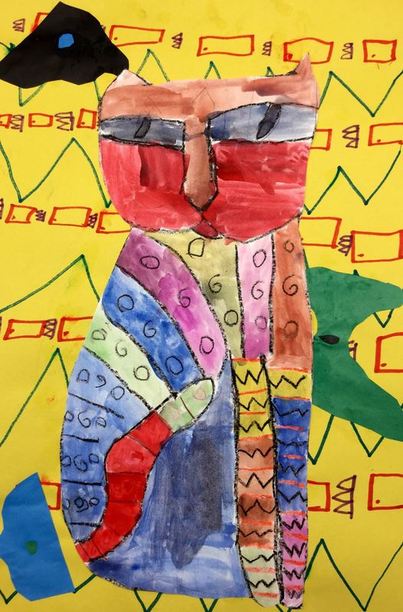
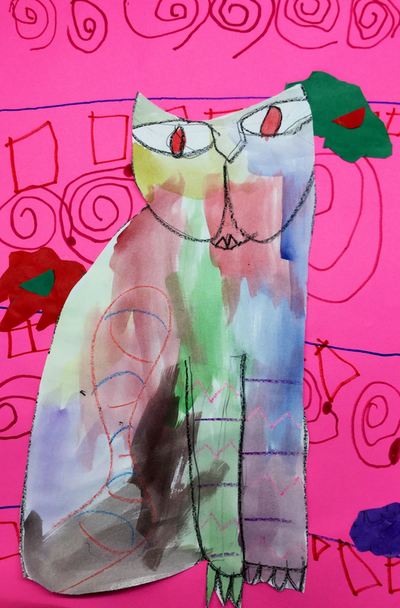
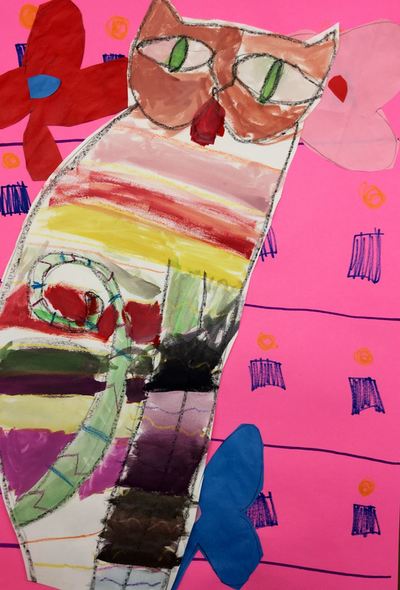
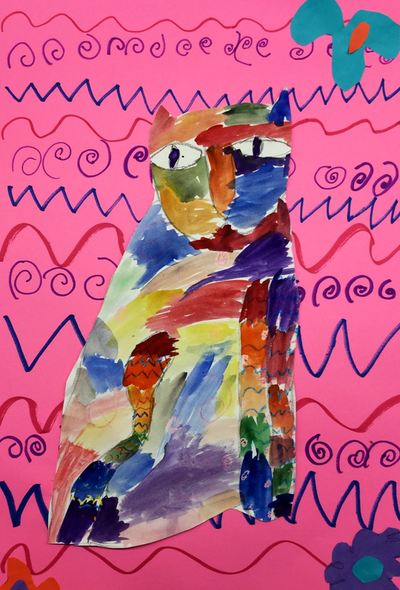
1st grade checked out the work of Laurel Burch. Laurel was an American artist who is most well-known for her brightly colored and patterned paintings of animals, particularly cats. What I find so amazing about Laurel is that she had a condition in which her bones were so brittle that they often broke/fractured doing everyday things. It is estimated that she fractured over 100 bones throughout her life. Despite the immense pain that she was often in, her artwork was still so bright and cheerful. It makes you feel happy just looking at it! The first day was spent learning about Laurel and then drawing a cat. After drawing their cat and tracing it with crayon, they added three different patterns to the cats body with crayons.
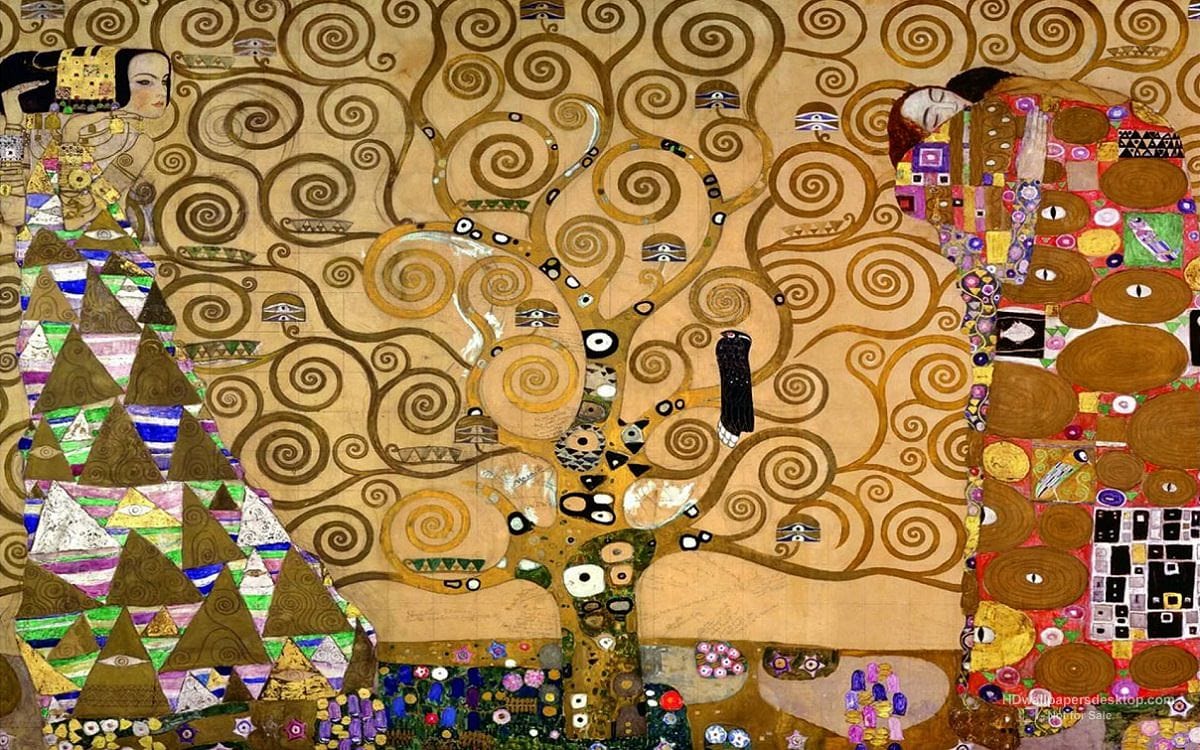
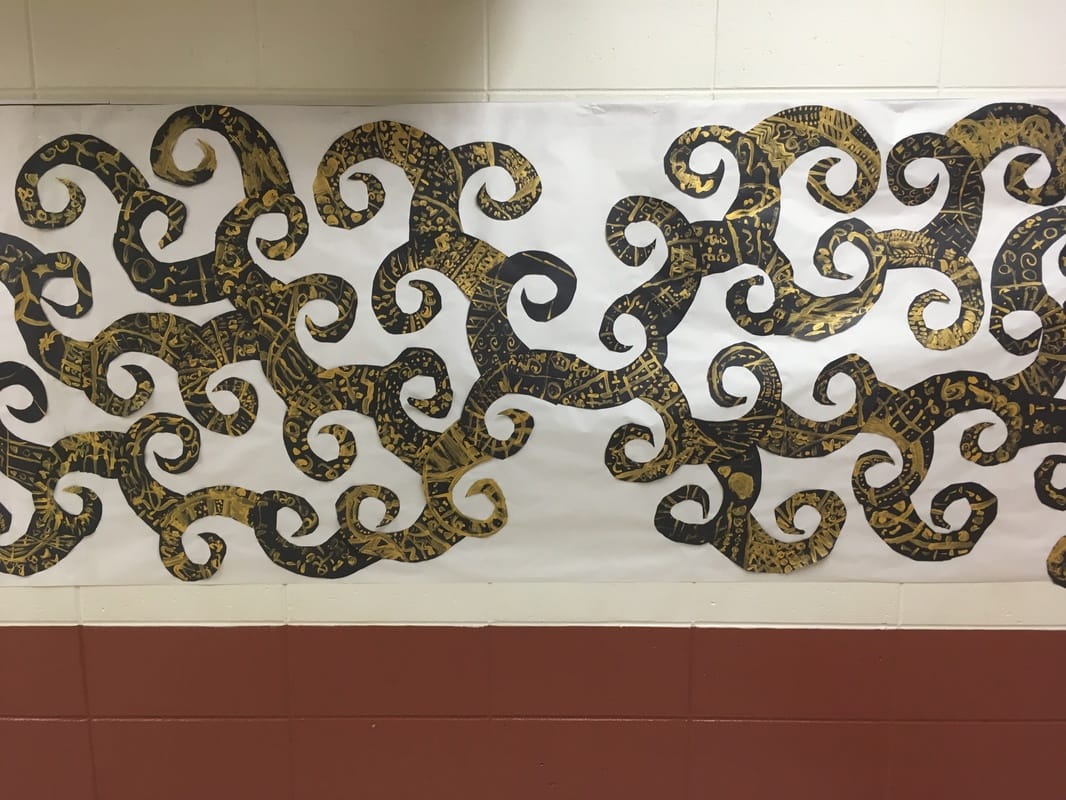
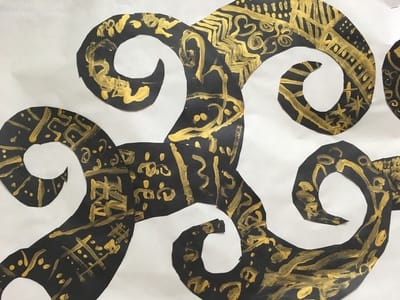
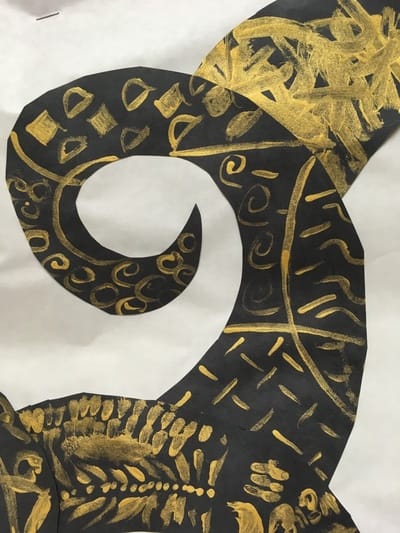
The 2nd day of the project, we talked about tints and shades. This is the first time we have talked about them since they were in kindergarten. Our artists used tempera cakes to mix tints and shades and add them to their cat. They mixed the colors right in the tempera cake pans. The final day was a busy one! They added a pattern to their background with markers. Then we talked about organic shapes and used those to create at least 3 flowers for the background. Lastly, they cut out their cat and glued it to the background. I was somewhat happy with the results, however, I would like to find a better way to go about painting them. A lot of students struggled with thinning out their paint with water and not making the paint go on their paper too thick. It's something that I will have to put more thought into the next time I do the project! 1st grade did a quick one day project on Gustav Klimt a while back. Klimt was an Austrian artist known most notably for his painting which feature gold leaf. His artwork is also rich with patterns and spirals.
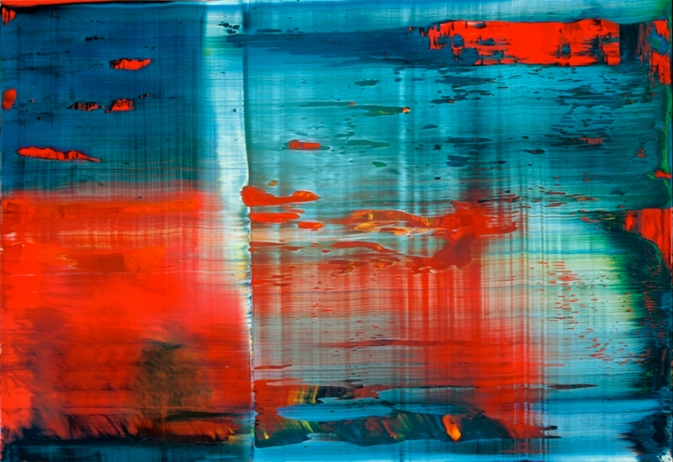
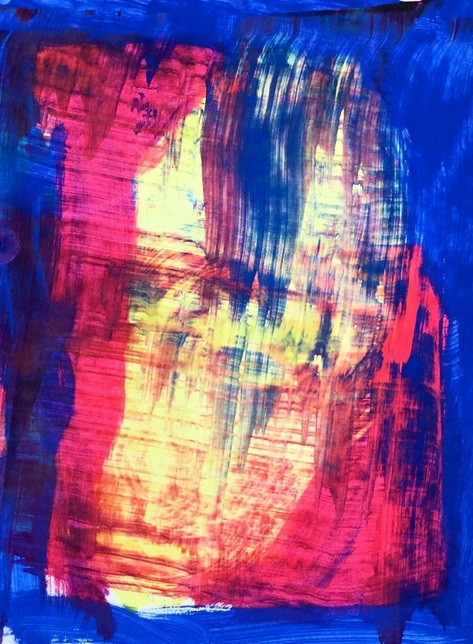
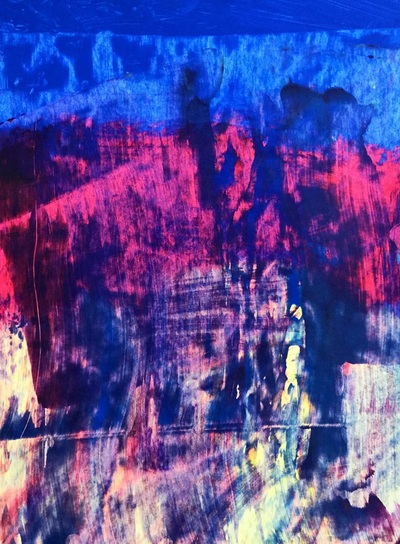
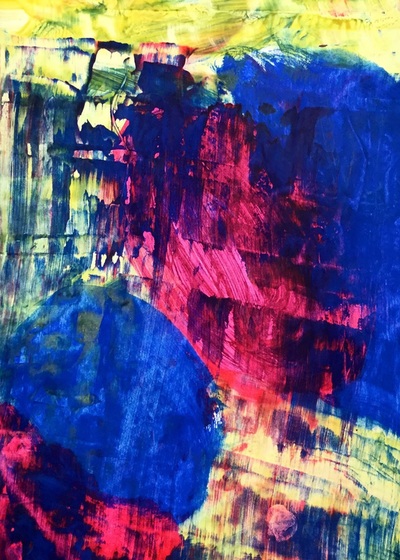
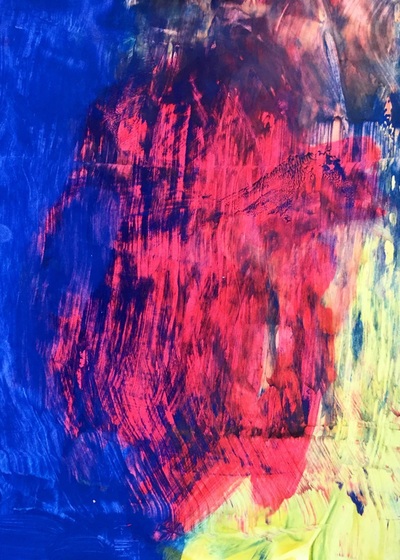
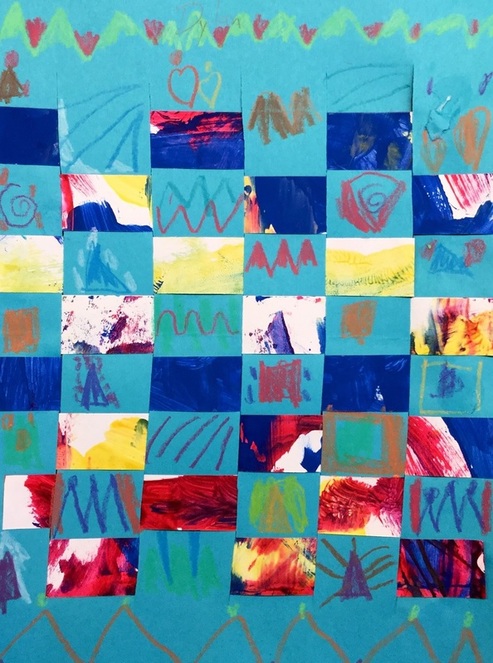
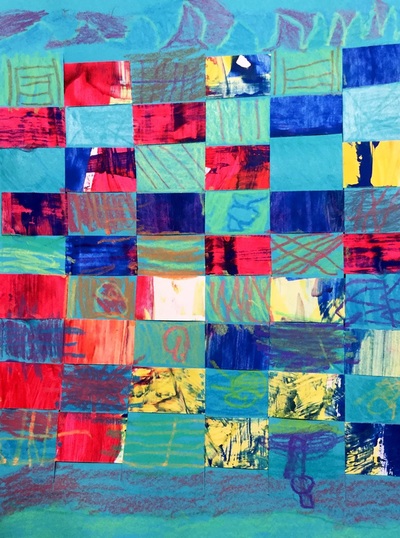
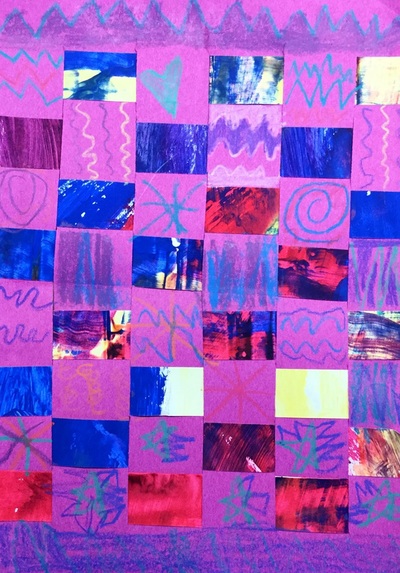
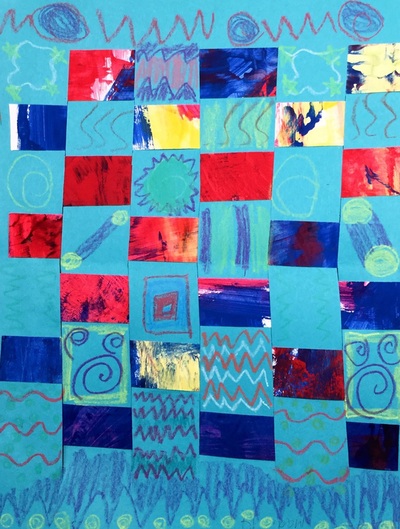
After taking a look at his work, each student traced a large spiral onto a black sheet of paper. Then they used GOLD PAINT (WOOHOO!) to paint 5 lines on their spiral. The lines helped divide the spiral up into smaller shapes. Lastly, they were asked to paint a different pattern in each of the shapes. When everyone was finished, I glued them together into a large collaborative mural based on Klimt's Tree of Life. Gerhard Richter is a contemporary German artist who is well-known for his photorealistic paintings that he then blurs using a soft brush or squeegee. He is also famous for creating abstract paintings and then using a squeegee to scrape away paint. For this project, we painted two sheets of paper the primary colors. When painting, we had to work thickly and quickly with our paint so that it wouldn't dry. After students had covered their papers with the primary colors, they used a strip of tagboard to scrape away the paint on their paper. As they scraped, the primary colors would mix together and create the secondary colors. The kids thought this was the COOLEST THING EVERRRRR and I thought it was pretty cool too for re-learning our color mixing! As they scraped, they could also change the pressure to their scraping and it would create different effects on their paper. Each student made two paintings. One of the paintings they got to keep, the other painting I cut up into small strips that we then used in a weaving project. For the weaving project, each student got a sheet of paper that had slits cut into it. Students then practiced weaving their painted paper strips into it. Some students caught onto this right away while others struggled. I was really proud of the ones who got it and then helped teach it to their friends who were struggling with it. Throughout the weaving, we talked about patterns and how it is similar to ABAB patterns that they may have learned about in music.
On the final day, we used construction paper crayons to add a different pattern to each row of the weaving. I think next time I will have them just do one pattern on the entire weaving rather than a new pattern for each row. I saw this project floating around somewhere on Pinterest and thought it would be a great chance to touch on shapes again with me first graders!
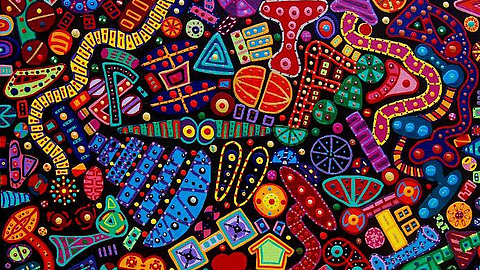
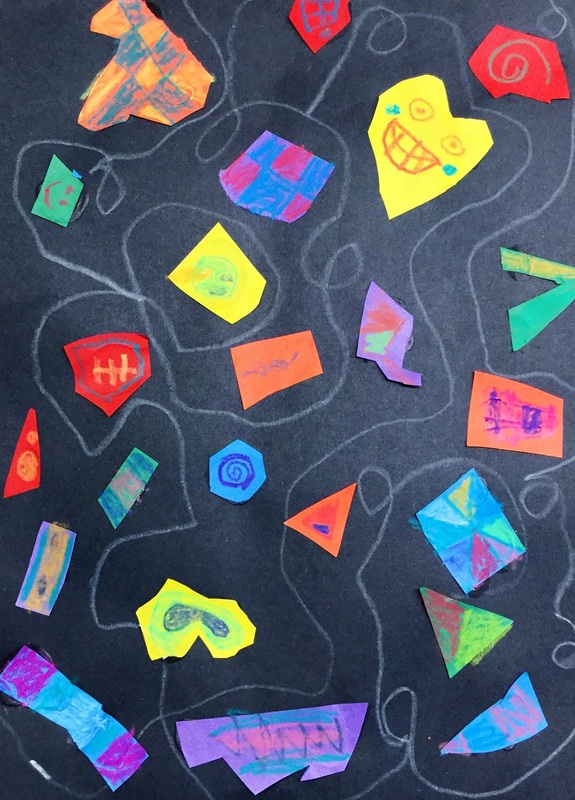
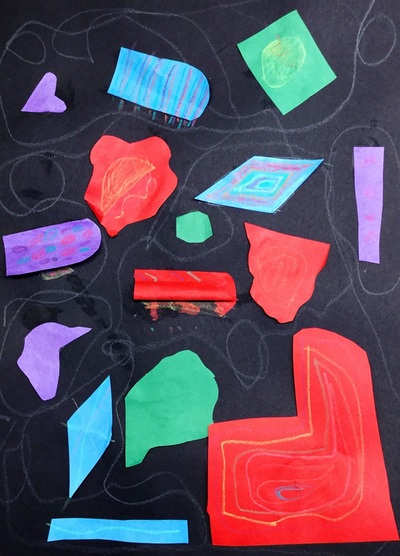
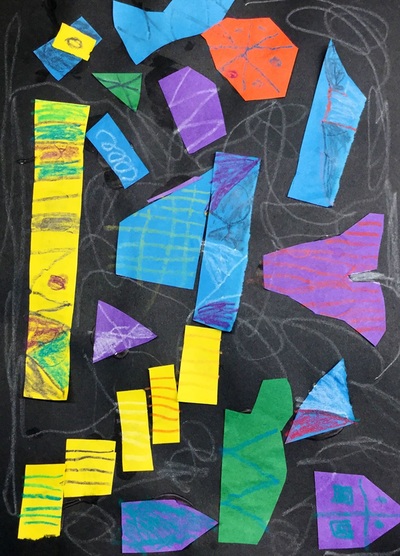
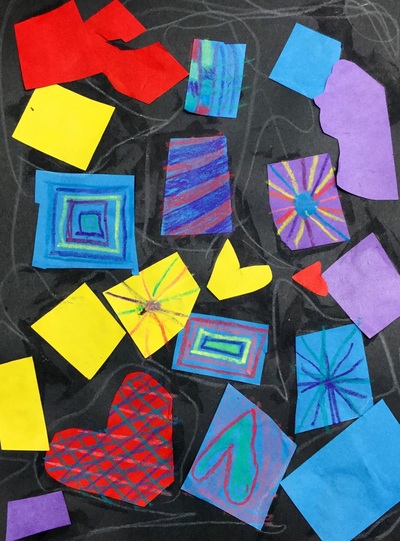
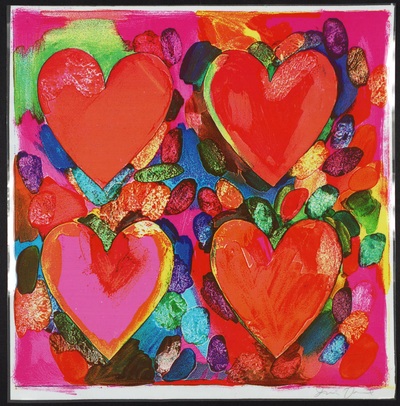
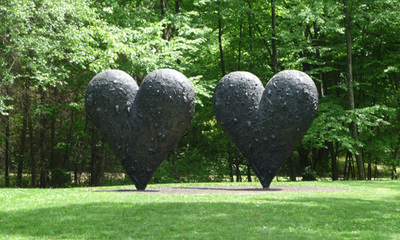
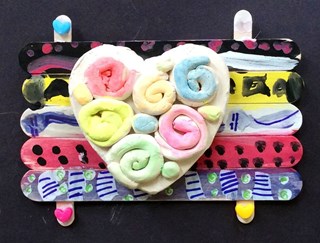
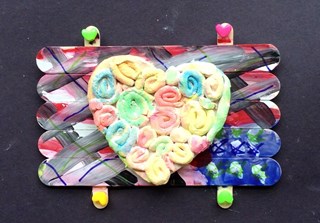
Reggie Laurent is a contemporary artist who makes abstract paintings. His artwork features brightly colored shapes on a black background. The shapes vary from geometric to organic. On top of the shapes, he paints vibrant lines and patterns. Throughout the project, we talked a lot about the difference between organic and geometric shapes. I usually say that geometric shapes are shapes that have a name or that they are shapes with a lot of straight edges. Organic shapes are shapes that are blobs. We cut out tons of organic and geometric shapes and glued them to a black background. When gluing, we glued so that our shapes didn't touch each other. Our scissors were SUPER hungry so we did TONS of cutting. We recapped on using our glue properly too. The 2nd class, we finished up cutting and gluing. After that, we used a white crayon to create squiggly lines between our shapes. Lastly, we used construction paper crayons to add lines and patterns to our shapes. For this project, we checked out Jim Dine. Jim Dine is an American Pop Artist who was born in 1935 and is still alive! The kids love to learn about artists who are still living. Pop art is an art movement in which artists make art about things that are POPular. Mr. Dine chose to make art about hearts. The image of the heart is an iconic image that is recognized world-wide. I'd say that definitely falls into the "popular" category. Although we were a little late, I thought it would be nice to do an art project for Valentine's Day. 1st grade was SOOOOOOO excited to finally get to work with clay. Before the project started, I went ahead and used a cookie cutter to cut out some hearts from the clay. The hearts would act as the base to what the students would be doing.
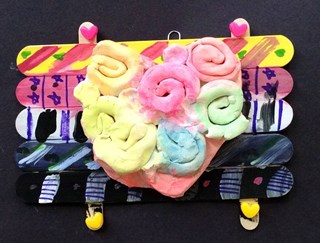
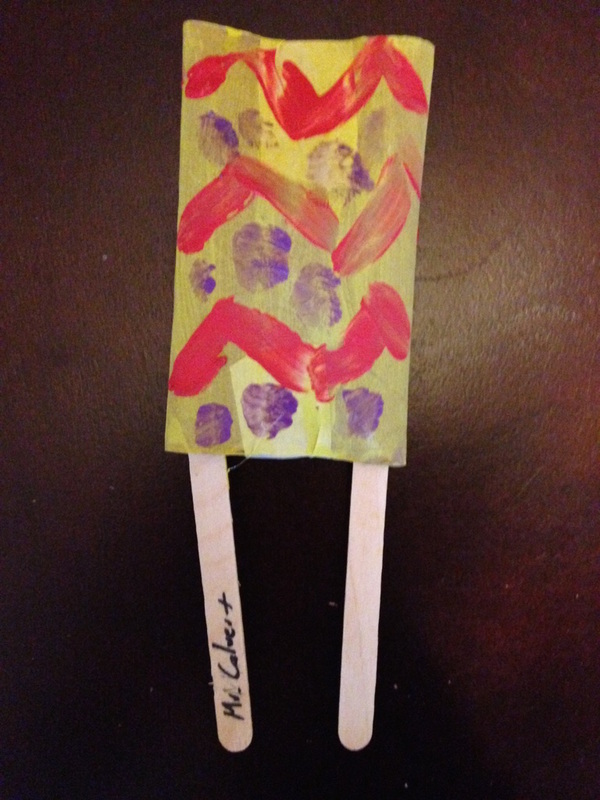
On the first day of the project, I introduced Jim Dine and clay to the students. Each student was given a heart that had been cut out of clay. I then showed them how to make coils (clay spaghetti noodles) by rolling the clay between their hands/table. These coils were then rolled up into little spirals. We attached the spirals to our clay heart base by a technique called "slipping and scoring." This is when you scratch up the two clay surfaces and rub a little water on them. This helps the two clay pieces to stick together. If you do not do this, the clay will probably fall apart in the kiln (clay oven). When I long-term subbed for Tasha Newton in Fall Creek, she showed me that you could slip and score clay using a toothbrush so that's what I had my students do. This makes slipping and scoring SOOOOO much easier. Any little spots that didn't have clay coils, students were to attach a small ball of clay. While the clay dried and was put in the kiln, we worked on our backgrounds. I made the backgrounds beforehand so i didn't have to worry about students burning themselves with the hot glue gun. We talked about patterns and how that is something that repeats over and over. You can have a pattern of lines, shapes, colors, stripes, etc. We used tempera paint to paint our popsicle sticks all one color. We then added patterns on top of the base colors. For the final day of the project, we talked about contrast. If something has high contrast, it means that two things are nothing alike (black and white, red and green, big and small, smooth and rough, etc). If it has low contrast, the two things are somewhat similar. We would be using high contrast on our project. Because our backgrounds had nice bright, saturated colors, our clay hearts would be a bit lighter so that they didn't blend in with our background. We painted our clay hearts using neon tempera cakes. The students were amazed that the clay soaked up the water and paint and was instantly dry after they had painted it! After they finished painting their heart, they used purple and lime green sharpies to add extra details to their backgrounds. We added shapes, stripes, polka dots, etc. Lastly, they glued four small heart-shaped beads onto their background. I glued their hearts to their backgrounds after school. I am not a big fan of working with clay, but I LOVEDDD how these turned out. This was a quick one day project. Beforehand, we took toilet paper tubes and pinched them in the middle and then taped them so that they held that position. Then we hot glued two popsicle sticks to the toilet paper tube. The students then painted it a solid color and added a pattern to it.
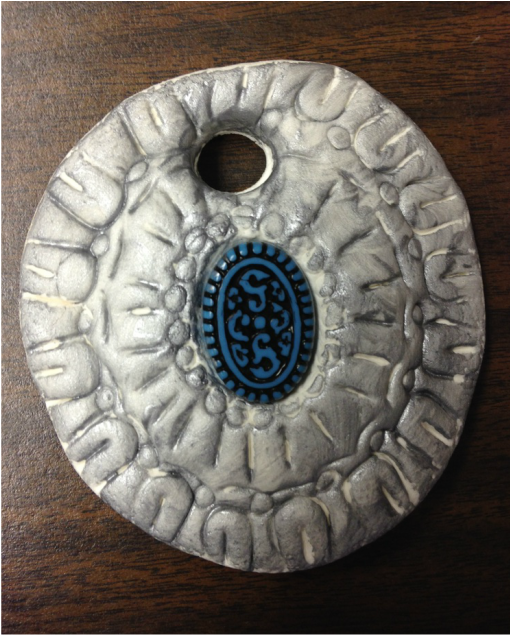
We did this with our first graders. We flattened out some model magic and then used paper clips to create designs in the clay. We then pressed a 'sapphire' gem into the middle of it and painted it silver. The students attached them to a wire and created a pattern up the wire using beads. Sadly, I never got to finish this project because my placement ended.
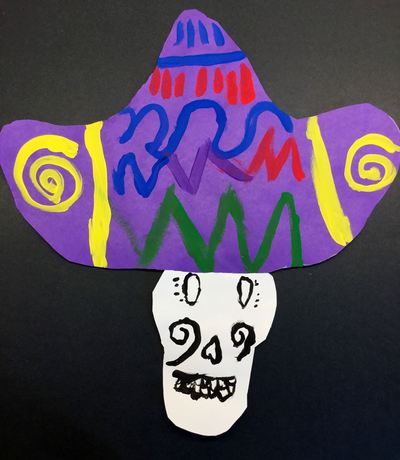
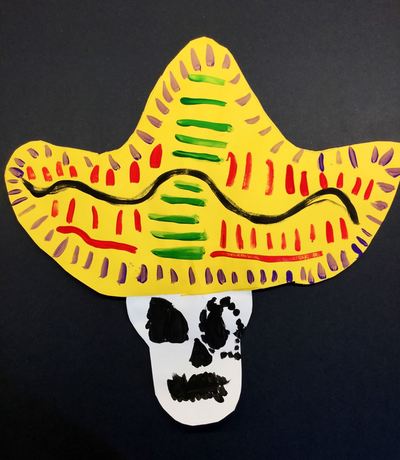
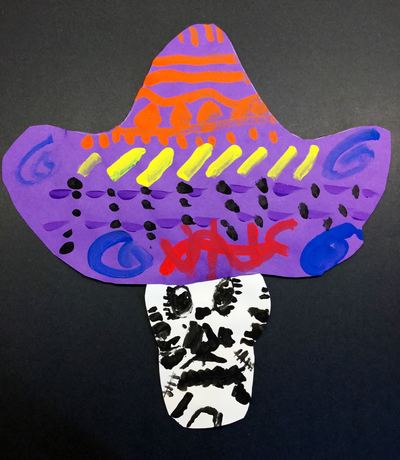
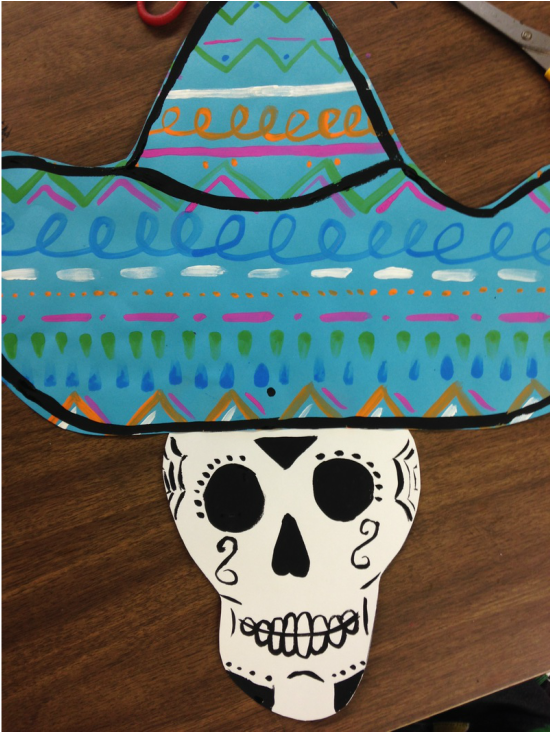
My first graders traced a hat onto a large sheet of paper and then we talked about different types of lines that they could use to paint onto their sombrero. Lastly, they made a skull and painted traditional designs onto it.
|
Devon CalvertHarmony and Consolidated Elementary Art Teacher in Milton, WI. UW-Eau Claire graduate. WAEA President. Apple Teacher. Archives
April 2018
Categories
All
|


 RSS Feed
