|
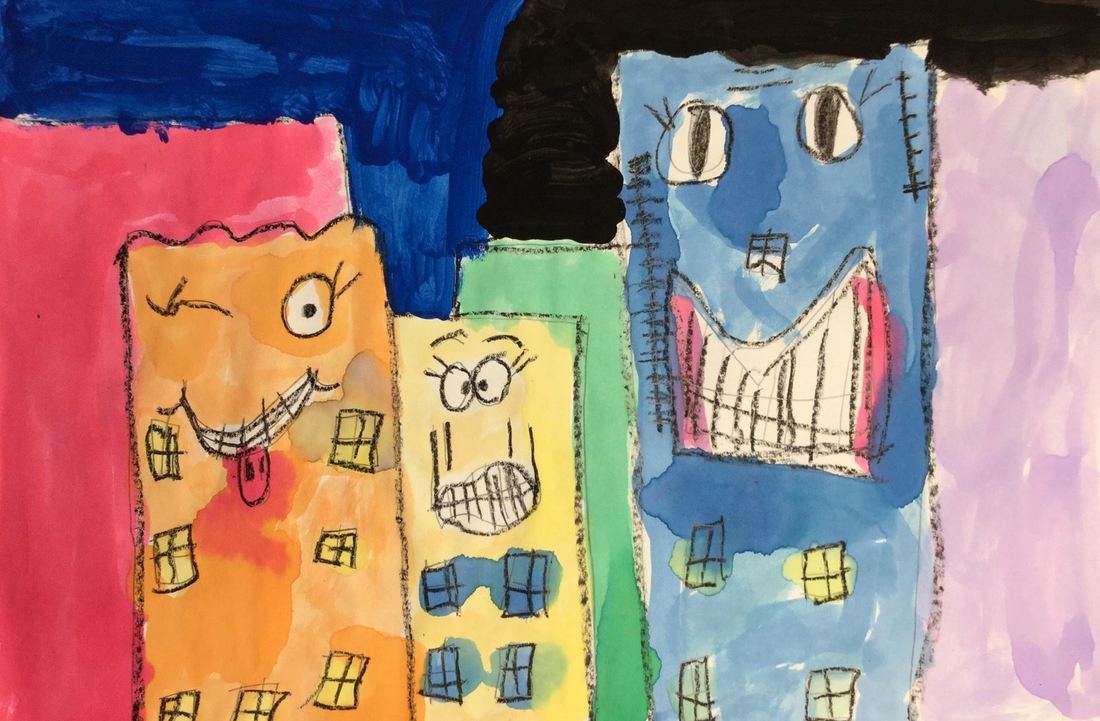
I believe this project was one that I snagged from the Jamestown Elementary blog? It's a great introduction to foreground and background for my 1st graders, as well as a refresher on the order of the rainbow! Read the details here!
1 Comment
This is a project that I saw over at jamestownelementaryartblog.com
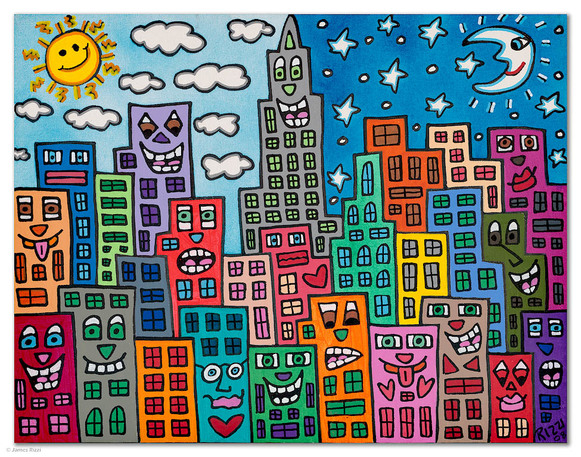
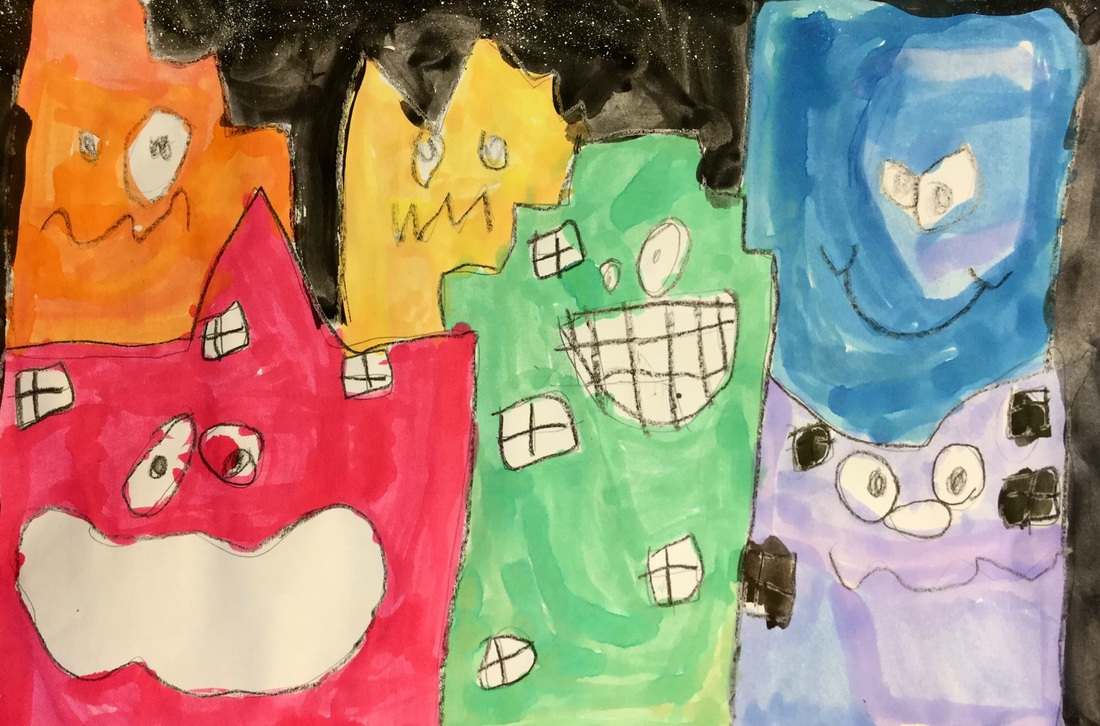
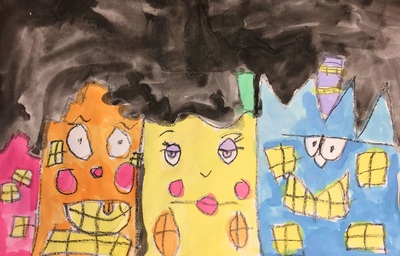
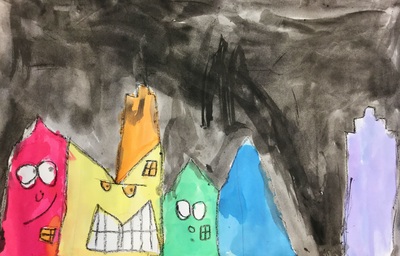
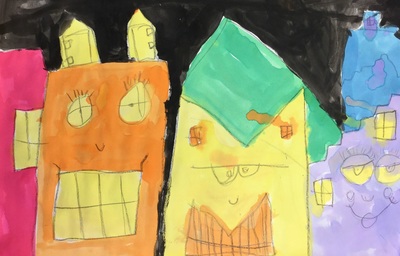
James Rizzi was an American Pop Artist who is most well-known for his fun, bright, and cartoon-like depictions of skyscrapers. His skyscrapers typically feature faces with various expressions. We kicked things off by talking about space in Rizzi's work. We noticed that just because some buildings were bigger than others, doesn't mean that the bigger building was closer to us. We came to the conclusion that this idea of space was created by Rizzi's use of overlapping buildings. We also discussed the difference between foreground and background. We also talked about how buildings are typically made up of vertical, horizontal, and diagonal lines. Students drew 3 large buildings and added faces and windows to them. They finished off the class by tracing everything they drew with a black crayon. Next, we added 3 smaller buildings to go in our background and then traced them with a black crayon. We brushed up on ROY G BIV from last year and then used liquid watercolors to paint our buildings in rainbow order. On the last day, we finished up painting our buildings. Then painted our sky black. Lastly, we did some splatter painting with white paint to add stars to our sky. With our recent string of warm weather, I've been all about summer-inspired projects! This was a project that I saw over at Create Art with Me's blog. It took us two days to do it but we probably could've stretched it out to three days if we had decided to add some more details.
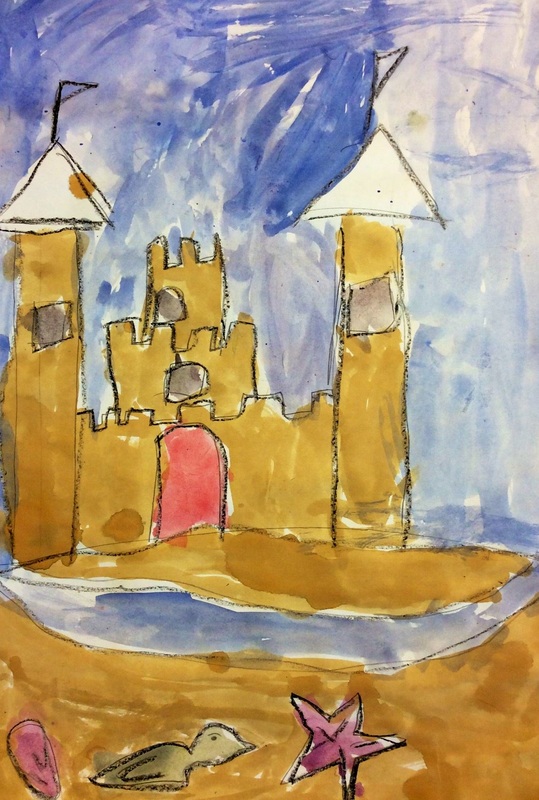
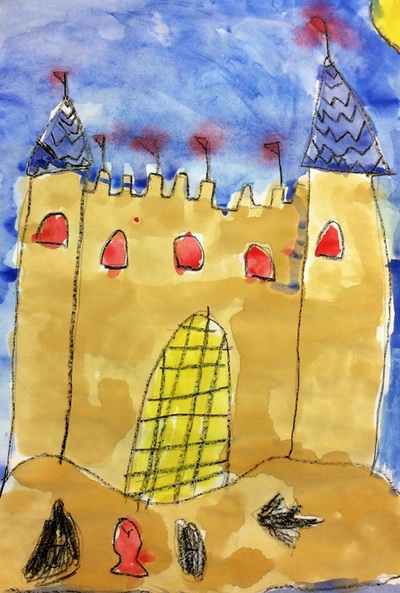
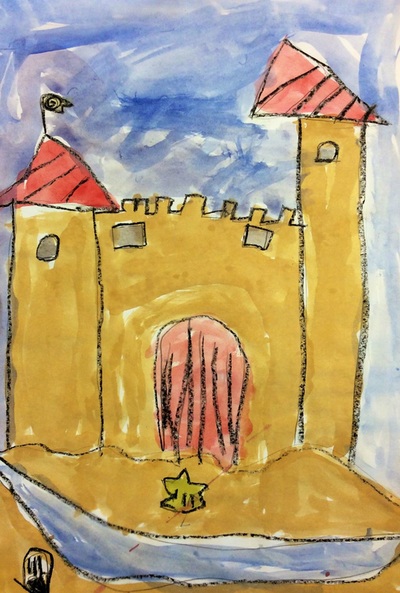
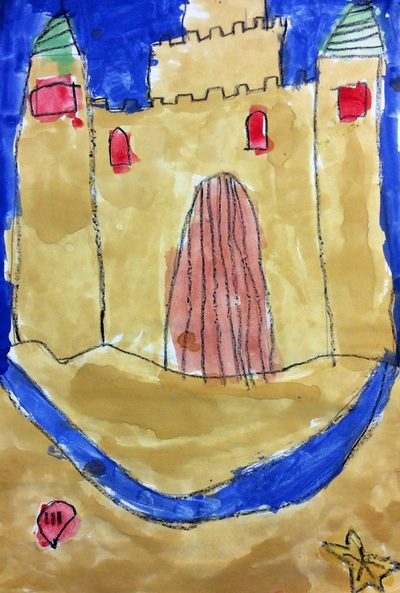
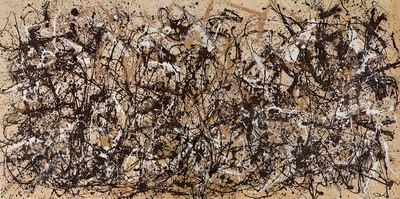
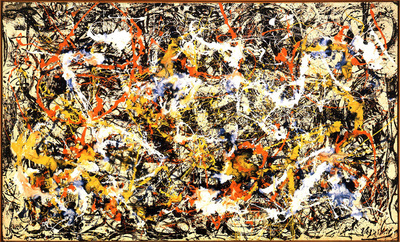
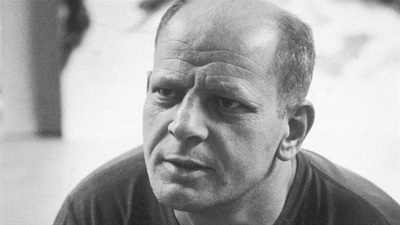
We spent the first day re-touching on the idea of space and how we can create it in our artwork. I was impressed that the students remembered the three different ways to create the illusion of space (changing color, size, and overlapping)! We took this into consideration when we drew our mighty sandcastles! Students were free to add details such as flags, draw bridges, etc. They also drew things like starfish and shells in the foreground (also super impressed that they remembered the difference between foreground and background)! After they finished drawing, they traced everything with a black crayon. They second day was spent painting with liquid watercolors and tempera cakes. As always, we also talked about proper use of Mr. Brush! Mr. Pollock was a painter who lived from 1912 to 1956, ultimately dying in a car crash at the young age of 44. As most of you probably know, Jackson was famous for his "drip paintings." Oftentimes, people exclaim "Well I could've done that!" But the reason Mr. Pollock is famous is because he was a pioneer of the method during a time when people were dabbling more and more into abstract art. He was known for splattering, spraying, squirting, dripping, and pouring paint onto his canvas. He used all sorts of materials to do this such as brushes, sticks, spatulas, spoons, etc. He worked with his canvas on the floor so that he could "dance" around it as he worked. Throughout this project, I made sure to emphasize that our paintings would NOT look like Pollock's. We were just using a few different techniques that might look like something he would do.
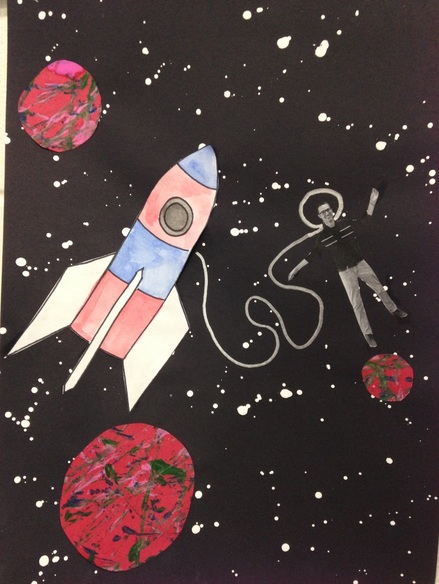
On the first day of the project, we GENTLY splatter painted white stars onto a black background. We also looked at rocket ships before drawing one and tracing them with a marker. Lastly, we used tempera cakes to paint our rocket. The second day of the project, we cut out 4 or 5 different sized circles. We put a dot of glue stick on the back of each circle and placed them onto a large modified picture frame that I had made. I had removed the glass from the frame. Students could then lightly glue their circles down to the back of the picture frame. Then we placed marbles and paint into the frames. The frames were large and required two students to gently roll the marbles around the frame, creating streaks of paint across our circles. These would later become our planets. I also took a picture of each student while they acted like they were floating. On the final day, we cut out our rocket ship and glued it on. We also glued down our planets onto the background. We cut the picture of ourselves out and glued that down too. So much cutting and gluing this class! Lastly, they used a silver marker to add a tether between their rocket ship and themselves. |
Devon CalvertHarmony and Consolidated Elementary Art Teacher in Milton, WI. UW-Eau Claire graduate. WAEA President. Apple Teacher. Archives
April 2018
Categories
All
|

 RSS Feed
