|
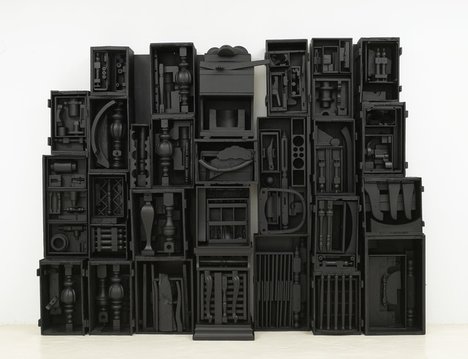
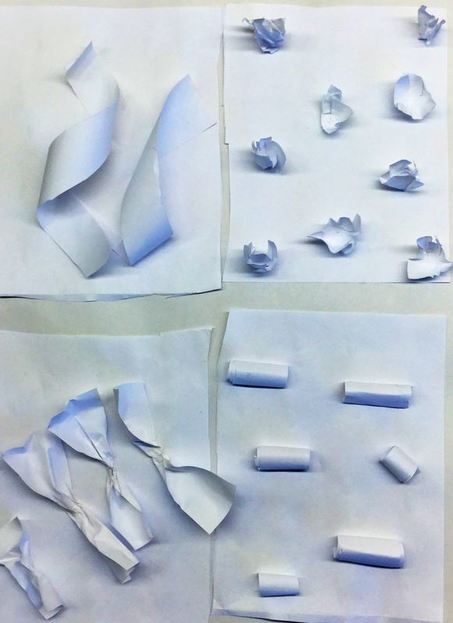
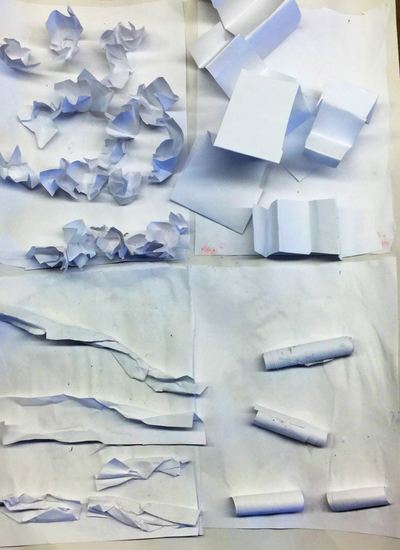
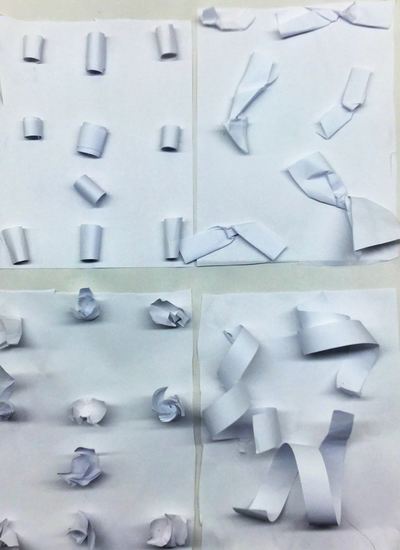
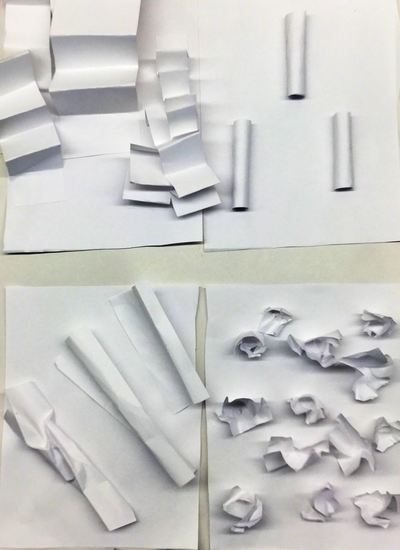
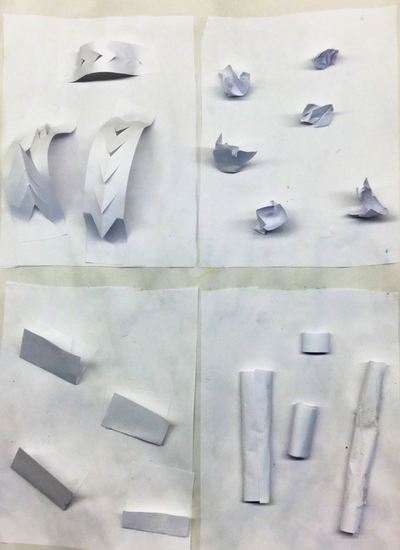
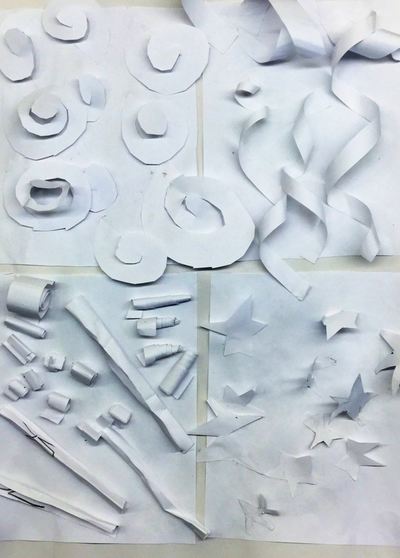
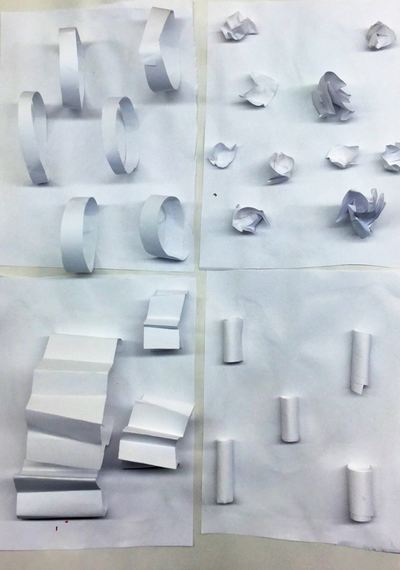
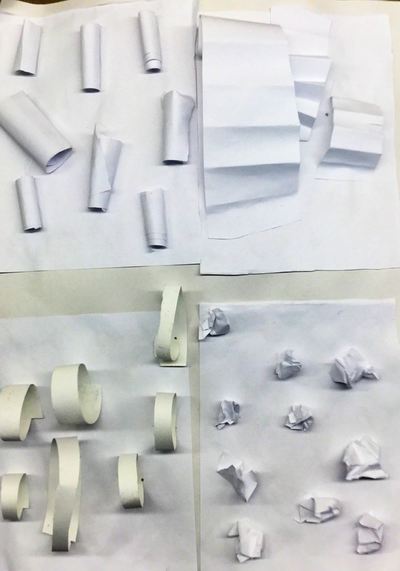
Louise Nevelson was an American (after immigrating from Russia as a child) sculptor most well-known for her monochromatic (all one color) assemblages. Her assemblages usually featured various sized wooden boxes with random objects such as chair legs, tools, car wheels, etc placed within the boxes Everything was then painted the same color. Mrs. Nevelson helped to pave the way for female artists around the world. This was a project that I did with 3rd grade last year but I wanted to give it a shot this year with our 2nd graders. I saw the idea on Pinterest and decided to tie in Louise Nevelson as an art history reference. We started out by folding a sheet of printer paper into quarters. Those quarters were cut apart and then glued onto a larger sheet of white paper. For this project, I required that everyone use white paper. From there, I demoed how to manipulate paper in different ways by folding it, crumpling it, bending it, curling it, etc. We talked about how doing these different processes to the paper created different textures. Texture is how something feels. We briefly talked about how texture can be broken down into two categories: actual and implied. Implied texture is when an artwork conveys how something might feel such as a lamb LOOKING like it is soft. Actual texture is how something ACTUALLY feels. So for our project, we focused on actual texture.
The students spent two or three days manipulating paper. It was pretty open-ended and allowed for students to experiment with the paper to create new textures that I hadn't thought of. Throughout this project, I also began to stress being thoughtful with their texture placement. This is really one of the first times that we have considered composition when making art.
0 Comments
This was another project inspired by Don Masse over at shinebritezamorano.com
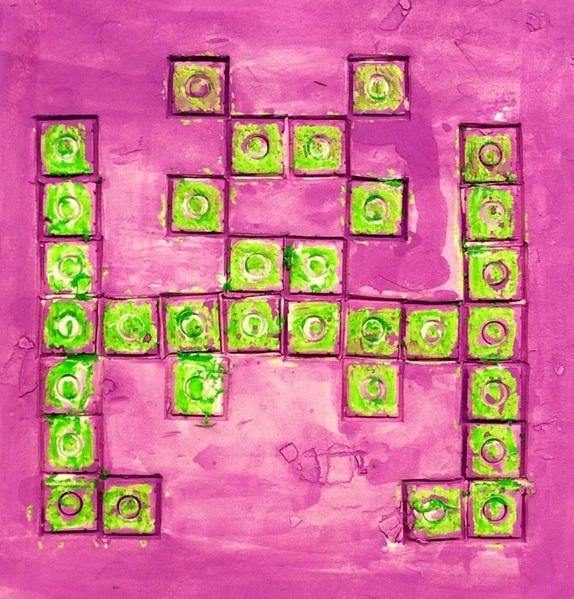
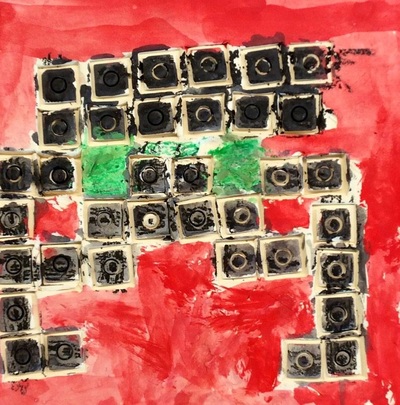
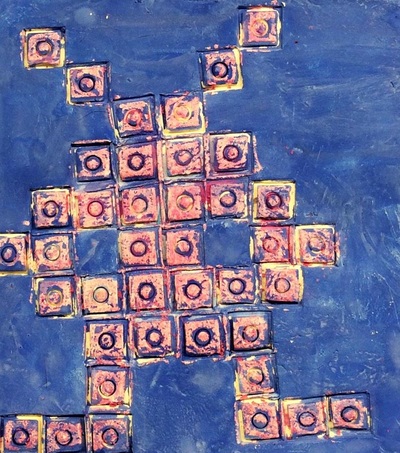
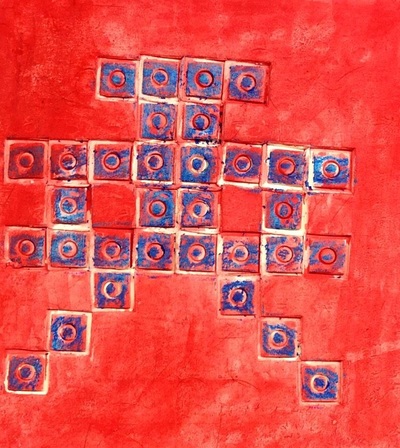
A while back I wrote up part uno to our Invader unit that we had been working on. It was a loooong project for the kids but Invader seems to be their favorite artist they have learned about this year. They had spent lots of time practicing drawing space invaders and then creating one as a paper mosaic. After creating their paper mosaic, they FINALLY got to move onto the final stage of the project. I created large square tiles for each student. I definitely need to either teach the kids how to roll slabs next time or buy a slab roller. Throwing 100-ish slab tiles took FOREVERRRRRR! Students used square legos to gently press into the clay. This left small square indents that represented each pixel of their space invader. We talked about how pressing the lego into clay created a different feeling on the clay. This is called texture. Next time I do this project, I need to find a better way to fire these. This time, I gently stacked 3-4 tiles on top of each other. Because some of them warped as they were drying, when the tiles were stacked up, the weight cracked about ten of them. It wasn't a huge deal. I patched them up with some hot glue and the kids took it in stride. After being fired, we used crayons to color our space invader. Then we used tempera cakes to paint over the space invader and the background. We talked about how we wanted our space invader to really pop out from the background. We learned that we could use to dissimilar colors to create contrast. Just like with our lions, we did this project because they are doing a song about elephants in Mr. Kamp's room. Loving the collaboration between our classes!
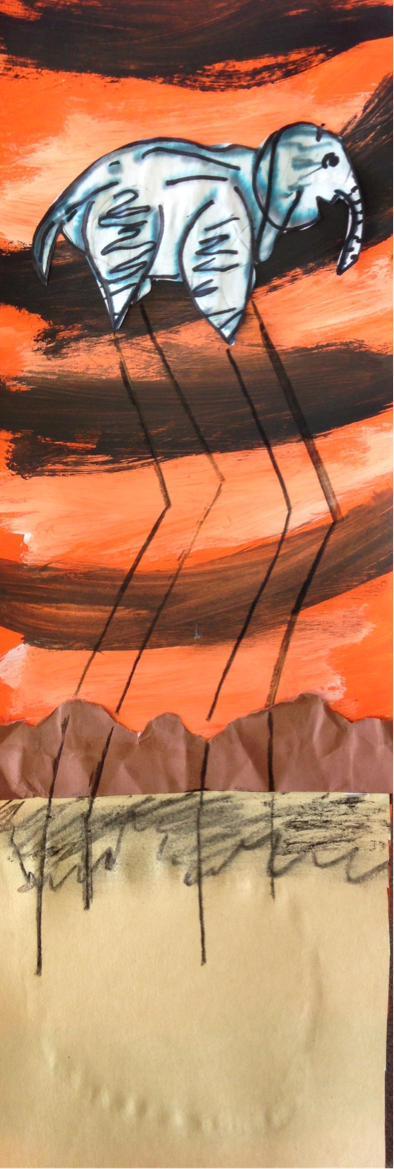
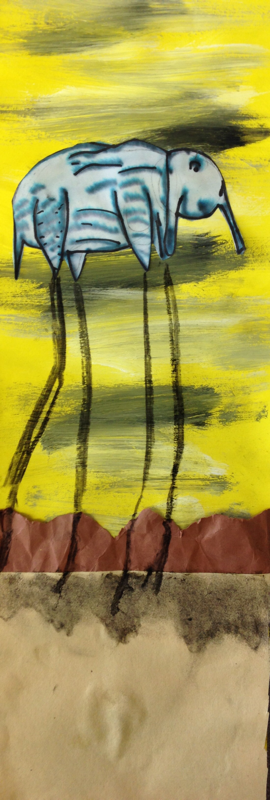
2nd grade learned about Surrealist artist, Salvador Dali. Dali was a really weird dude. Some people believe that he may have actually been insane. He is the most famous surrealist artist. This was an art movement that focused on showing things that were just tooooo strange to be true. Dali liked to paint things that he dreamt. And let's be frank, some pretty weird stuff can happen in your dreams. His most famous painting shows several limp, melted clocks. We focused on a painting of his that had elephants in it. While the elephants body looks normal, it is balanced on top of extremely long stilt-like legs. We started off by watching a video of an elephant drawing a picture of an elephant. I told them that if an elephant could do that, then they could too. We looked at how to break the elephant down into simple shapes and then drew it. We had to change the legs a bit so that we could make the long stilts later on in the project. After they hey finished drawing, we used a black washable marker to trace over our drawing. After tracing it, we brushed some water on to it. Because it was a water-based black marker, the black begins to spread and separate, turning it grayish and making the wrinkles look more realistic. We let it dry and then retraced the elephant again. For the background, we talked about warm colors which are colors that remind us of fire (red, yellow, and orange). These colors give our sky kind of an eerie feeling like Dali's. While our background was still wet, we lightly brushed white and black in spots to create a cloud streaked sky. This led us into the discussion of tints and shades. A tint is any color that has white mixed with it and a shade is any color that has black mixed with it. The he final day, we cut out the elephant and glued it on. We glued on a tan ground. Then we tore a brown strip of paper to create mountains. We crumpled our mountains up into a ball so that when we glued them down, they were wrinkled. This creates something called texture. Texture is how something feels or how it looks like it feels. Lastly, they used charcoal to add their stilt legs and a shadow to the mountains. This project was packed full of new art vocal for the kids! |
Devon CalvertHarmony and Consolidated Elementary Art Teacher in Milton, WI. UW-Eau Claire graduate. WAEA President. Apple Teacher. Archives
March 2019
Categories
All
|


 RSS Feed
