|
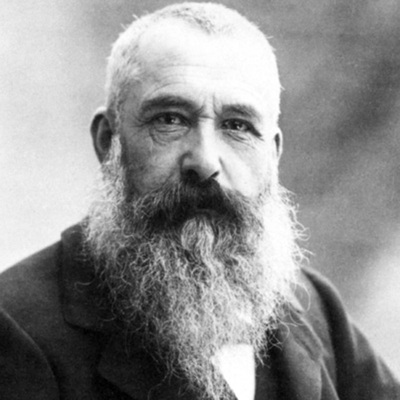
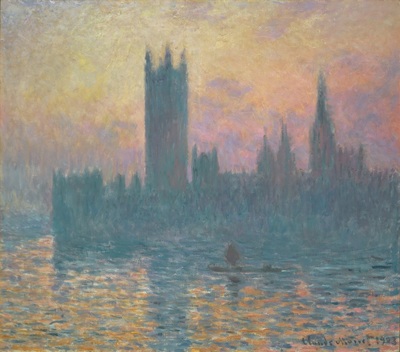
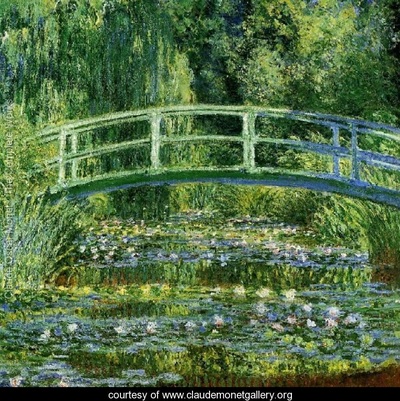
Claude Monet was a French painter who led the Impressionist art movement. Impressionism was a revolutionary movement in which artists began to emphasize showing their brushstrokes. They were greatly influenced by color and light. They painted this by going outside and painting the same pictures over and over, just painting them at different times of the day and in different weather. These factors would ultimately change the light and colors seen in an artwork. As he grew older, he began to go blind. Because of this, he kept painting bigger and bigger and bigger. This was so that he could see what he was doing. He is well-known for painting haystacks and Parliament over and over again. However, his most famous works are of his lily pond that he had at his house. I had the chance to see a bunch of his works during winter break and thought that my second graders would enjoy learning about him too! The kids were super interested in Monet and I actually had to stop them from asking so many questions because we almost ran out of art time without making any art! I'm glad that they were so excited to learn about him.
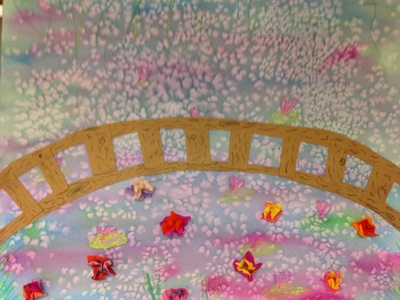
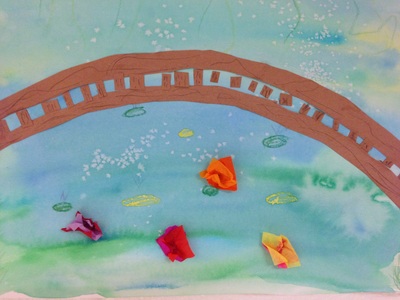
Our first day of the project was spent talking about warm and cool colors and the wet-on-wet painting technique. We started off by drawing some grass, vines, and lilies with crayon. We then used the wet-on-wet watercolor technique to paint cool colors over top of everything. We finished off the day by adding a pinch of salt to our wet paint. The salt sucks up some of the water and paint and leaves a cool effect when it dries. The second class, we cut out two long brown arches. These made the floor and railing of our bridge. Students finished off the bridge for the day by adding vertical pieces that were a finger-widths apart. For the final class, I showed them how to use small squiggly lines to create a wood grain on their bridge. We also glued a couple pieces of tissue paper together and then wrapped them around the back of our pencils to create some 3D lily flowers.
0 Comments
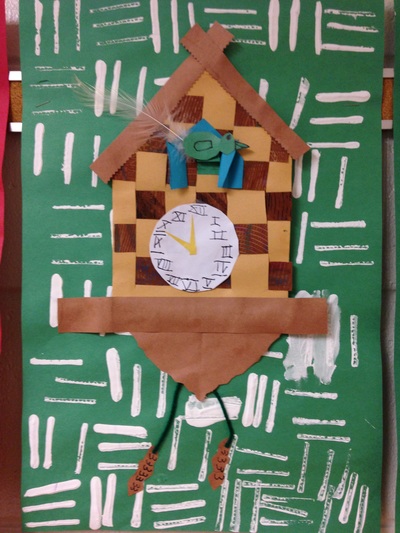
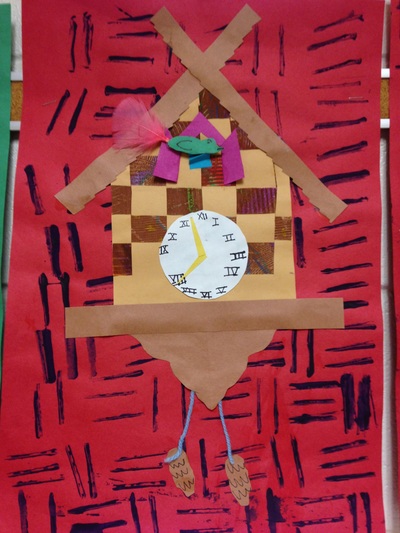
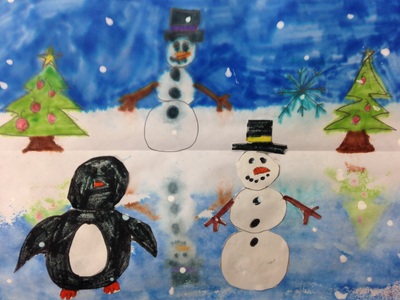
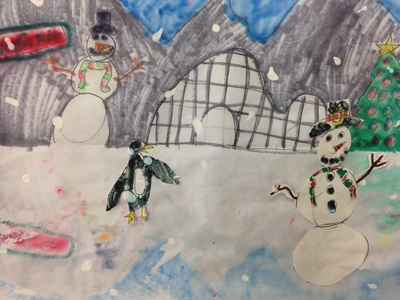
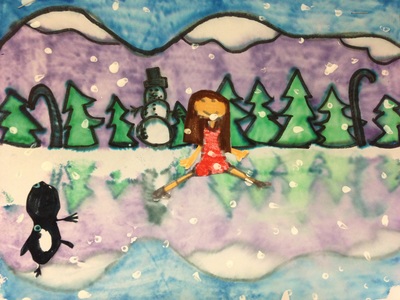
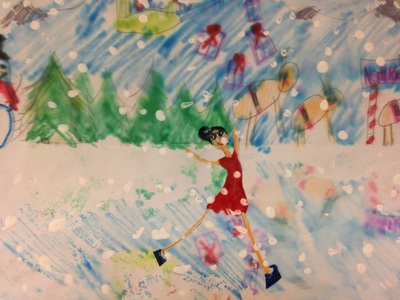
We finished this project a LONNNNNG time ago and I didn't realize that I had never posted it. It's a lesson that I got from the fabulous Cassie Stephens. We started off by using oil pastels on a piece of paper and then painting brown over it. Then we used combs to scrape paint off of the paper. After our brown painted paper had dried, I cut it into strips and students wove the brown strips into a paper loom. This would later become the housing for the clock. Then we trimmed the tops of the clocks so that they came to a point. For the third class, we used a piece of cardboard to print a pattern onto a sheet of paper for the background. We also used fancy scissors to create the trim to our clock. For the final class, we added the clock and I taught the students how to write Roman Numerals. We also added yarn and the pinecone weights to the bottom of the clock. Last but not least, we added our cuckoo bird! This was just a quick project that we did right before winter break. On the first day, we folded our paper in half and used markers to draw a wintery scene on the top half. When they were finished coloring, I sprayed their papers with water and we folded them in half. This printed their marker coloring onto the bottom half of their paper so that it looked like a reflection.
On the second day, we drew things on a seperate sheet of paper that could go on our ice. Students drew things like skaters, hockey players, penguins, and one student even drew ice fisherman! For the final day, we cut out the figures and glued them onto the background. Then we gently splatter painted white onto the picture to look like snow. |
Devon CalvertHarmony and Consolidated Elementary Art Teacher in Milton, WI. UW-Eau Claire graduate. WAEA President. Apple Teacher. Archives
March 2019
Categories
All
|


 RSS Feed
