|
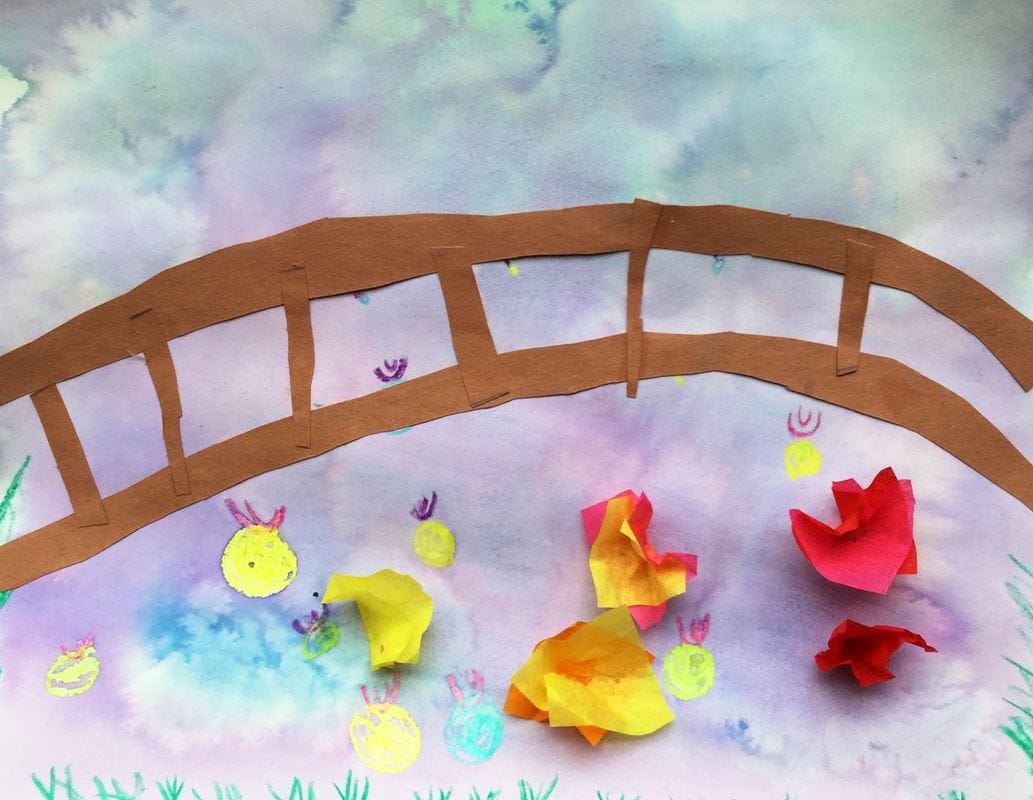
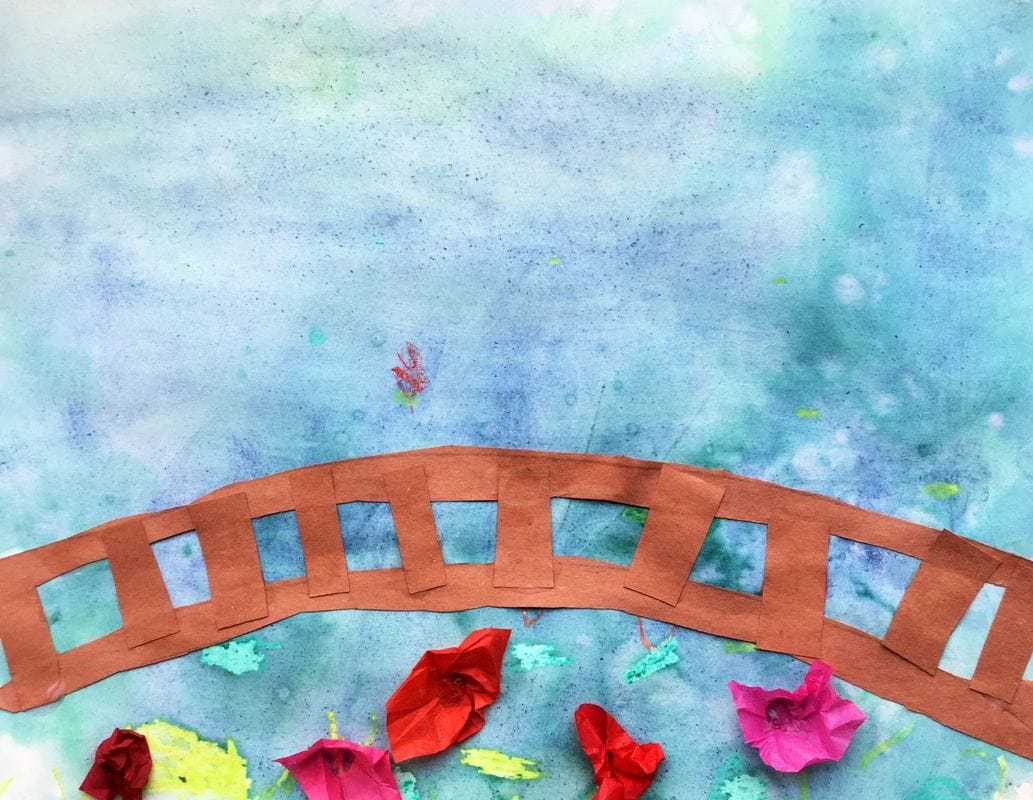
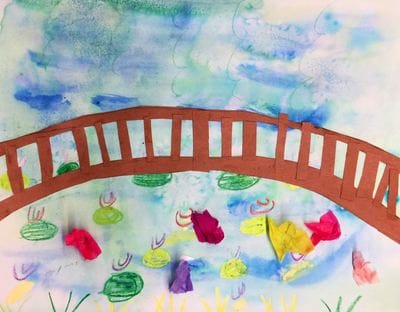
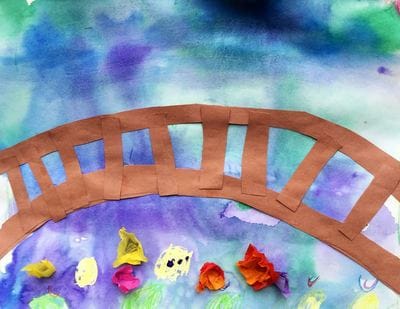
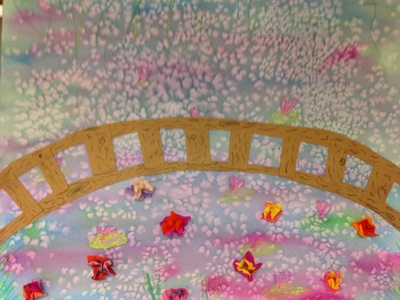
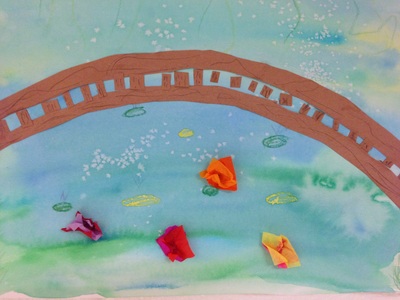
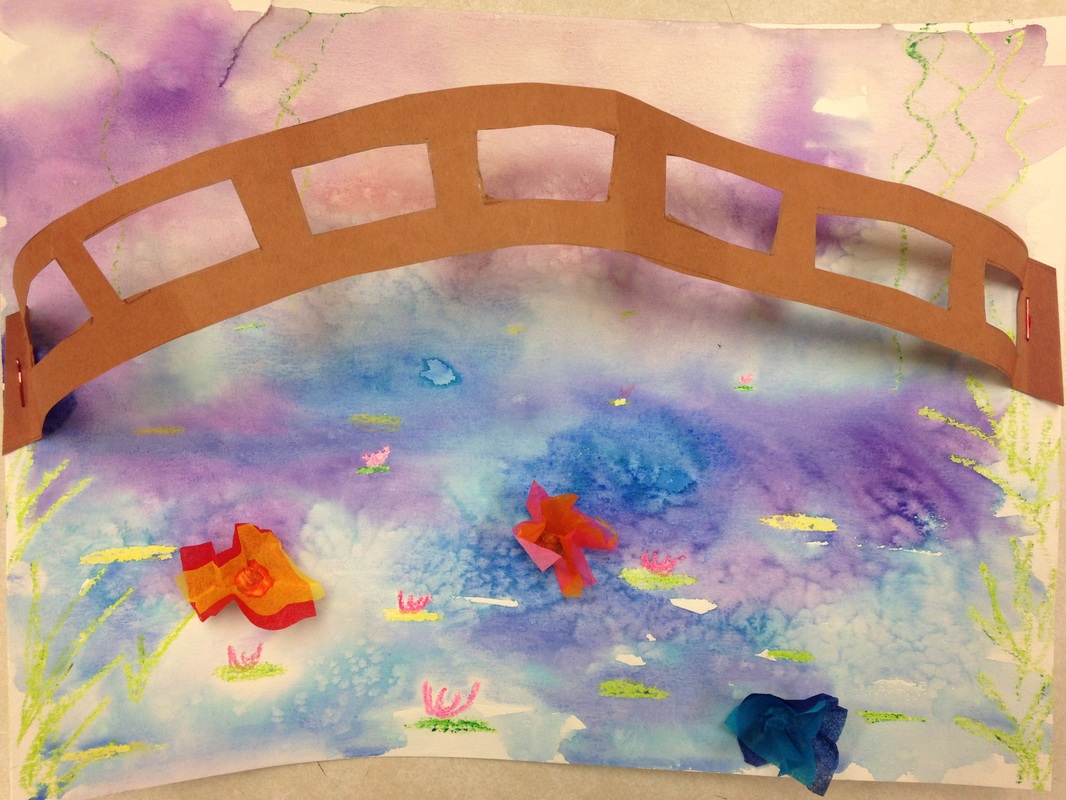
This is a project that I did last year with my 2nd graders that I decided to bring back again for this year. We learned about Claude Monet and his history changing art-style, Impressionism. Impressionists focused on painting light and its effects on color. I found that this year's 2nd graders were much more successful with their wet-on-wet watercolor technique. I'm not sure if I taught it differently or what but I was very impressed with their painting results. This year, I cut out the part where students drew on the bridge's woodgrain too.
Here is a link to the project instructions from last year: http://devoncalvert.weebly.com/2nd/monets-lily-pond
0 Comments
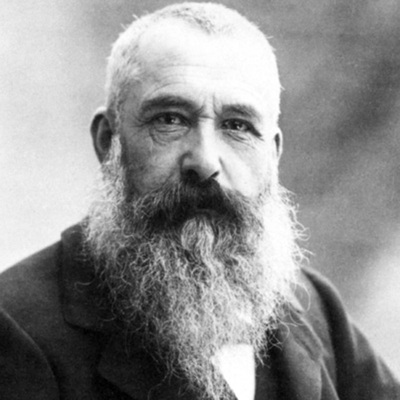
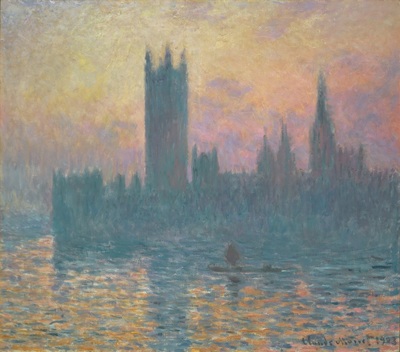
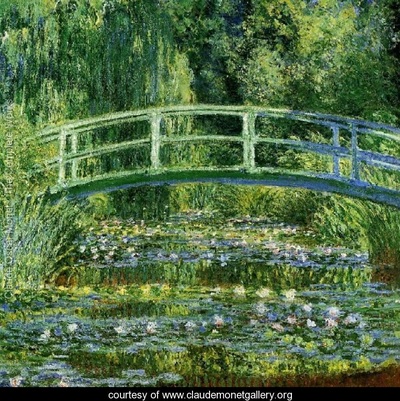
Claude Monet was a French painter who led the Impressionist art movement. Impressionism was a revolutionary movement in which artists began to emphasize showing their brushstrokes. They were greatly influenced by color and light. They painted this by going outside and painting the same pictures over and over, just painting them at different times of the day and in different weather. These factors would ultimately change the light and colors seen in an artwork. As he grew older, he began to go blind. Because of this, he kept painting bigger and bigger and bigger. This was so that he could see what he was doing. He is well-known for painting haystacks and Parliament over and over again. However, his most famous works are of his lily pond that he had at his house. I had the chance to see a bunch of his works during winter break and thought that my second graders would enjoy learning about him too! The kids were super interested in Monet and I actually had to stop them from asking so many questions because we almost ran out of art time without making any art! I'm glad that they were so excited to learn about him.
Our first day of the project was spent talking about warm and cool colors and the wet-on-wet painting technique. We started off by drawing some grass, vines, and lilies with crayon. We then used the wet-on-wet watercolor technique to paint cool colors over top of everything. We finished off the day by adding a pinch of salt to our wet paint. The salt sucks up some of the water and paint and leaves a cool effect when it dries. The second class, we cut out two long brown arches. These made the floor and railing of our bridge. Students finished off the bridge for the day by adding vertical pieces that were a finger-widths apart. For the final class, I showed them how to use small squiggly lines to create a wood grain on their bridge. We also glued a couple pieces of tissue paper together and then wrapped them around the back of our pencils to create some 3D lily flowers. We read a book about Monet to start off class. First they drew lily pads, grass, vines, etc using crayons. I then talked to them about the wet-on-wet watercolor technique and how water and wax from the crayons don't get along very well so the crayons would show through their paintings. I talked about using salt in their watercolor paintings and how the salt sucks in the water, creating an interesting effect. The next class we made tissue paper lilies that we glued onto our paintings. They also used a tracer to cut out a bridge that I then stapled onto their painting. The bridge was longer than the paper so when I stapled it on, it would pop out (re-referencing 3D art from a previous project).
|
Devon CalvertHarmony and Consolidated Elementary Art Teacher in Milton, WI. UW-Eau Claire graduate. WAEA President. Apple Teacher. Archives
March 2019
Categories
All
|


 RSS Feed
