|
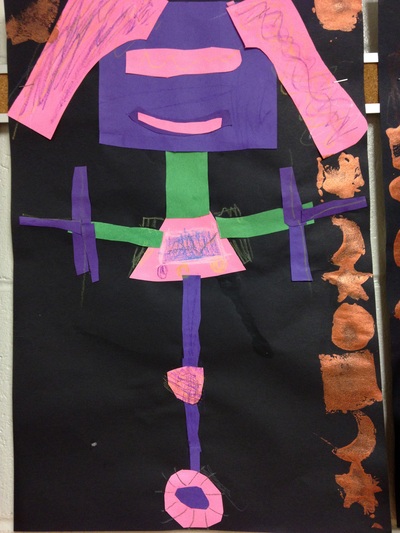
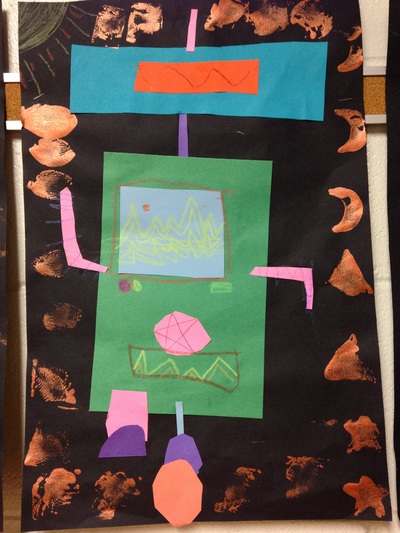
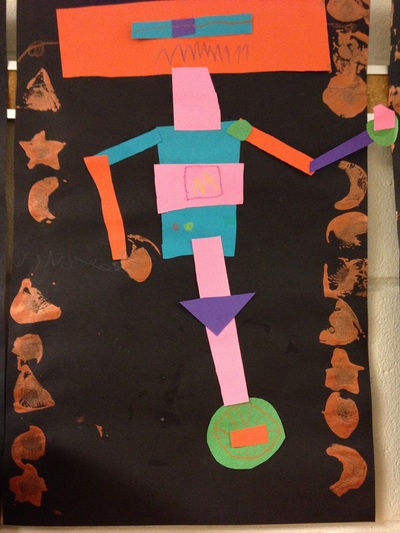
More and more and more shapes! My kinders can't get enough of them! We started of by reading Robot Zot! I love love love to read to the kids! It's one of my favorite things to do! Then we got to work. They began with cutting out a body that filled up a good chunk of their black paper. We talked about what shapes we might use for certain body parts but this was their robot to create and they could make it look like whatever they wanted it to look like. Next, they needed to add legs, arms, a neck, and head. Some chose to give their robot a wheel instead of legs.
For the second day of class, they had to add at least 3 more shapes to their robot, even if they thought they were finished. We talked about things they could add like a hover board, robot hair, a robot purse, a tv on their robot's chest, antennas, etc. Then they used construction paper crayons to add details to their robot. Lastly, we used shape stamps and brass colored paint to print a shape border. My stamps were ones that I made out of small pieces of wood. Sadly, they began to warp as they soaked up paint so some of the borders just look like blobs of paint.
0 Comments
Leave a Reply. |
Devon CalvertHarmony and Consolidated Elementary Art Teacher in Milton, WI. UW-Eau Claire graduate. WAEA President. Apple Teacher. Archives
March 2019
Categories
All
|


 RSS Feed
