|
These lucky kinders were my first classes to earn clay privileges! We started off by talking about texture and describing the texure of various things around the room. We even realized that we had textures on the bottom of our shoes! We also talked about clay and how to use it. After this little discussion, we got to making some art! They were each given a small chunk of clay. They rolled it into a ball and then set it on the ground. They picked out a spot on the sole of their shoe that they liked and stepped that spot onto the clay. This left an imprint of their shoe texture on the clay. I wrote their name on the back and poked a hole in the top and set them aside to dry for a few days. I then fired them in the kiln after they had dried. The kids didn't believe me when I told them that the kiln was hotter than their kitchen oven or even their grill! They crack me up! After they had cooled, I dipped them into watered down india ink. This dyed them a blackish color (they kind of looked like coal!). The next class, we colored them with oil pastels. Because they had been dyed black, the contrast between the clay and the oil pastels really makes the textures pop. We wrapped a pipe cleaner through the hole in them and then wrapped the whole ornament in newspaper for them to take home. 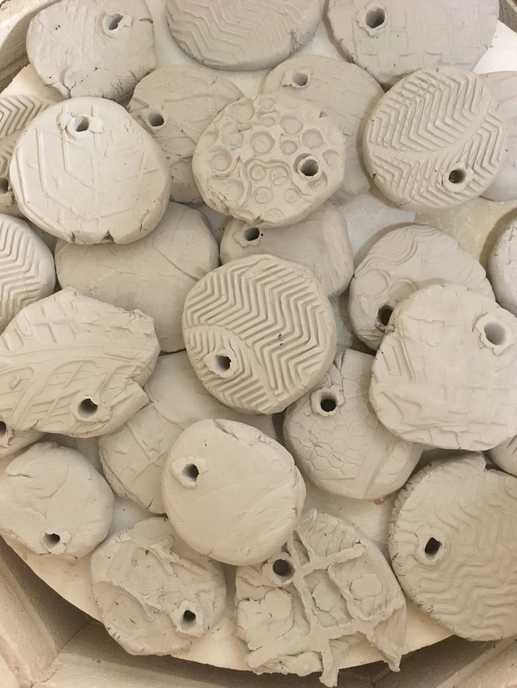 Clay in the kiln, ready to be fired! 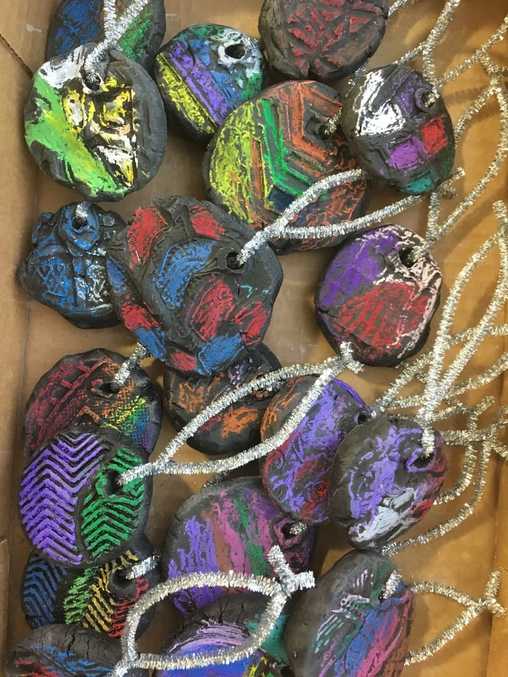 Finished ornaments, ready to be taken home!
0 Comments
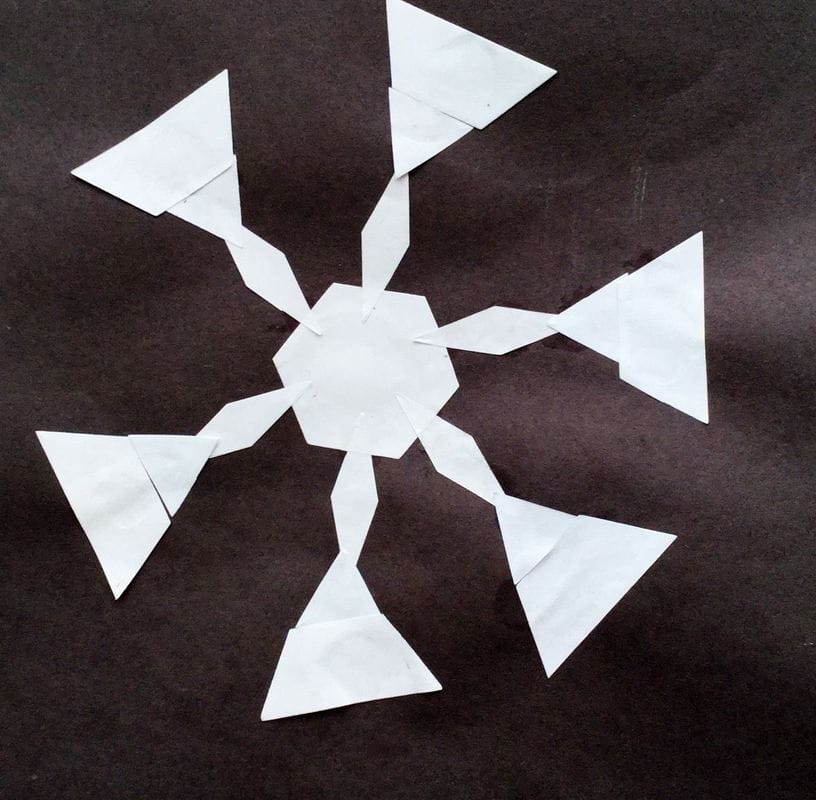
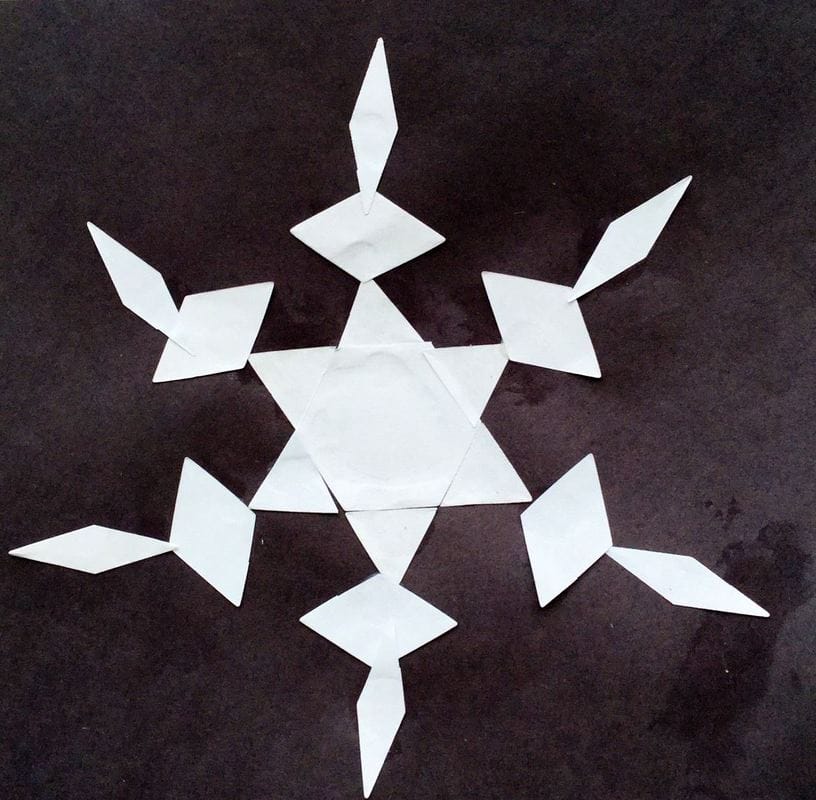
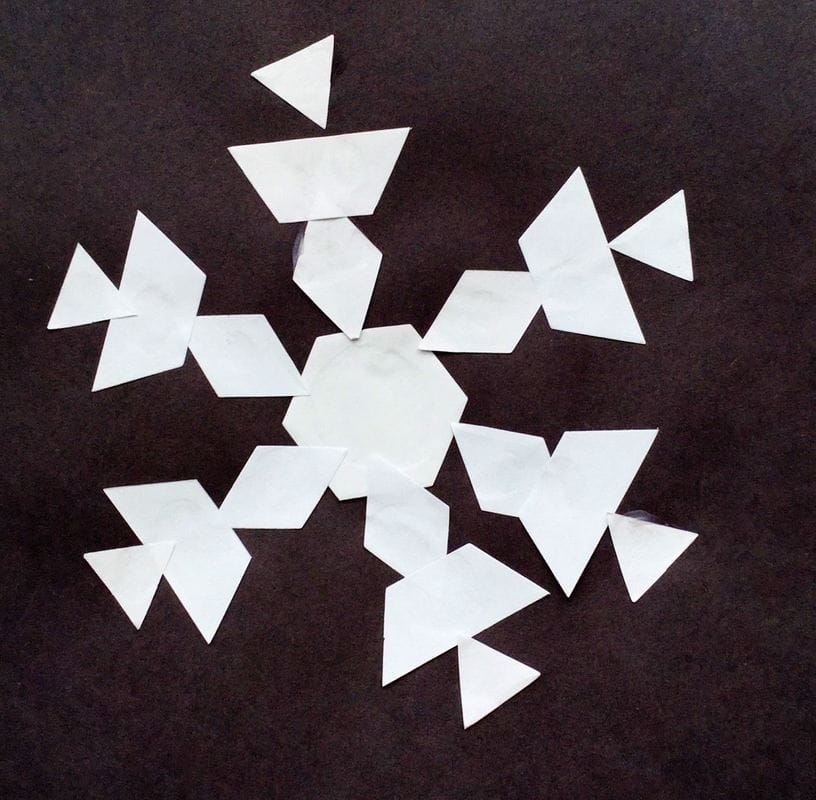
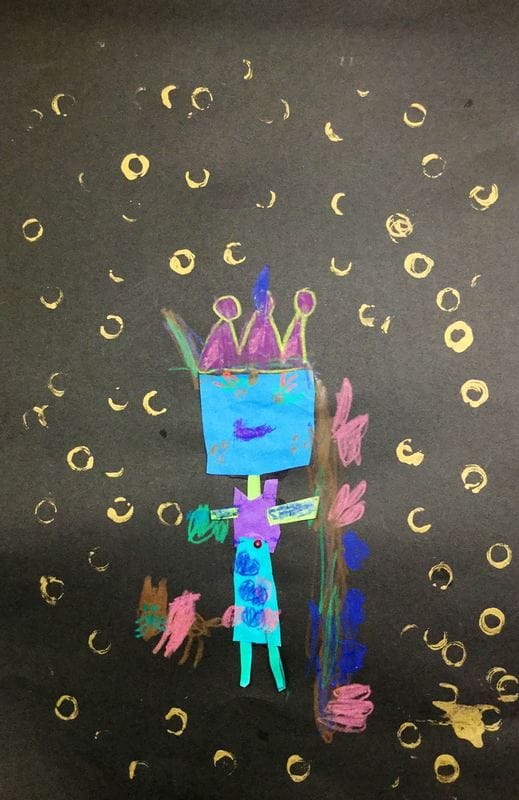
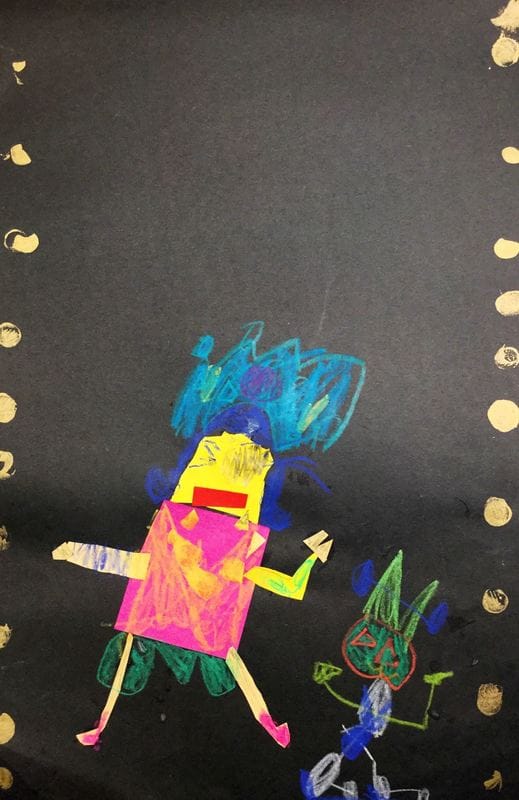
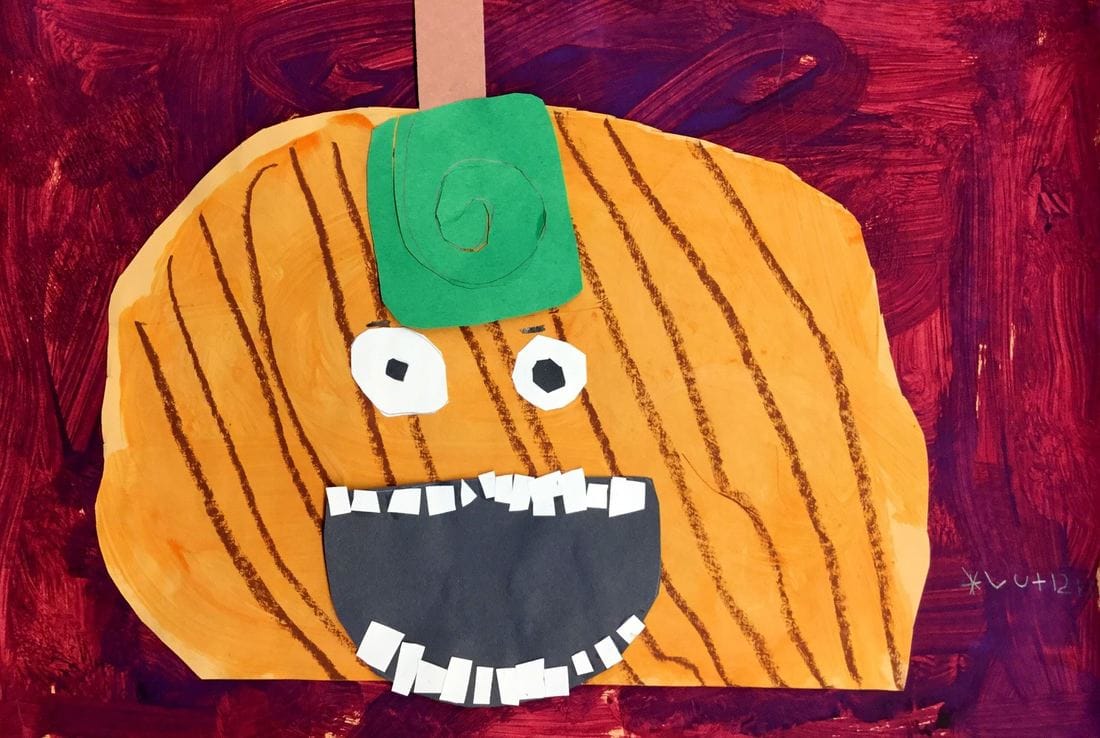
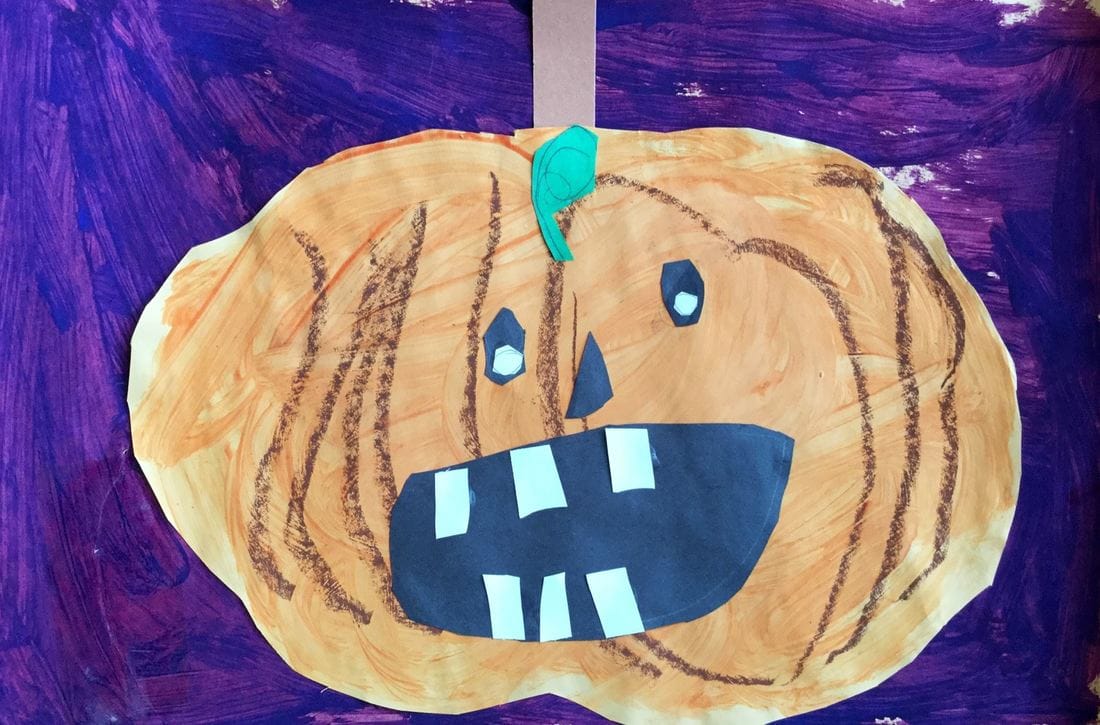
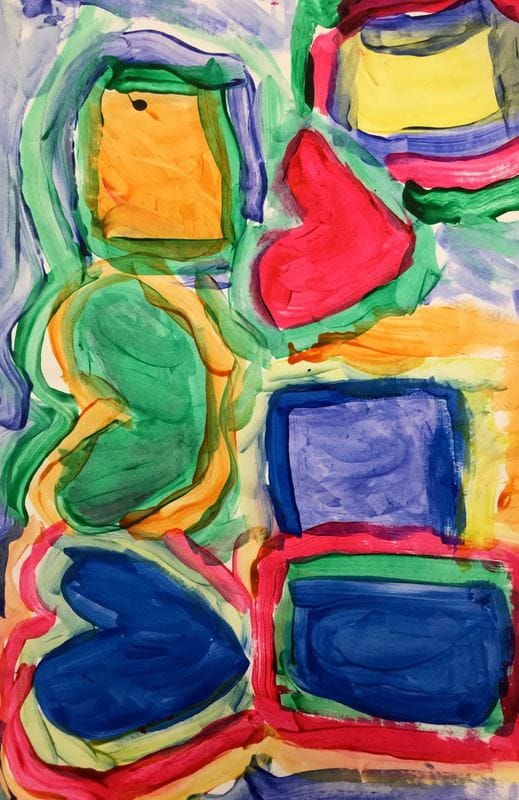
We were once again talking about shapes! Our kinder-kiddos are becoming quite the experts on their shapes. We started class by watching a timelapse video of snowflakes forming. They were mesmerized by the video! We noticed that snowlfakes have a hexagon in the center and as the snowflake begins to form and grow, the six spindles that come out from it are identical/form a pattern. After the video, we reviewed our lines and shapes. Then we got to making some art! I pre-glued a white hexagon to the center of a black sheet of paper. I pre-cut a bunch of shapes using the die-cutter. They were to glue at least three shapes to each side of the hexagon, making sure that they used the same shapes for each side. I made sure these beauties got hung up for the Winter Concert! 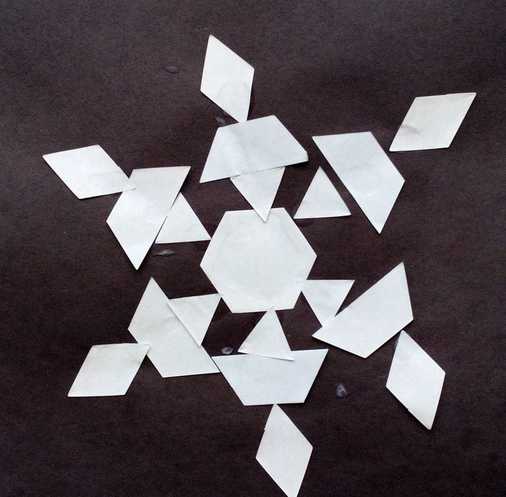 More and more and more shapes! My kinders can't get enough of them! We started of by reading Robot Zot! I love love love to read to the kids! It's one of my favorite things to do! Then we got to work. They began with cutting out a body that filled up a good chunk of their black paper. We talked about what shapes we might use for certain body parts but this was their robot to create and they could make it look like whatever they wanted it to look like. Next, they needed to add legs, arms, a neck, and head. Some chose to give their robot a wheel instead of legs. For the second day of class, they had to add at least 3 more shapes to their robot, even if they thought they were finished. We talked about things they could add like a hover board, robot hair, a robot purse, a tv on their robot's chest, antennas, etc. Then they used construction paper crayons to add details to their robot. Lastly, we used nuts and bolts and brass colored paint to print a shape border. 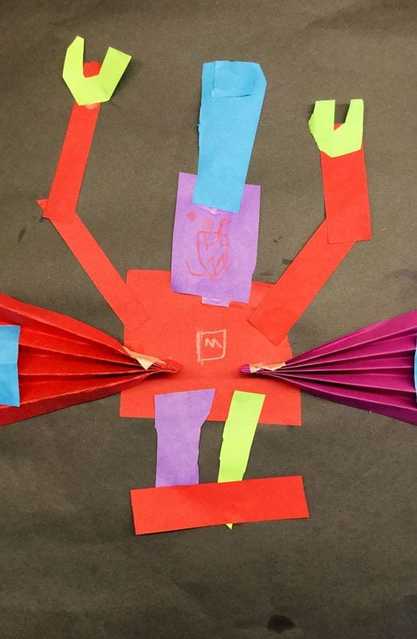 I thought these folded wings were pretty rad! This was a project that I did when I student-taught with the fabulous Jen Dahl in Black River Falls. We started off reading a quick book about pumpkins then we made some art MAGIC! We retouched on the difference between 2D and 3D. The kiddos would be making two different pumpkins. Their first job was to stuff a paper bag full of crumpled up newspapers and then twist the top of the bag shut to make a stem. I gave them each a small cup of red and yellow and told them to mix it together to create some magic. 'It makes orange!' They shrieked as they mixed the colors together. It literally blew their minds! They used the orange to paint the rounded part of their 3D pumpkin. When they were finished, they put it in the pumpkin patch (on the counter) in front of the window so that our pumpkins could get some sunlight to grow! After they had finished that, they then painted a HUGE orange oval on a paper. This would later become their 2D pumpkin. On day two, we used brown oil pastels to add lines to both our pumpkins. Then they cut out their 2D pumpkin. Next, they added a small brown stem and I showed them how to cut out a spiral for their pumpkin's vine. After they had finished their 2D pumpkin, they made some more art magic by mixing yellow and blue together to make green! They used this to paint their 3D pumpkin stem. They also learned to mix red and blue together to make purple. We used this to paint a large sheet of paper that would later become a background. We also talked about why each person ended up with different kinds of greens, purples, and oranges. The final day was spent gluing their 2D pumpkin to their purple background. Lastly, they used black and white paper to turn their pumpkins into jack o' lanterns. I love all the character that they have! 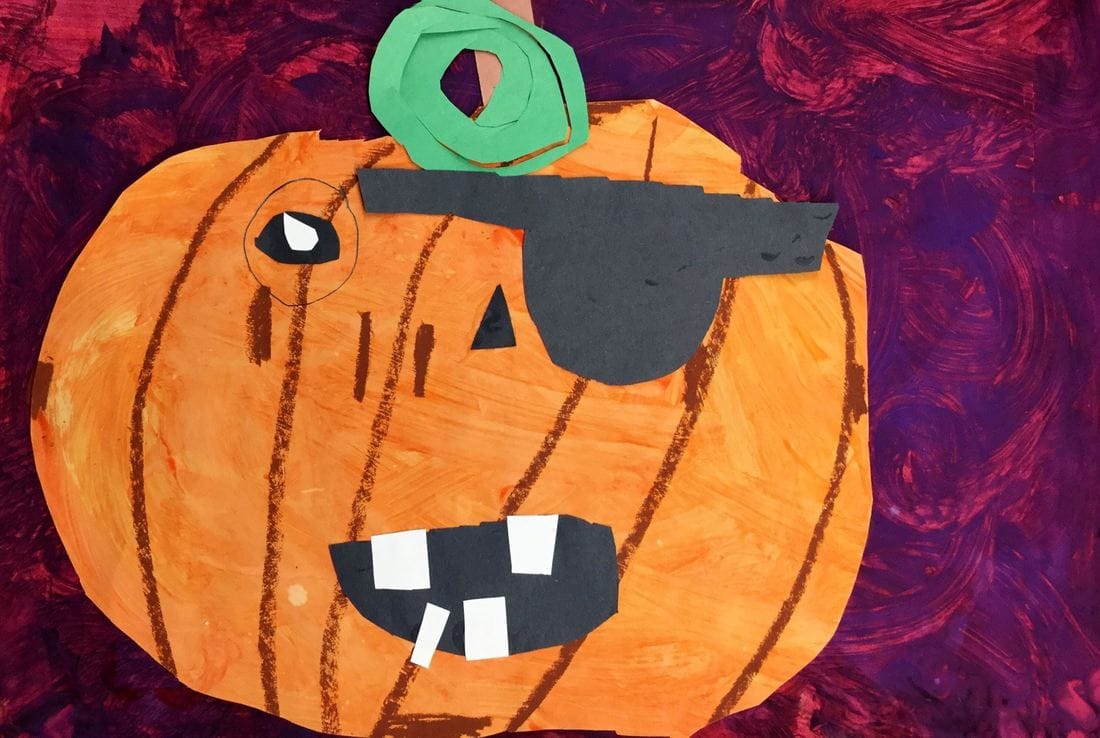 This pirate pumpkin cracks me up! 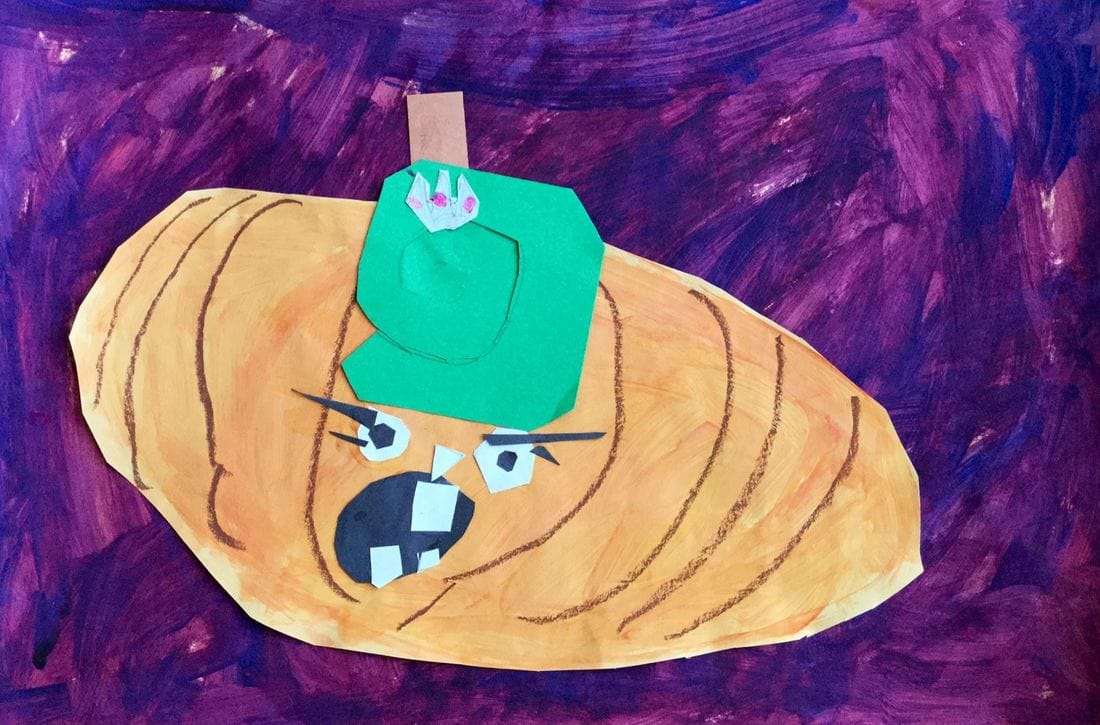 Check out this fabulous princess pumpkin with her tiara and eyelashes! Like our last project, after creating our shape boxes, we painted shapes! This was the kiddos' first time using tempera paint so I had to go over some basics with them. I emphasized that their brush needs to paint on it's toes like a ballerina (got this from Cassie Stephens) not scoot around on it's booty. I often times see kids scrubbing their paper with their brush when trying to paint so I am working on teaching proper brush usage. The students used the tempera paint to paint different colored shapes. When switching to a different color, we worked on making sure to clean our brush in our water cups and then drying them off on our sponge. This helps to keep the kids from mixing and dirtying the paint cups. After they had a bunch of shapes, we worked on giving the shapes outlines and eventually filling in the rest of the background. 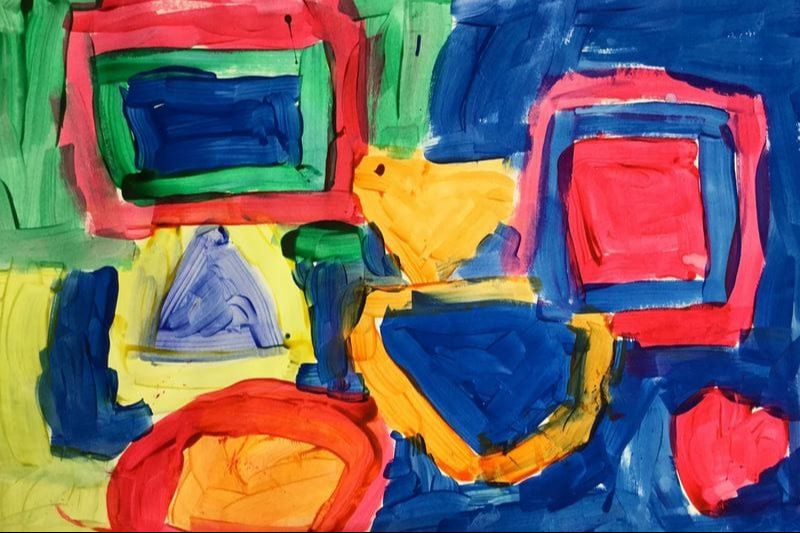 |
Devon CalvertHarmony and Consolidated Elementary Art Teacher in Milton, WI. UW-Eau Claire graduate. WAEA President. Apple Teacher. 
Archives
March 2019
Categories
All
|


 RSS Feed
