|
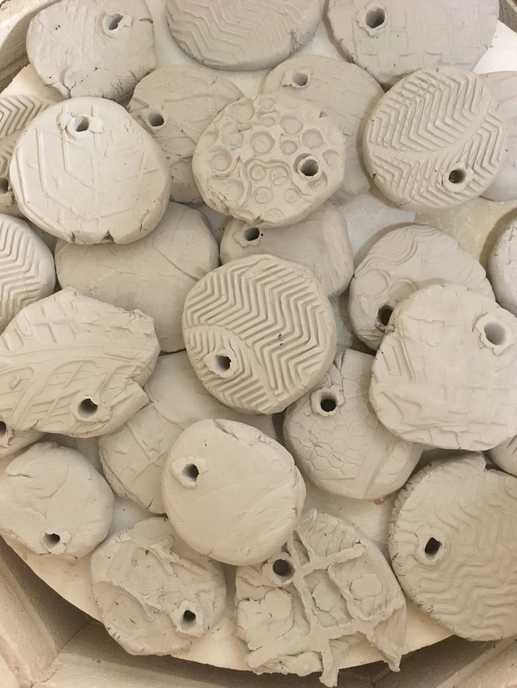
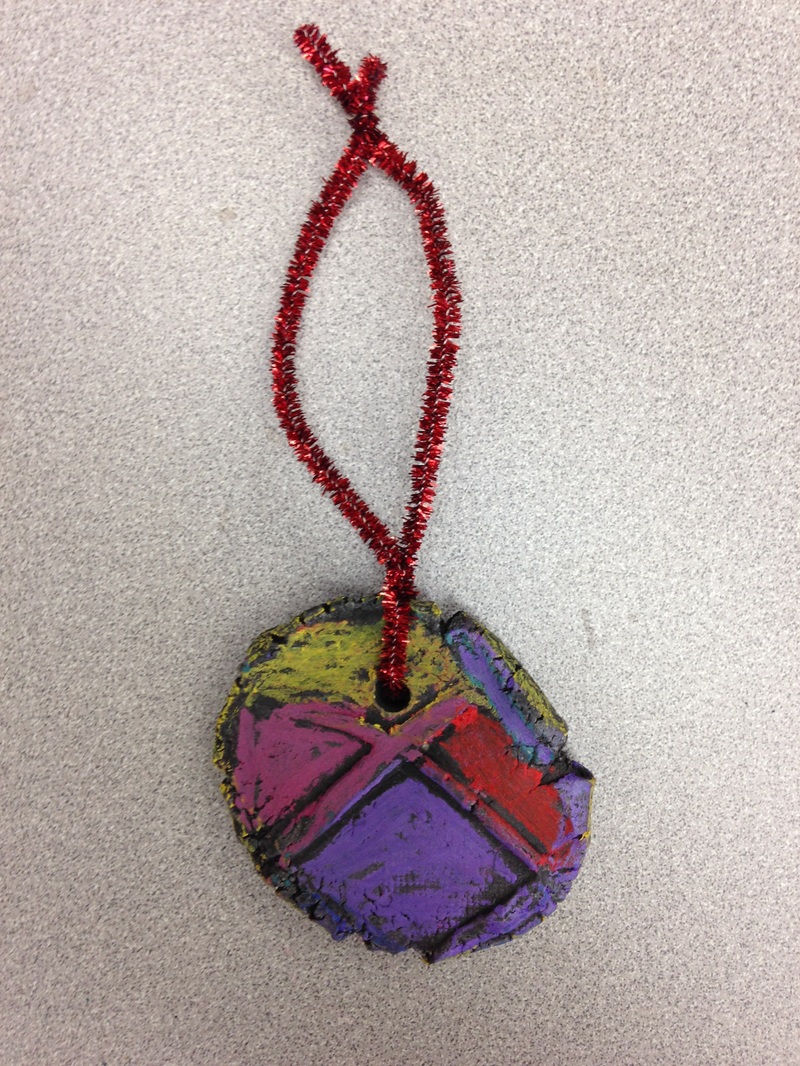
These lucky kinders were my first classes to earn clay privileges! We started off by talking about texture and describing the texure of various things around the room. We even realized that we had textures on the bottom of our shoes! We also talked about clay and how to use it. After this little discussion, we got to making some art! They were each given a small chunk of clay. They rolled it into a ball and then set it on the ground. They picked out a spot on the sole of their shoe that they liked and stepped that spot onto the clay. This left an imprint of their shoe texture on the clay. I wrote their name on the back and poked a hole in the top and set them aside to dry for a few days.
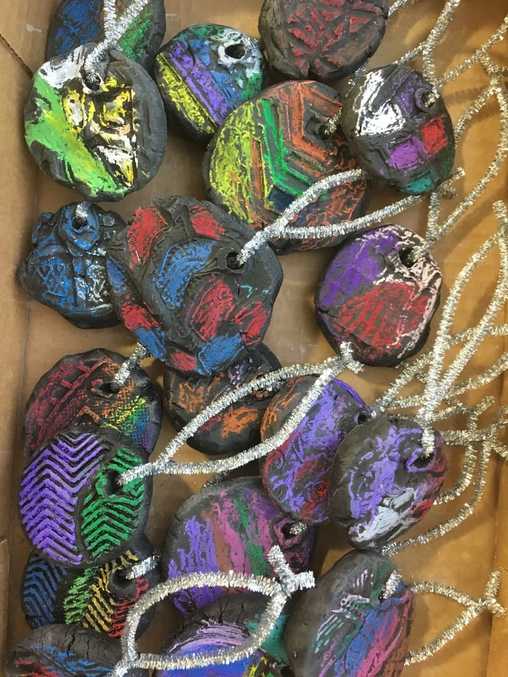
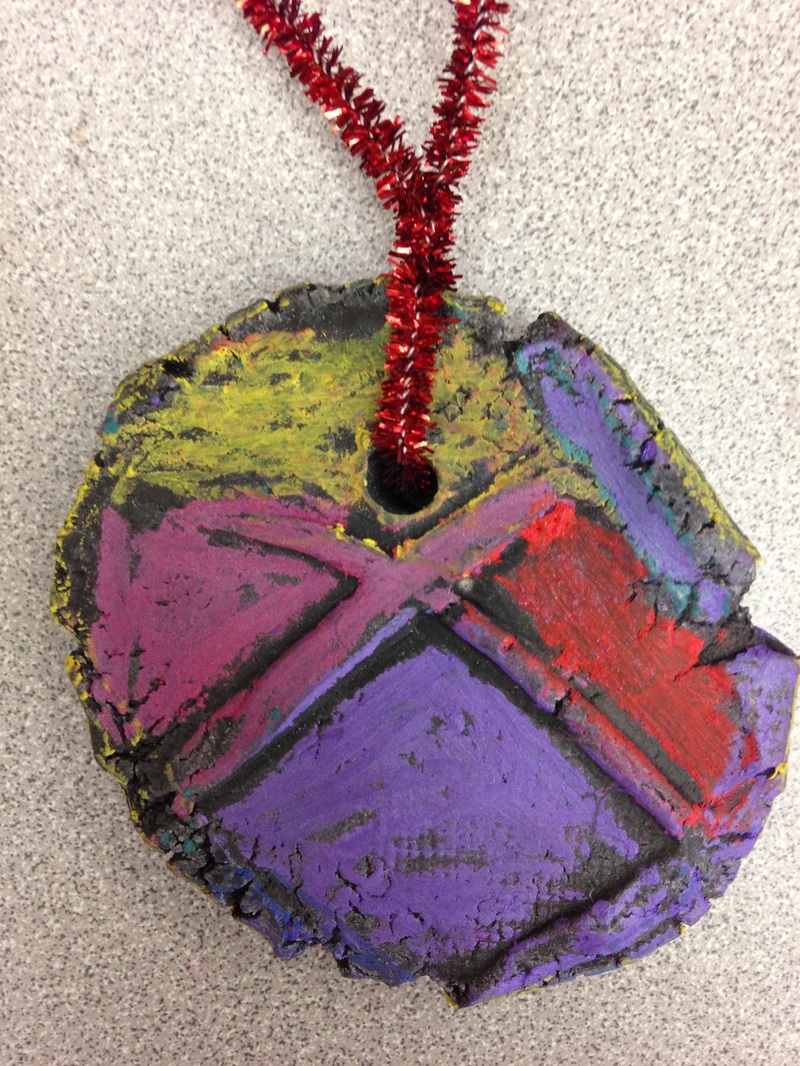
I then fired them in the kiln after they had dried. The kids didn't believe me when I told them that the kiln was hotter than their kitchen oven or even their grill! They crack me up! After they had cooled, I dipped them into watered down india ink. This dyed them a blackish color (they kind of looked like coal!). The next class, we colored them with oil pastels. Because they had been dyed black, the contrast between the clay and the oil pastels really makes the textures pop. We wrapped a pipe cleaner through the hole in them and then wrapped the whole ornament in newspaper for them to take home.
0 Comments
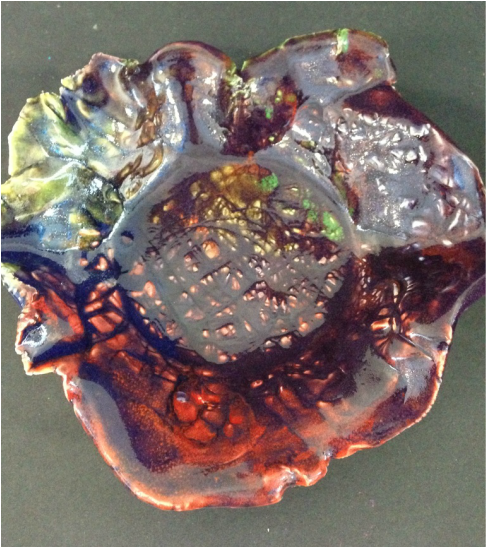
We worked with clay again in kindergarten and once again focused on texture. Texture is how something feels, or how something looks like it feels. Each student was a given a chunk of clay that they flattened out with the palm of their hand. Then we used different materials to press textures into the clay. When they were finished, I draped their clay slab over a styrofoam bowl and let it sit. Eventually, the clay starts to harden and takes on the shape of the bowl. After I bisque fired the bowls, students then glazed their bowl.
Those lucky kinders were my first classes to earn clay privileges! We started off by talking about texture and passing around some objects with different textures. We even realized that we had textures on the bottom of our shoes! We also talked about clay and how to use it. After this little discussion, we got to making some art! They were each given a small chunk of clay. They rolled it into a ball and then set it on the ground. They picked out a spot on the sole of their shoe that they liked and stepped that spot onto the clay. This left an imprint of their shoe texture on the clay. I wrote their name on the back and poked a hole in the top and set them aside to dry for a few days.
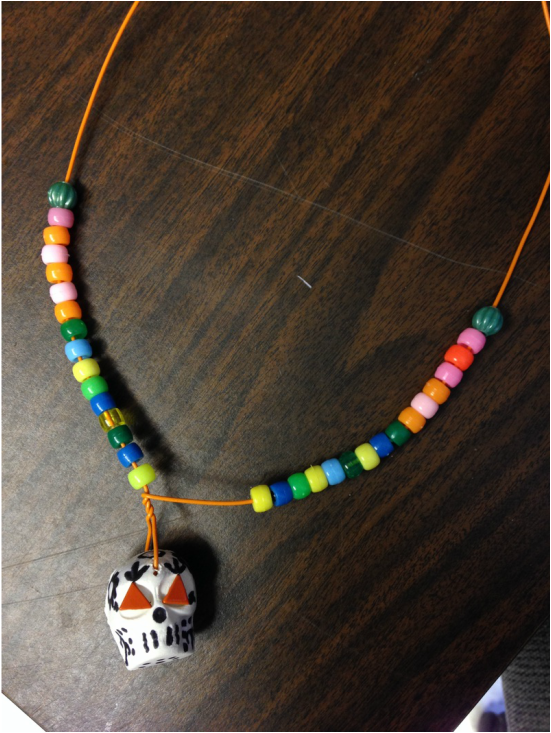
I then fired them in the kiln after they had dried. The kids didn't believe me when I told them that the kiln was hotter than their kitchen oven or even their grill! They crack me up! After they had cooled, I dipped them into watered down india ink. This dyed them a blackish color (they kind of looked like coal!). The next class, we colored them with oil pastels. Because they had been dyed black, the contrast between the clay and the oil pastels really makes the textures pop. We wrapped a pipe cleaner through the whole in them and then wrapped the whole ornament in newspaper. Lastly, I picked up some small white gift bags from the Dollar Tree and we colored them and put our ornament inside. They were so excited to get to take their ornament home that day! As always, I read to my kindergartners about Dia de los Muertos and taught them how to say that string of tricky words. Jen found some ice cube trays shaped like skulls so we pressed model magic into them and then set them out to dry. The students then looked at some traditional Dia de los Muertos skulls for inspiration before using a black marker to draw designs on their skull. They also set metal brads into the eyes of the skulls. We then attached the skulls to a wire and had the students create patterns using beads on the wire. I don't know who was more excited about this project, me or the students.
|
Devon CalvertHarmony and Consolidated Elementary Art Teacher in Milton, WI. UW-Eau Claire graduate. WAEA President. Apple Teacher. Archives
March 2019
Categories
All
|

 RSS Feed
