|
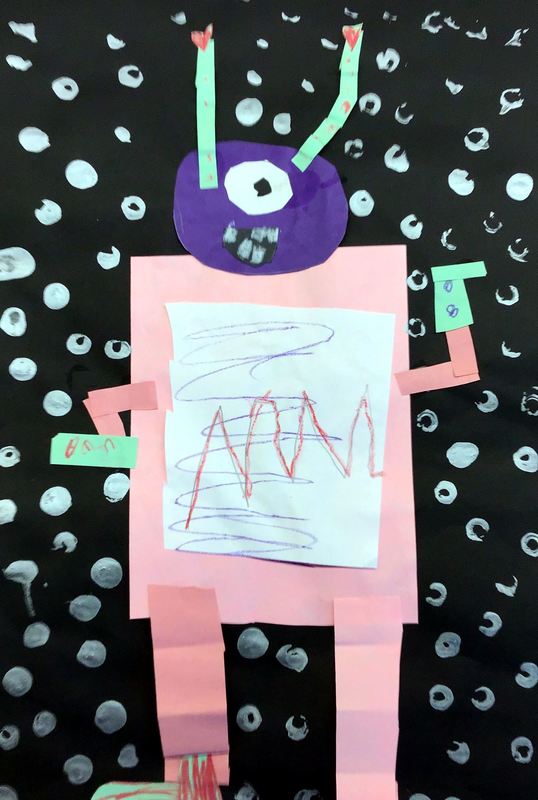
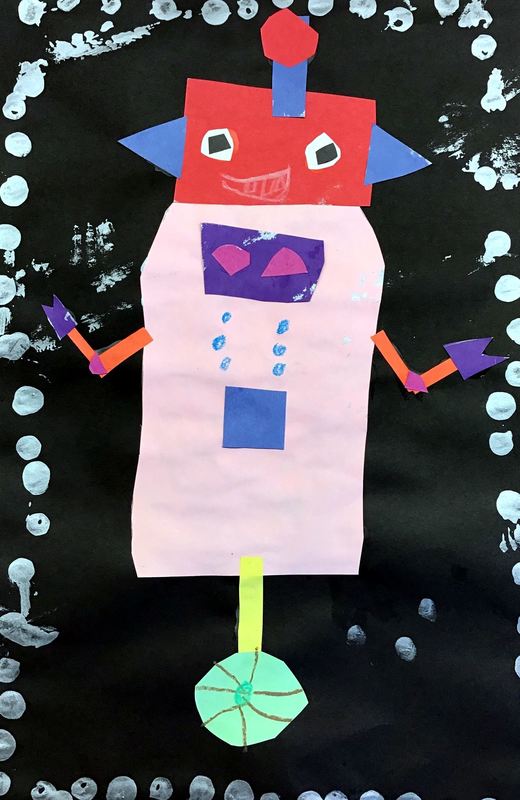
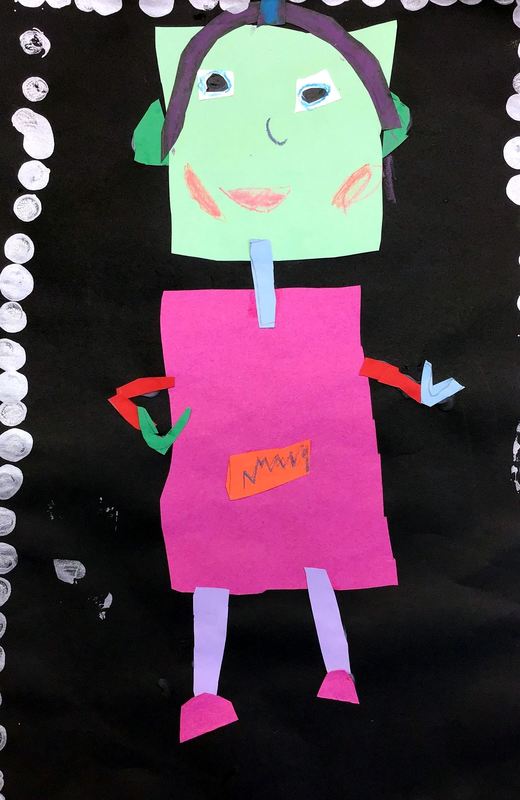
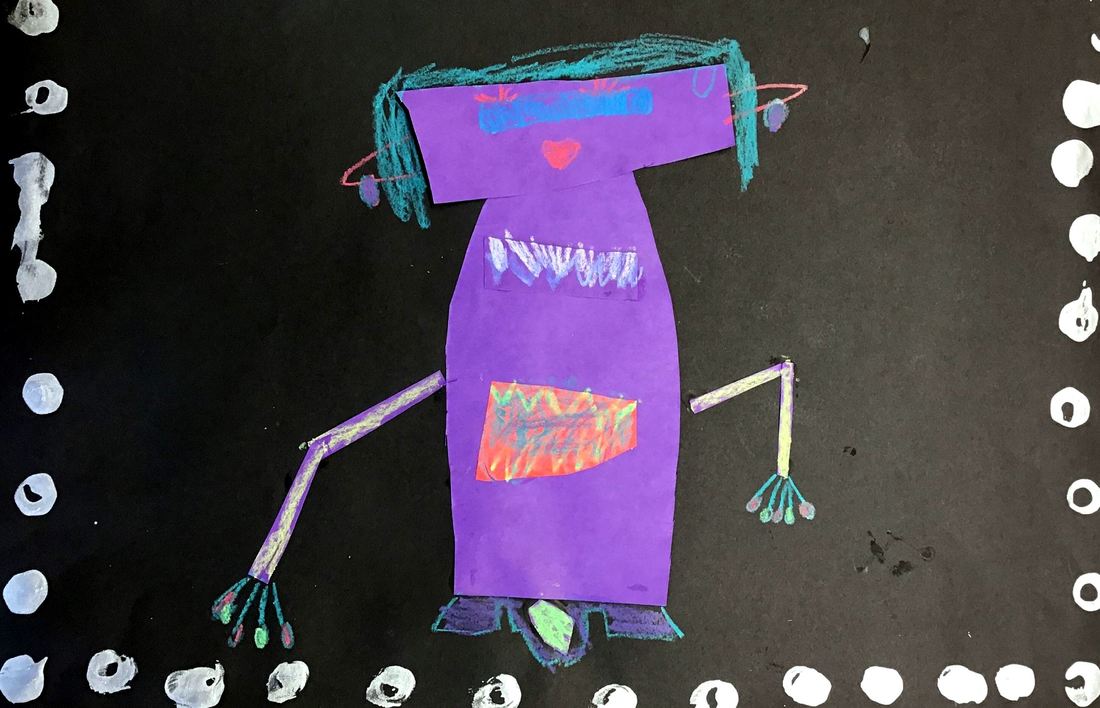
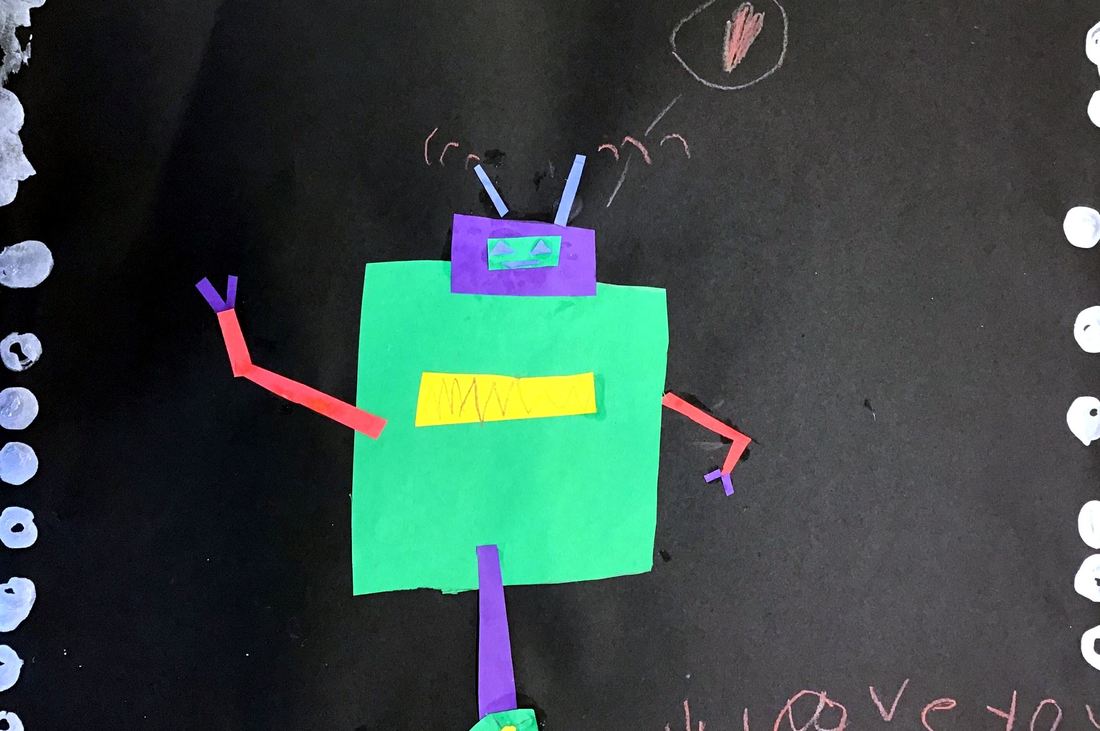
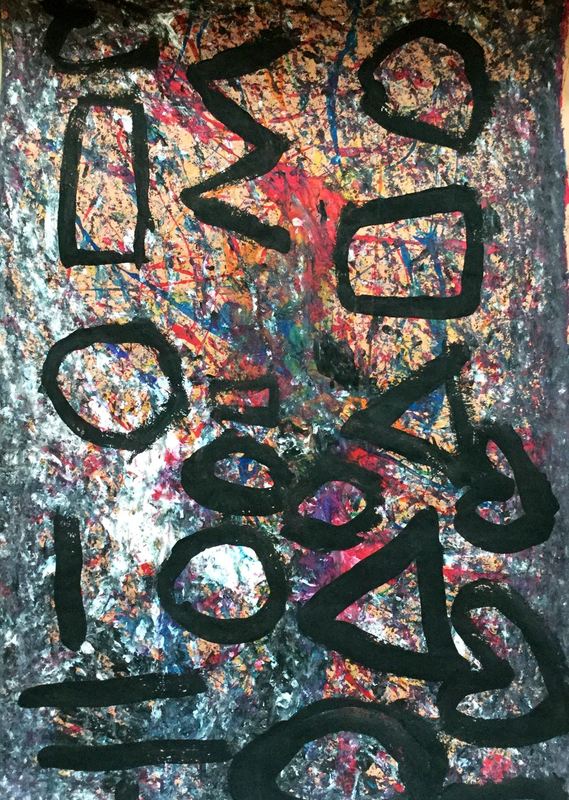
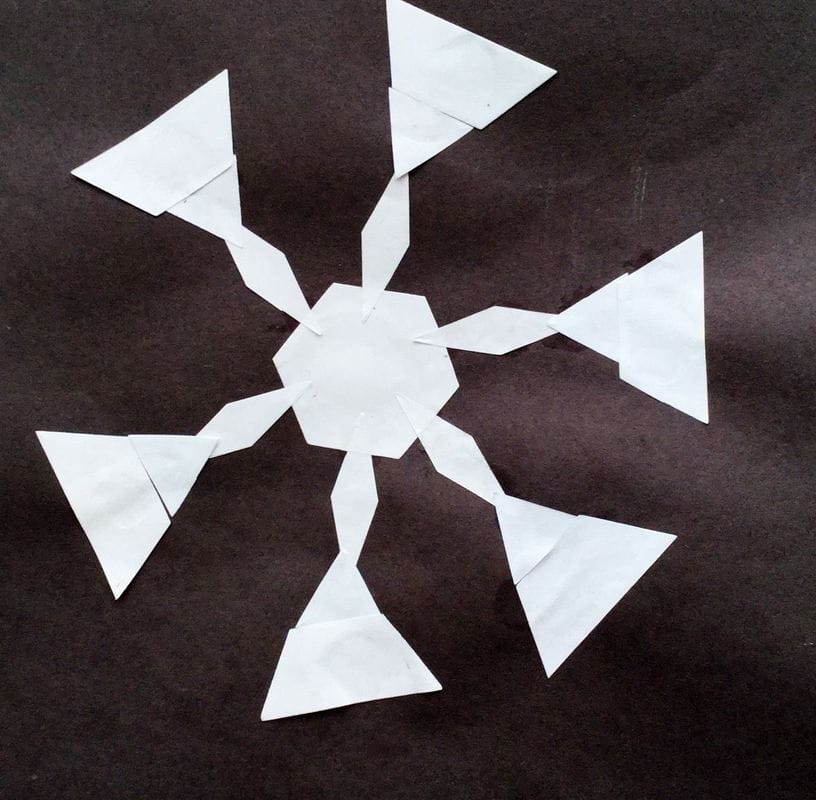
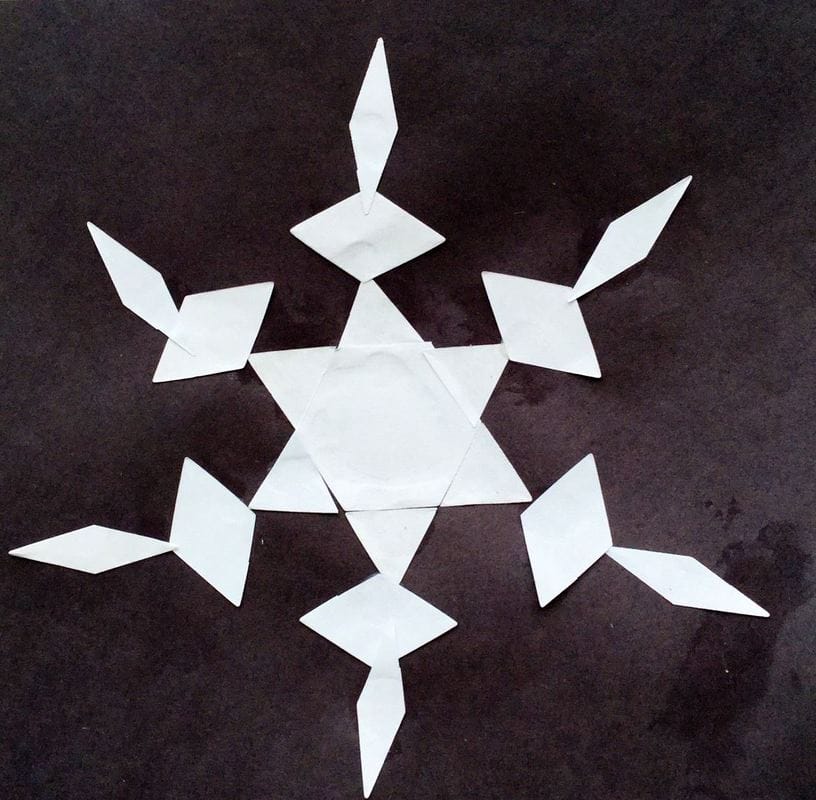
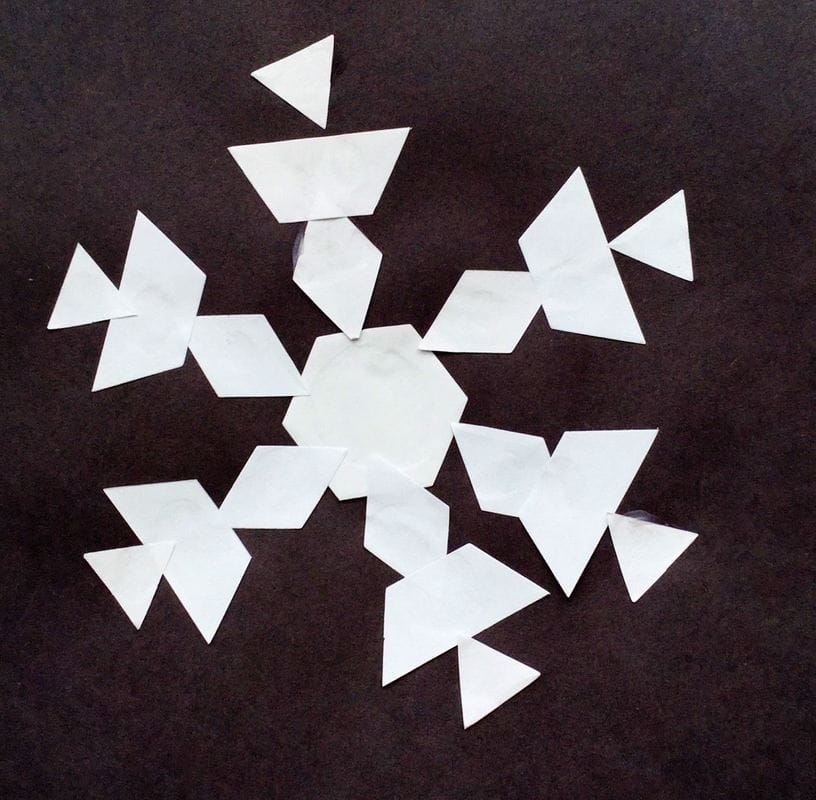
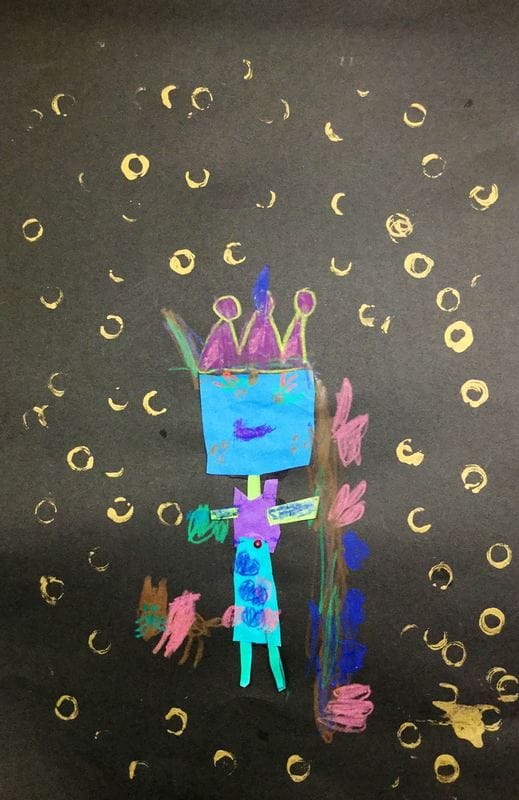
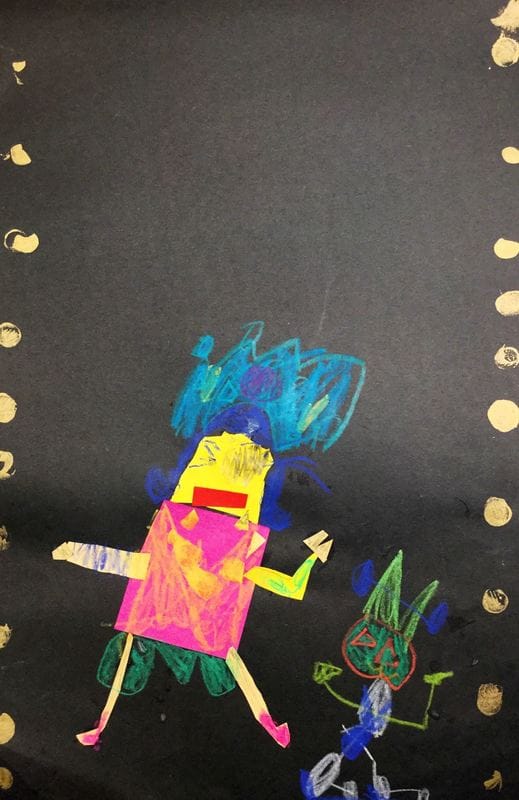
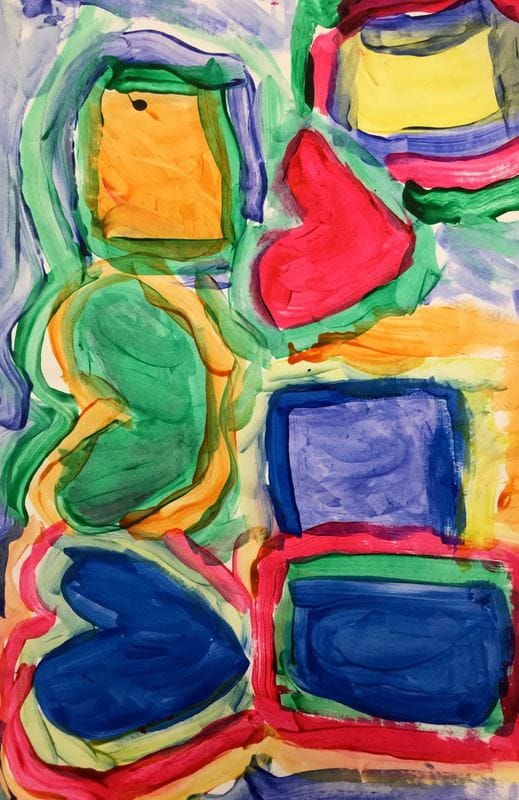
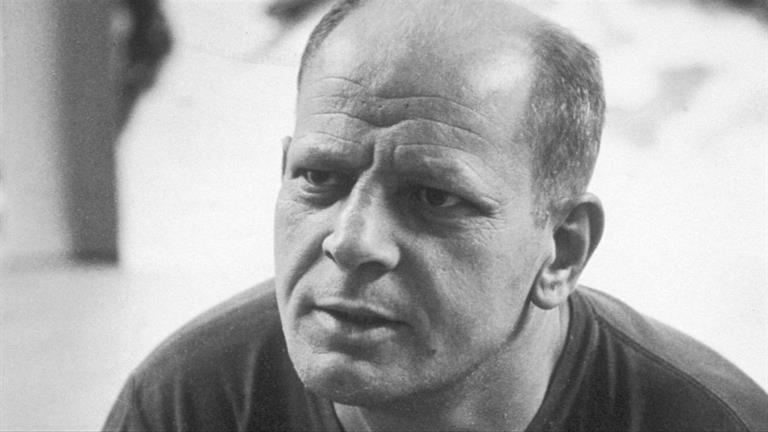
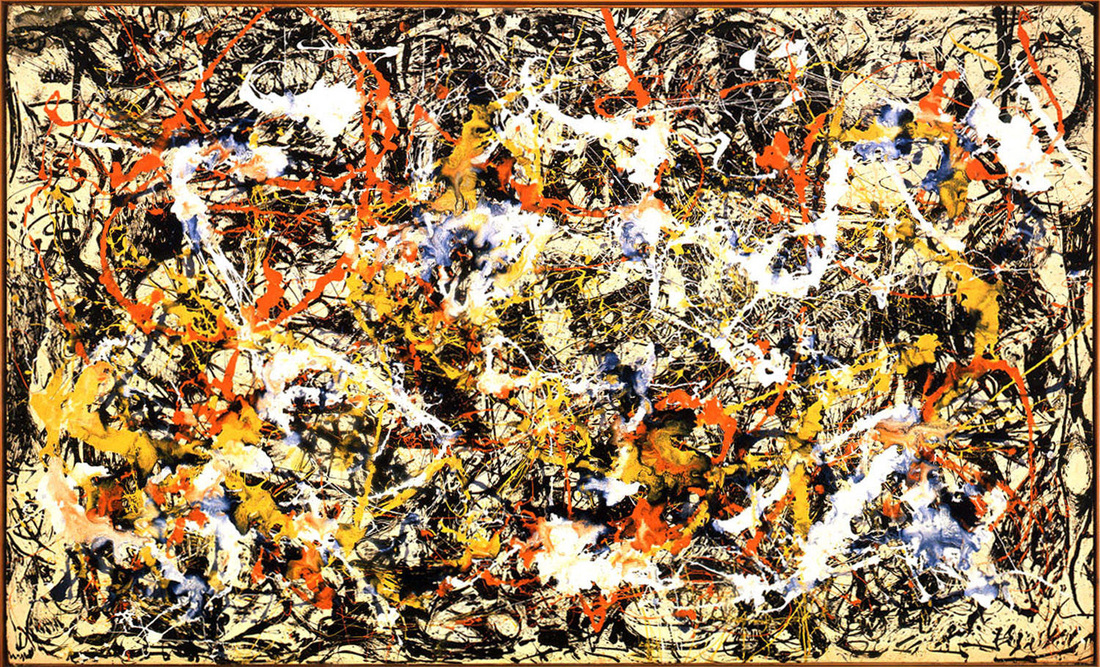
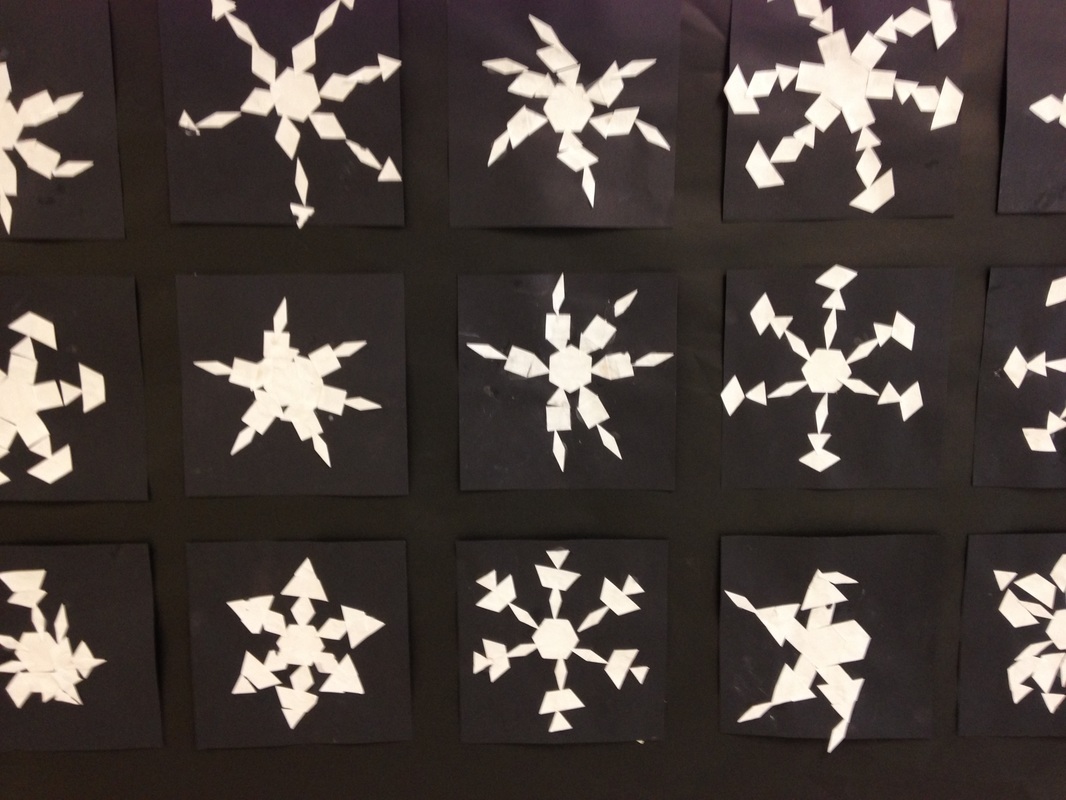
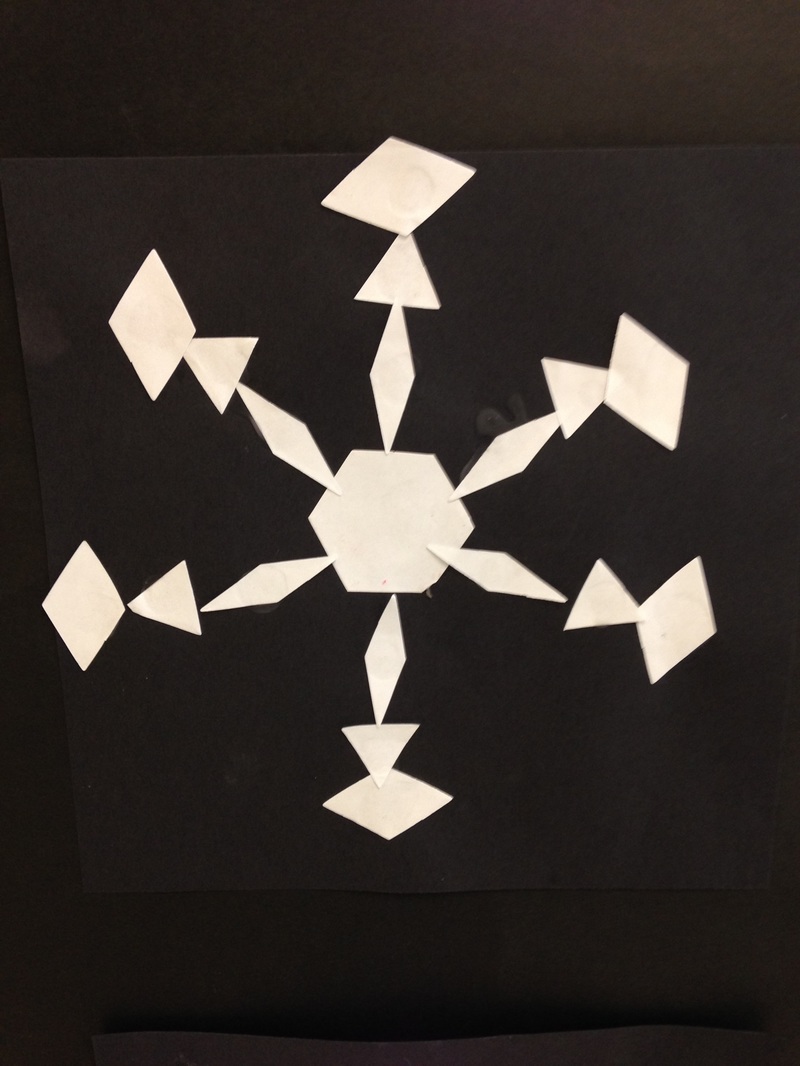
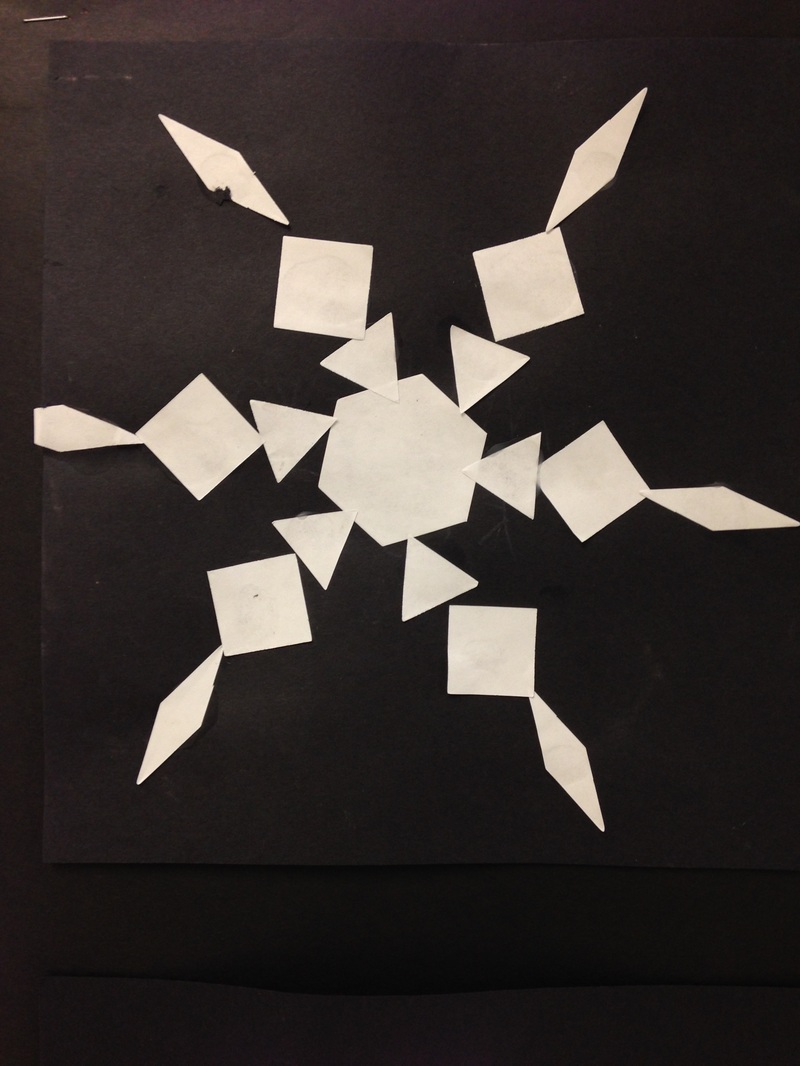
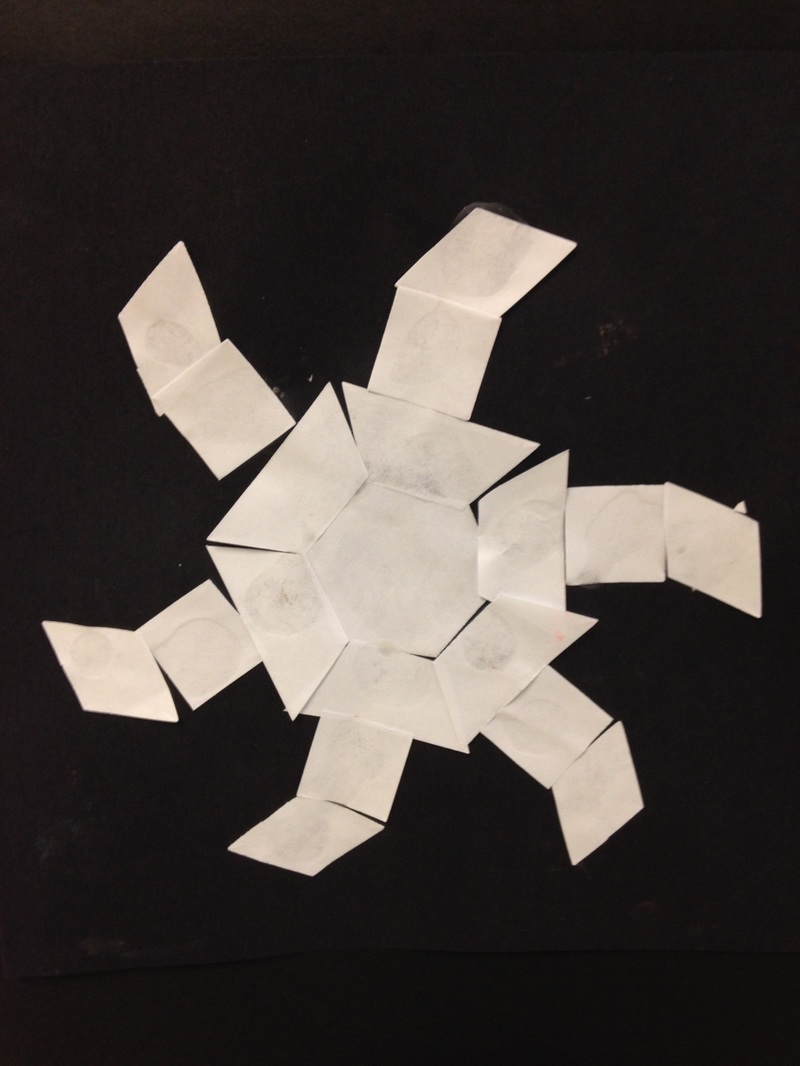
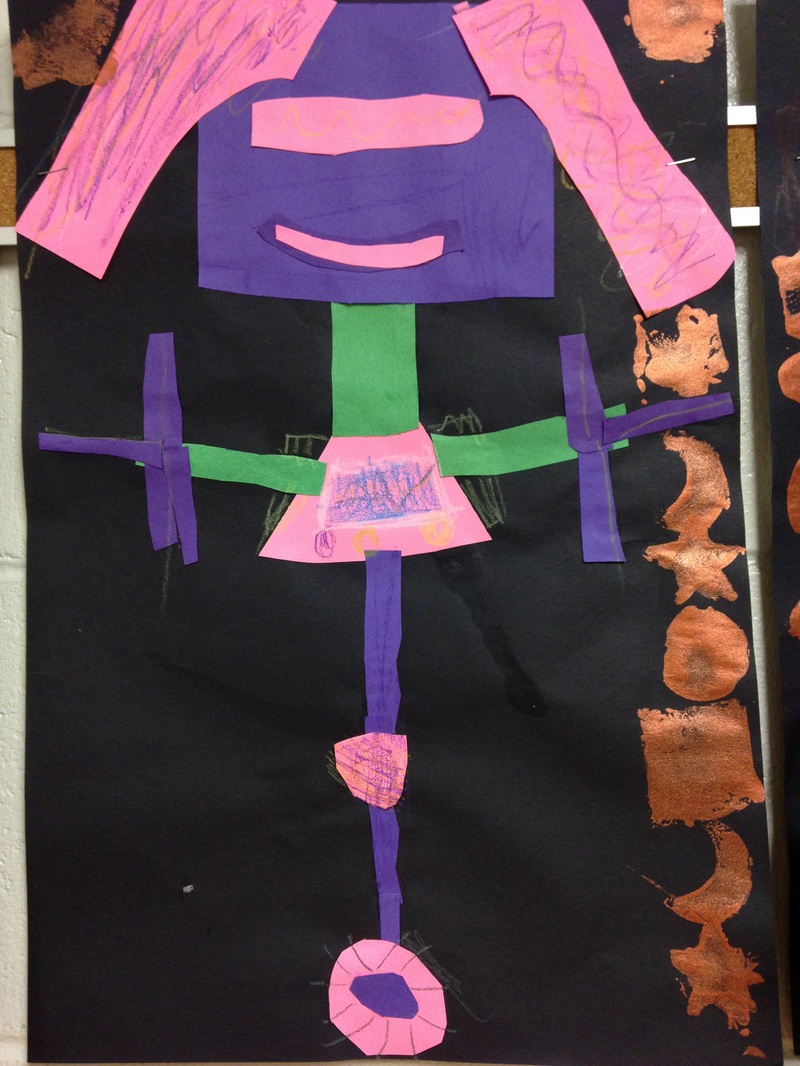
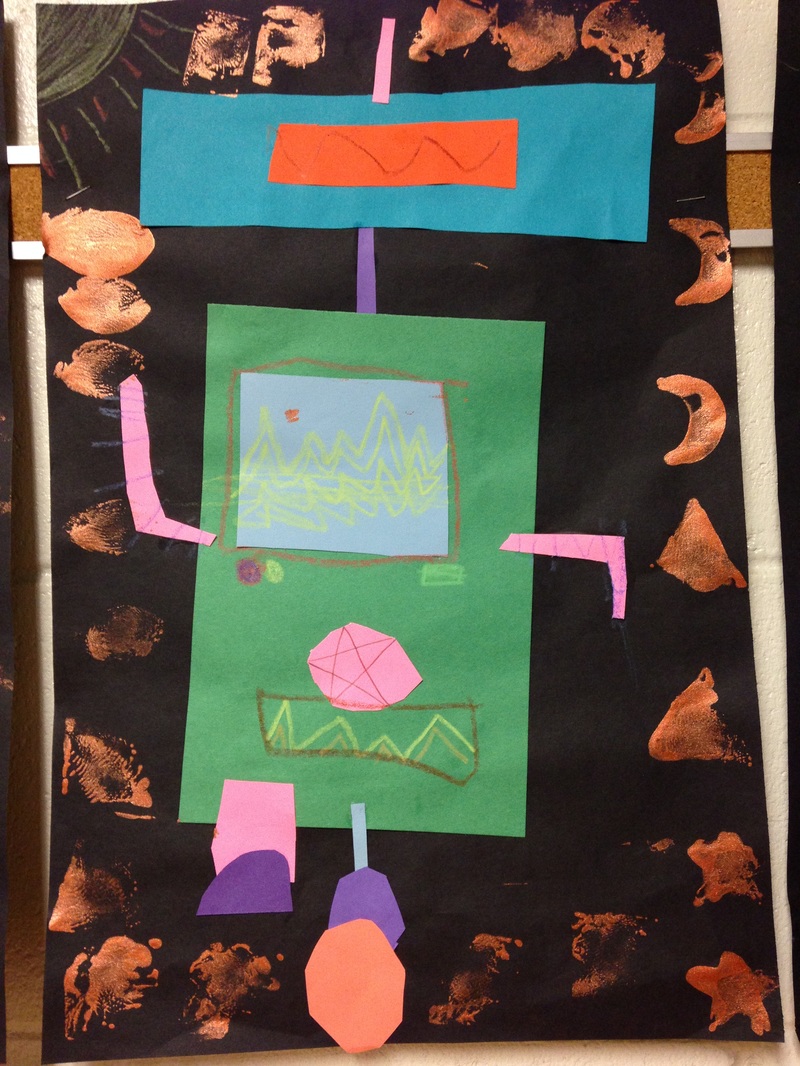
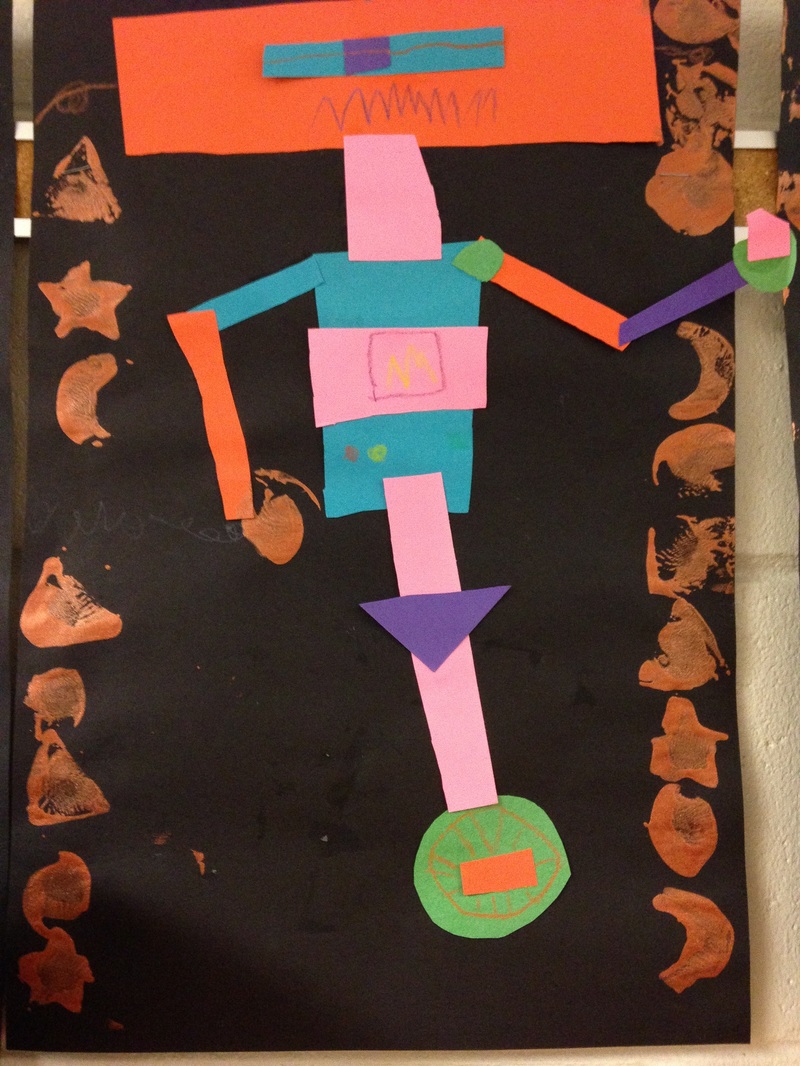
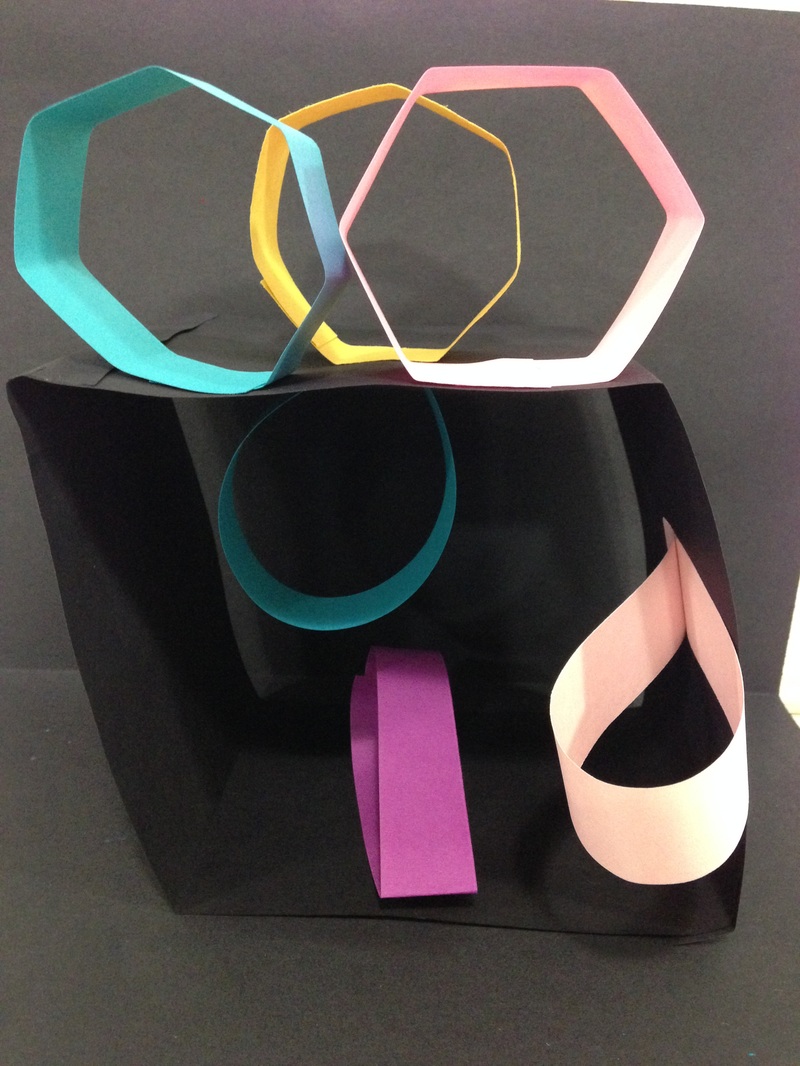
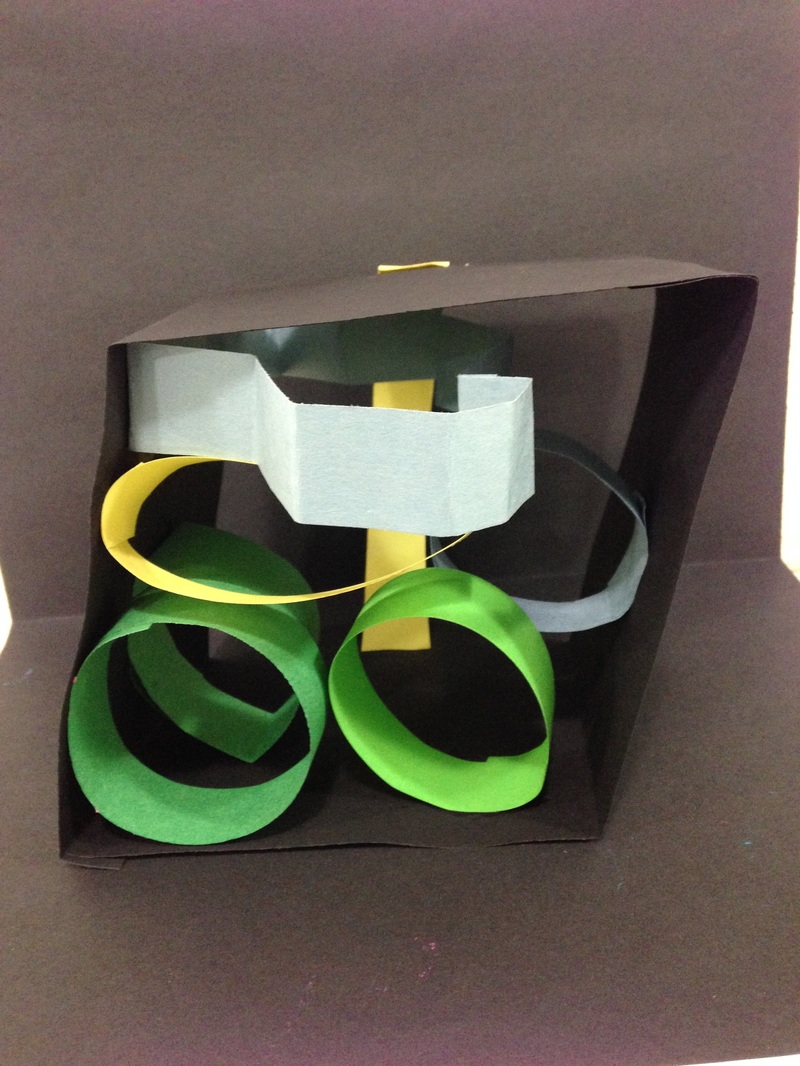
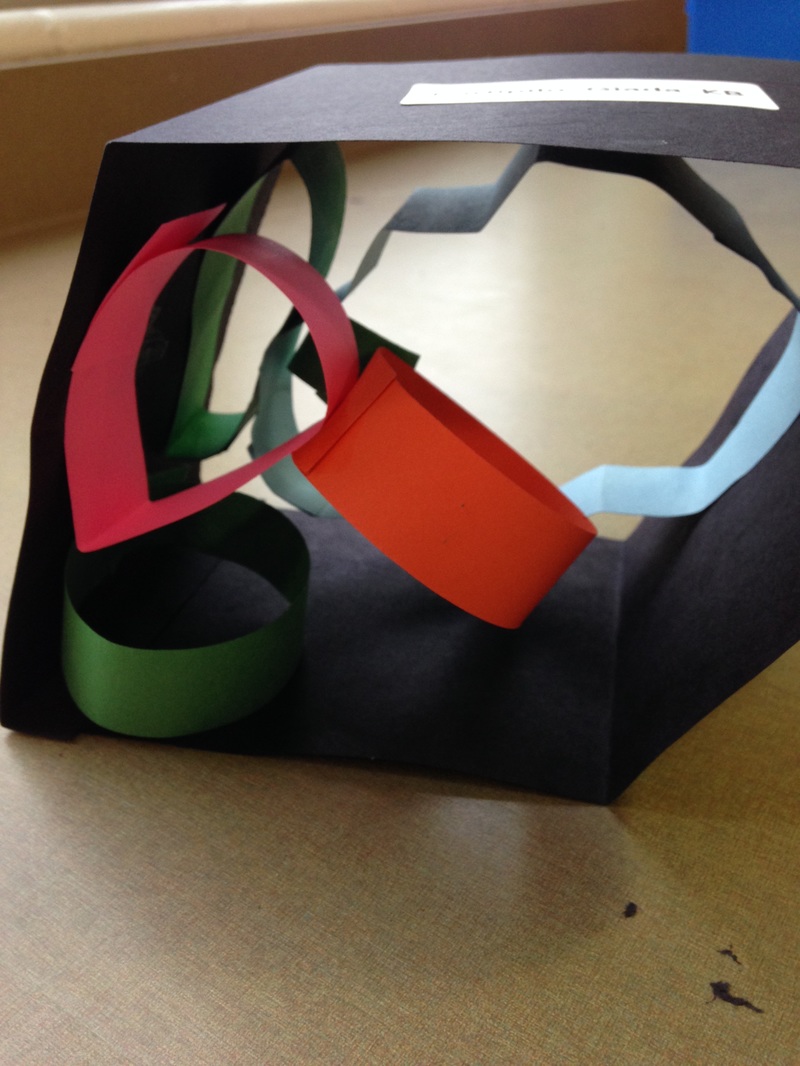
Mr. Pollock was a painter who lived from 1912 to 1956, ultimately dying in a car crash at the young age of 44. As most of you probably know, Jackson was famous for his "drip paintings." Oftentimes, people exclaim "Well I could've done that!" But the reason Mr. Pollock is famous is because he was a pioneer of the method during a time when people were dabbling more and more into abstract art. He was known for splattering, spraying, squirting, dripping, and pouring paint onto his canvas. He used all sorts of materials to do this such as brushes, sticks, spatulas, spoons, etc. He worked with his canvas on the floor so that he could "dance" around it as he worked. 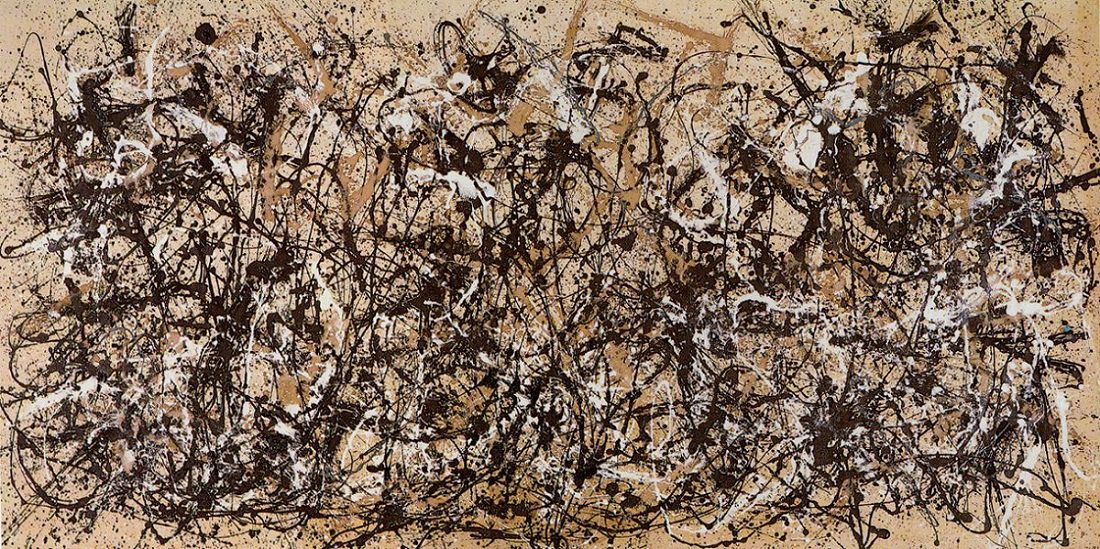 So I'm pretty sure that I have a few more grey hairs after this project than when I started it! We started off by talking about Mr. Pollock and his different ways that he made art. Then I introduced them to string painting. Each table had a different color and they were encouraged to string paint with as many colors as they wanted to. For the second day of project, every two tables were given three boxes with an artwork in the bottom and marbles in it. The students didn't know whose artwork was in their box. I walked around and put a squirt of paint in each box. The students then had 40 seconds to roll the marbles around through the paint. After 40 seconds, they were asked to pass their box to the next person and I put a new color in it. Then we repeated the process again. We did this over and over until each painting had several different colors marble painted on to it. For the final day of the project, we reviewed our lines and shapes. I was so impressed with how well they remembered their lines after not having talked about them for so long! They were given black paint to paint different lines and shapes onto their artwork. Using the black paint as the final step was inspired by Deep Space Sparkle's Pollock project. We also reviewed how to use a paint brush correctly. Overall, I love how expressive the works turned out and how stark the black lines and shapes are against their backgrounds. 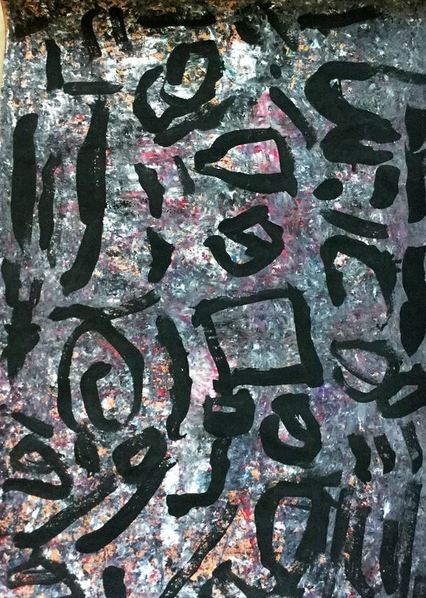 We were once again talking about shapes! Our kinder-kiddos are becoming quite the experts on their shapes. We started class by watching a timelapse video of snowflakes forming. They were mesmerized by the video! We noticed that snowlfakes have a hexagon in the center and as the snowflake begins to form and grow, the six spindles that come out from it are identical/form a pattern. After the video, we reviewed our lines and shapes. Then we got to making some art! I pre-glued a white hexagon to the center of a black sheet of paper. I pre-cut a bunch of shapes using the die-cutter. They were to glue at least three shapes to each side of the hexagon, making sure that they used the same shapes for each side. I made sure these beauties got hung up for the Winter Concert! 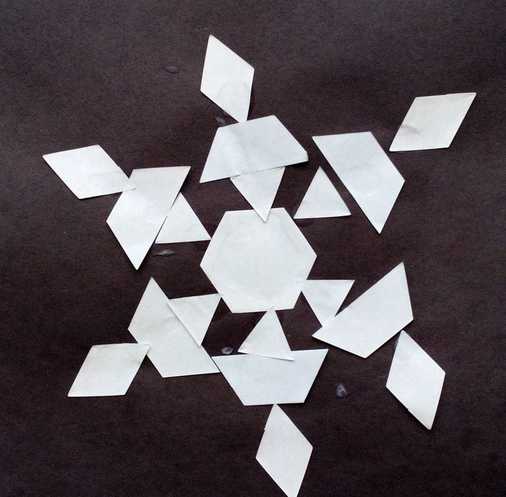 More and more and more shapes! My kinders can't get enough of them! We started of by reading Robot Zot! I love love love to read to the kids! It's one of my favorite things to do! Then we got to work. They began with cutting out a body that filled up a good chunk of their black paper. We talked about what shapes we might use for certain body parts but this was their robot to create and they could make it look like whatever they wanted it to look like. Next, they needed to add legs, arms, a neck, and head. Some chose to give their robot a wheel instead of legs. For the second day of class, they had to add at least 3 more shapes to their robot, even if they thought they were finished. We talked about things they could add like a hover board, robot hair, a robot purse, a tv on their robot's chest, antennas, etc. Then they used construction paper crayons to add details to their robot. Lastly, we used nuts and bolts and brass colored paint to print a shape border. 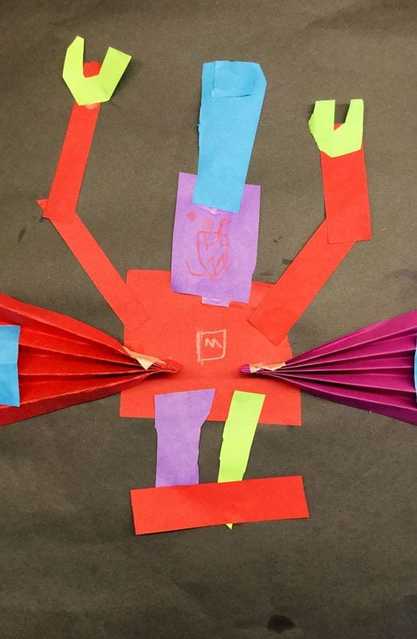 I thought these folded wings were pretty rad! Like our last project, after creating our shape boxes, we painted shapes! This was the kiddos' first time using tempera paint so I had to go over some basics with them. I emphasized that their brush needs to paint on it's toes like a ballerina (got this from Cassie Stephens) not scoot around on it's booty. I often times see kids scrubbing their paper with their brush when trying to paint so I am working on teaching proper brush usage. The students used the tempera paint to paint different colored shapes. When switching to a different color, we worked on making sure to clean our brush in our water cups and then drying them off on our sponge. This helps to keep the kids from mixing and dirtying the paint cups. After they had a bunch of shapes, we worked on giving the shapes outlines and eventually filling in the rest of the background. 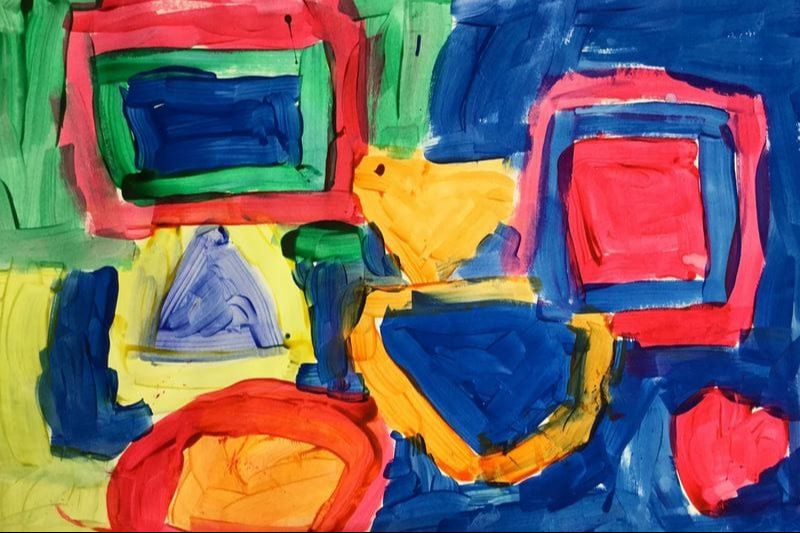 Mr. Pollock was a painter who lived from 1912 to 1956, ultimately dying in a car crash at the young age of 44. As most of you probably know, Jackson was famous for his "drip paintings." Oftentimes, people exclaim "Well I could've done that!" But the reason Mr. Pollock is famous is because he was a pioneer of the method during a time when people were dabbling more and more into abstract art. He was known for splattering, spraying, squirting, dripping, and pouring paint onto his canvas. He used all sorts of materials to do this such as brushes, sticks, spatulas, spoons, etc. He worked with his canvas on the floor so that he could "dance" around it as he worked. So I'm pretty sure that I have a few more grey hairs after this project than when I started it! We started off by talking about Mr. Pollock and his different ways that he made art. Then I introduced them to string painting. Each table had a different color and they were encouraged to string paint with as many colors as they wanted to. For the second day of project, every two tables were given three boxes with an artwork in the bottom and marbles in it. The students didn't know whose artwork was in their box. I walked around and put a squirt of paint in each box. The students then had 40 seconds to roll the marbles around through the paint. After 40 seconds, they were asked to pass their box to the next person and I put a new color in it. Then we repeated the process again. We did this over and over until each painting had several different colors marble painted on to it. For the final day of the project, we reviewed our lines and shapes. I was so impressed with how well they remembered their lines after not having talked about them for so long! They were given black paint to paint different lines and shapes onto their artwork. Using the black paint as the final step was inspired by Deep Space Sparkle's Pollock project. We also reviewed how to use a paint brush correctly. Overall, I love how expressive the works turned out and how stark the black lines and shapes are against their backgrounds. 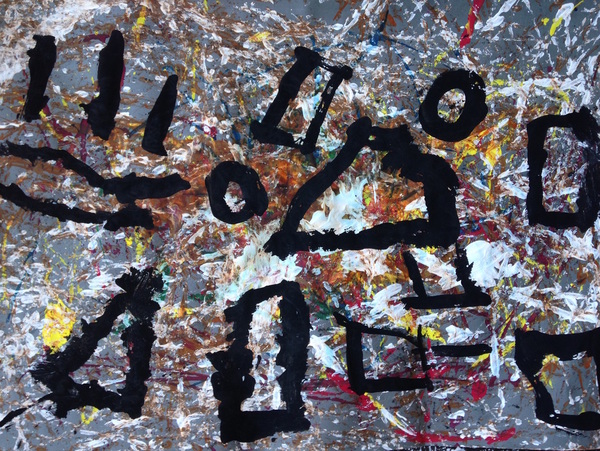  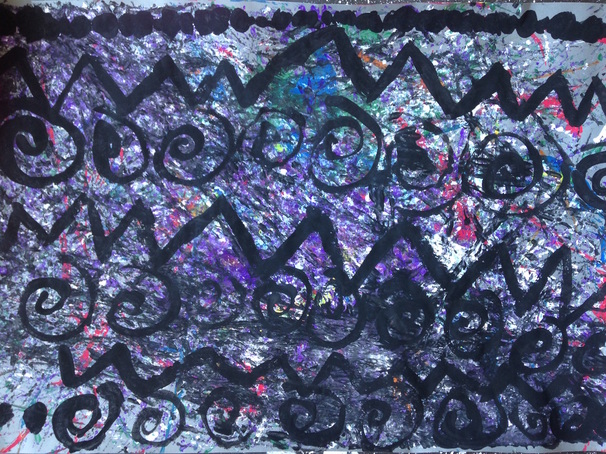 We were once again talking about shapes! Our kinder-kiddos are becoming quite the experts on their shapes. We began class by reading Big Snow. I made sure to knock on wood after reading it (Mr. Calvert is NOT a fan of snow). Then we watched a timelapse video of snowflakes forming. They were mesmerized by the video! After the video, we reviewed our lines and shapes. Then we got to making some art! I pre-glued a white hexagon to the center of a black sheet of paper. I pre-cut a bunch of shapes using the die-cutter. They were to glue at least three shapes to each side of the hexagon, making sure that they used the same shapes for each side. I made sure these beauties got hung up for the Winter Concert! More and more and more shapes! My kinders can't get enough of them! We started of by reading Robot Zot! I love love love to read to the kids! It's one of my favorite things to do! Then we got to work. They began with cutting out a body that filled up a good chunk of their black paper. We talked about what shapes we might use for certain body parts but this was their robot to create and they could make it look like whatever they wanted it to look like. Next, they needed to add legs, arms, a neck, and head. Some chose to give their robot a wheel instead of legs. For the second day of class, they had to add at least 3 more shapes to their robot, even if they thought they were finished. We talked about things they could add like a hover board, robot hair, a robot purse, a tv on their robot's chest, antennas, etc. Then they used construction paper crayons to add details to their robot. Lastly, we used shape stamps and brass colored paint to print a shape border. My stamps were ones that I made out of small pieces of wood. Sadly, they began to warp as they soaked up paint so some of the borders just look like blobs of paint. Like our last project, after creating our shape boxes, we painted shapes! This was the kiddos' first time using tempera paint so I had to go over some basics with them. I emphasized that their brush needs to paint on it's toes like a ballerina (got this from Cassie Stephens) not scoot around on it's booty. I often times see kids scrubbing their paper with their brush when trying to paint so I am working on teaching proper brush usage. The students used the tempera paint to paint different colored shapes. When switching to a different color, we worked on making sure to clean our brush in our water cups and then drying them off on our sponge. This helps to keep the kids from mixing and dirtying the paint cups. After they had a bunch of shapes, we worked on giving the shapes outlines and eventually filling in the rest of the background. 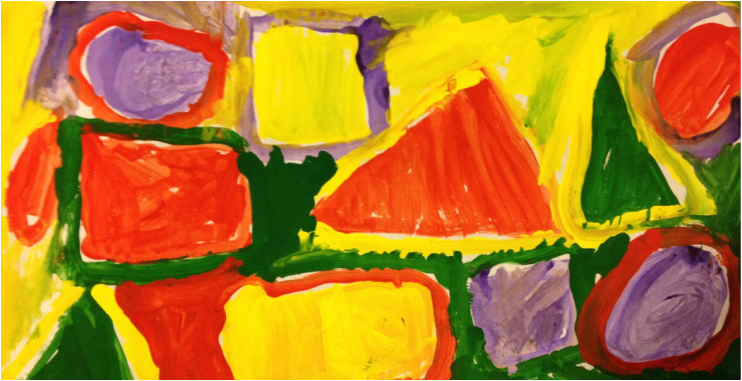 This is another project by the lovely Cassie Stephens. It is similar to our line sculptures so my kinders were already pretty good at this. We started off the project by talking about how lines create shapes. I love it when I ask that question and I get a chorus of "They have to hold their hands!" We reviewed what a sculpture was and what the difference between 2D and 3D was. Before the lesson began, I made boxes out of black strips of paper. That way students didn't have to use up a bunch of art time trying to make one themselves. I reminded the students of how we turned our paper lines into shapes by gluing their hands together. Then if we pinched our paper circle "OUCH!" it created different shapes depending on how many times we pinched it. I also showed them how to make more complex shapes like stars and hearts. Students set to work and I was once again blown away by how well they did. The other day, I had a kindergarten teacher come in and tell me that she had a funny story for me. She had begun to teach shapes in her class and when she asked the class what they could tell her about the shape they were looking at, a student raised their hand and said "It holds its hand!" She thought this was kind of a weird thing to say but carried on to the next shape. She once again asked what the students could tell her about the shape and a student once again said "It holds its hand!" She finally realized that this was something that they had been learning about in art class. I love hearing about how my students are applying the knowledge they learn in art class to other aspects of their life! |
Devon CalvertHarmony and Consolidated Elementary Art Teacher in Milton, WI. UW-Eau Claire graduate. WAEA President. Apple Teacher. 
Archives
March 2019
Categories
All
|


 RSS Feed
