|
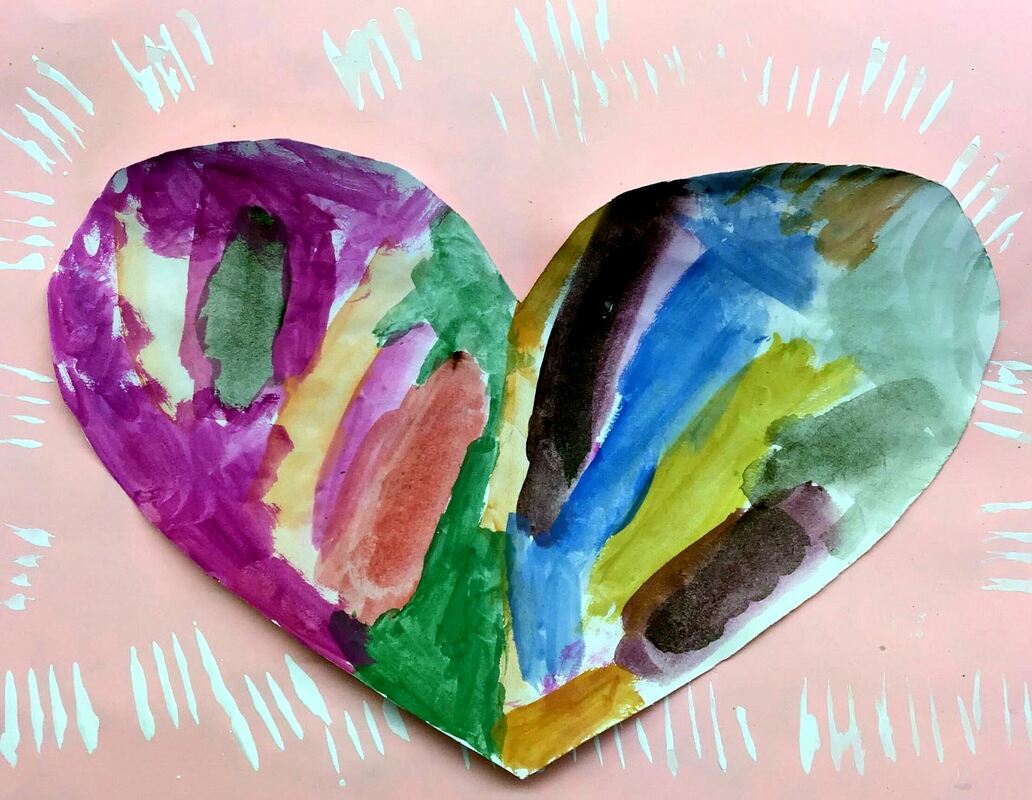
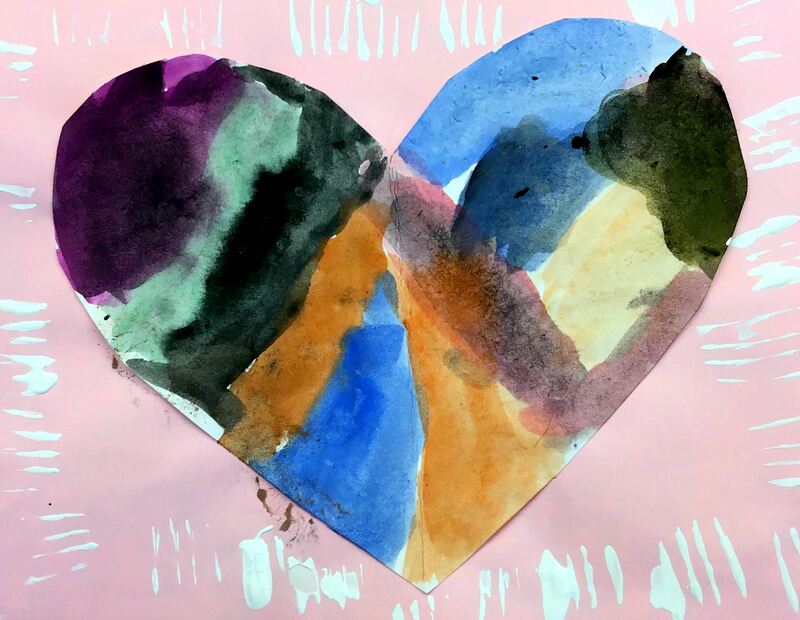
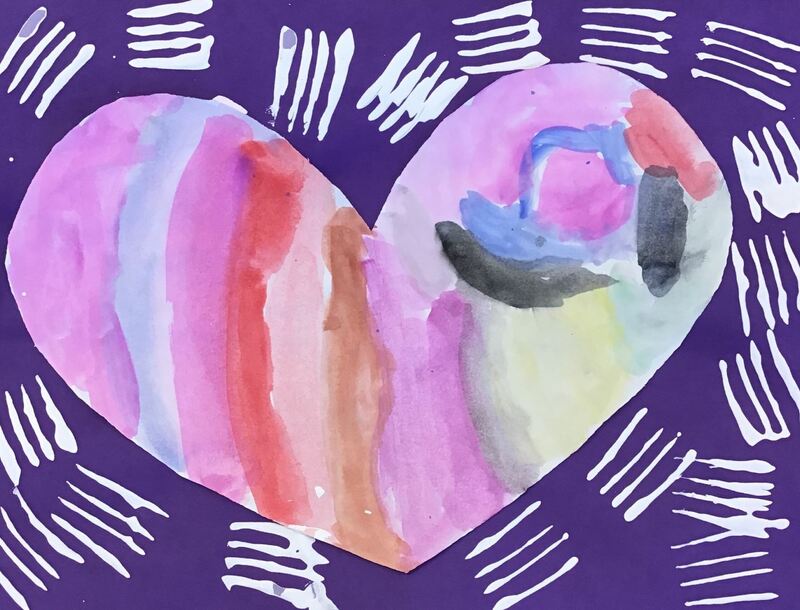
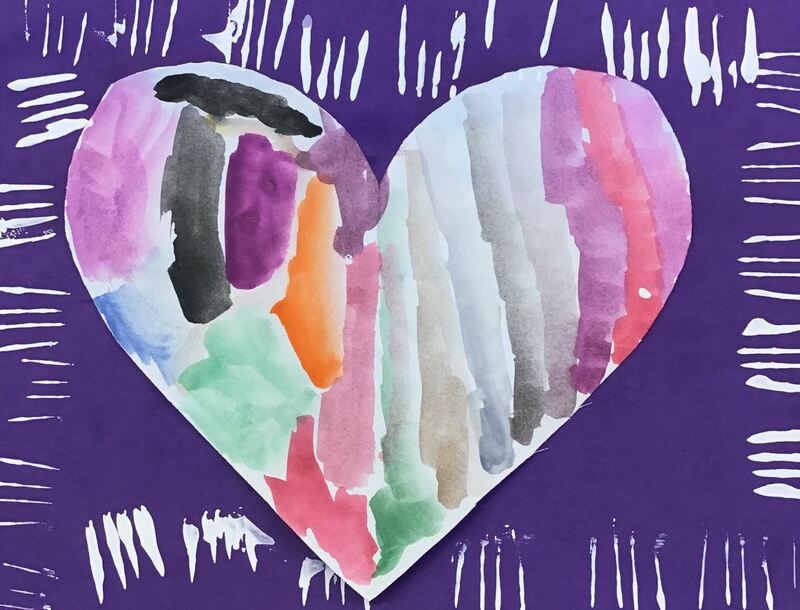
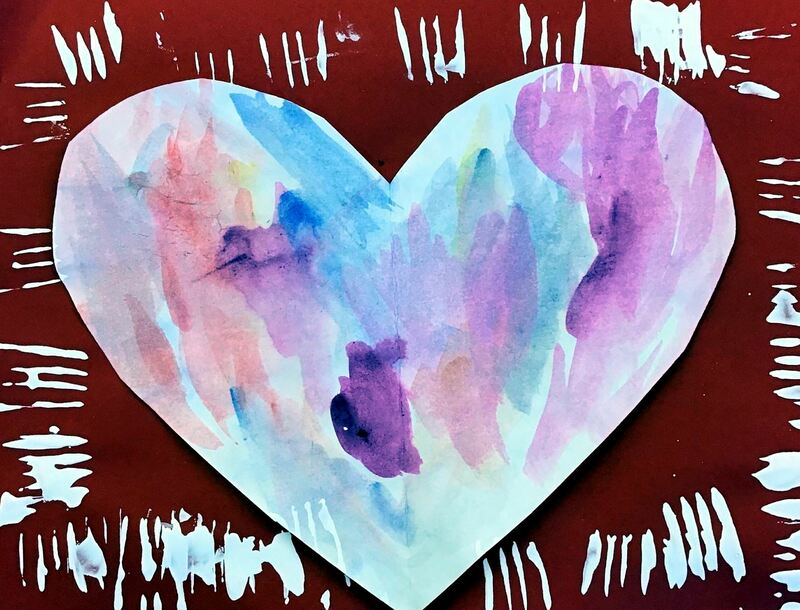
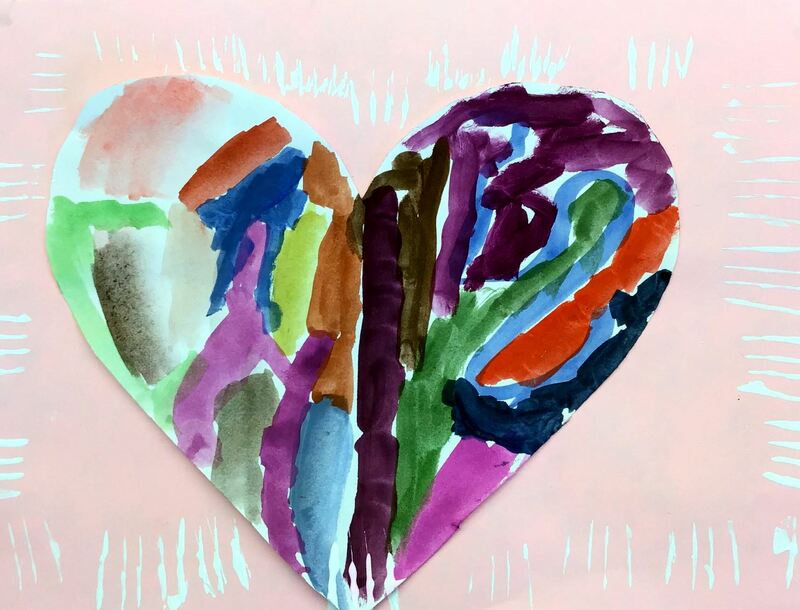
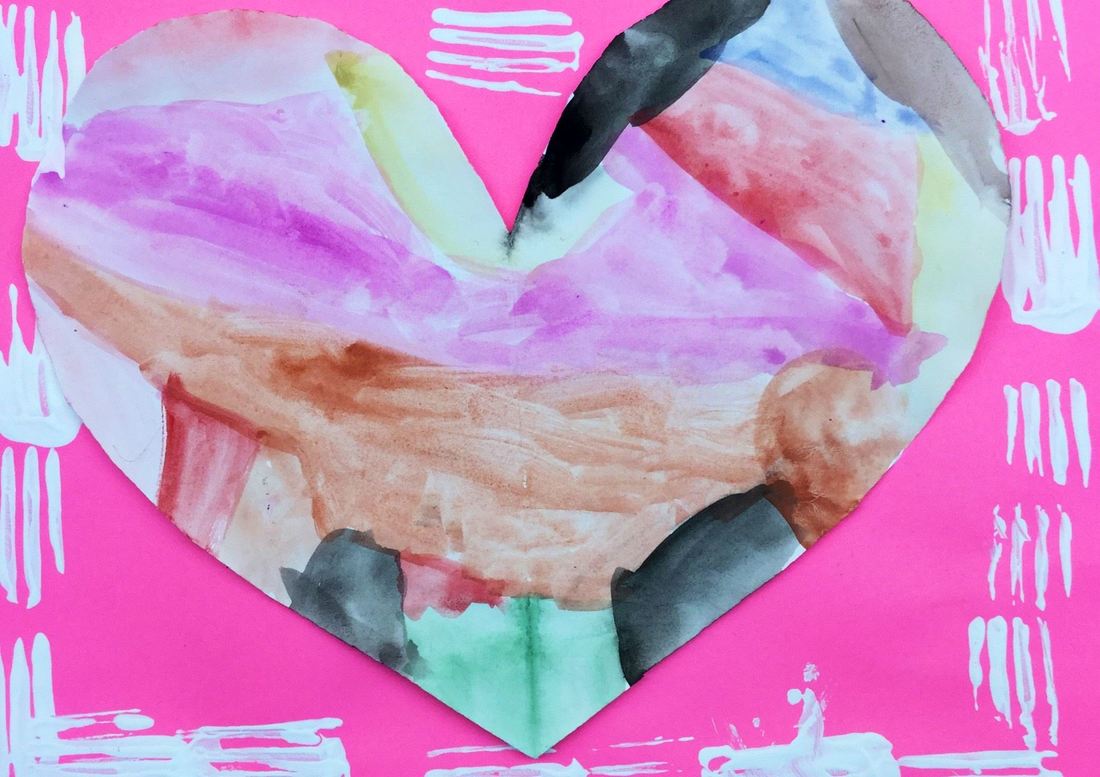
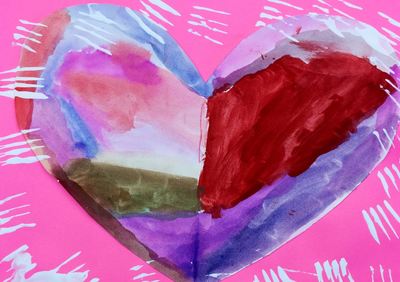
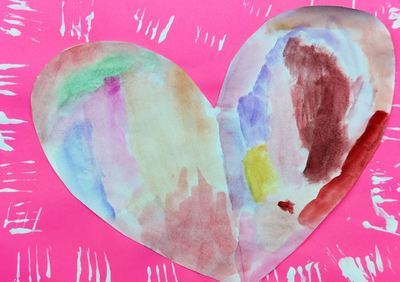
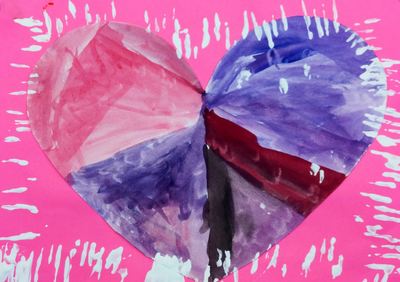
Here's a Valentine's project we did that emphasized mixing tints and shades. Details from a previous post can be read here!
Here's a link to some videos I made/used while doing this project!
0 Comments
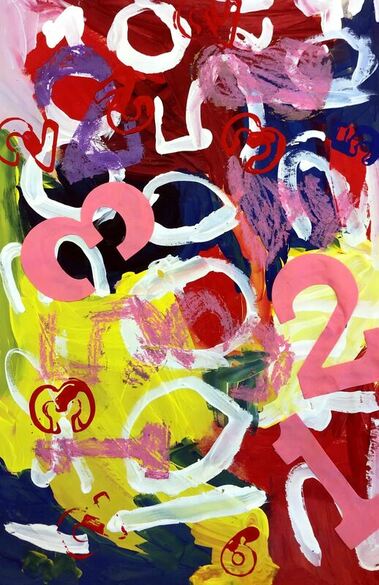
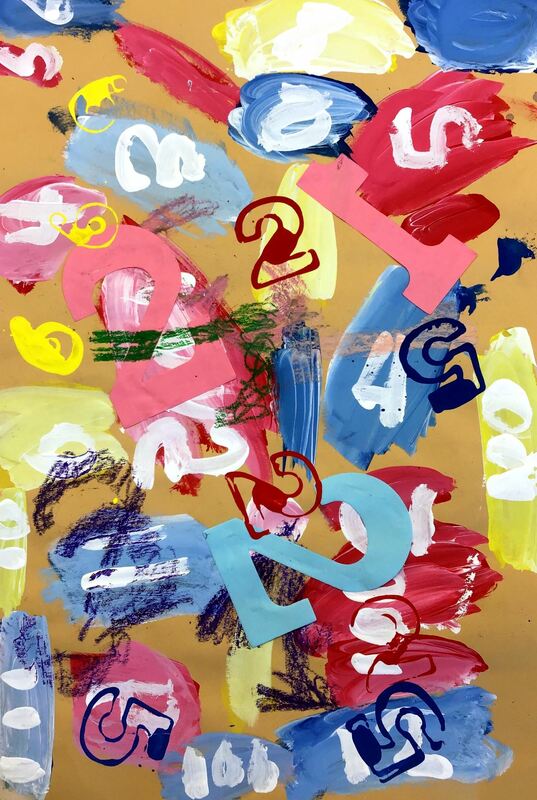
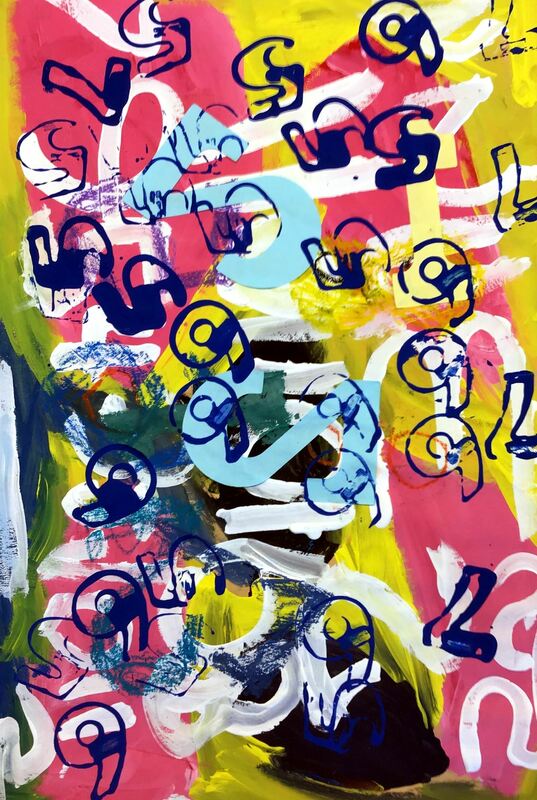
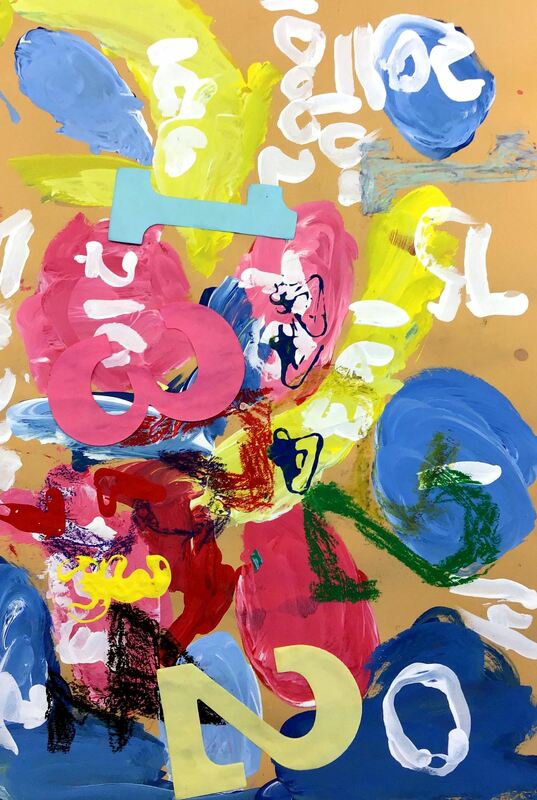
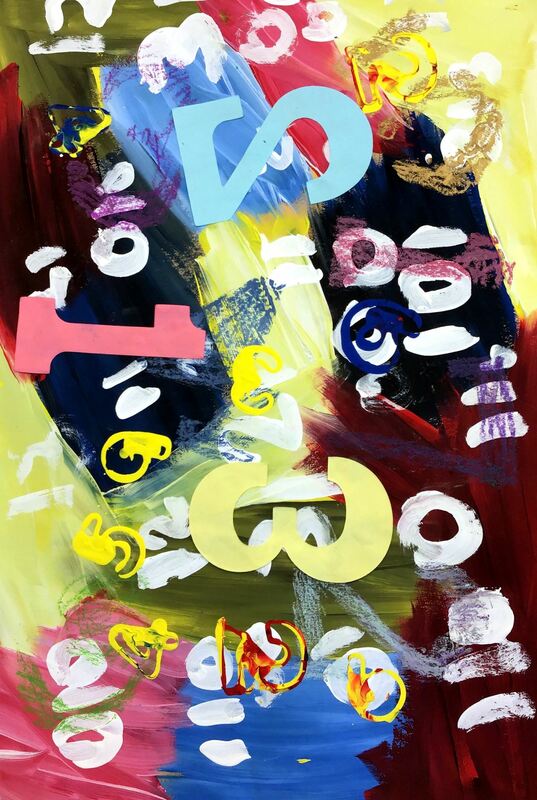
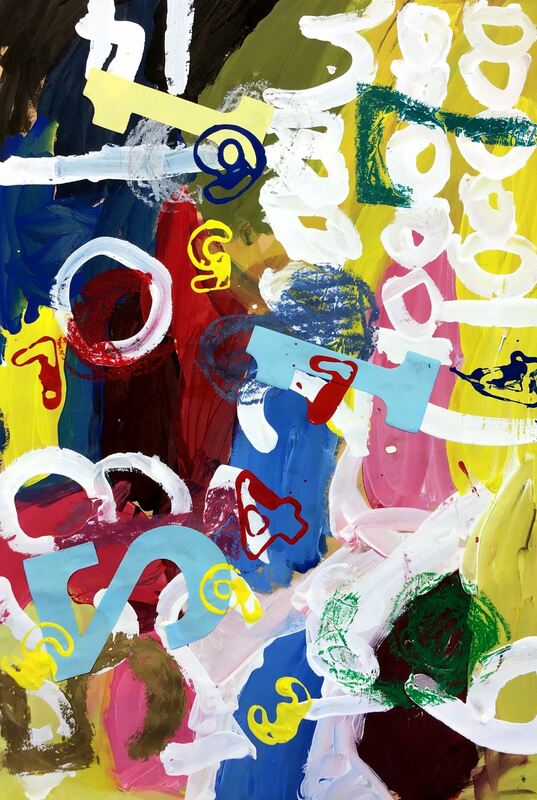
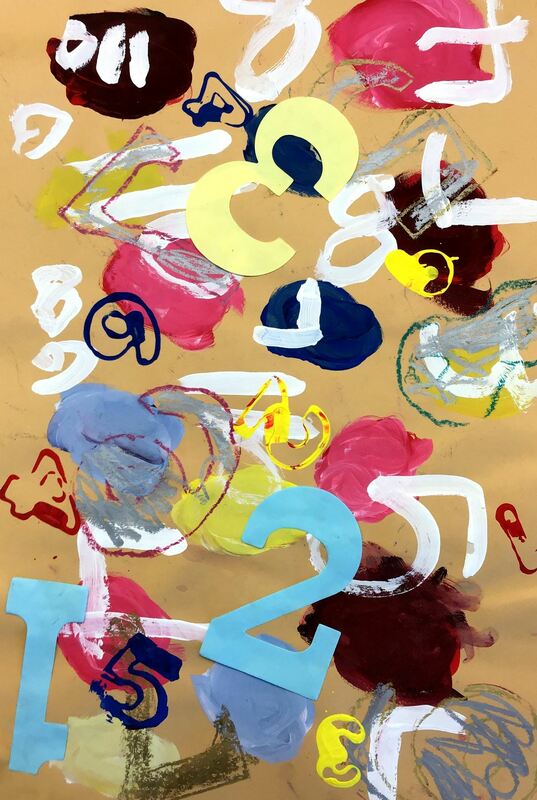
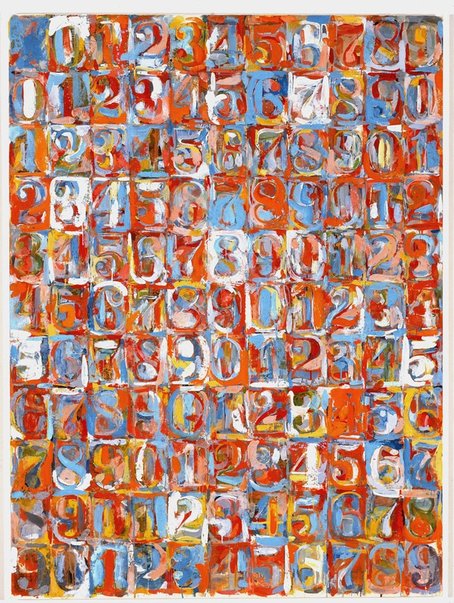
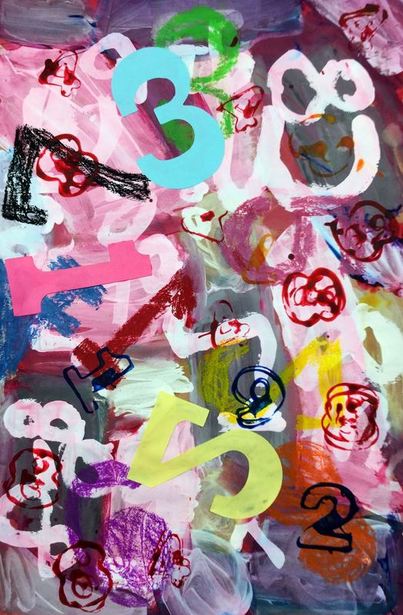
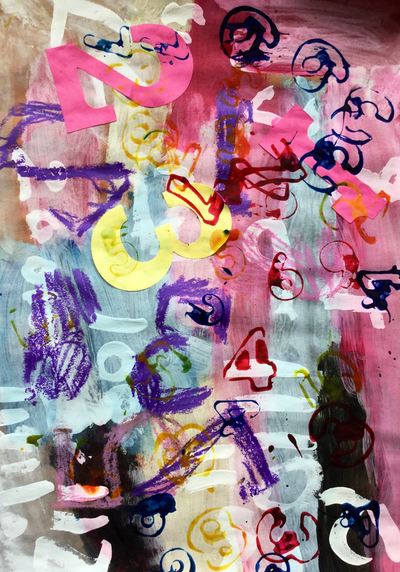
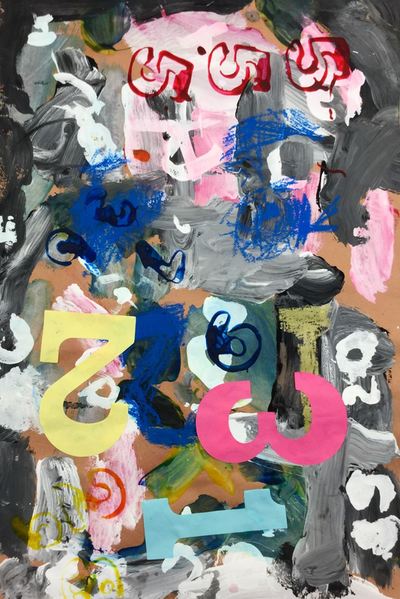
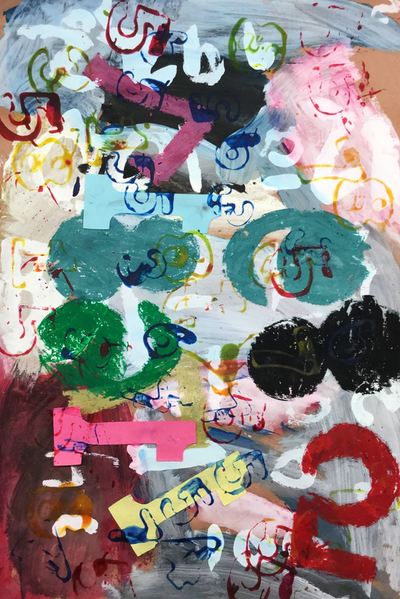
Check out this year's kindergarten paintings inspired by Jasper Johns! Students focused on mixing tints and shades. Click here for details on how to make this project from a previous post!
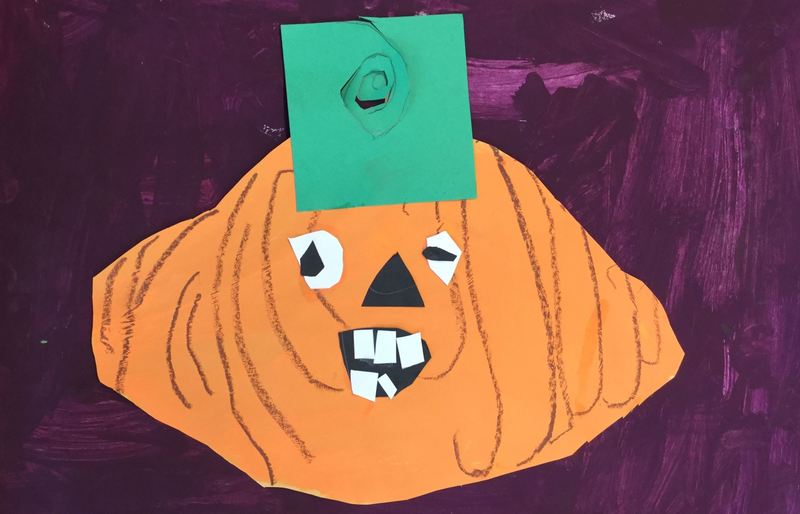
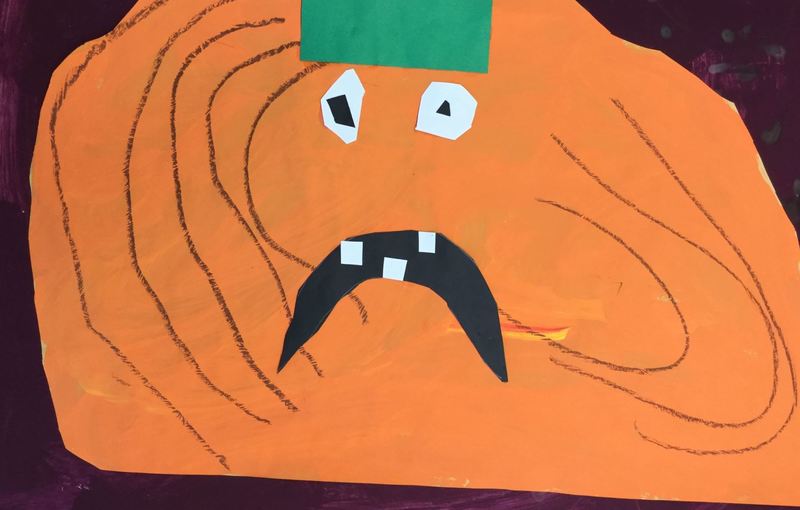
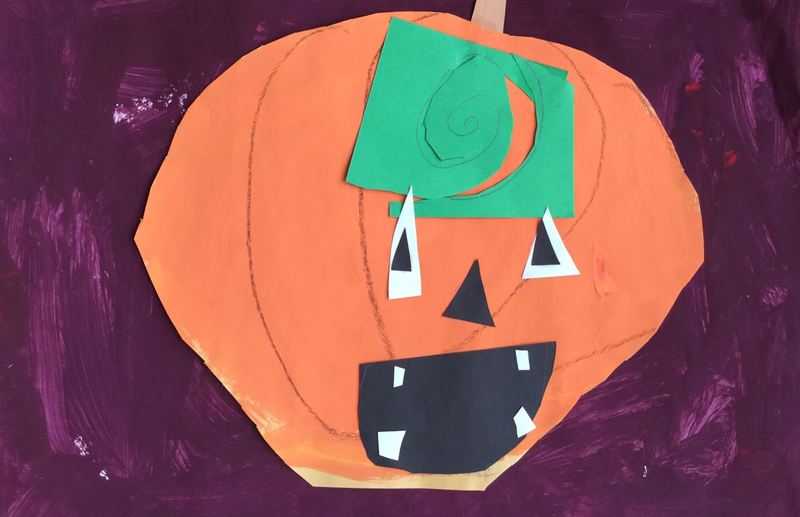
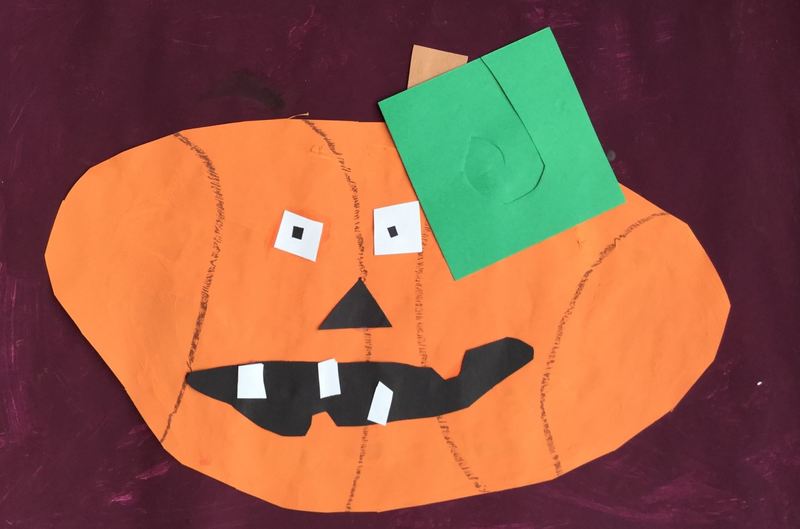
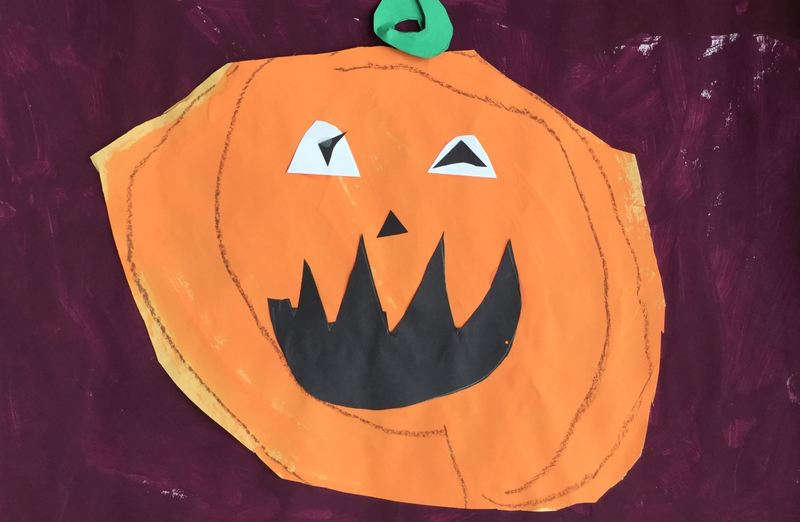
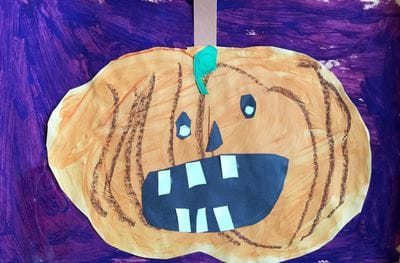
Here is a link to some videos I made for this project, as well as some other video resources. Pumpkins, pumpkins, pumpkins! They also made 3D pumpkins but I forgot to take pictures of those. Whoops! Here are some project details for you.
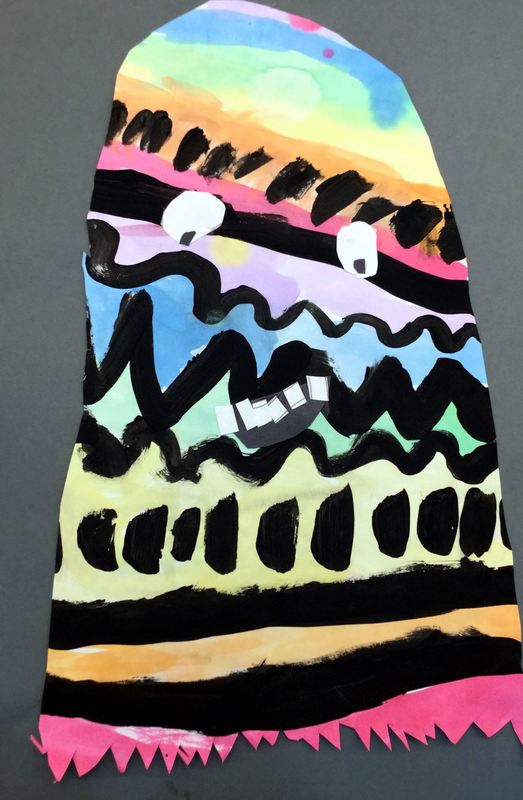
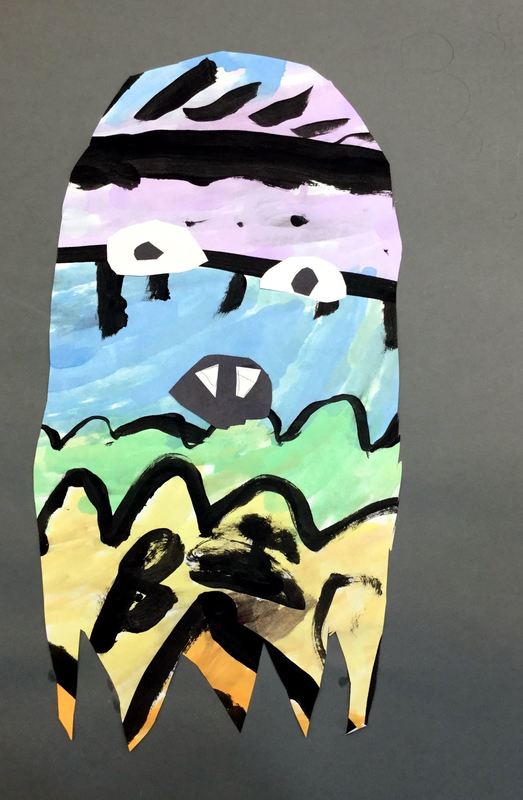
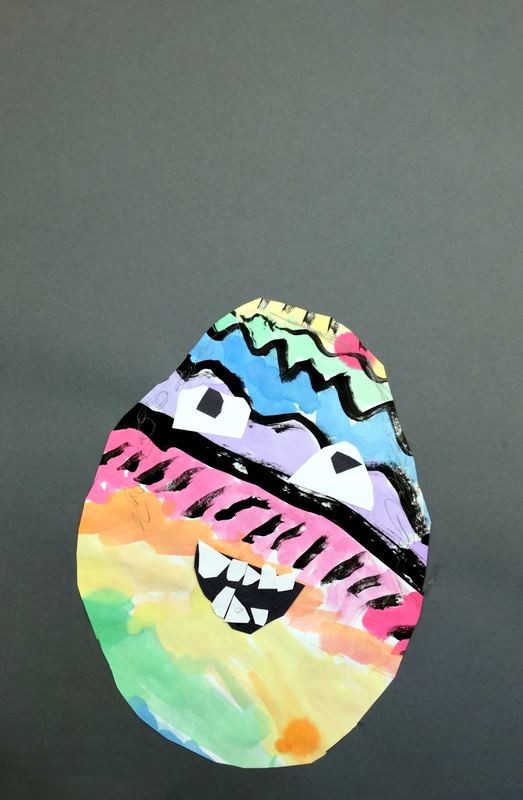
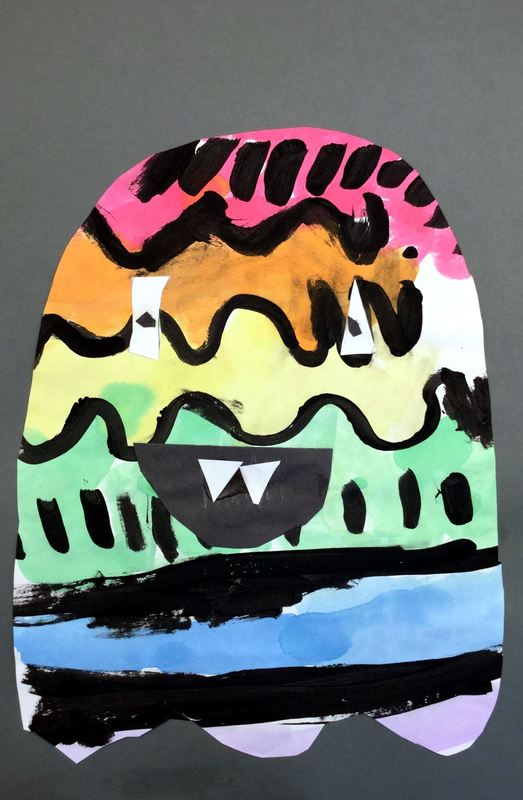
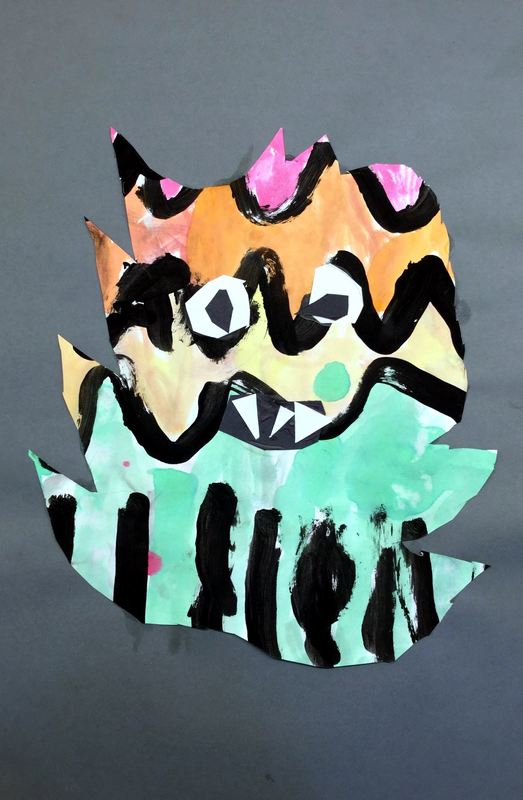
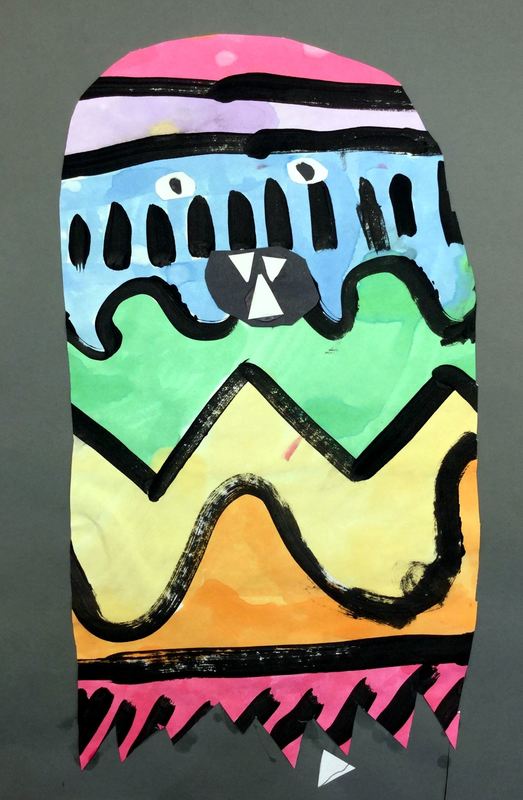
Check out these lovely monsters! Details in this previous post.
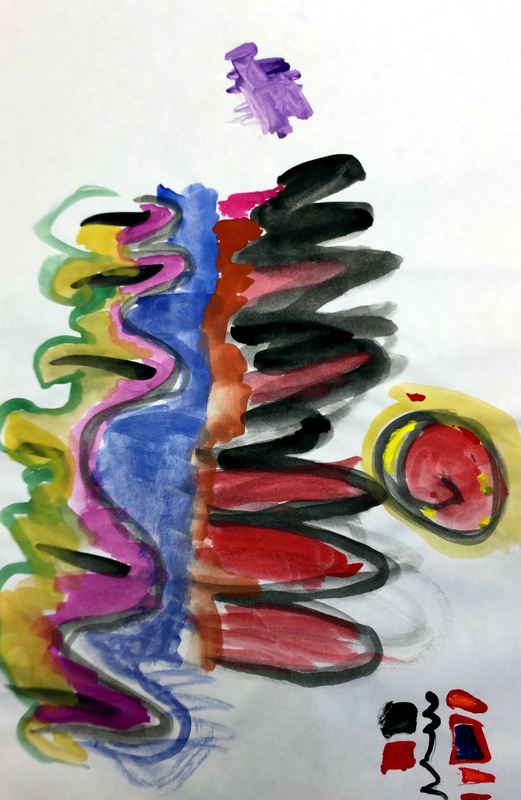
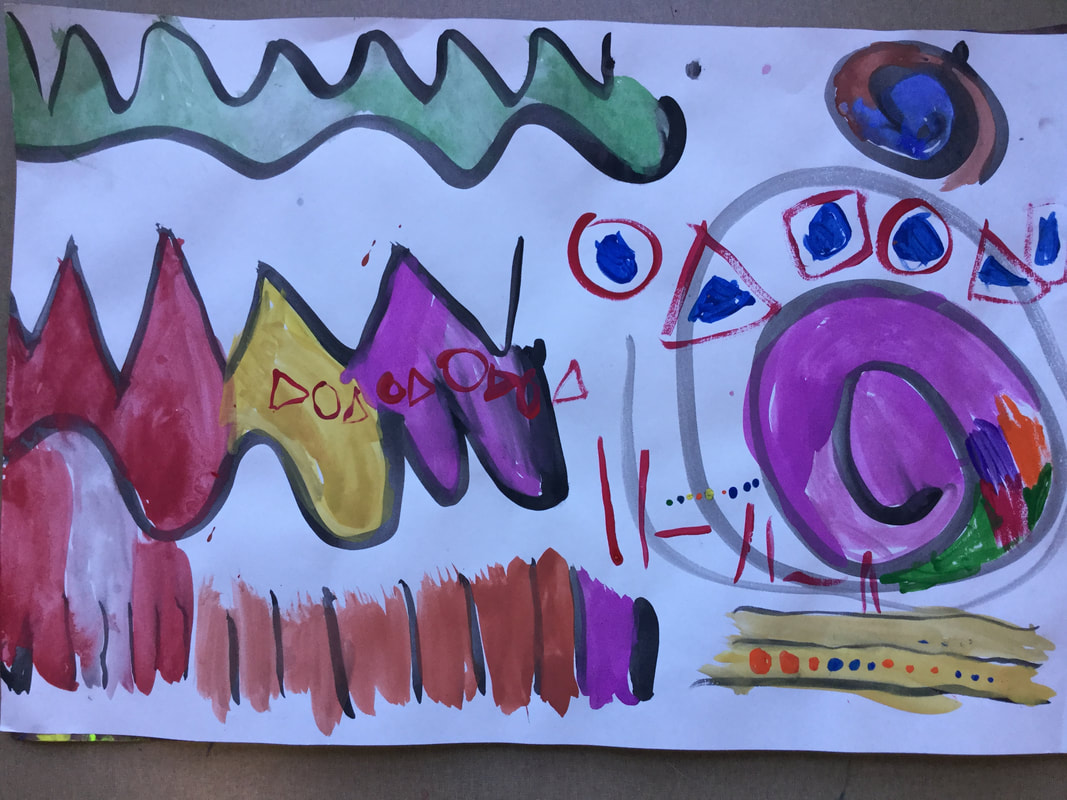
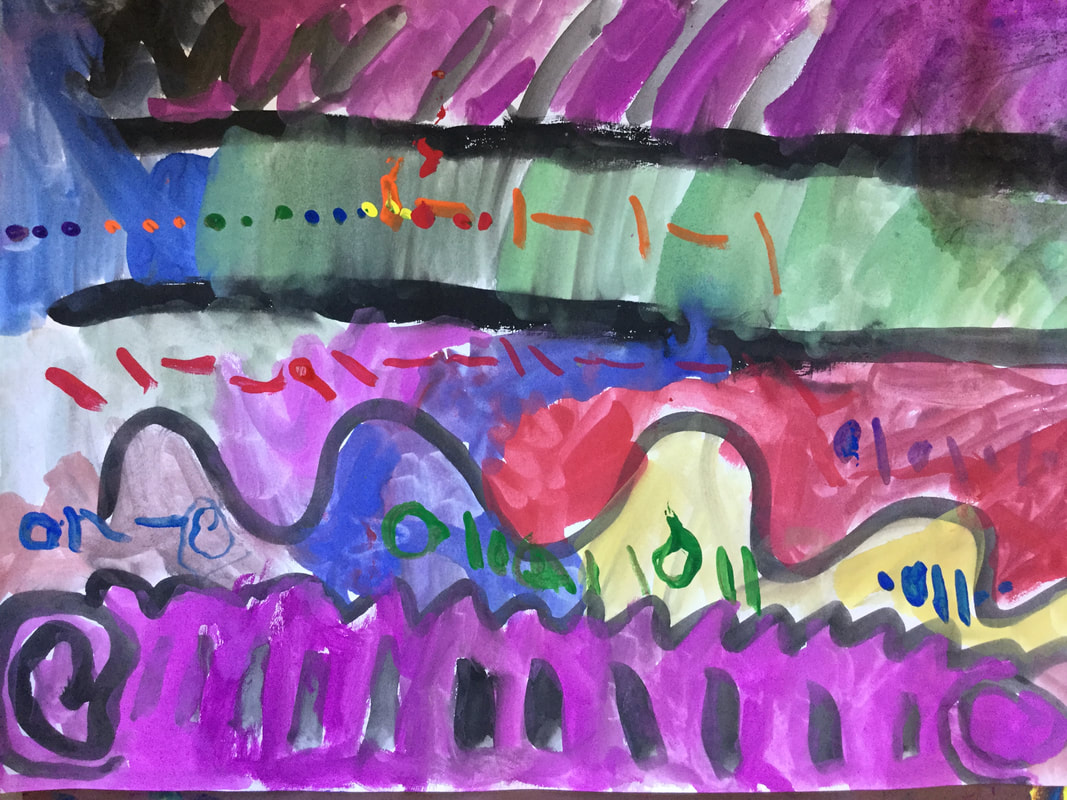
Kindergarten painted to music and learned about Kandinsky! Read my past post for details.
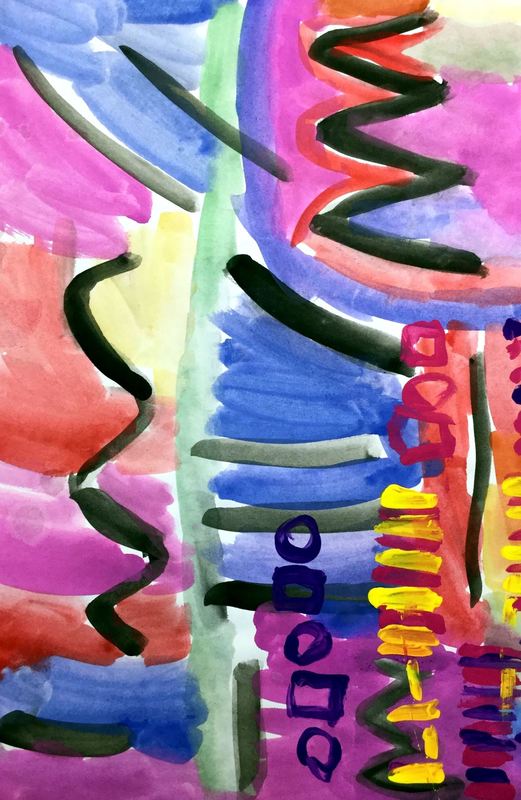
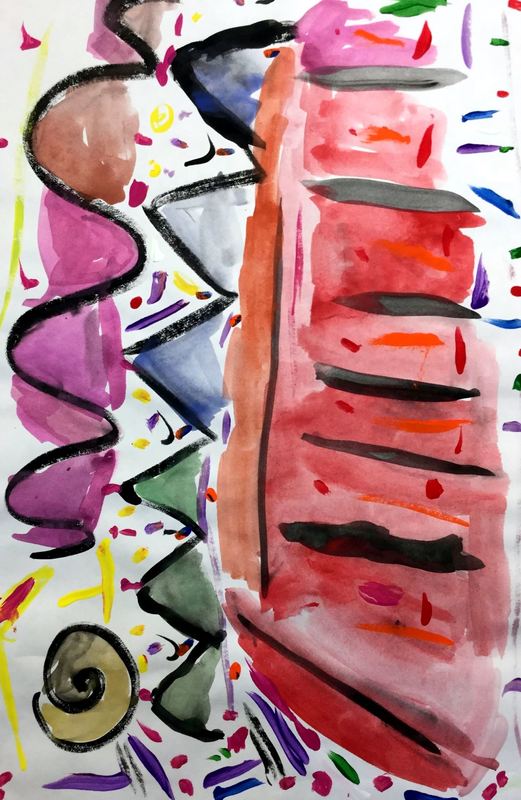
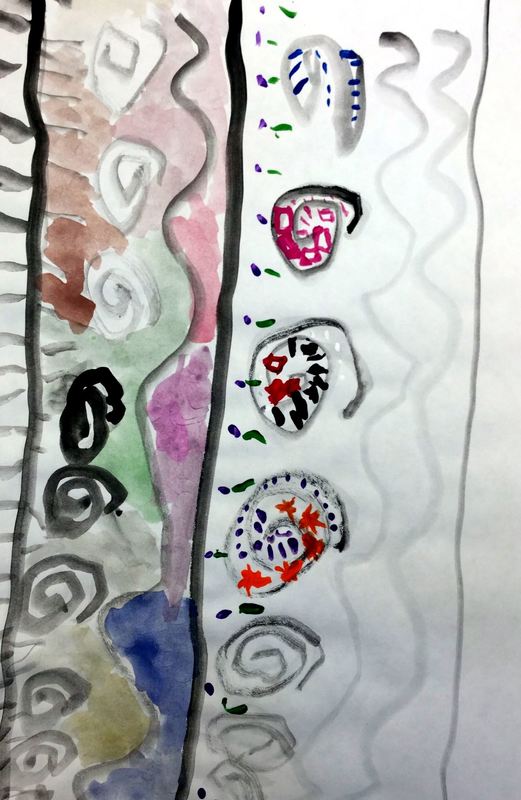
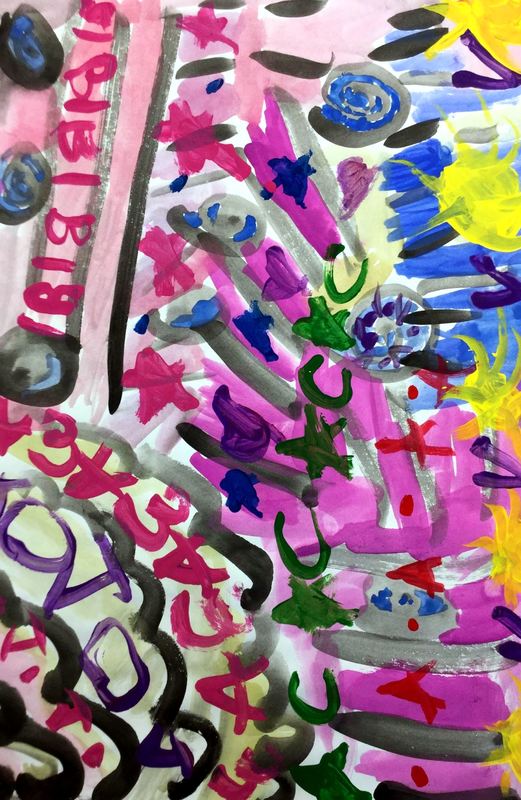
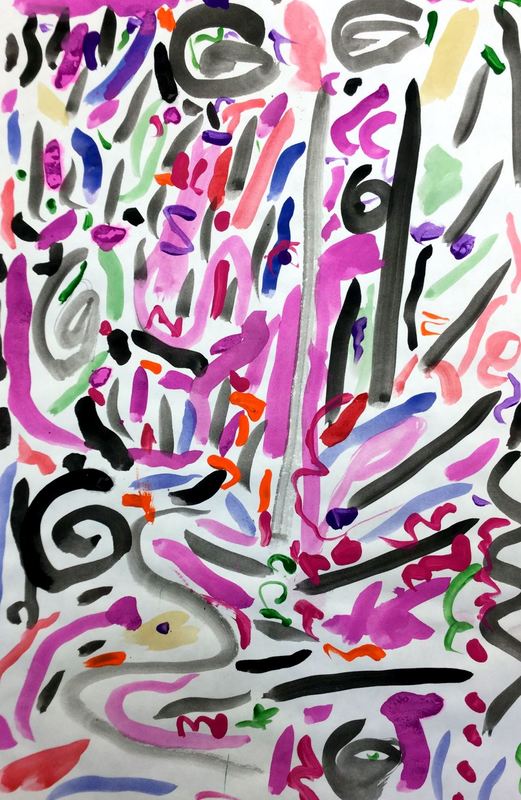
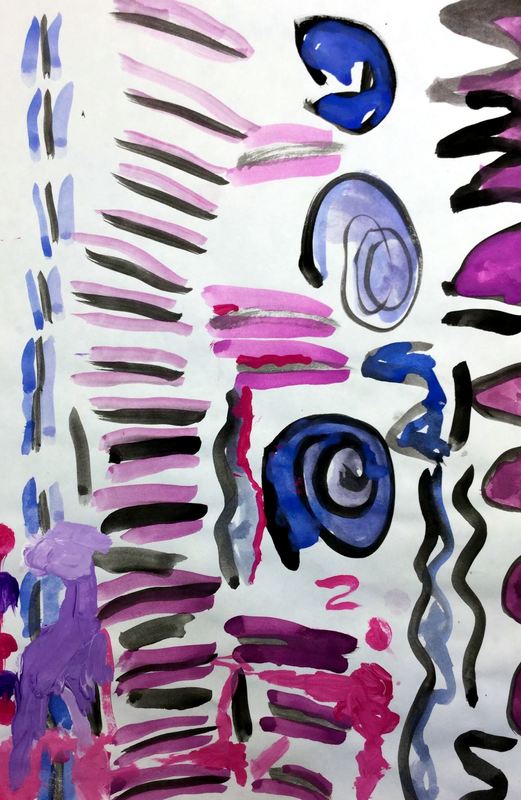
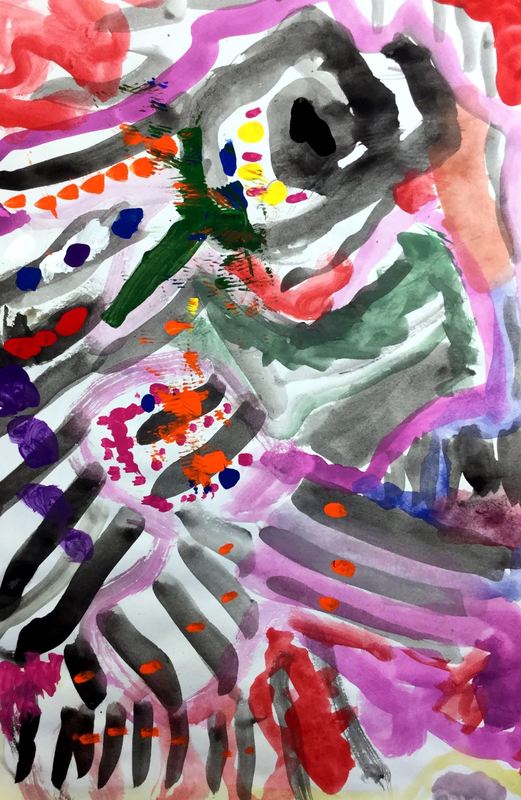
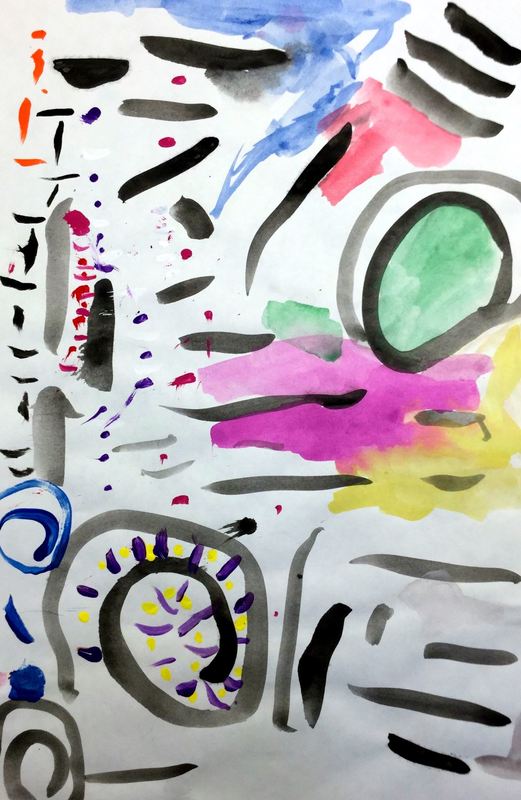
Sorry I only got a couple pictures of this project! Students learned about Kandinsky and then practiced painting lines to music. Afterwards, they filled in the background with color. Lastly, the used an itty bitty brush to add patterns.
You can read more of the details from last year's write up which can be found here! Jasper Johns was an American Pop Artist who liked to work with things that we saw everyday but never thought twice about. A lot of his works deal with numbers, maps, and even flags! While he doesn't solely work with the primary colors, many of his artworks use only those colors. Just like the first graders, kindergarten is also learning about Jasper Johns! I chose Jasper because he works a lot with numbers and since we were celebrating our 100th day of school, it seemed like a perfect fit! The first day we got extra messy! We used primary colors to mix tints and shades all over our paper! The kinders loved this part of the project!
For the second day, we used white paint to paint whatever numbers we wanted facing all different directions. They were tickled pink when they got to paint 100! They also used some number stamps to print numbers all over their paper. The final day, I created a bunch of number tracers out of card stock. Students used oil pastels to trace and color in different numbers all over their papers. Lastly, they glued on 3 numbers that I had die-cut out of the primary colors. The kiddos begged me to do a project for Valentine's Day so we made these adorable hearts. This is a project that I got from my friend, Tasha Newton, over at iartmyjob.weebly.com.
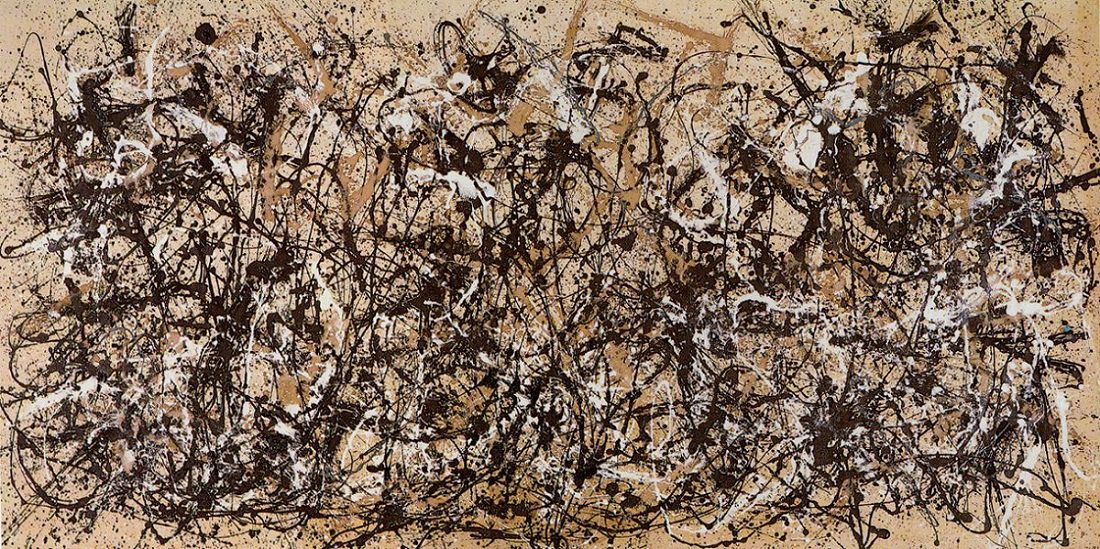
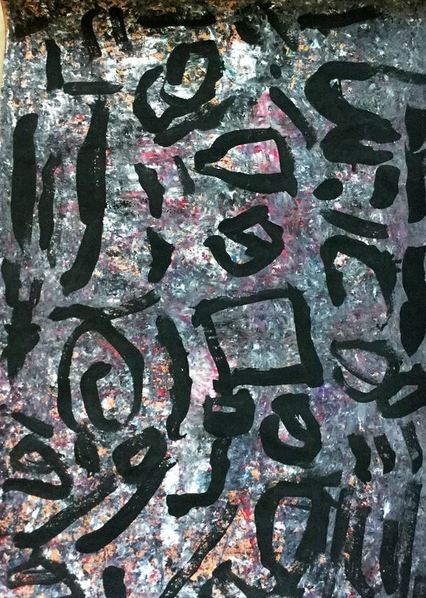
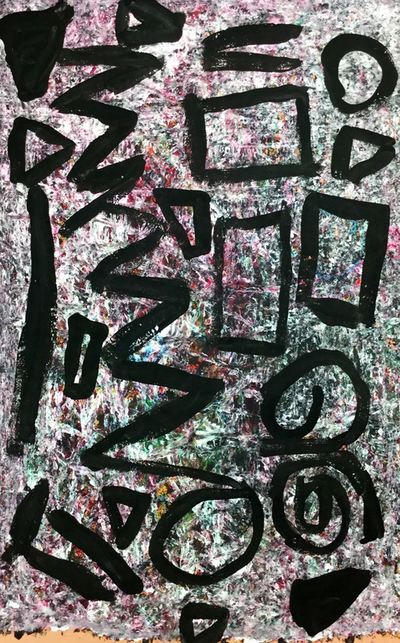
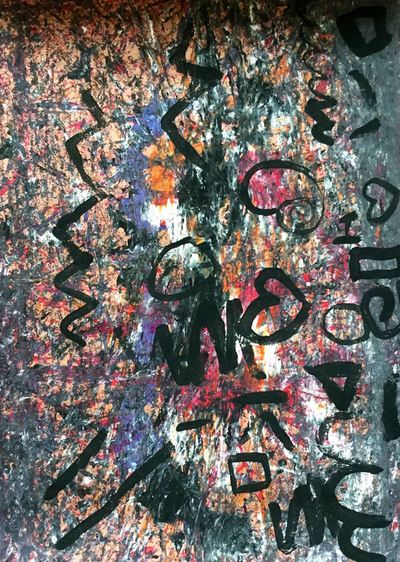
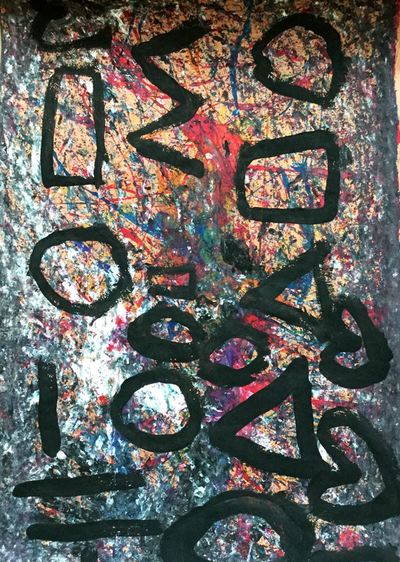
We talked about tints and shades. Tints are colors mixed with white and shades are colors mixed with black. We mixed the tints and shades right on our tempera cakes. The students added these colors however they liked to their pre-cut hearts. We glued them on a background and then used a fork with white paint to print a border. Mr. Pollock was a painter who lived from 1912 to 1956, ultimately dying in a car crash at the young age of 44. As most of you probably know, Jackson was famous for his "drip paintings." Oftentimes, people exclaim "Well I could've done that!" But the reason Mr. Pollock is famous is because he was a pioneer of the method during a time when people were dabbling more and more into abstract art. He was known for splattering, spraying, squirting, dripping, and pouring paint onto his canvas. He used all sorts of materials to do this such as brushes, sticks, spatulas, spoons, etc. He worked with his canvas on the floor so that he could "dance" around it as he worked. So I'm pretty sure that I have a few more grey hairs after this project than when I started it! We started off by talking about Mr. Pollock and his different ways that he made art. Then I introduced them to string painting. Each table had a different color and they were encouraged to string paint with as many colors as they wanted to. For the second day of project, every two tables were given three boxes with an artwork in the bottom and marbles in it. The students didn't know whose artwork was in their box. I walked around and put a squirt of paint in each box. The students then had 40 seconds to roll the marbles around through the paint. After 40 seconds, they were asked to pass their box to the next person and I put a new color in it. Then we repeated the process again. We did this over and over until each painting had several different colors marble painted on to it. For the final day of the project, we reviewed our lines and shapes. I was so impressed with how well they remembered their lines after not having talked about them for so long! They were given black paint to paint different lines and shapes onto their artwork. Using the black paint as the final step was inspired by Deep Space Sparkle's Pollock project. We also reviewed how to use a paint brush correctly. Overall, I love how expressive the works turned out and how stark the black lines and shapes are against their backgrounds.
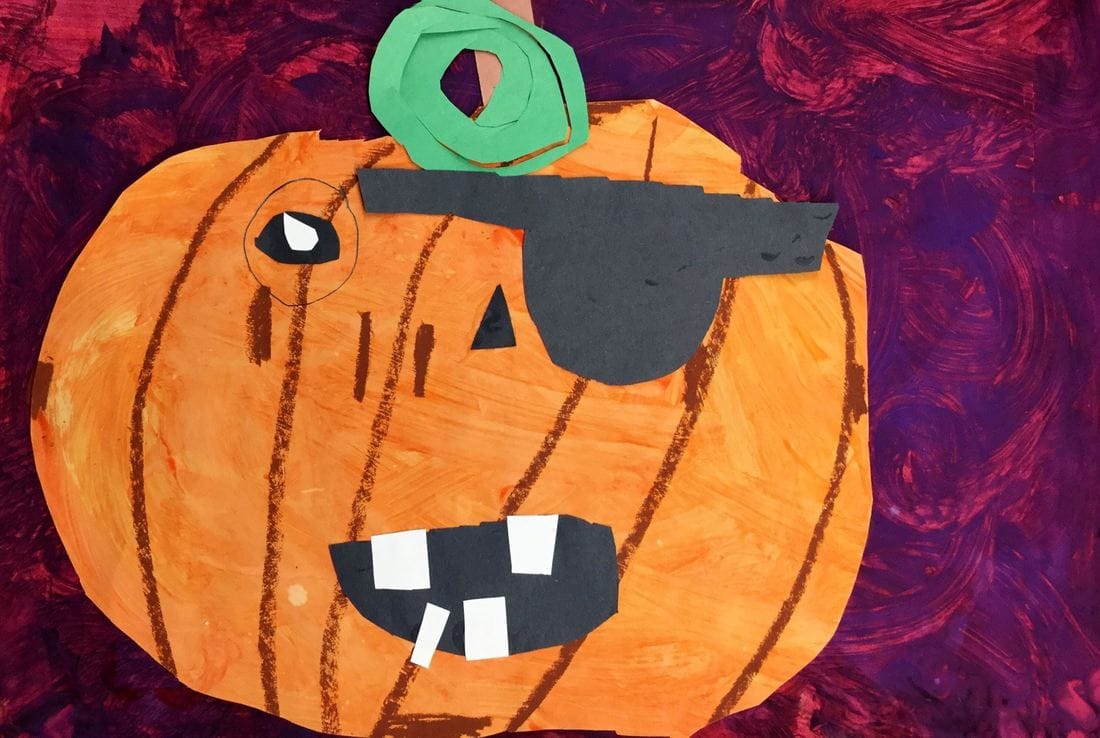
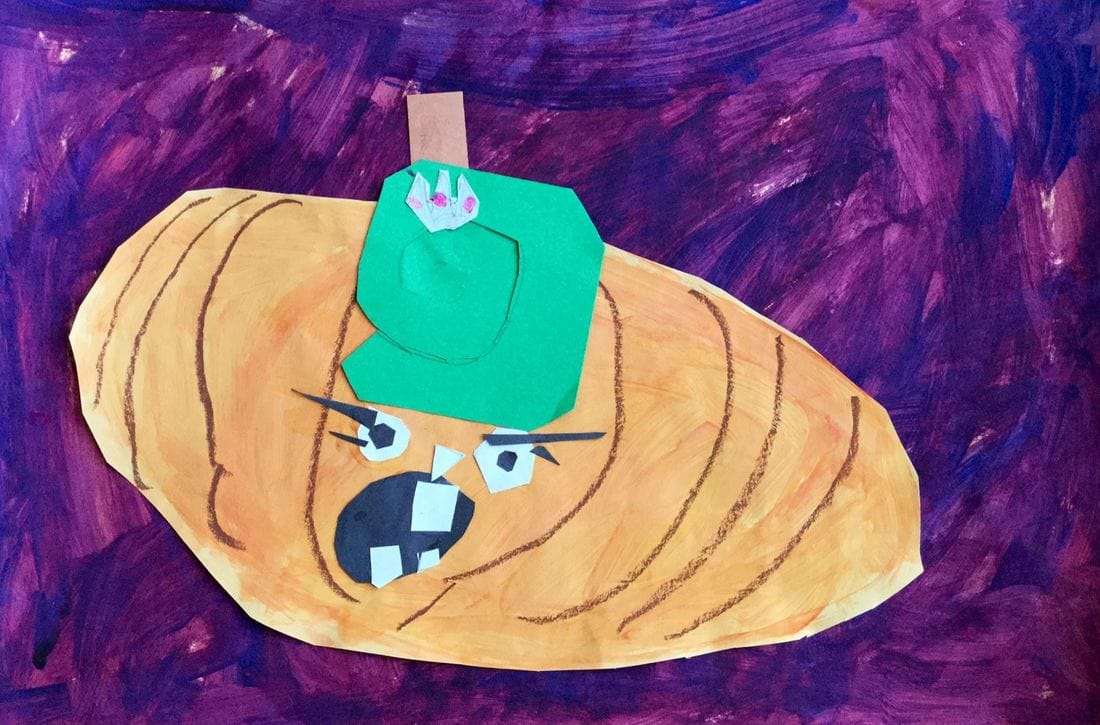
This was a project that I did when I student-taught with the fabulous Jen Dahl in Black River Falls. We started off reading a quick book about pumpkins then we made some art MAGIC! We retouched on the difference between 2D and 3D. The kiddos would be making two different pumpkins. Their first job was to stuff a paper bag full of crumpled up newspapers and then twist the top of the bag shut to make a stem. I gave them each a small cup of red and yellow and told them to mix it together to create some magic. 'It makes orange!' They shrieked as they mixed the colors together. It literally blew their minds! They used the orange to paint the rounded part of their 3D pumpkin. When they were finished, they put it in the pumpkin patch (on the counter) in front of the window so that our pumpkins could get some sunlight to grow! After they had finished that, they then painted a HUGE orange oval on a paper. This would later become their 2D pumpkin.
On day two, we used brown oil pastels to add lines to both our pumpkins. Then they cut out their 2D pumpkin. Next, they added a small brown stem and I showed them how to cut out a spiral for their pumpkin's vine. After they had finished their 2D pumpkin, they made some more art magic by mixing yellow and blue together to make green! They used this to paint their 3D pumpkin stem. They also learned to mix red and blue together to make purple. We used this to paint a large sheet of paper that would later become a background. We also talked about why each person ended up with different kinds of greens, purples, and oranges. The final day was spent gluing their 2D pumpkin to their purple background. Lastly, they used black and white paper to turn their pumpkins into jack o' lanterns. I love all the character that they have! |
Devon CalvertHarmony and Consolidated Elementary Art Teacher in Milton, WI. UW-Eau Claire graduate. WAEA President. Apple Teacher. Archives
March 2019
Categories
All
|

 RSS Feed
