|
This was a project that I did when I student-taught with the fabulous Jen Dahl in Black River Falls. We started off reading a quick book about pumpkins then we made some art MAGIC! We retouched on the difference between 2D and 3D. The kiddos would be making two different pumpkins. Their first job was to stuff a paper bag full of crumpled up newspapers and then twist the top of the bag shut to make a stem. I gave them each a small cup of red and yellow and told them to mix it together to create some magic. 'It makes orange!' They shrieked as they mixed the colors together. It literally blew their minds! They used the orange to paint the rounded part of their 3D pumpkin. When they were finished, they put it in the pumpkin patch (on the counter) in front of the window so that our pumpkins could get some sunlight to grow! After they had finished that, they then painted a HUGE orange oval on a paper. This would later become their 2D pumpkin.
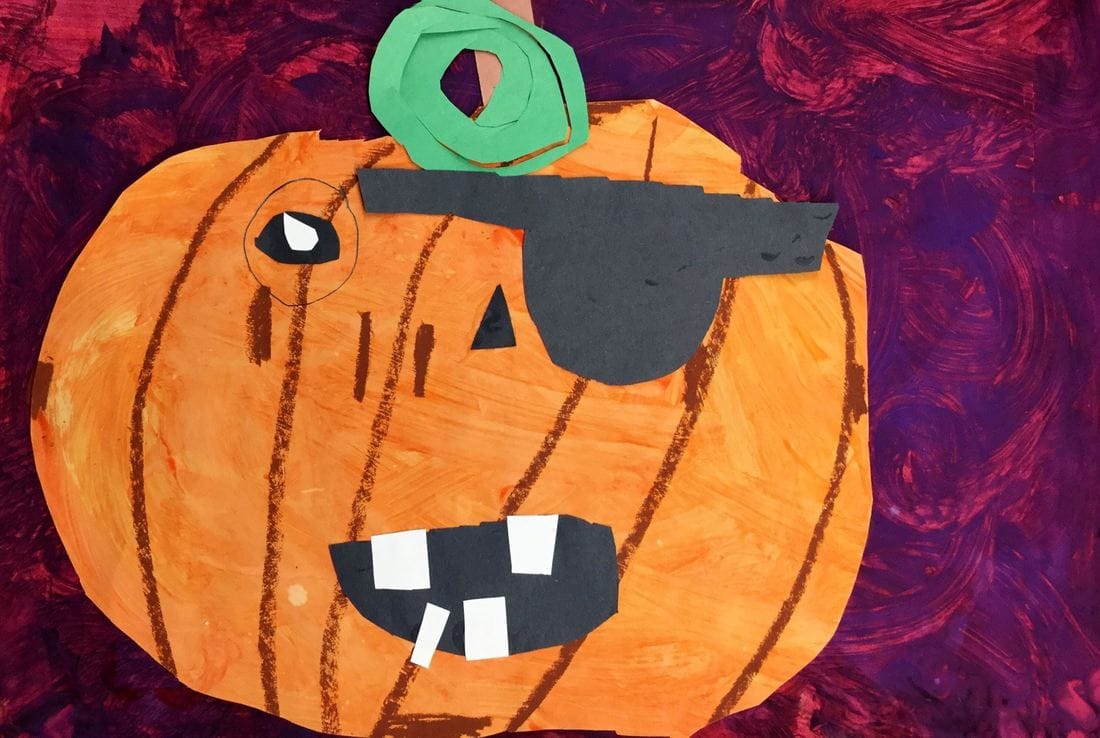
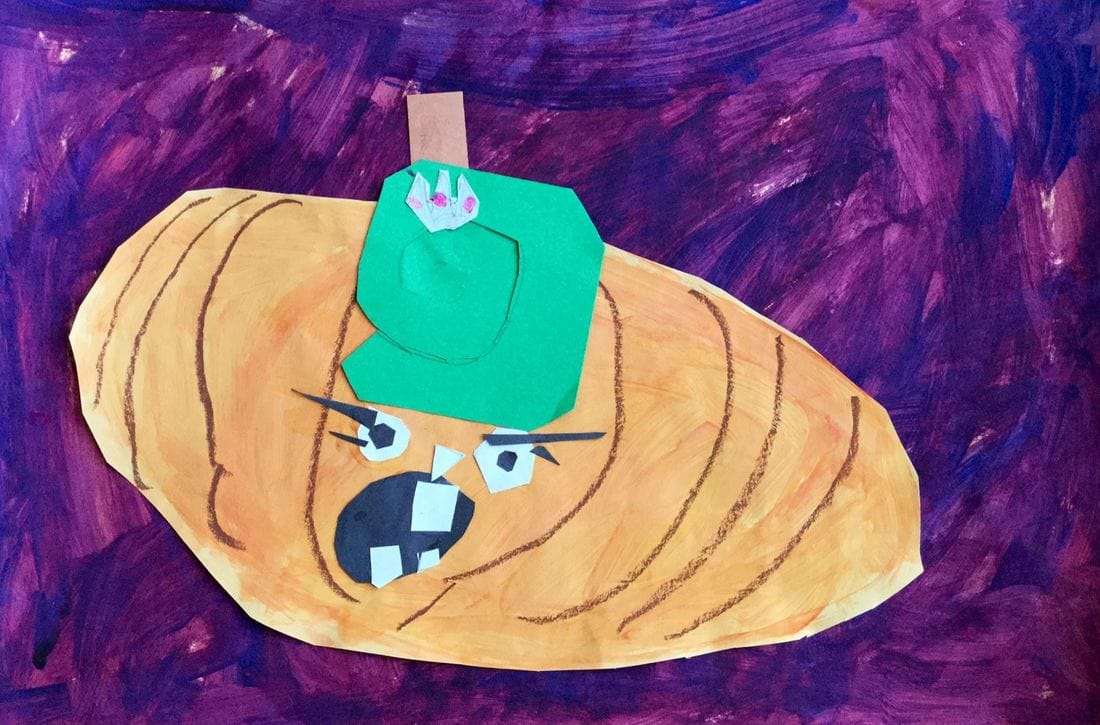
On day two, we used brown oil pastels to add lines to both our pumpkins. Then they cut out their 2D pumpkin. Next, they added a small brown stem and I showed them how to cut out a spiral for their pumpkin's vine. After they had finished their 2D pumpkin, they made some more art magic by mixing yellow and blue together to make green! They used this to paint their 3D pumpkin stem. They also learned to mix red and blue together to make purple. We used this to paint a large sheet of paper that would later become a background. We also talked about why each person ended up with different kinds of greens, purples, and oranges. The final day was spent gluing their 2D pumpkin to their purple background. Lastly, they used black and white paper to turn their pumpkins into jack o' lanterns. I love all the character that they have!
0 Comments
Leave a Reply. |
Devon CalvertHarmony and Consolidated Elementary Art Teacher in Milton, WI. UW-Eau Claire graduate. WAEA President. Apple Teacher. Archives
March 2019
Categories
All
|

 RSS Feed
