|
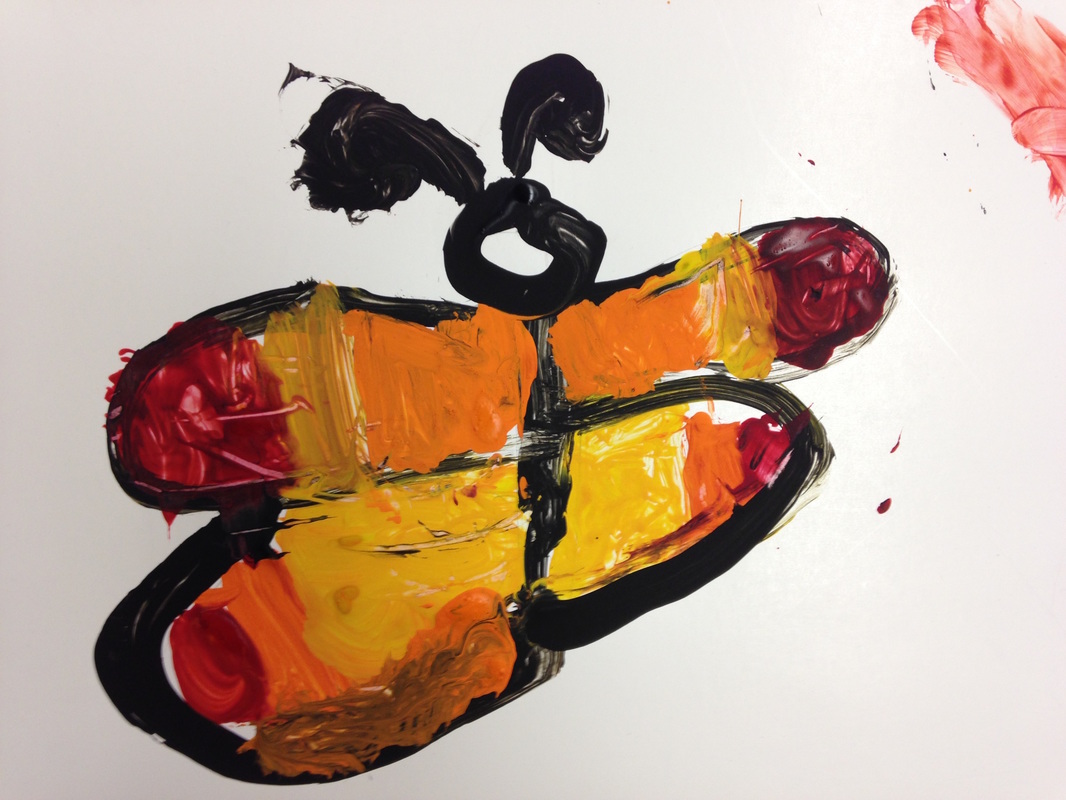
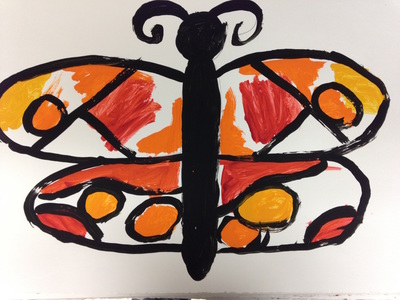
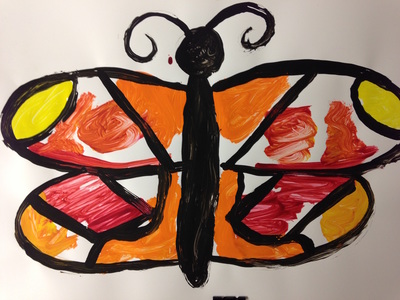
For this lesson, I read a book about butterflies. I then talked about symmetry. Next, I showed them how to draw a butterfly. Then we painted them warm colors (we used a thick, glossy paper that made the paint smear so limiting them to warm colors helped to prevent them from muddling them together and making brown). Lastly, we painted the body of our butterflies and outlined their wings with black paint. They then could add some black designs on the inside of their wings, but the designs needed to be symmetrical. Because I was subbing, I didn't get to finish the project. The students will cut out their butterflies. They are then going to go back in and add white polka dots using Q-tips and paint, as well as possibly adding some patterns using cray-pas.
0 Comments
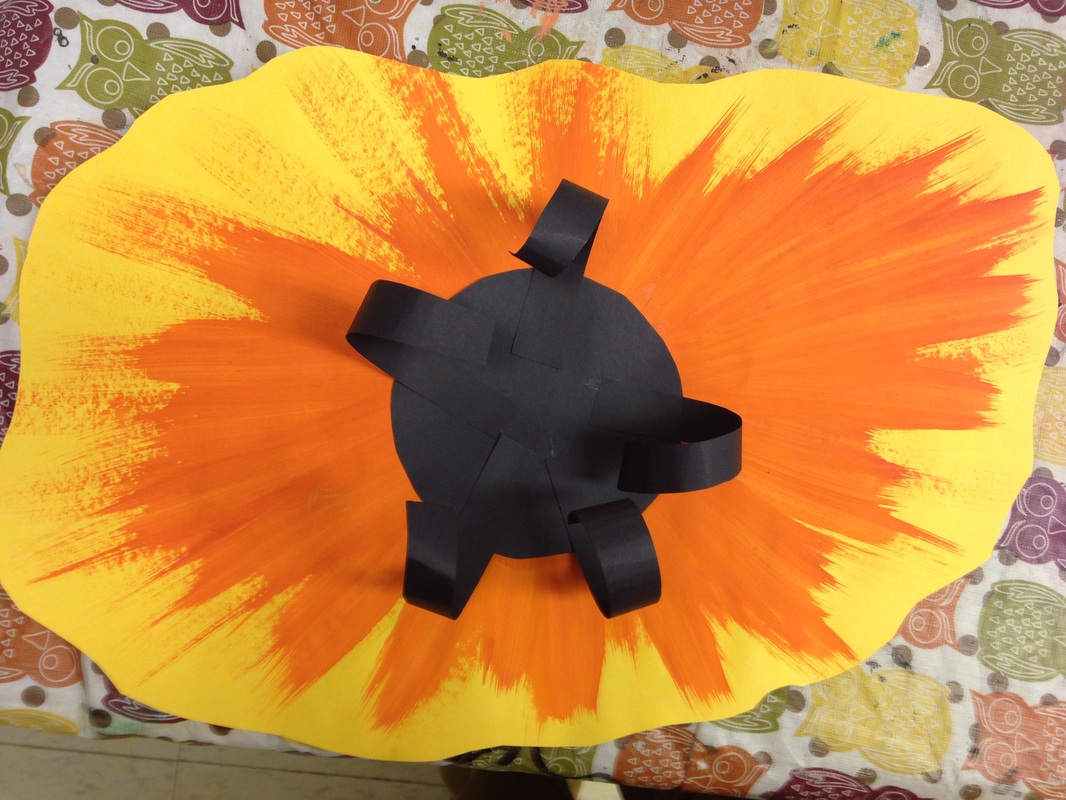
With our kindergartners, we read a story about Miss O'Keefe. We then painted poppies. Each student was given a sheet of paper with a small squirt of red and orange in the middle. They then used their brush to spread the paint from the middle of the paper outward. After it dried, they cut out black circles and small black rectangles. They then glued the black circle in the center of their flower before curling their black rectangles around a pencil. These were glued to the black circle.
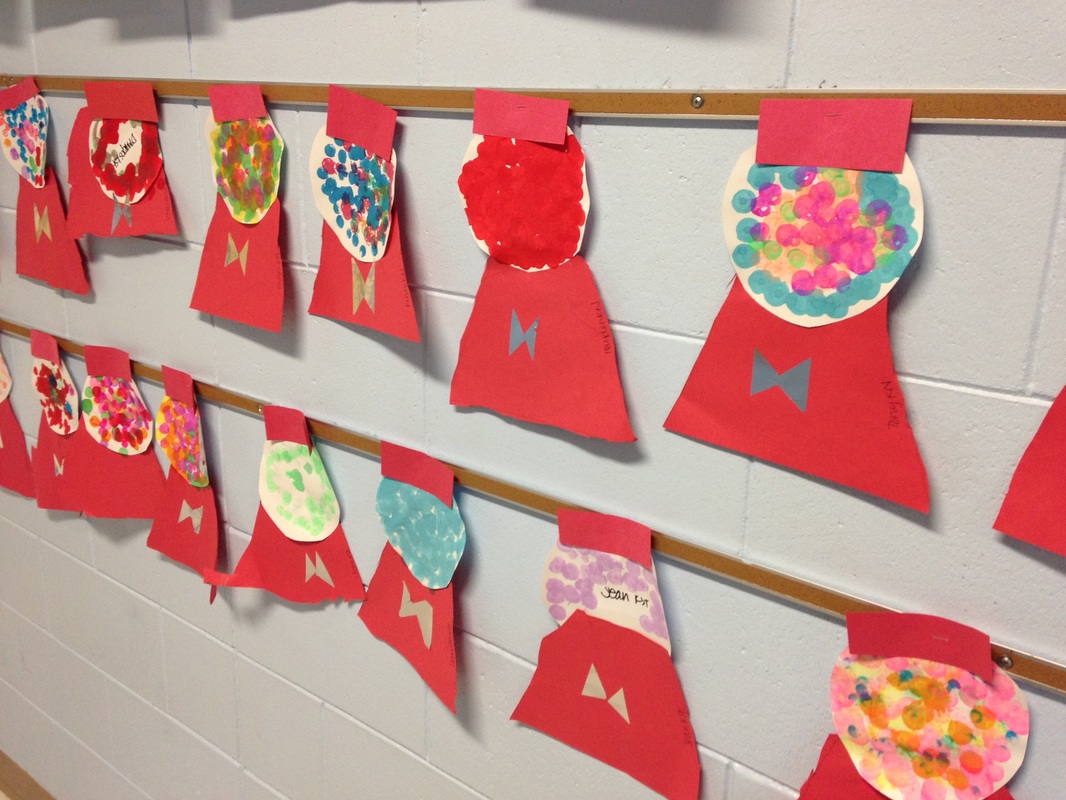
This was actually the first project we did this year with our Kindergarten class. We talked about making circles. They used bingo dobbers to put gumballs on their sheets. They then used a tracer to create the base of the gumball machine, as well as cut out a small rectangle to go on top. And we couldn't talk about gumballs without chewing on one after we finished working!
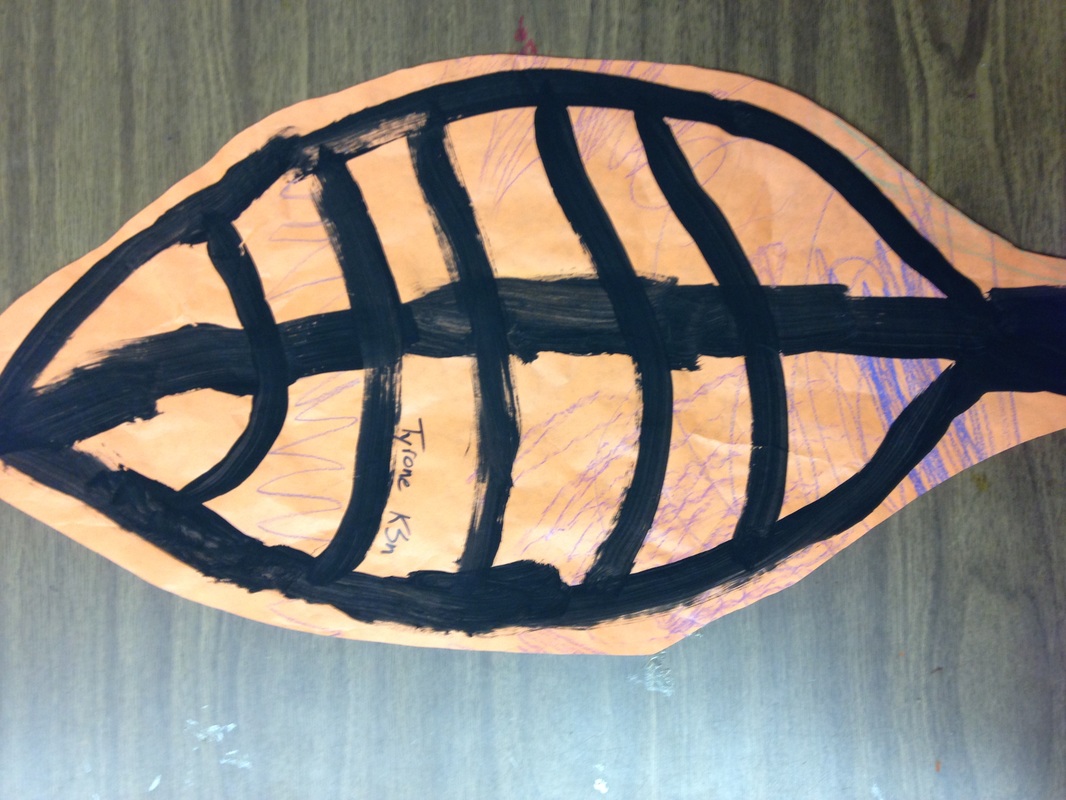
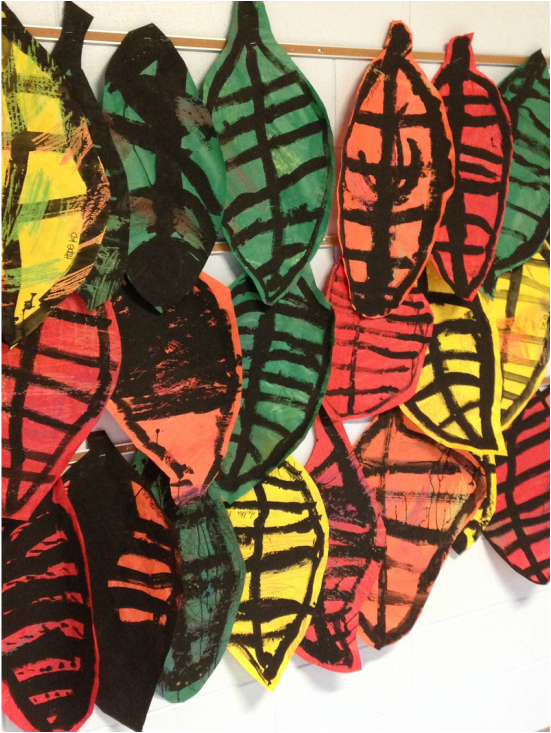
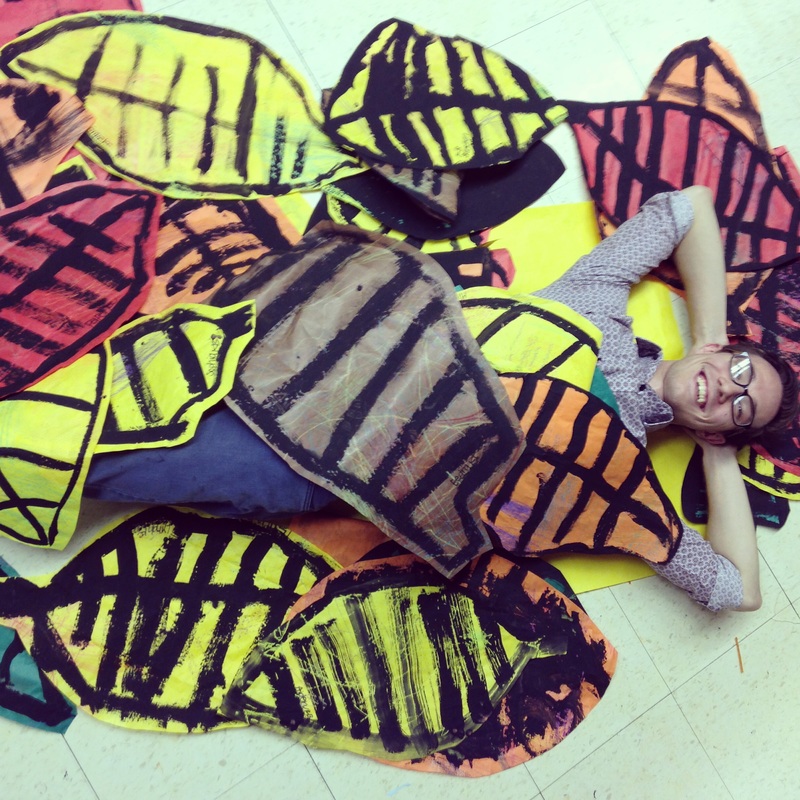
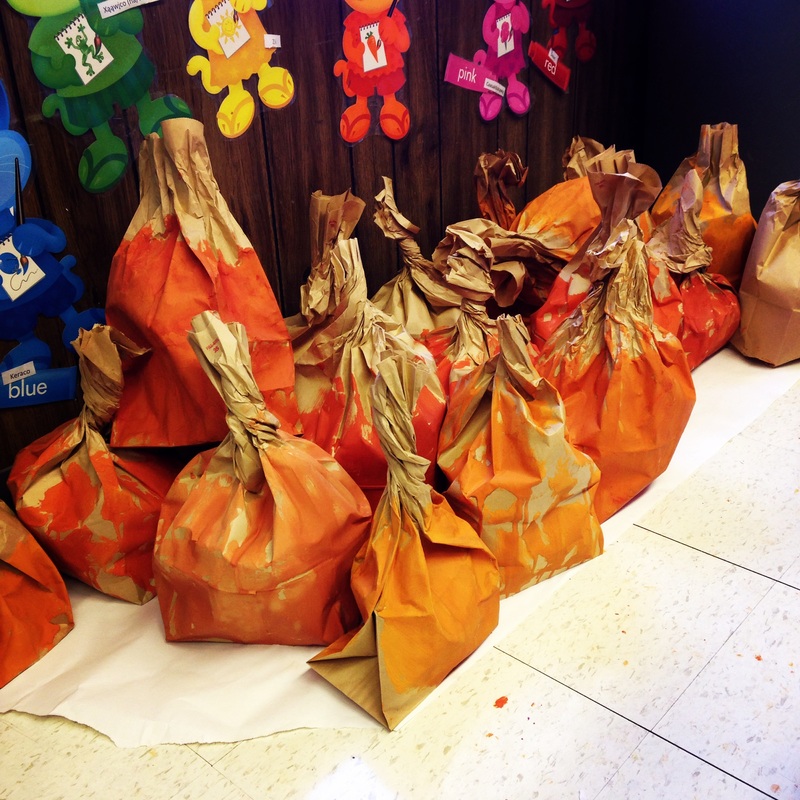
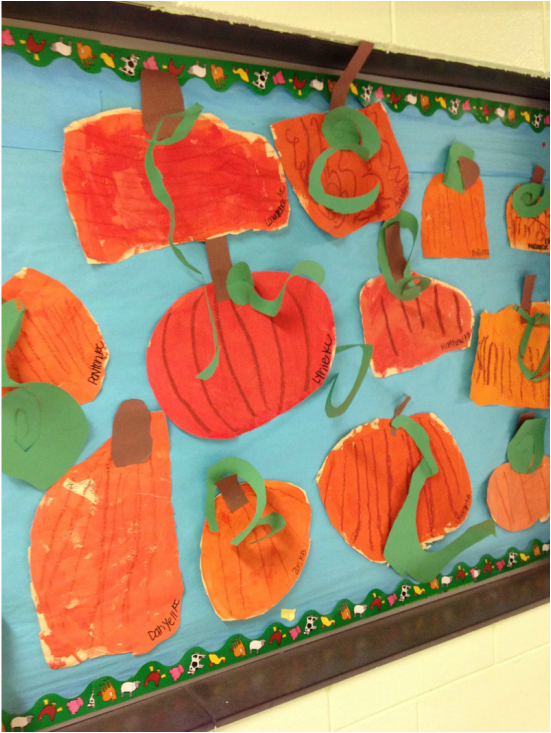
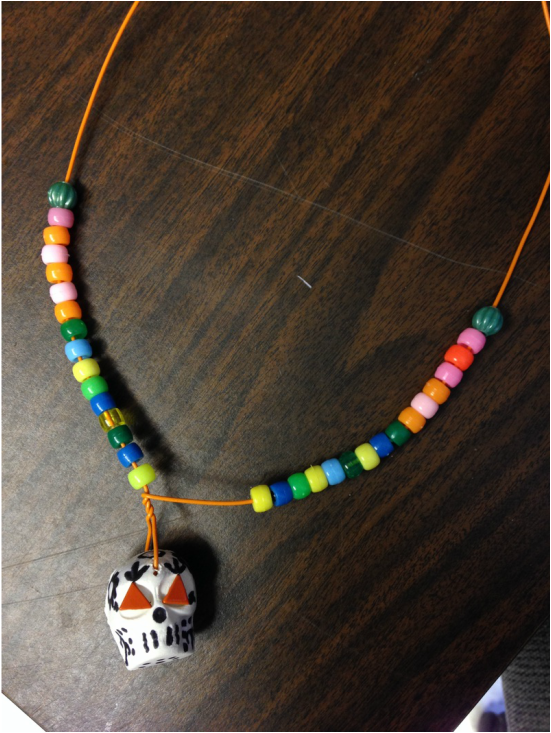
My kindergartners were given huge sheets of paper that were the colors of leaves. We talked about texture and then went on a texture scavenger hunt. We started inside the classroom and did crayon rubbing of different textures. Then we ventured outside and found some more textures. The next class, they traced a huge leaf over top of their texture rubbings and then used black paint to paint the outline of the leaf, as well as its veins. I was observed by my content adviser from the University for this lesson. We made two pumpkins: a flat one and a puffy one. For the puffy one, we took a brown paper bag and stuffed it so that it had some shape. Then I showed them that red and yellow mixed together makes orange. This was literally the most mind-blowing thing they had probably ever seen. They painted their puffy pumpkin orange. Next they took a brown slick-stick and drew lines on their pumpkins. Lastly, they used green contact paper to wrap around the top of their stem. For the flat pumpkin, they painted a large oval/circle onto their papers. Then we used a slick-stick to draw lines onto their pumpkins. Then we added a small brown rectangle for the stem. Lastly, I showed them how to cut out spirals that they could glue to their pumpkin for a vine. As always, I read to my kindergartners about Dia de los Muertos and taught them how to say that string of tricky words. Jen found some ice cube trays shaped like skulls so we pressed model magic into them and then set them out to dry. The students then looked at some traditional Dia de los Muertos skulls for inspiration before using a black marker to draw designs on their skull. They also set metal brads into the eyes of the skulls. We then attached the skulls to a wire and had the students create patterns using beads on the wire. I don't know who was more excited about this project, me or the students.
|
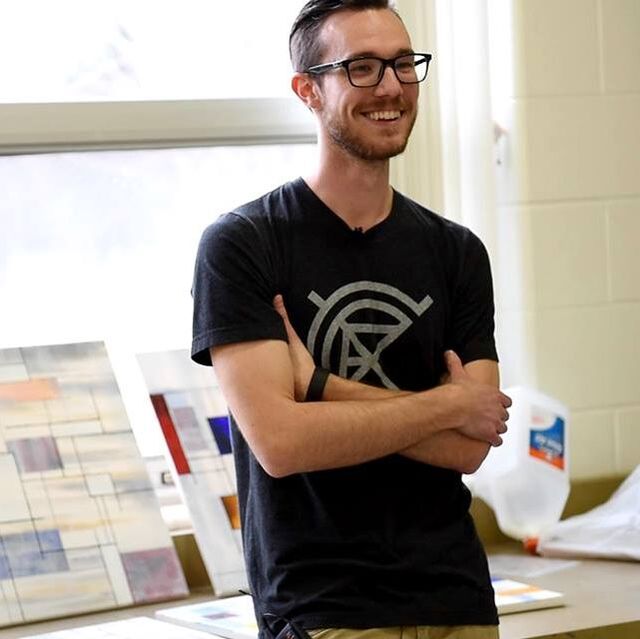
Devon CalvertHarmony and Consolidated Elementary Art Teacher in Milton, WI. UW-Eau Claire graduate. WAEA President. Apple Teacher. Archives
March 2019
Categories
All
|

 RSS Feed
