|
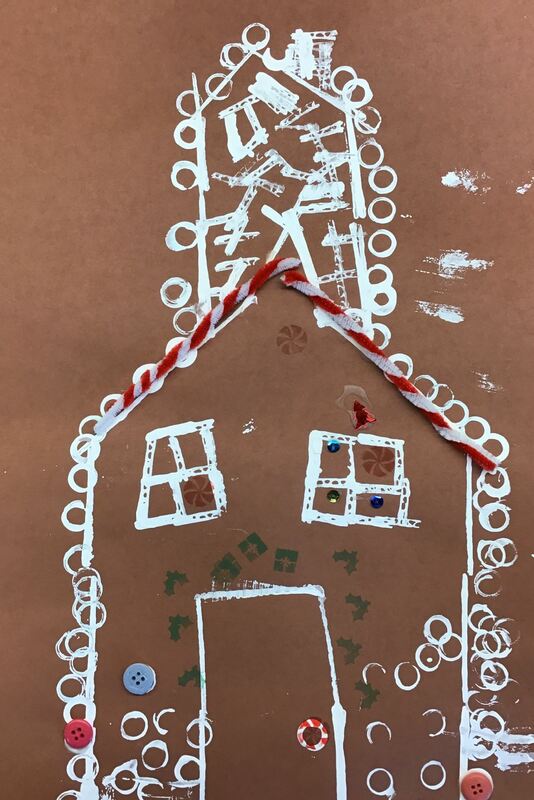
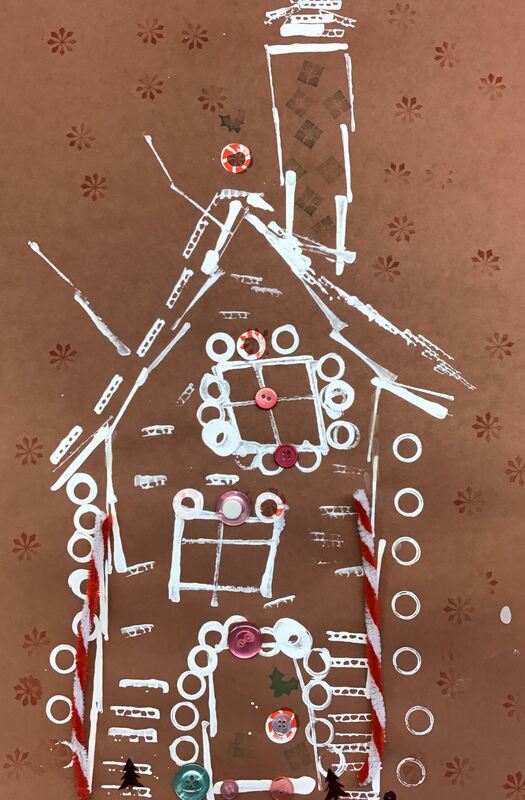
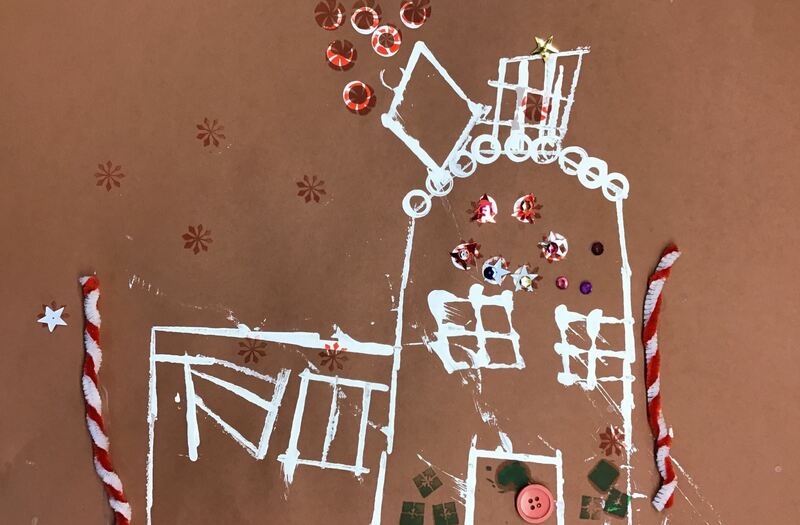
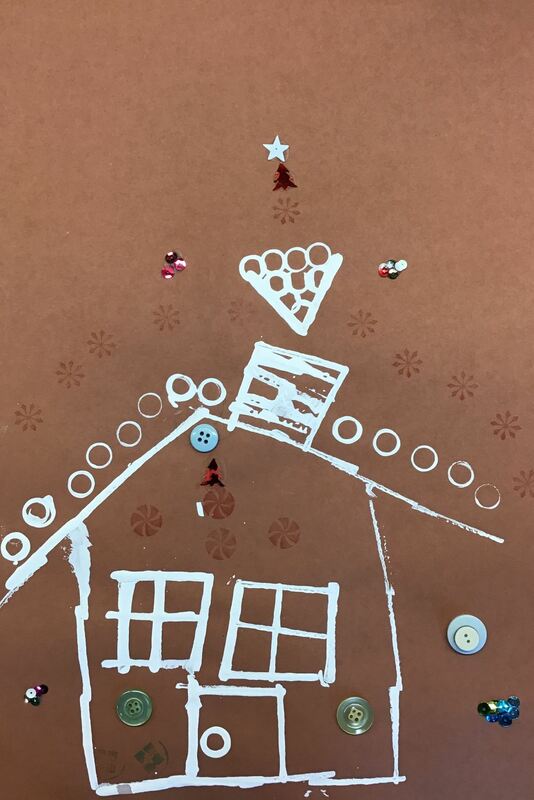
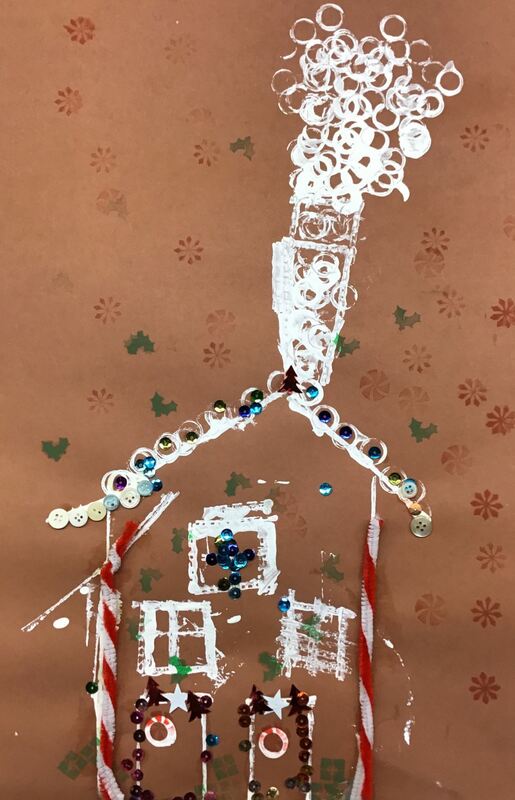
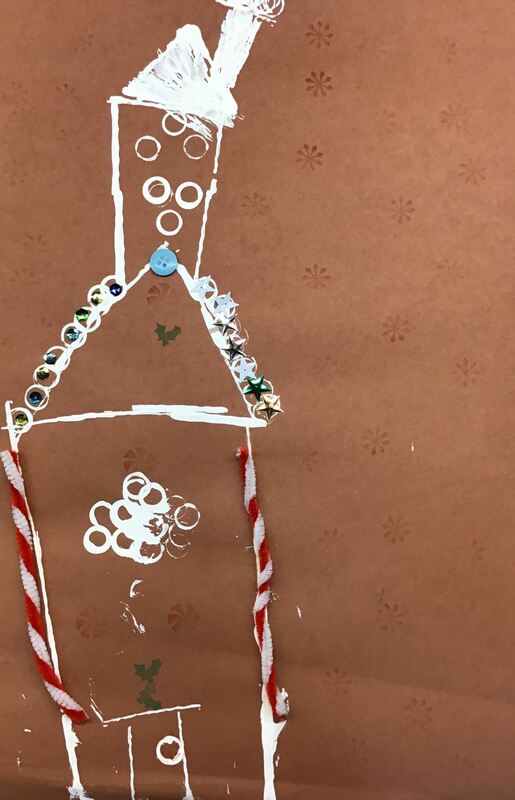
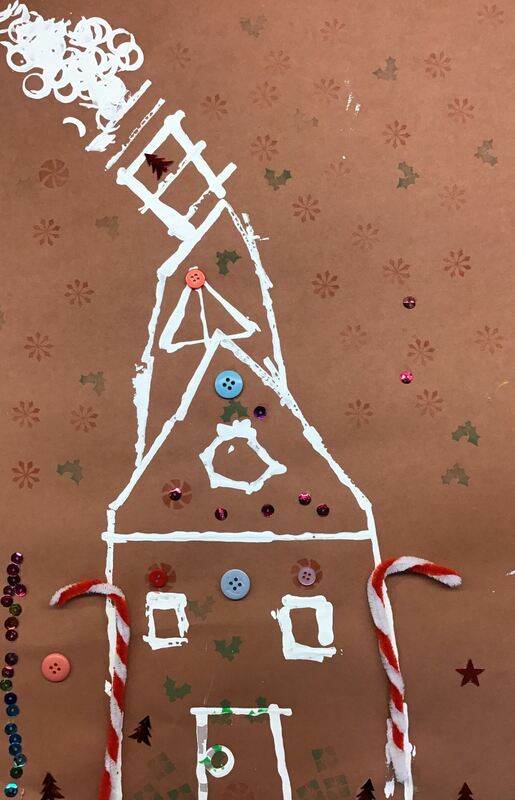
This project was a bit of a changeup from a lesson that I've done in the past. Typically in the past, I have done a one-day project on architecture with my kindergarten students. I usually show them pictures of buildings and talk about what an architect is. This year, I decided to get in the holiday spirit, and make some blueprints of gingerbread houses! After talking to students about what an architect does and what blueprints are, we watched videos of how gingerbread houses are made. We found a really cool video that talks about Swiss Colony from Monroe, Wisconsin and how they make 35000 gingerbread houses every year.
To start off the project, each student grab a brown piece of paper. They were given small and large pieces of cardboard and these were used to print a design of their dream gingerbread house. We talked about details to consider including such as attics, doors, windows, and chimneys. I reminded them that printing is just like using a stamp. They were also given marker caps to add a bit more variation in the shapes they were making. The second day of this project, I set out all kinds of fancy art materials that they could add to their gingerbread houses. This included stamps, buttons, sequins, and red and white pipe cleaners that have been twisted together to look like candy canes. Students started with the stamps and added snowflakes, holly, presents, and peppermints to their artwork. Lastly, students glued down any of the extra details that they wanted to their artwork. I love how fun these turned out! I will definitely continue doing this variation of the blueprint project!
0 Comments
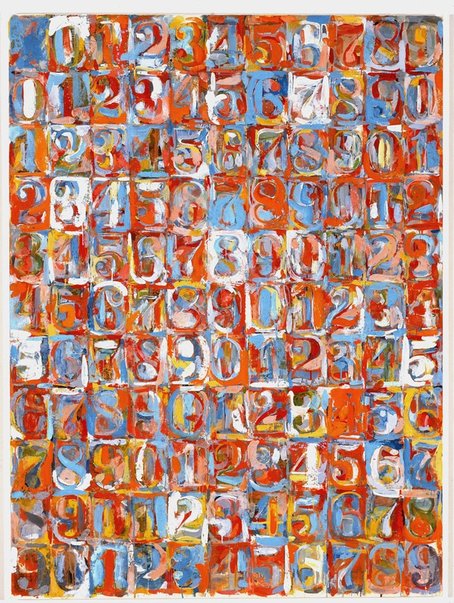
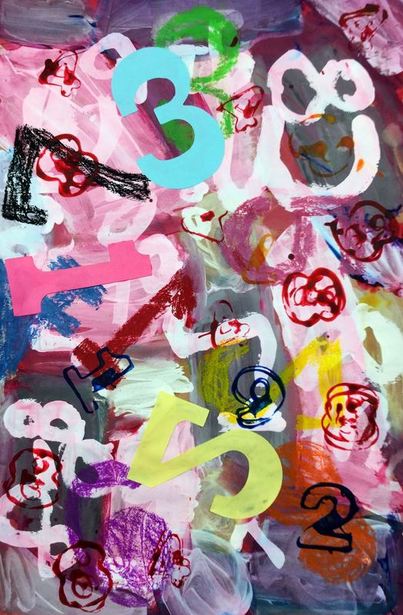
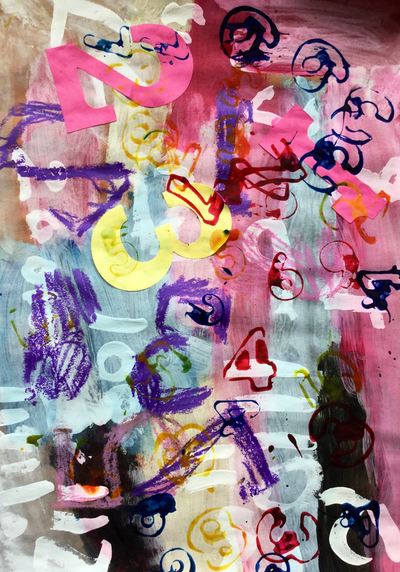
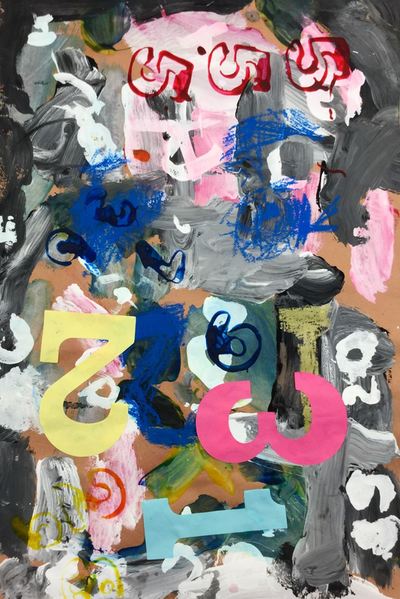
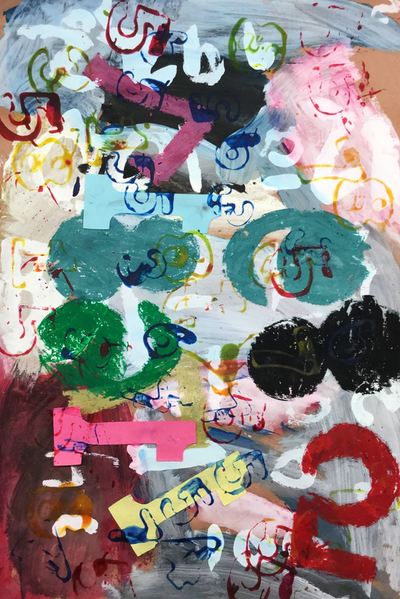
Jasper Johns was an American Pop Artist who liked to work with things that we saw everyday but never thought twice about. A lot of his works deal with numbers, maps, and even flags! While he doesn't solely work with the primary colors, many of his artworks use only those colors. Just like the first graders, kindergarten is also learning about Jasper Johns! I chose Jasper because he works a lot with numbers and since we were celebrating our 100th day of school, it seemed like a perfect fit! The first day we got extra messy! We used primary colors to mix tints and shades all over our paper! The kinders loved this part of the project!
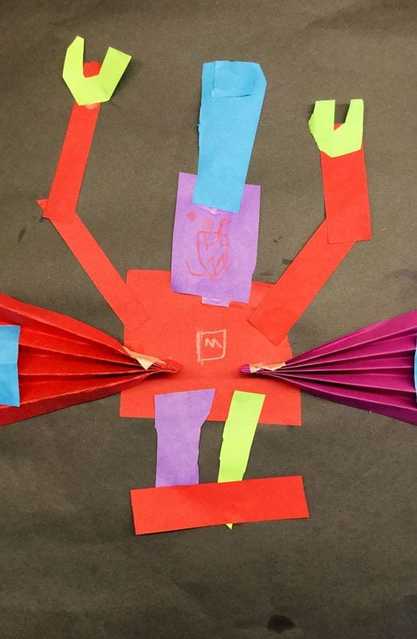
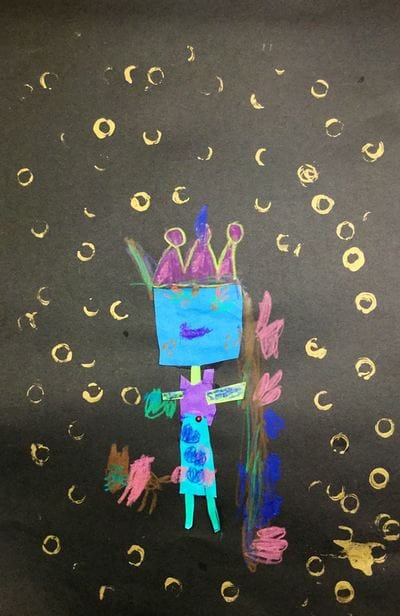
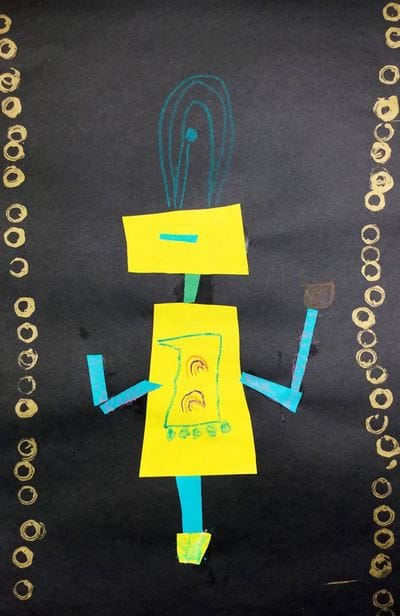
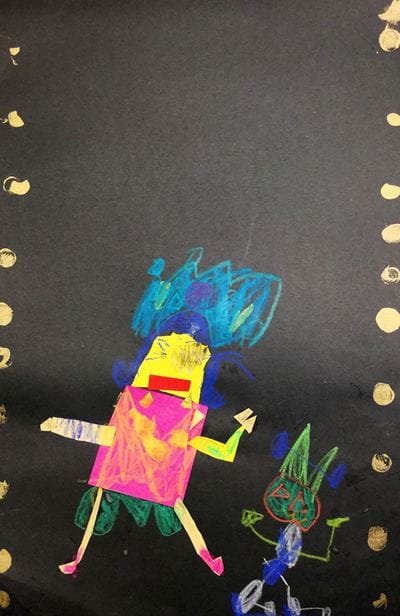
For the second day, we used white paint to paint whatever numbers we wanted facing all different directions. They were tickled pink when they got to paint 100! They also used some number stamps to print numbers all over their paper. The final day, I created a bunch of number tracers out of card stock. Students used oil pastels to trace and color in different numbers all over their papers. Lastly, they glued on 3 numbers that I had die-cut out of the primary colors. More and more and more shapes! My kinders can't get enough of them! We started of by reading Robot Zot! I love love love to read to the kids! It's one of my favorite things to do! Then we got to work. They began with cutting out a body that filled up a good chunk of their black paper. We talked about what shapes we might use for certain body parts but this was their robot to create and they could make it look like whatever they wanted it to look like. Next, they needed to add legs, arms, a neck, and head. Some chose to give their robot a wheel instead of legs.
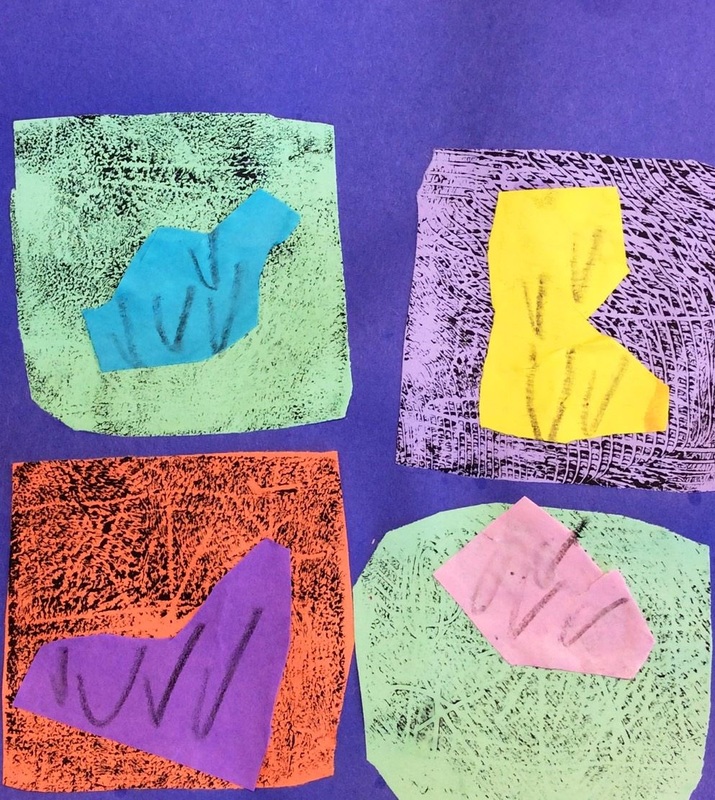
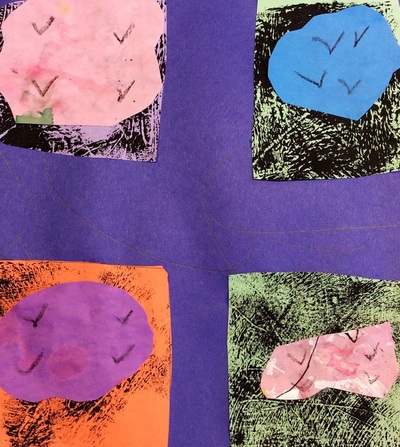
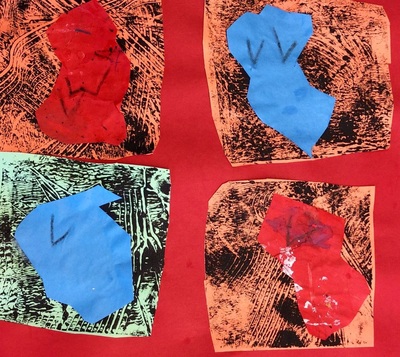
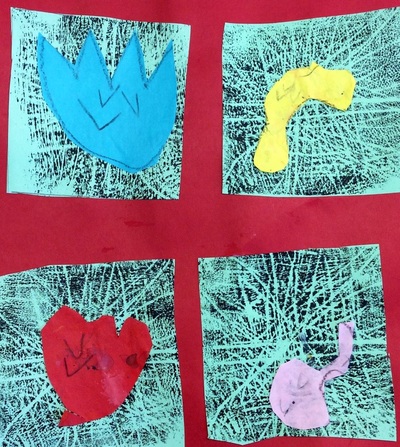
For the second day of class, they had to add at least 3 more shapes to their robot, even if they thought they were finished. We talked about things they could add like a hover board, robot hair, a robot purse, a tv on their robot's chest, antennas, etc. Then they used construction paper crayons to add details to their robot. Lastly, we used nuts and bolts and brass colored paint to print a shape border. This lovely new warm weather is AMAZINGGGG! And I can't wait to see all of the wildlife that it will bring about, like flowers! We took a look at an artwork by Andy Warhol that had flowers on it. Warhol is wildly famous for his Pop Art which features the repetition of popular things like celebrities, flowers, and food!
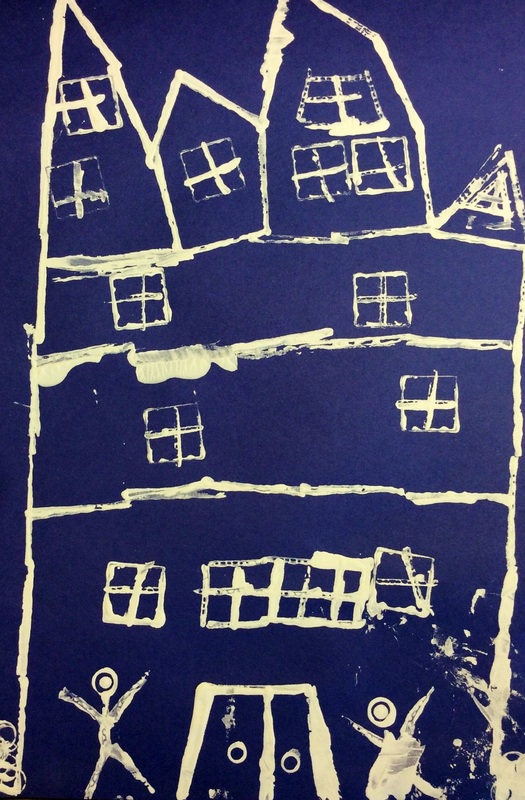
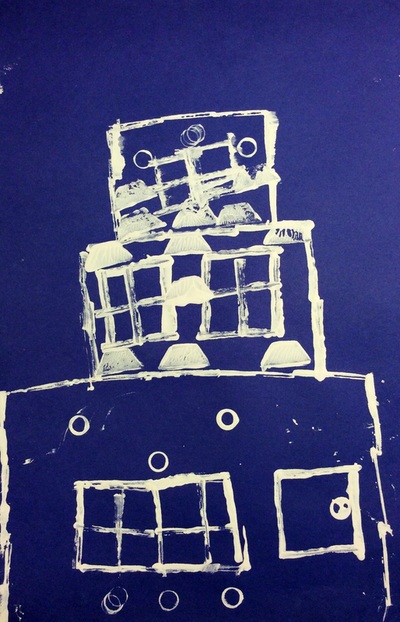
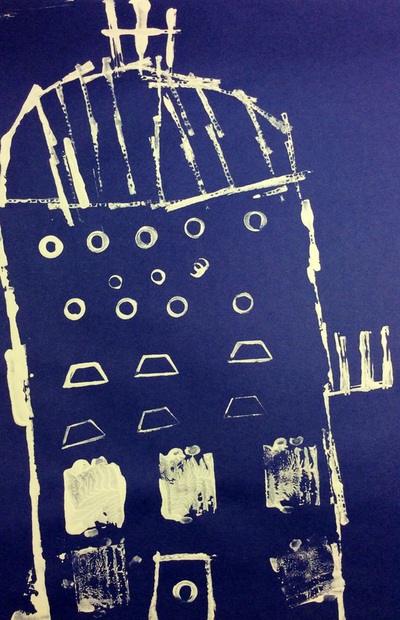
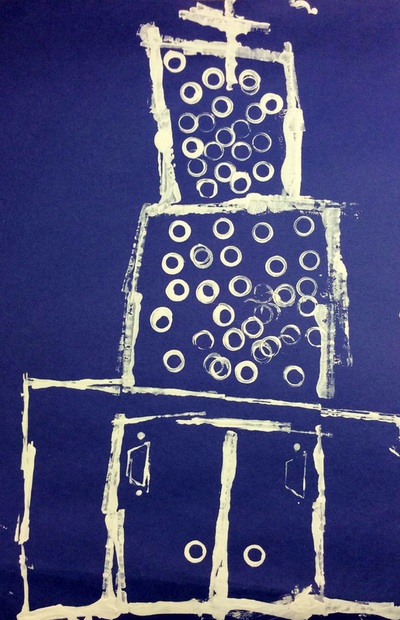
I definitely had to pluck out a couple grey hairs that I grew during the first day of this project. Because we've been talking so much about printmaking lately, we used that to create the small square backgrounds to their flowers. Everyone made four prints using styrofoam. We used actual ink and brayers and inked up our piece of styrofoam. Then we used combs and forks to gently scratch and scrape away ink to make marks in our prints. It was EXTREMELY busy and hectic! To finish off the project, we cut out our printed squares and glued them onto our backgrounds. Then we learned about organic shapes. These are shapes that look like blobs or as I tell the kids, spilled milk. Students cut out 4 organic shapes to represent their flowers and glued them onto their small printed squares. Lastly, they put small black check-marks in their flowers to represent the flowers' pistils. With my recent spring break trip to Chicago and my LOVE for architecture, I thought it fitting that we do a little architecture project. We took a look at some skyscrapers in Chicago and I talked to them about the Great Chicago Fire and how this cleared out a large part of the city which was rebuilt with skyscrapers. I was blown away when one of my kinders already knew all about it! We had a little chat about architects and their use of blueprints to design buildings. We also talked about printmaking which is sorta like using a stamp.
For this project, we used pieces of cardboard, marker caps, and some trapezoid-shaped pieces of plastic to print white paint onto blue paper. I told them that the building could be any kind of building that they wanted: bank, restaurant, hotel, dream house, etc! I loved seeing all the details they made like stairs and decks! |
Devon CalvertHarmony and Consolidated Elementary Art Teacher in Milton, WI. UW-Eau Claire graduate. WAEA President. Apple Teacher. Archives
March 2019
Categories
All
|

 RSS Feed
