|
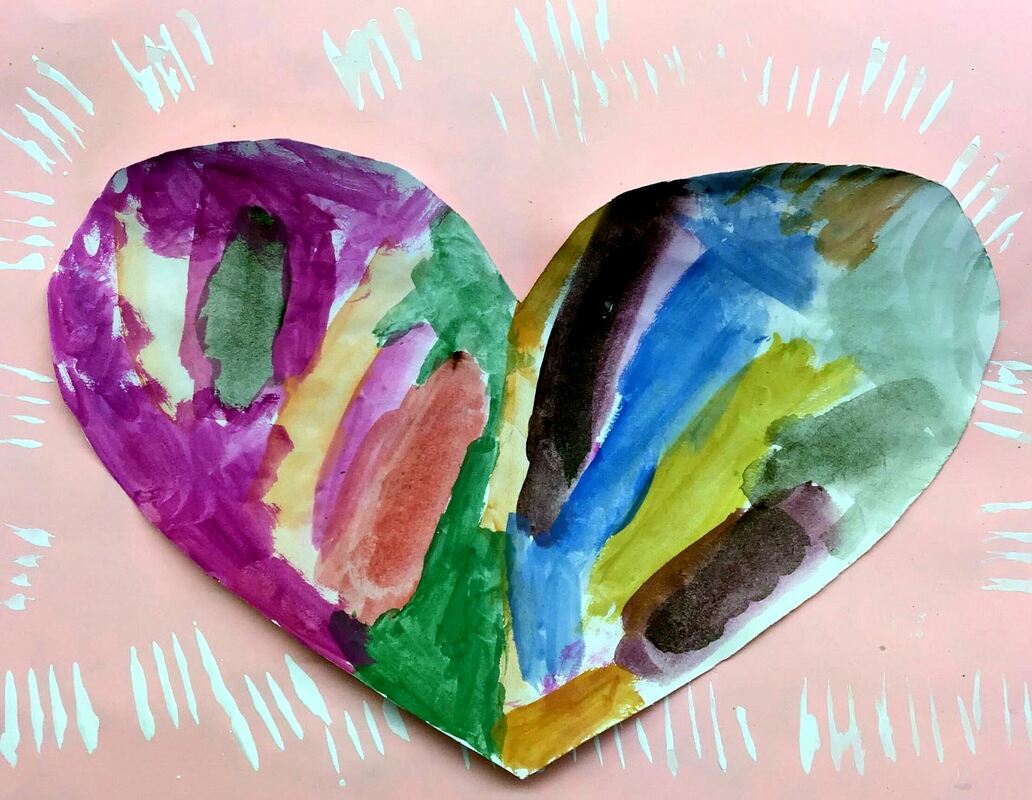
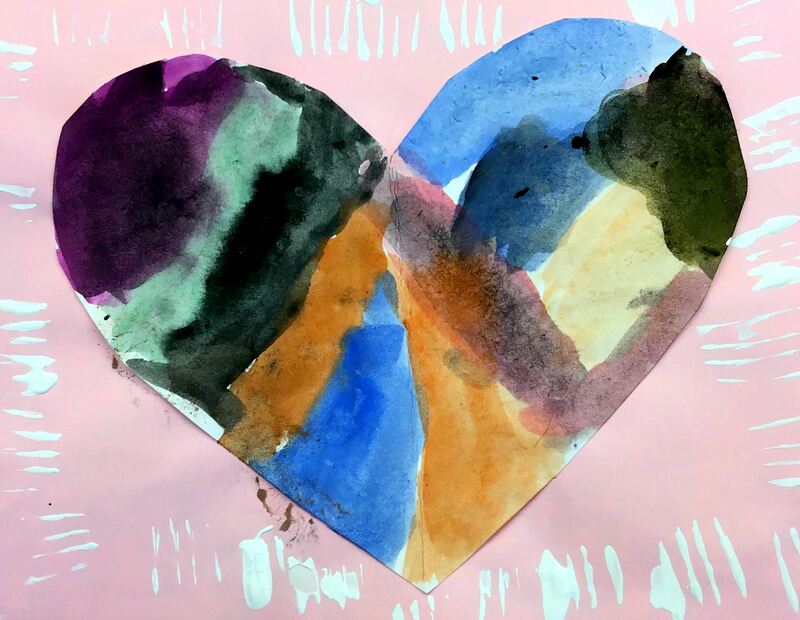
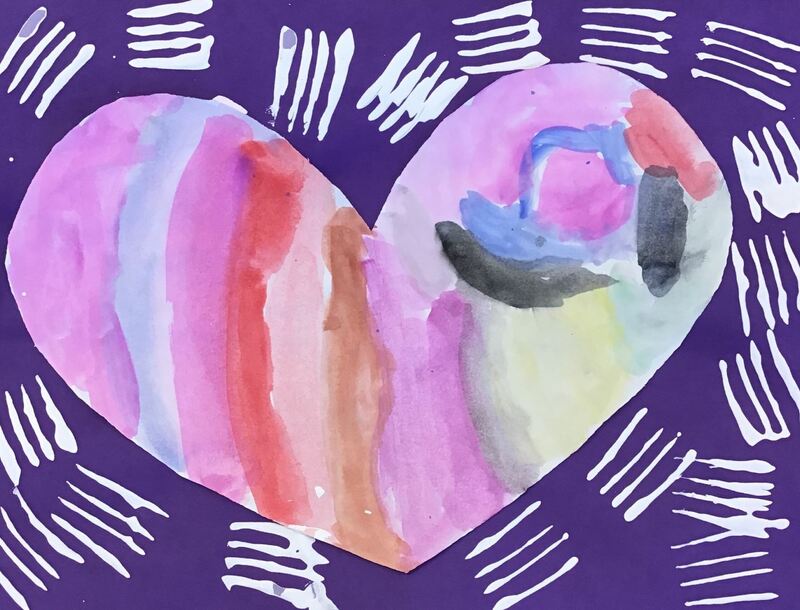
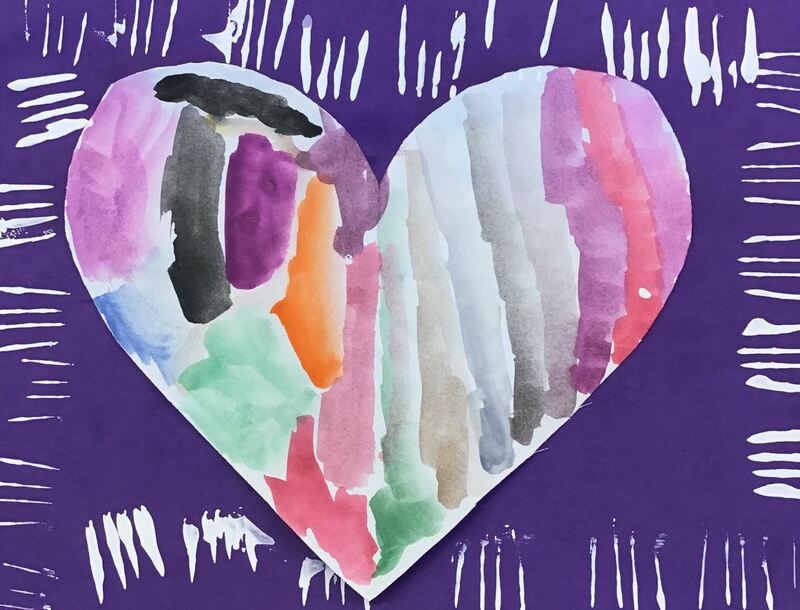
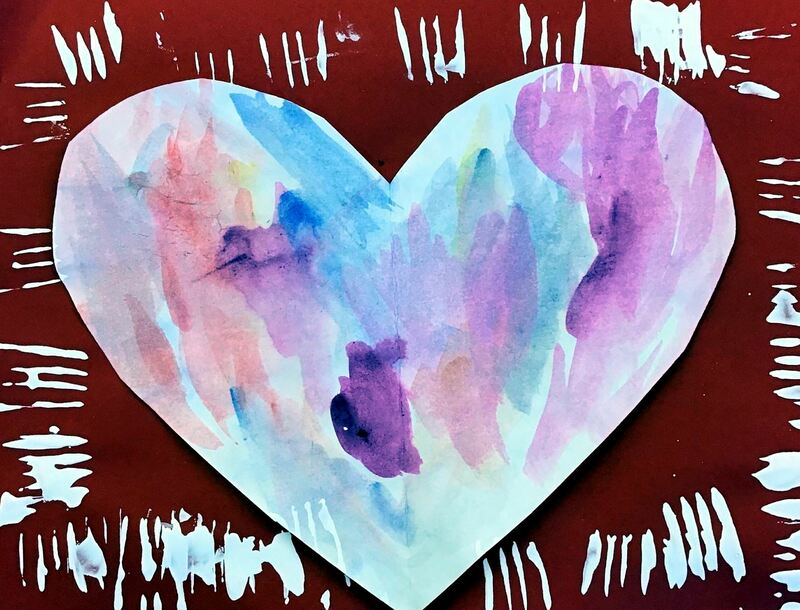
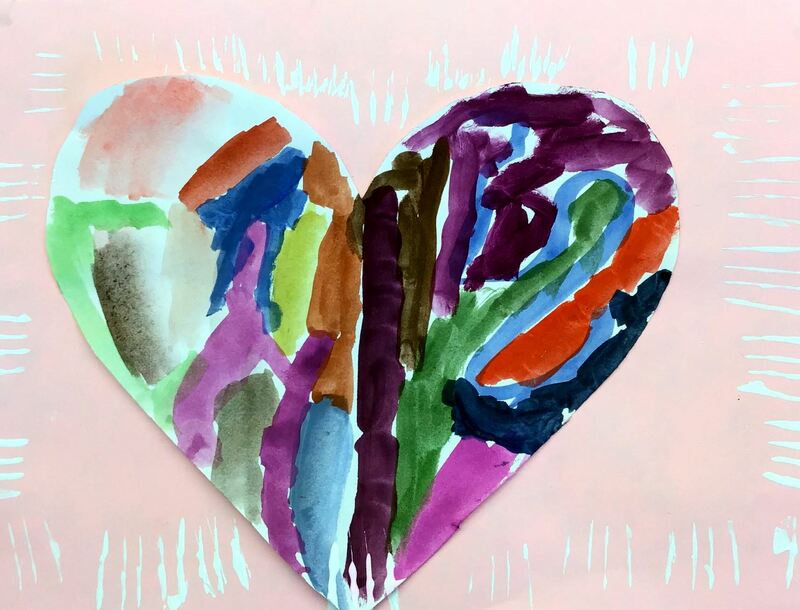
Here's a Valentine's project we did that emphasized mixing tints and shades. Details from a previous post can be read here!
Here's a link to some videos I made/used while doing this project!
0 Comments
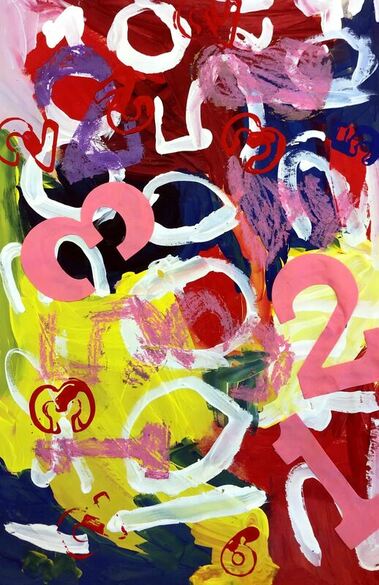
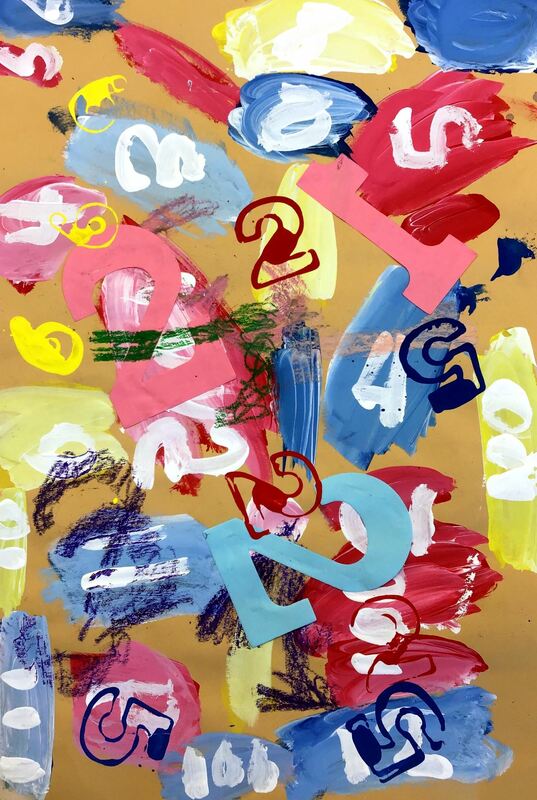
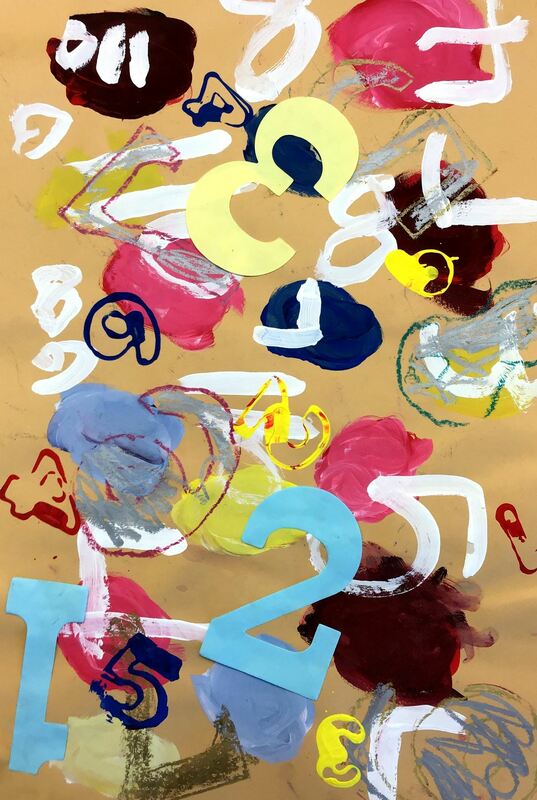
Check out this year's kindergarten paintings inspired by Jasper Johns! Students focused on mixing tints and shades. Click here for details on how to make this project from a previous post!
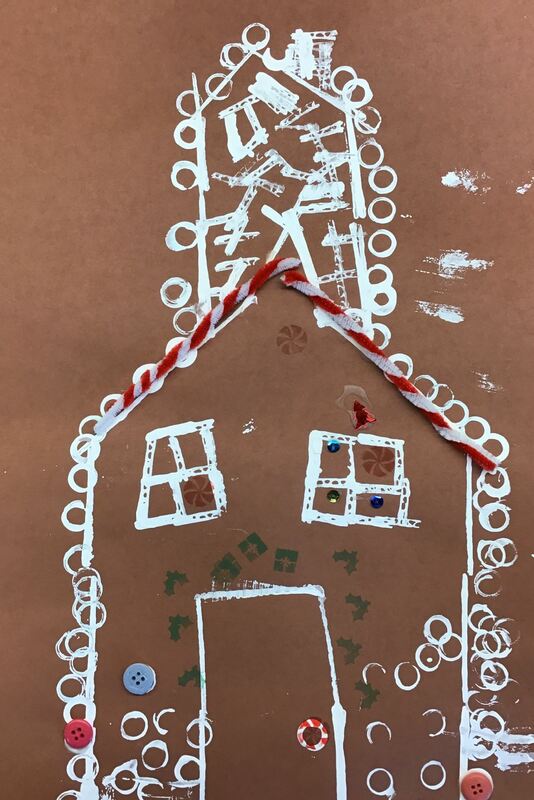
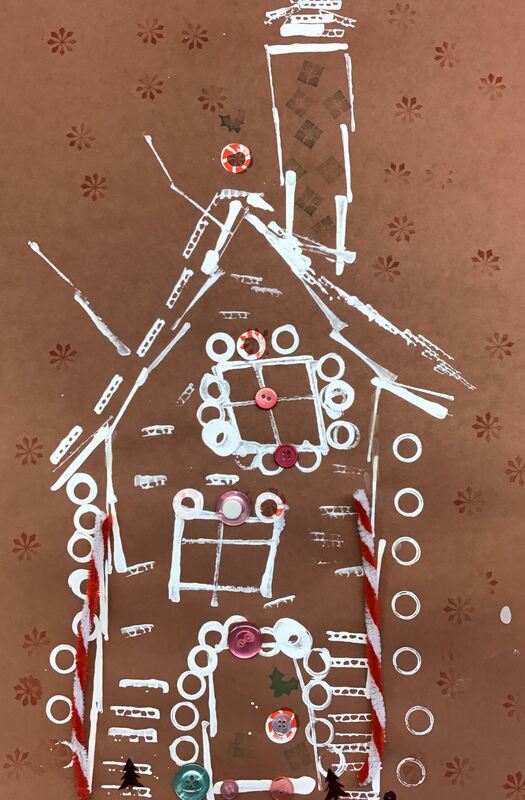
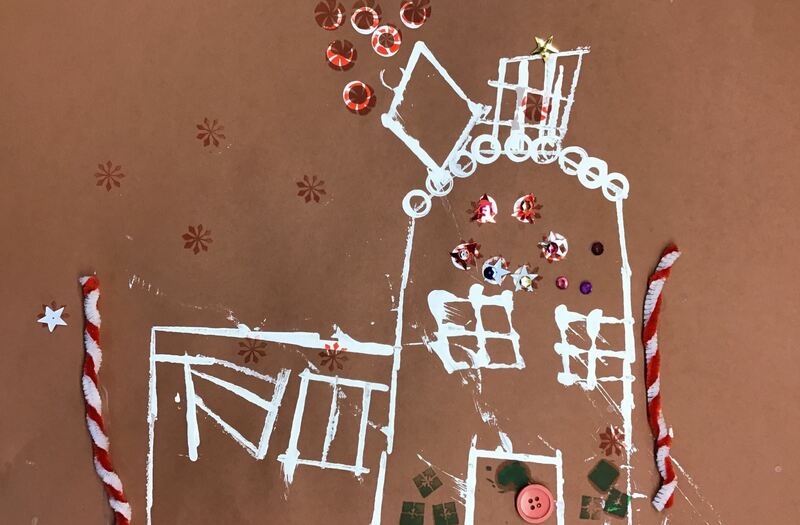
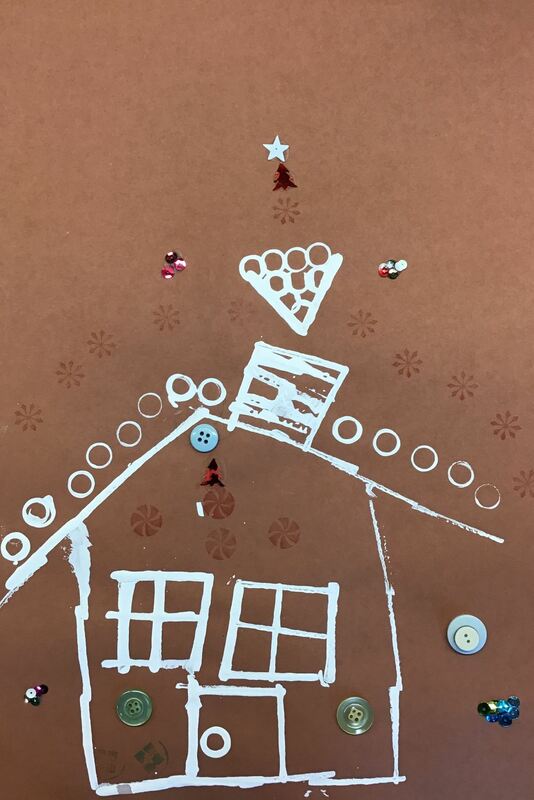
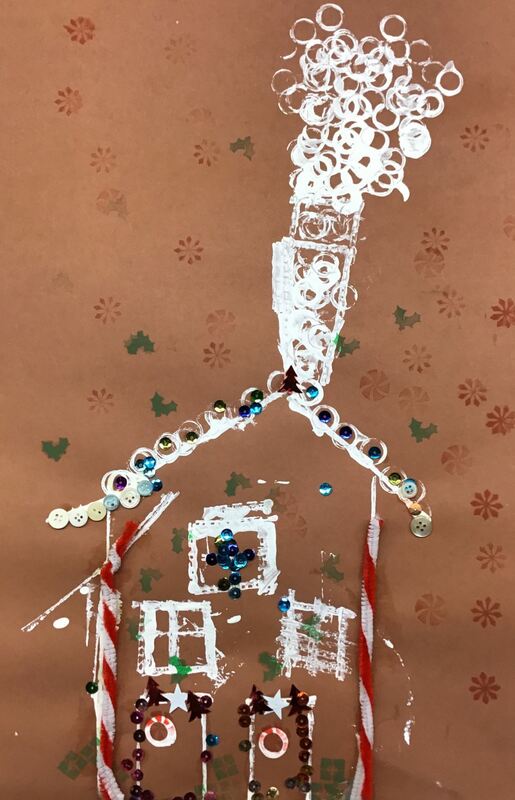
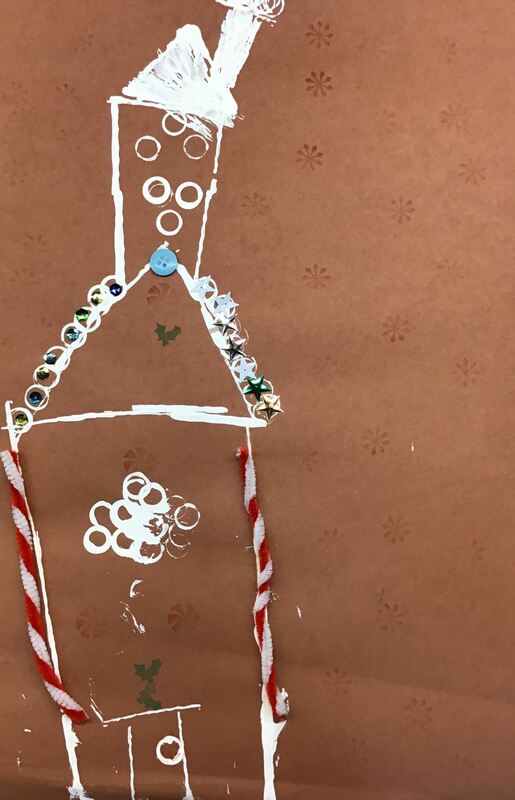
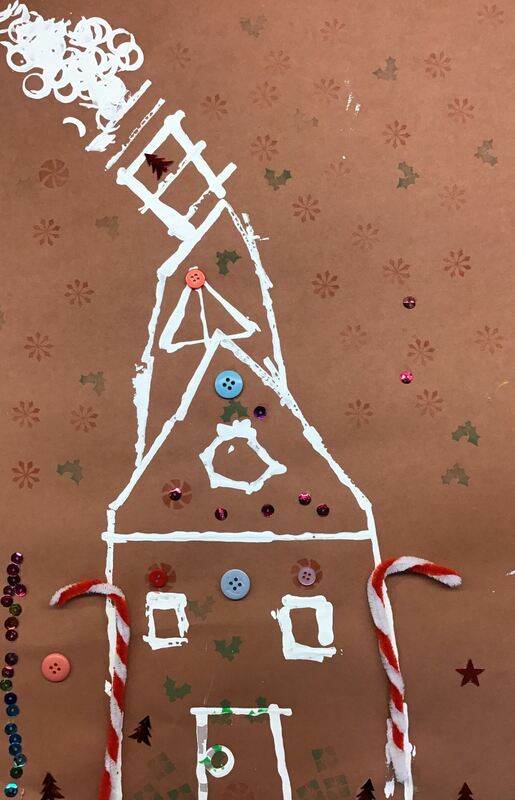
Here is a link to some videos I made for this project, as well as some other video resources. This project was a bit of a changeup from a lesson that I've done in the past. Typically in the past, I have done a one-day project on architecture with my kindergarten students. I usually show them pictures of buildings and talk about what an architect is. This year, I decided to get in the holiday spirit, and make some blueprints of gingerbread houses! After talking to students about what an architect does and what blueprints are, we watched videos of how gingerbread houses are made. We found a really cool video that talks about Swiss Colony from Monroe, Wisconsin and how they make 35000 gingerbread houses every year.
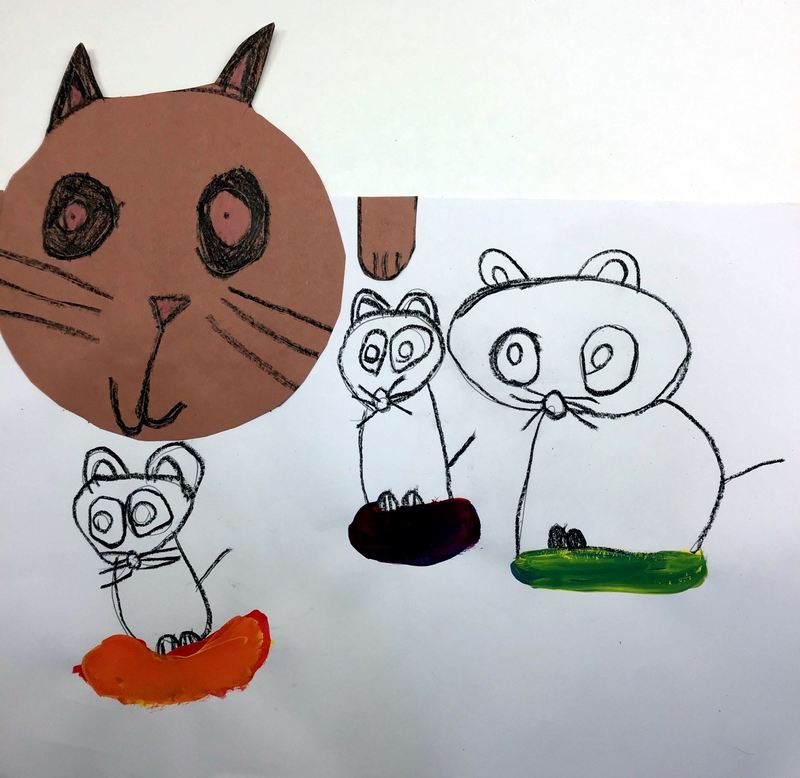
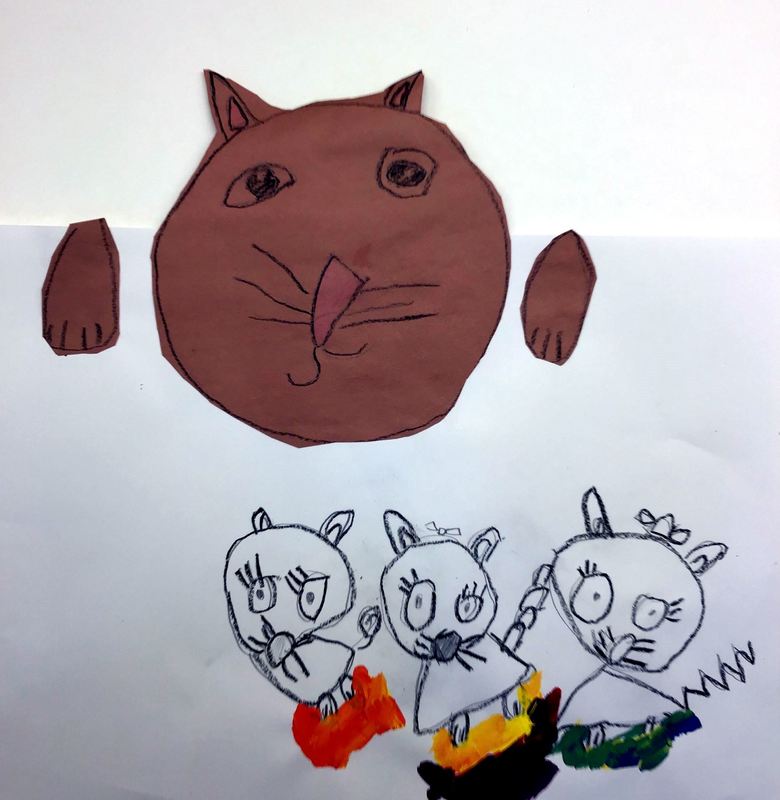
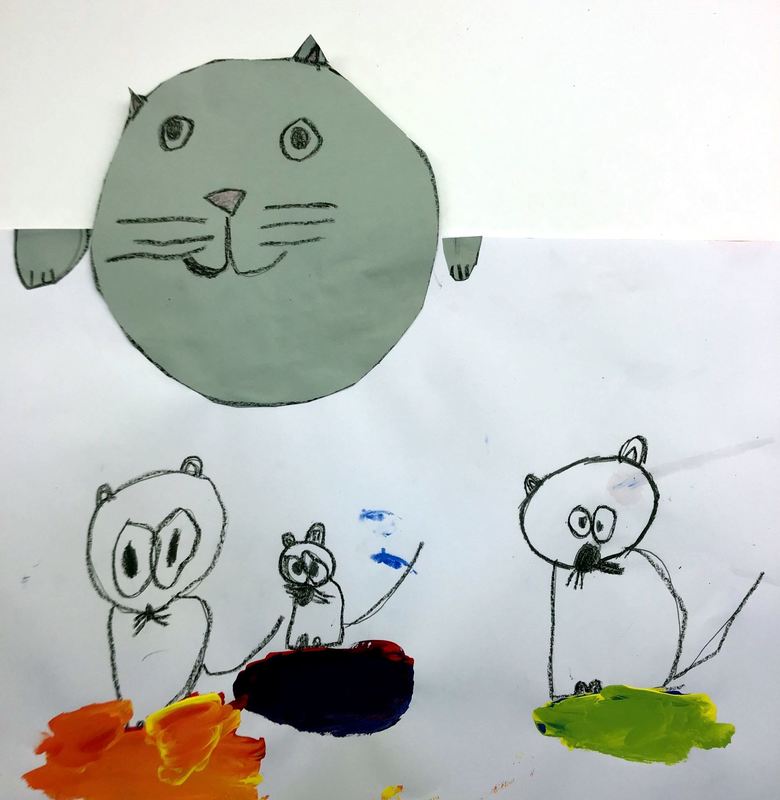
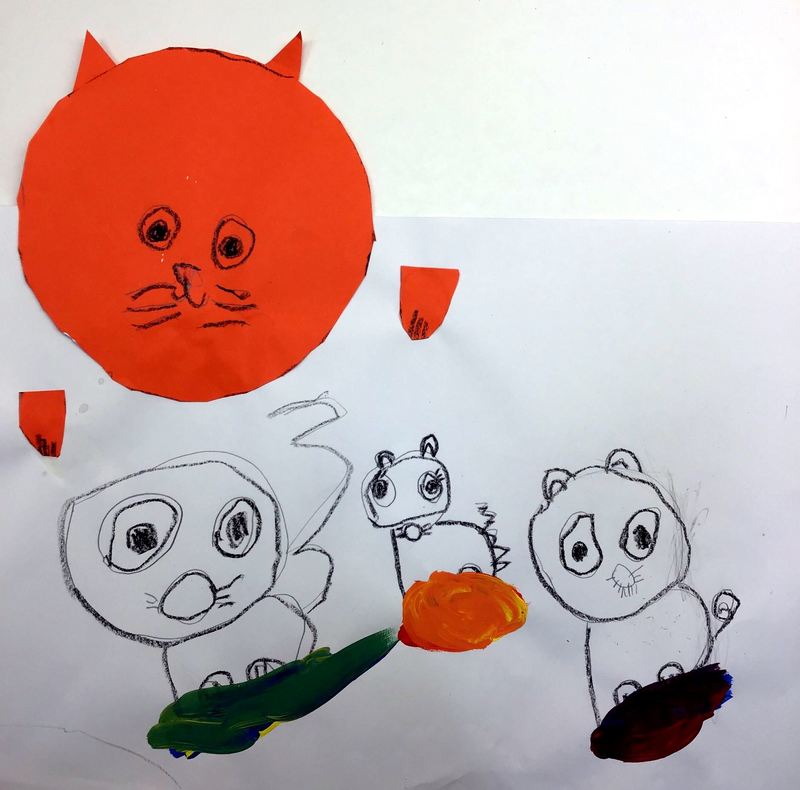
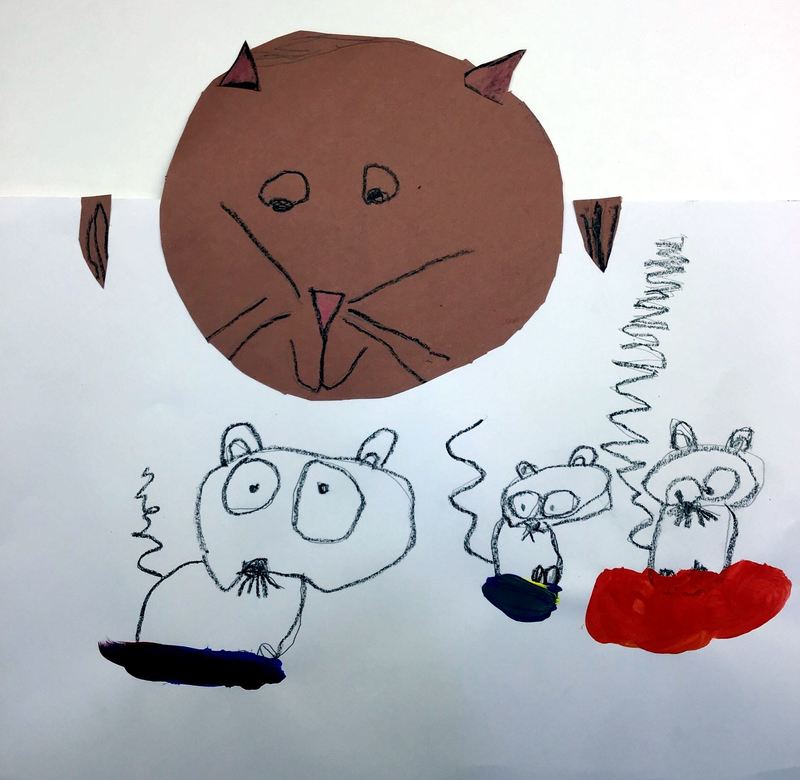
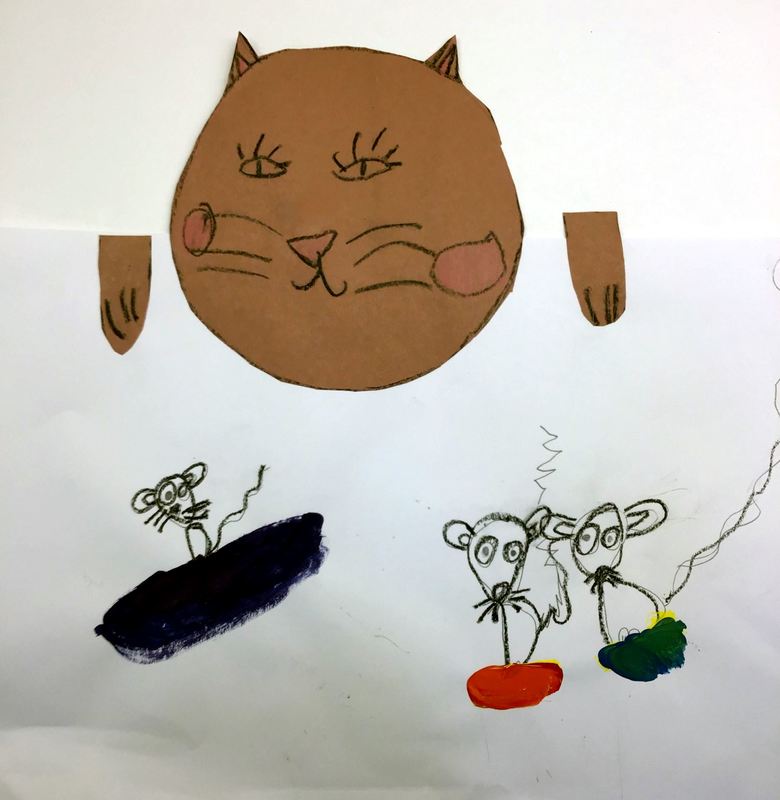
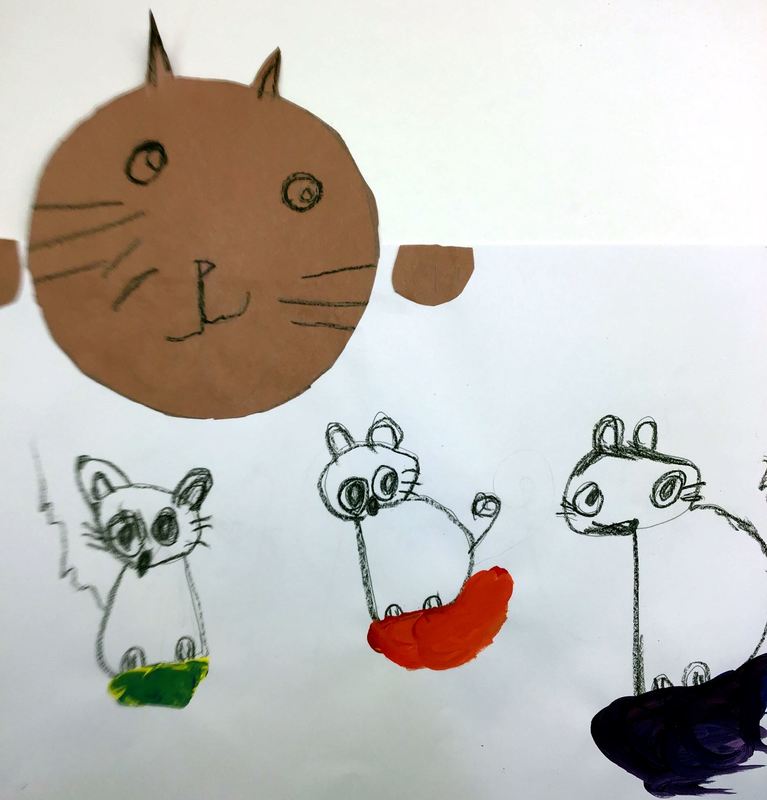
To start off the project, each student grab a brown piece of paper. They were given small and large pieces of cardboard and these were used to print a design of their dream gingerbread house. We talked about details to consider including such as attics, doors, windows, and chimneys. I reminded them that printing is just like using a stamp. They were also given marker caps to add a bit more variation in the shapes they were making. The second day of this project, I set out all kinds of fancy art materials that they could add to their gingerbread houses. This included stamps, buttons, sequins, and red and white pipe cleaners that have been twisted together to look like candy canes. Students started with the stamps and added snowflakes, holly, presents, and peppermints to their artwork. Lastly, students glued down any of the extra details that they wanted to their artwork. I love how fun these turned out! I will definitely continue doing this variation of the blueprint project! This year, I switched up my Mouse Paint project a little bit by adding a cat to the artwork. I read the book which does a great job discussing color mixing for my kindergarteners.
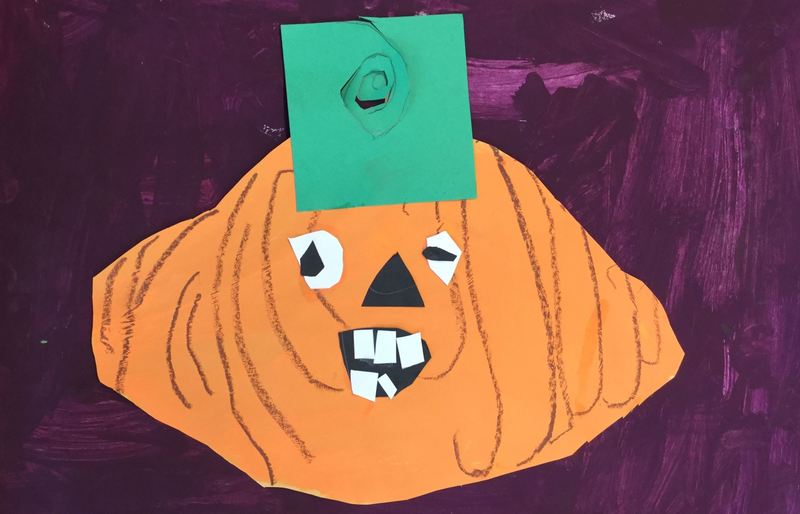
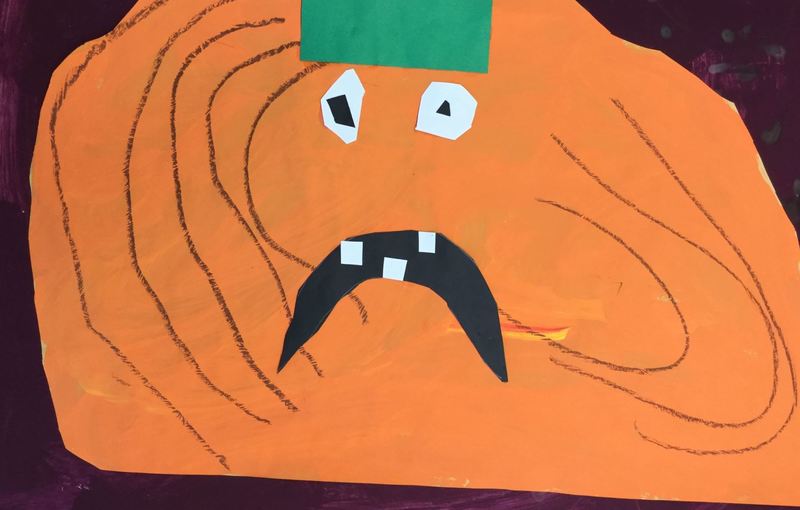
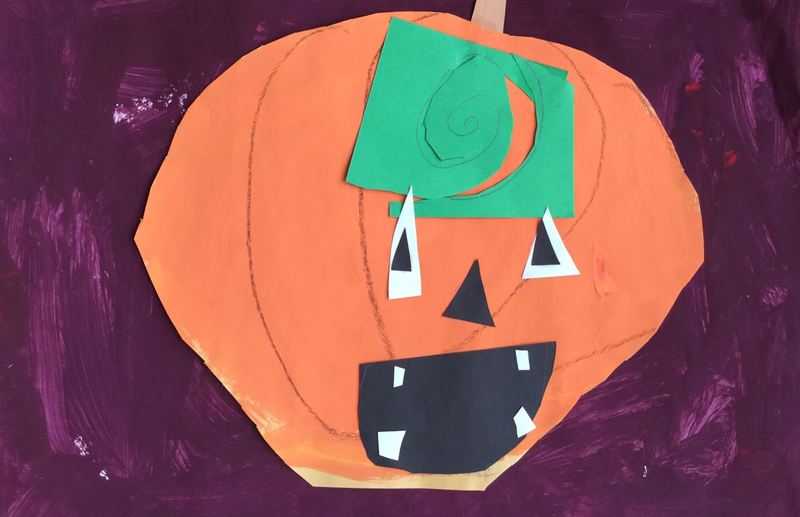
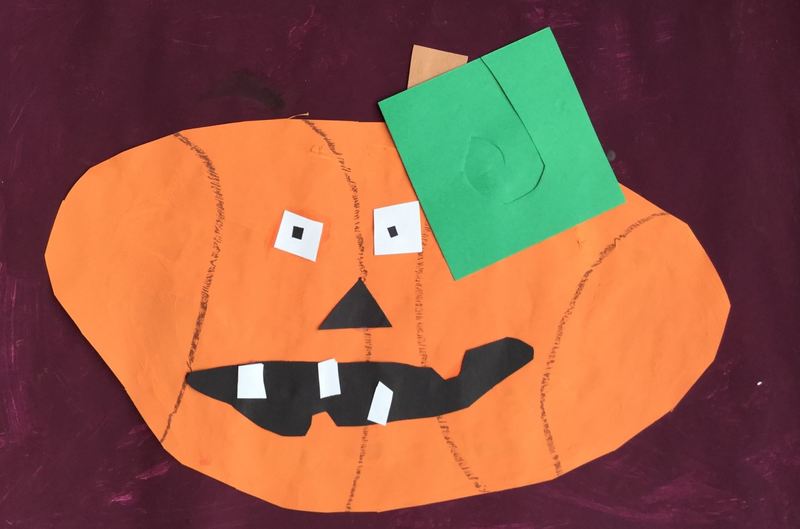
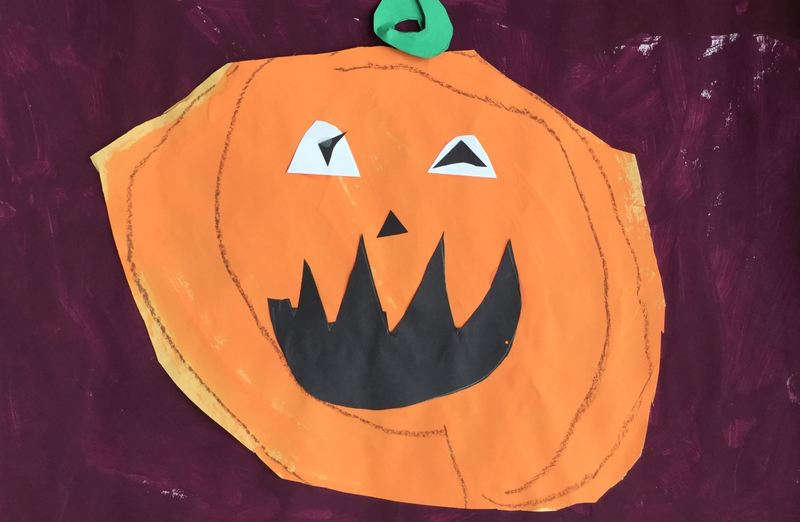
On the first day, students used a large circle tracer to trace out a cat head. Then they used a black crayon to draw paws, eyes, ears, whiskers, etc. They cut these out and when they went to glue the cat on to our large sheet of white paper, we glued it towards the top, as if the cat is peaking over the edge of the paper. I got this idea from Vin Giannetto. You can check out his Facebook page here! The 2nd day, we did what we have done in the past for the mice. You can view those details here. Thanks to Cassie Stephens for that portion of the project! Pumpkins, pumpkins, pumpkins! They also made 3D pumpkins but I forgot to take pictures of those. Whoops! Here are some project details for you.
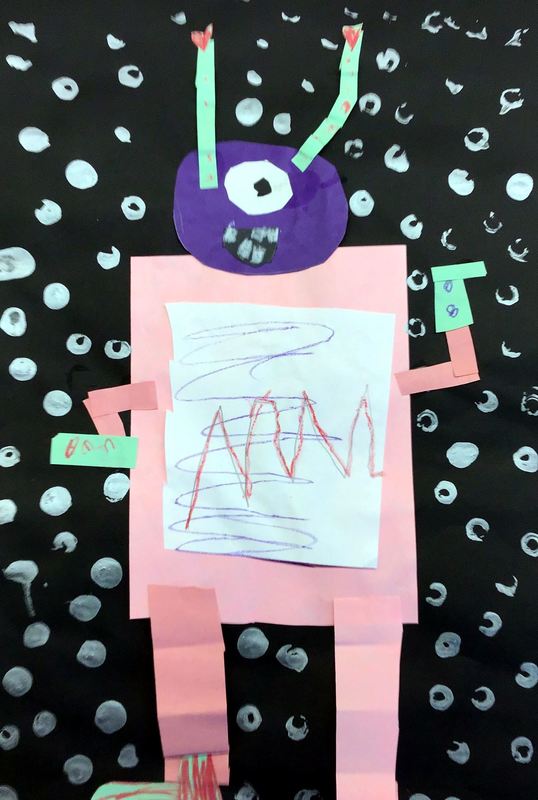
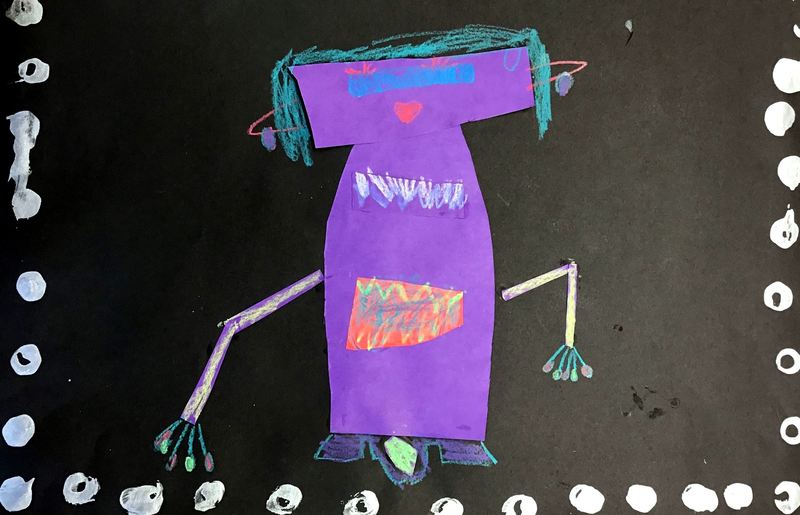
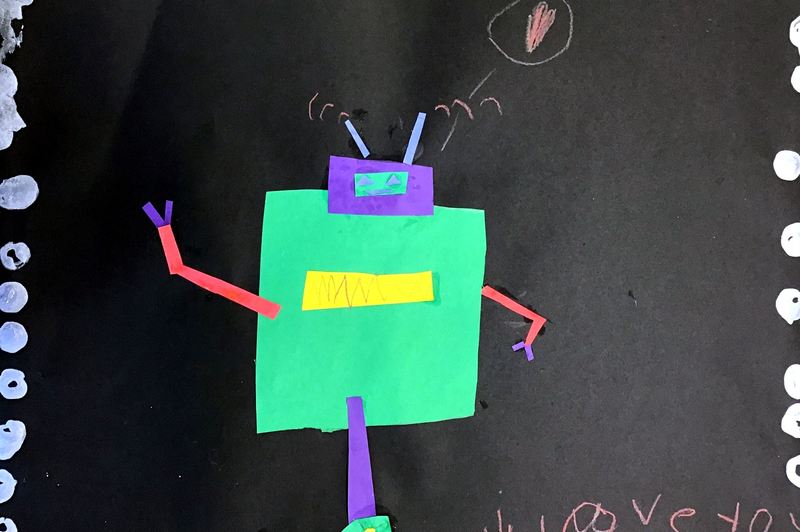
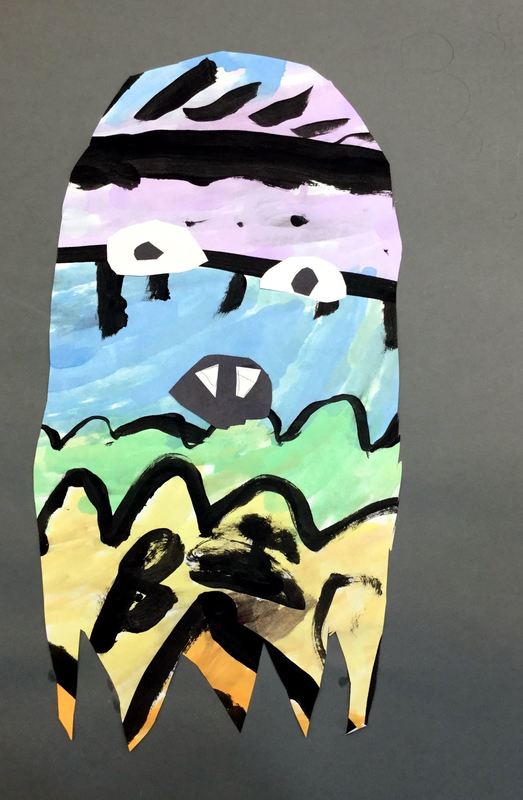
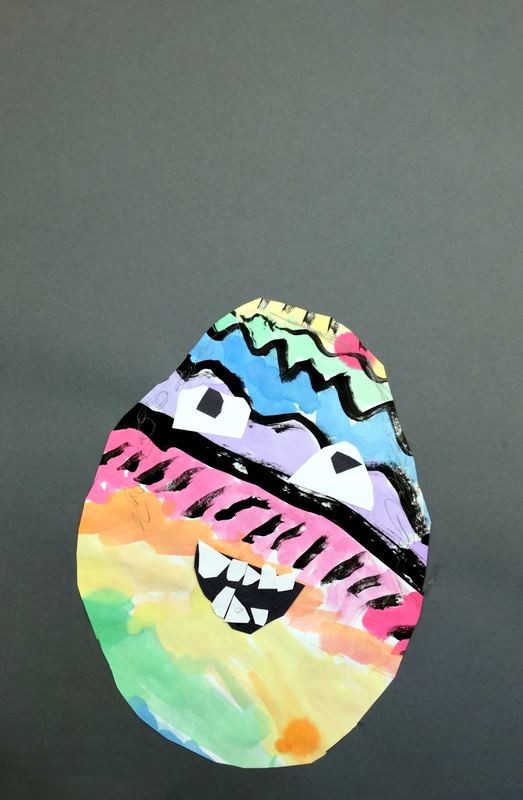
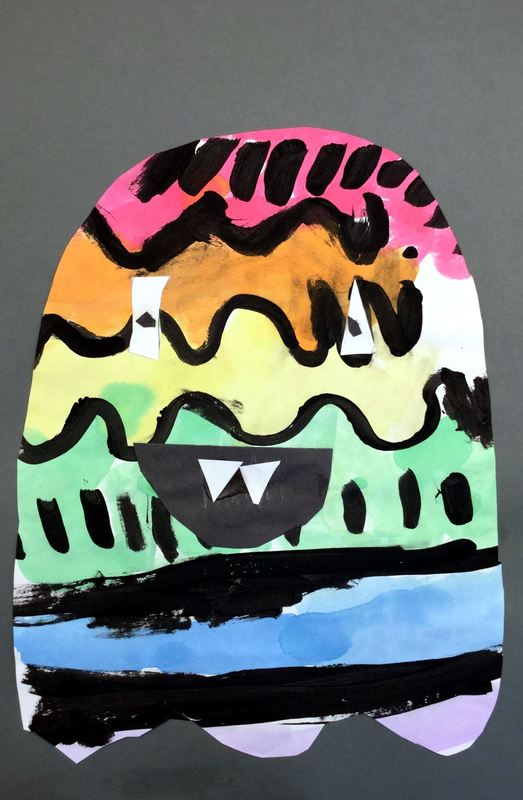
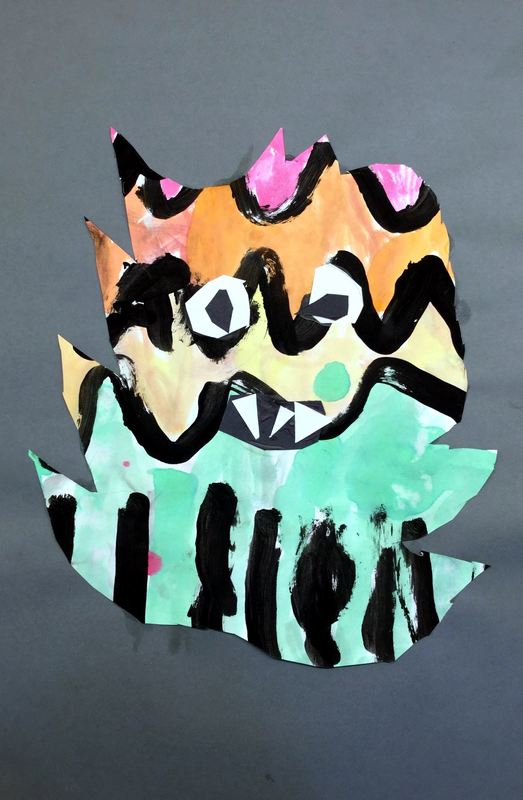
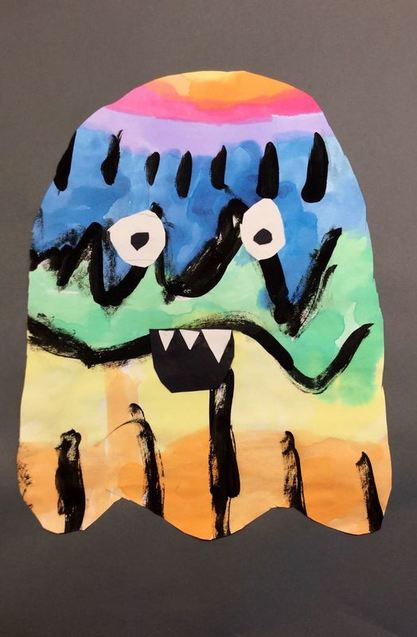
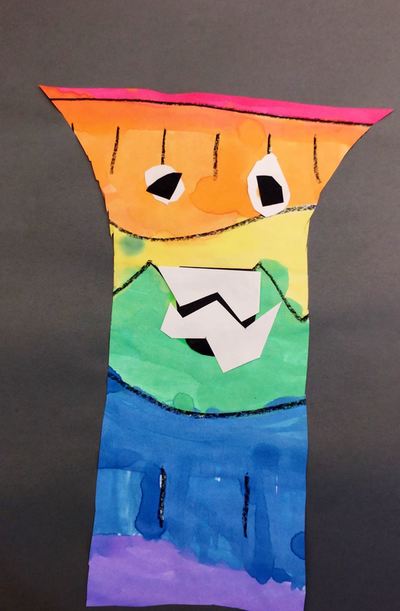
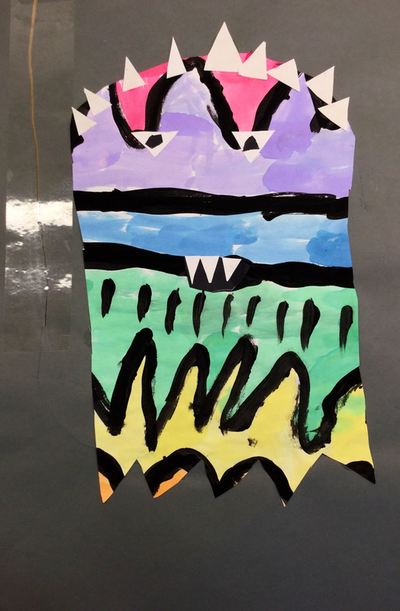
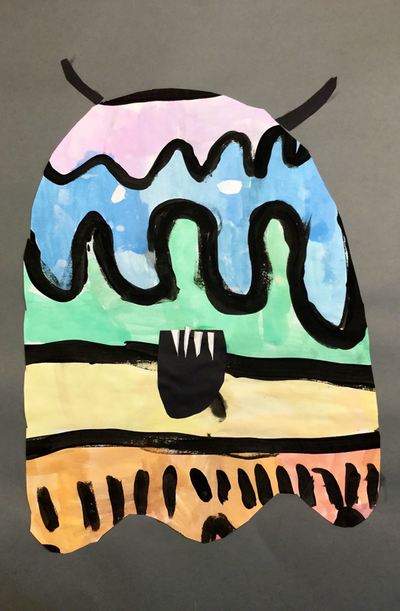
Check out these lovely monsters! Details in this previous post.
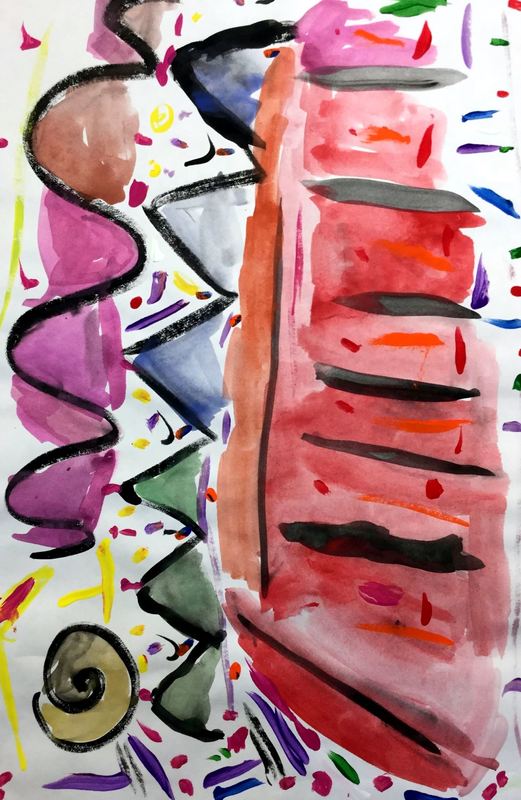
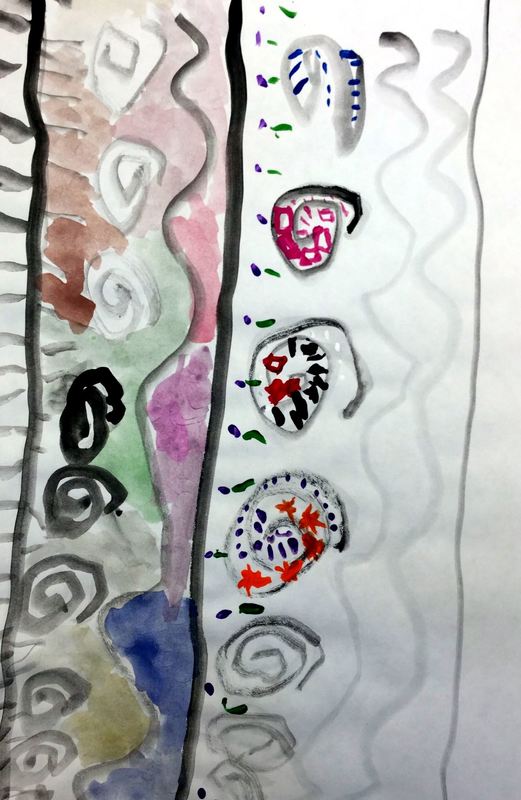
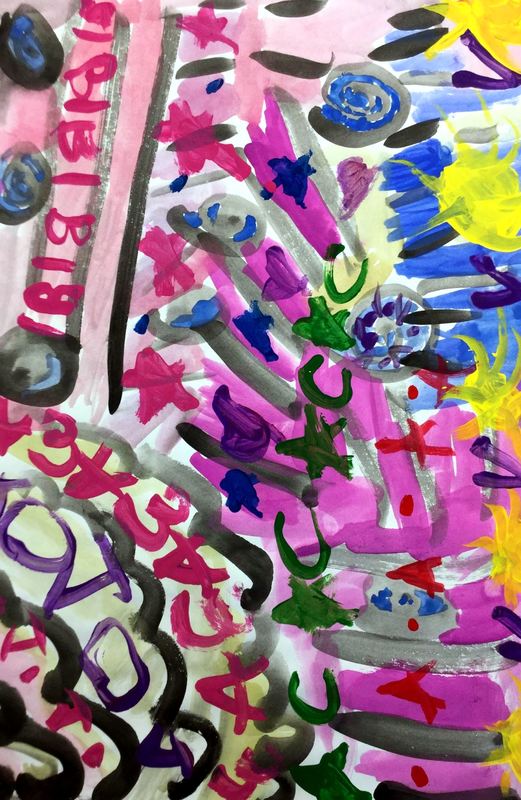
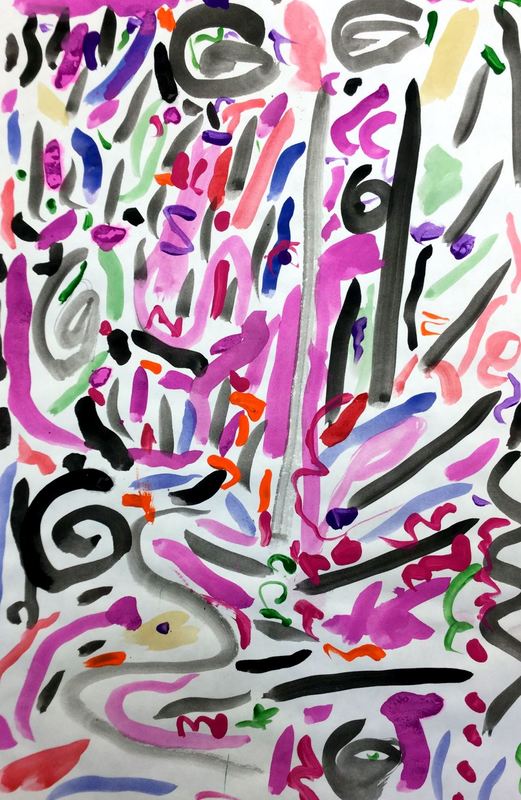
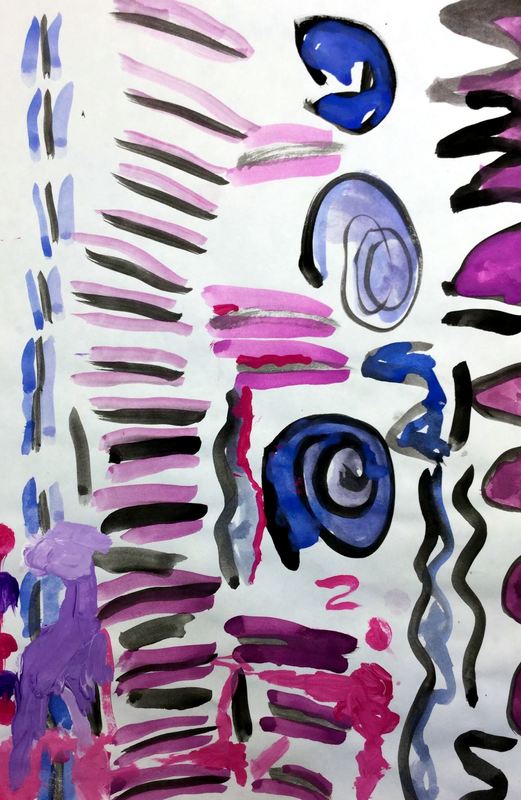
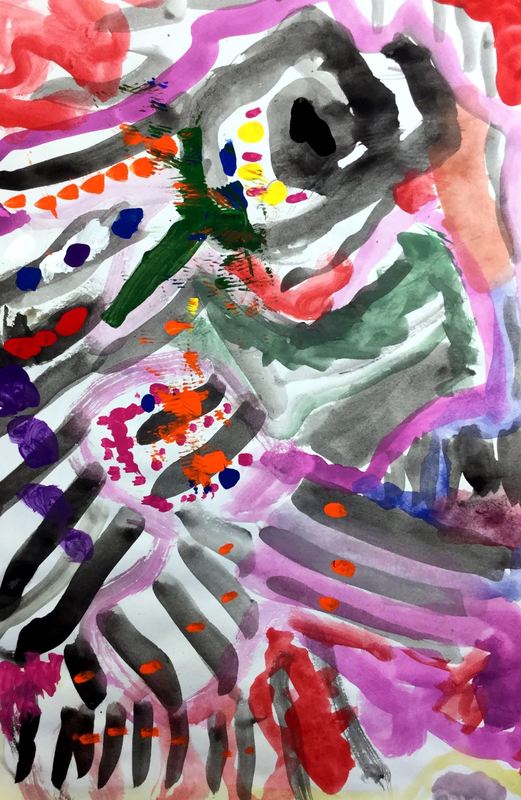
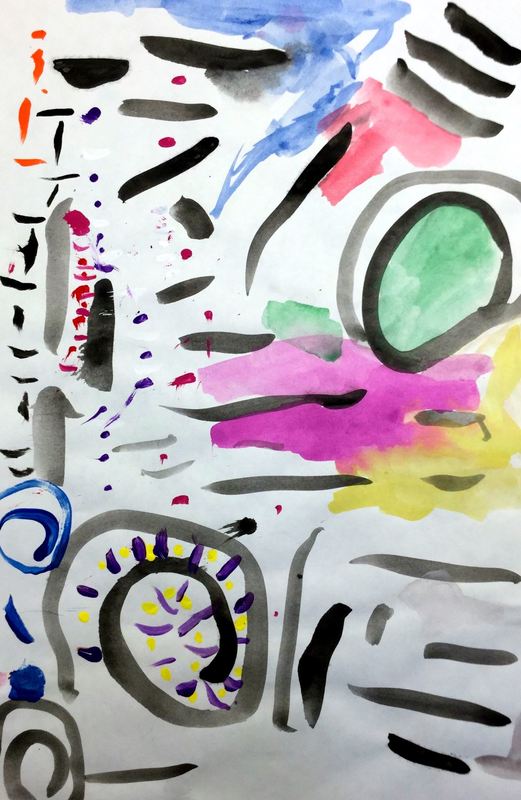
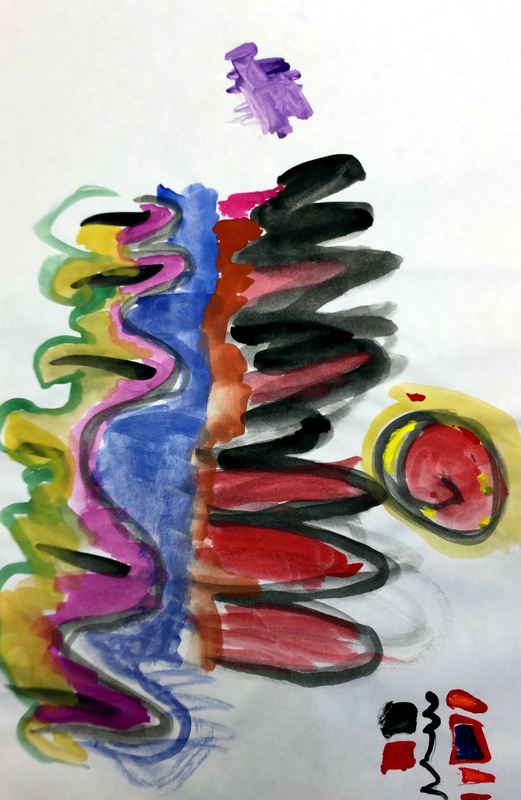
Kindergarten painted to music and learned about Kandinsky! Read my past post for details.
This is always my favorite project of the year! You can read the details from a previous post here.
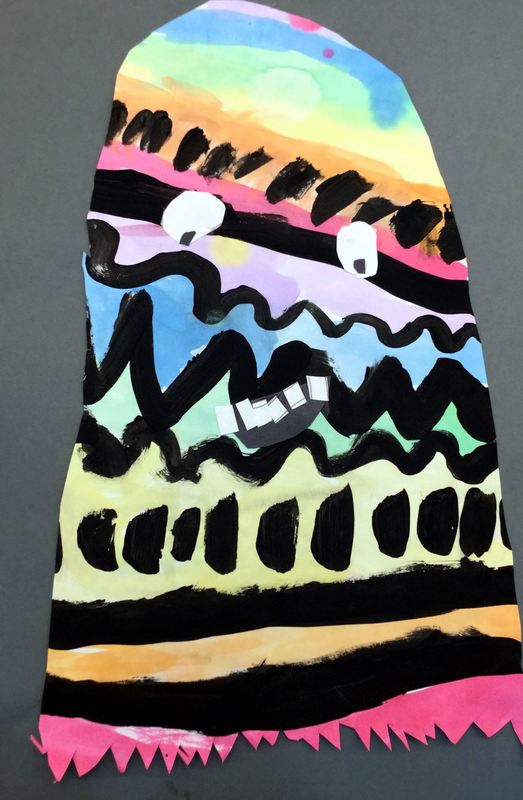
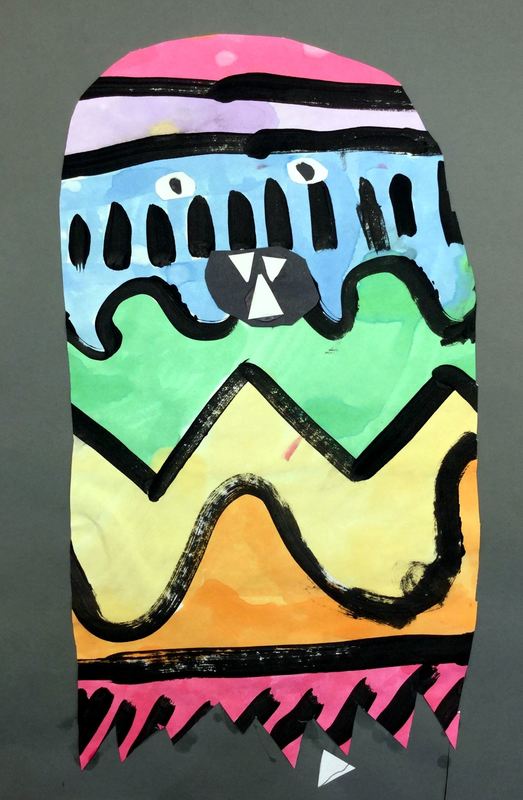
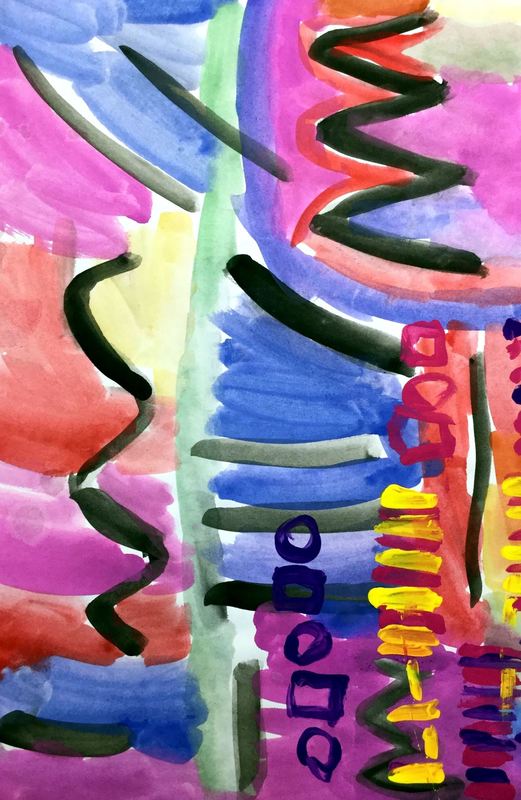
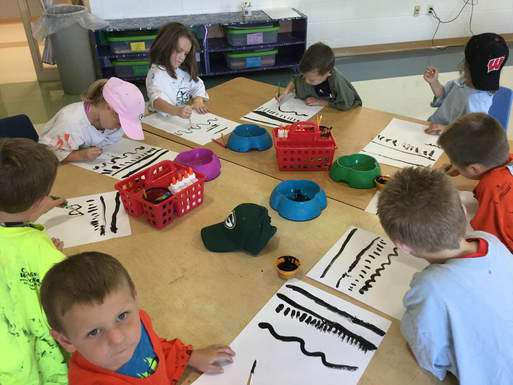
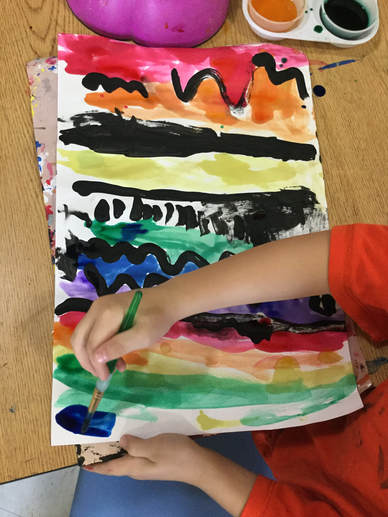
This is a continuation of Cassie Stephens unit on lines. So we started off class looking at some snake lines that I had made. Each snake was a different kind of line and we practiced saying their names. As we called out the name of the line, we made that particular line with our arms. I couldn't help but giggle at 20+ kindergartners chanting out "vertical (with their arms straight in the air), horizontal, angle..." After that, we learned a poem about Larry the Line (he's a stuffed snake). After reciting the poem a few times, we got to meet Larry the Line (a toy stuffed snake). Larry's FAVORITEEEE thing to do in the WHOLE WIDE WORLD is to make lines. So as Larry made lines with his body, students who could tell me the name of the line got to come up and pet him. Next, I challenged them to paint the same lines that I could paint. Typically, I'm not one for doing guided lessons, but I wanted to see what the students were capable of painting. By the end of class, I had tons of beautifully painted black lines. We set the paintings on the back burner for a couple classes and then came back to them. We watched a funny music video about ROY G BIV that the kids LOVED! ROY G BIV is the acronym to remember the order of the colors for the rainbow. Then we watched another quick video of a lady reading a book about rainbows. Then we got to paint again! The students were given back their guided line paintings. They were shown how to paint a rainbow between the lines of their painting and then were asked to do the same. The paintings turned out lovely! This year, I added another step to the project. The final day we cut our rainbow paintings into a monster body. They had a variety of different body shapes that they could trace or they could create their own. Then they used black and white paper to cut out eyes, noses, mouths, teeth, horns, and whatever other details they wanted to add!
|
Devon CalvertHarmony and Consolidated Elementary Art Teacher in Milton, WI. UW-Eau Claire graduate. WAEA President. Apple Teacher. Archives
March 2019
Categories
All
|

 RSS Feed
