|
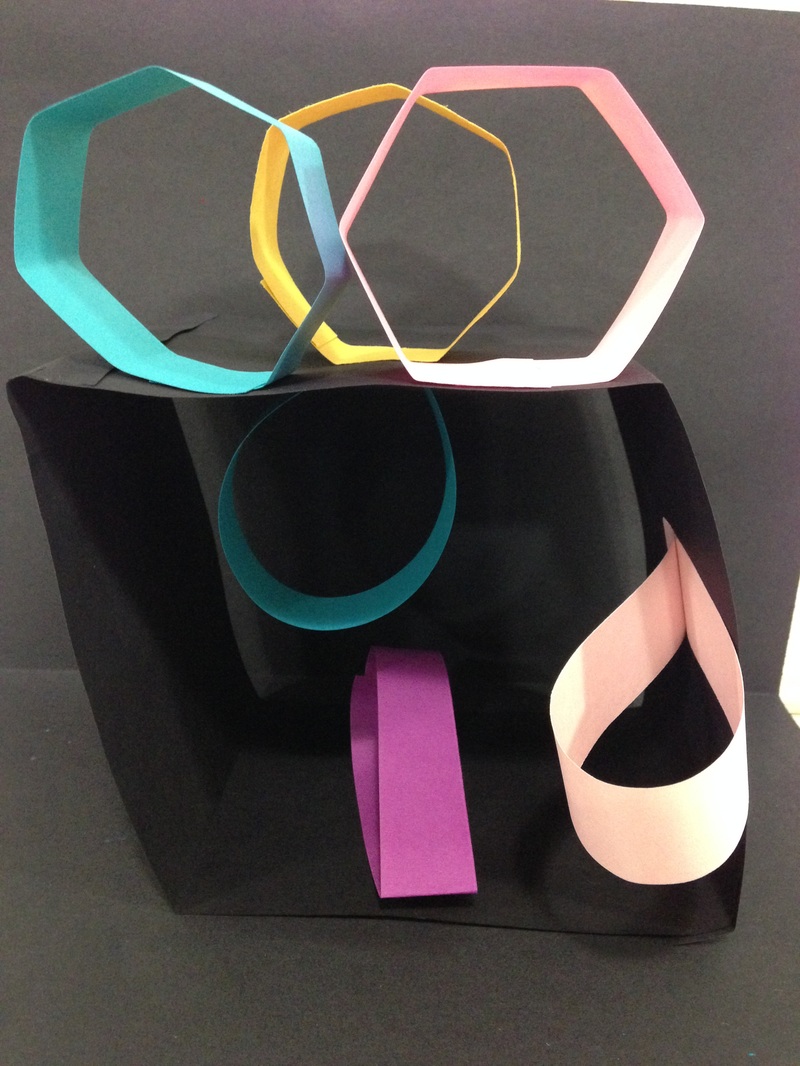
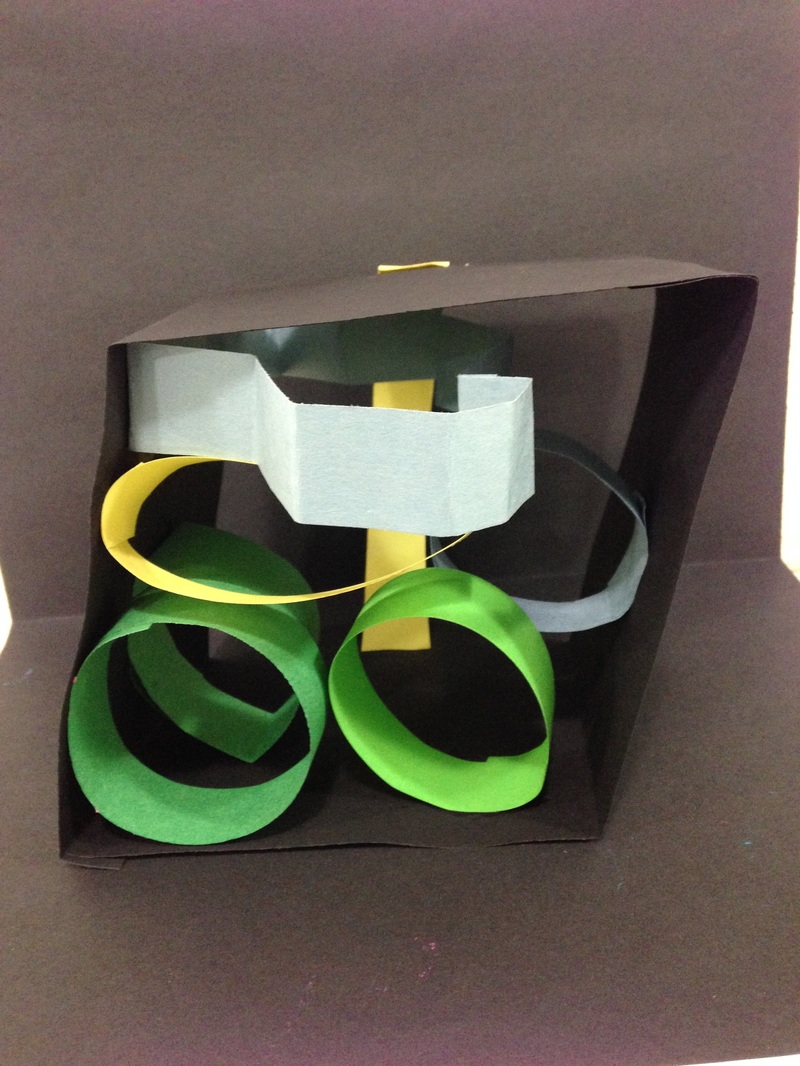
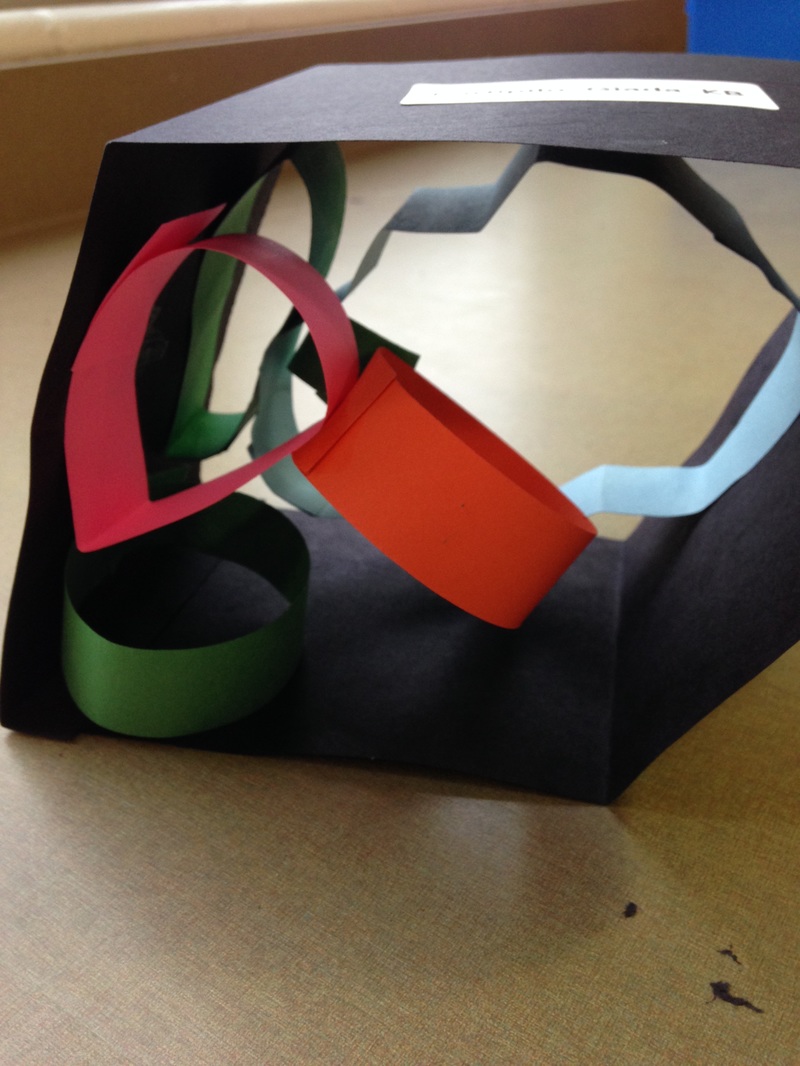
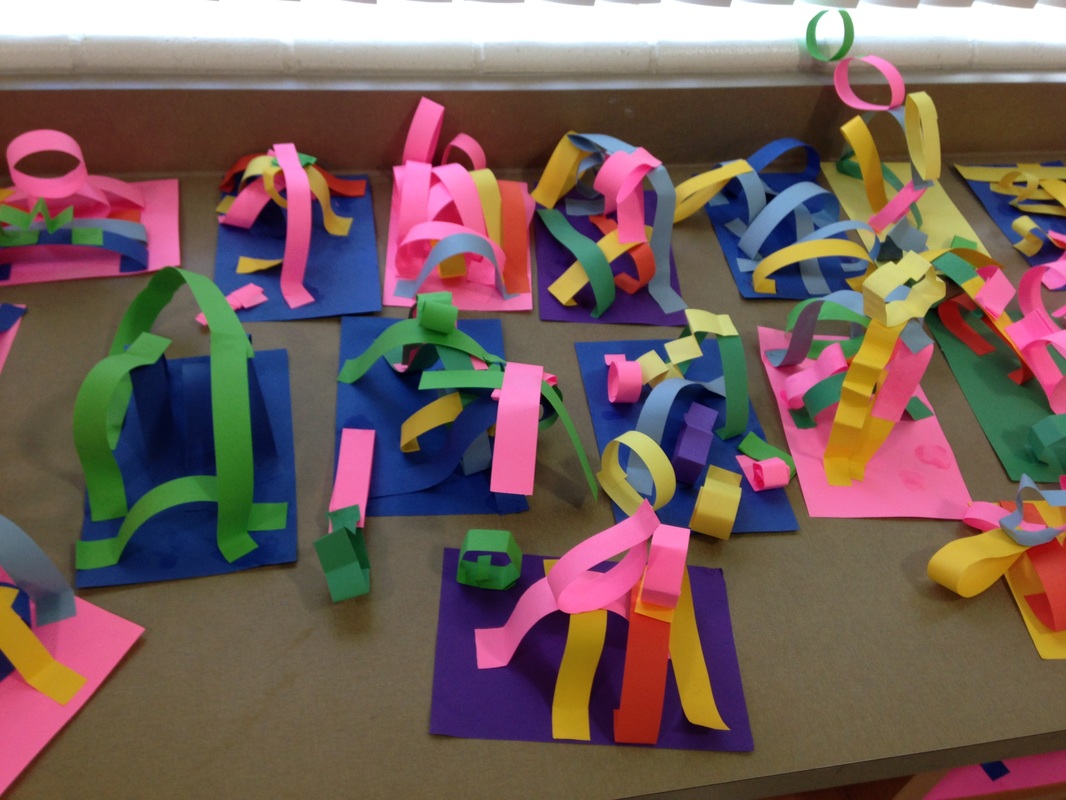
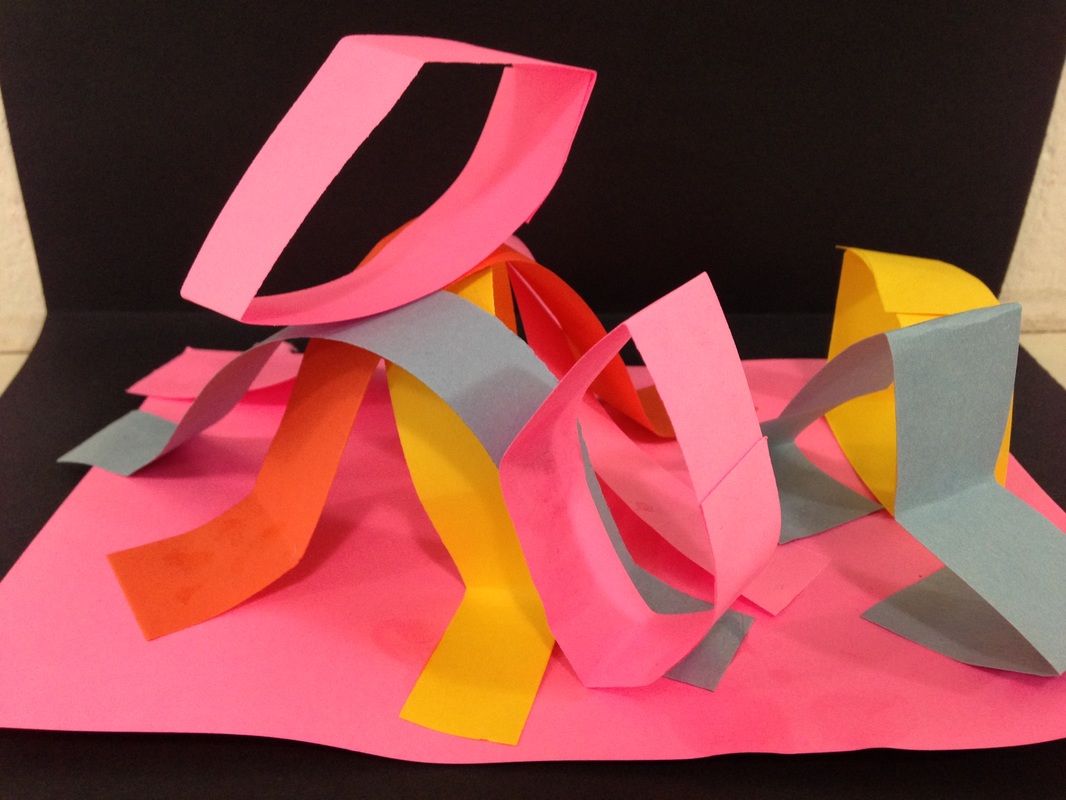
This is another project by the lovely Cassie Stephens. It is similar to our line sculptures so my kinders were already pretty good at this. We started off the project by talking about how lines create shapes. I love it when I ask that question and I get a chorus of "They have to hold their hands!" We reviewed what a sculpture was and what the difference between 2D and 3D was. Before the lesson began, I made boxes out of black strips of paper. That way students didn't have to use up a bunch of art time trying to make one themselves. I reminded the students of how we turned our paper lines into shapes by gluing their hands together. Then if we pinched our paper circle "OUCH!" it created different shapes depending on how many times we pinched it. I also showed them how to make more complex shapes like stars and hearts. Students set to work and I was once again blown away by how well they did. The other day, I had a kindergarten teacher come in and tell me that she had a funny story for me. She had begun to teach shapes in her class and when she asked the class what they could tell her about the shape they were looking at, a student raised their hand and said "It holds its hand!" She thought this was kind of a weird thing to say but carried on to the next shape. She once again asked what the students could tell her about the shape and a student once again said "It holds its hand!" She finally realized that this was something that they had been learning about in art class. I love hearing about how my students are applying the knowledge they learn in art class to other aspects of their life!
0 Comments
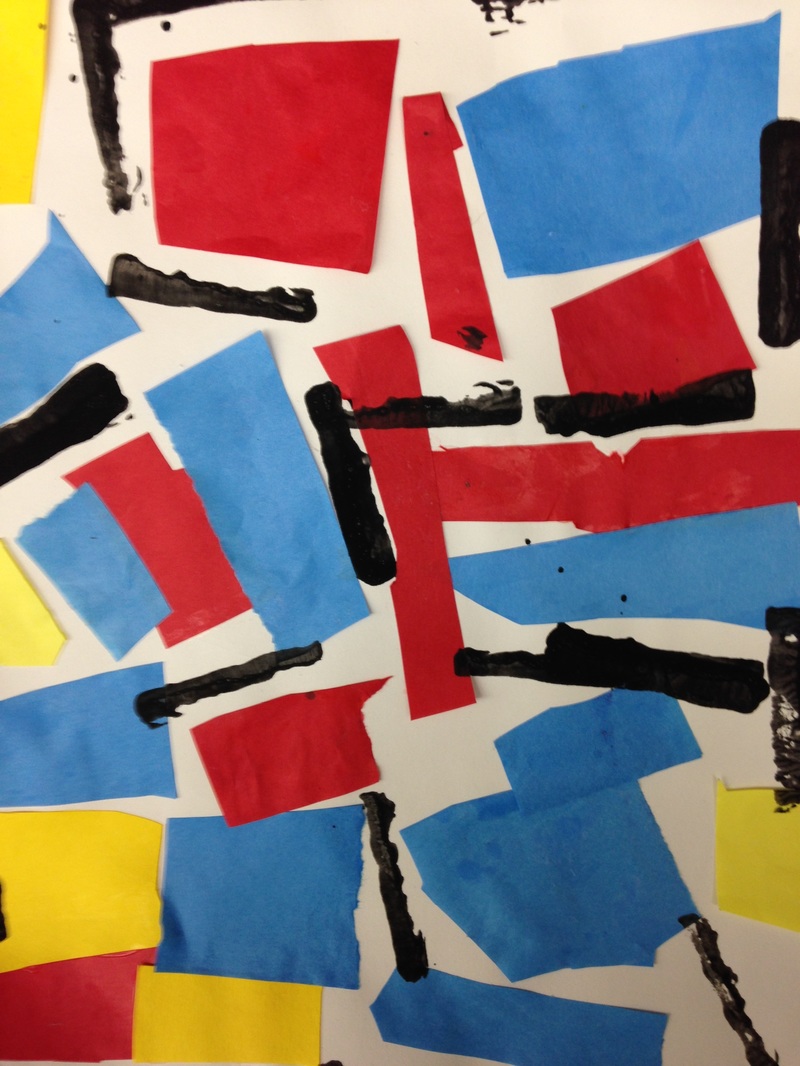
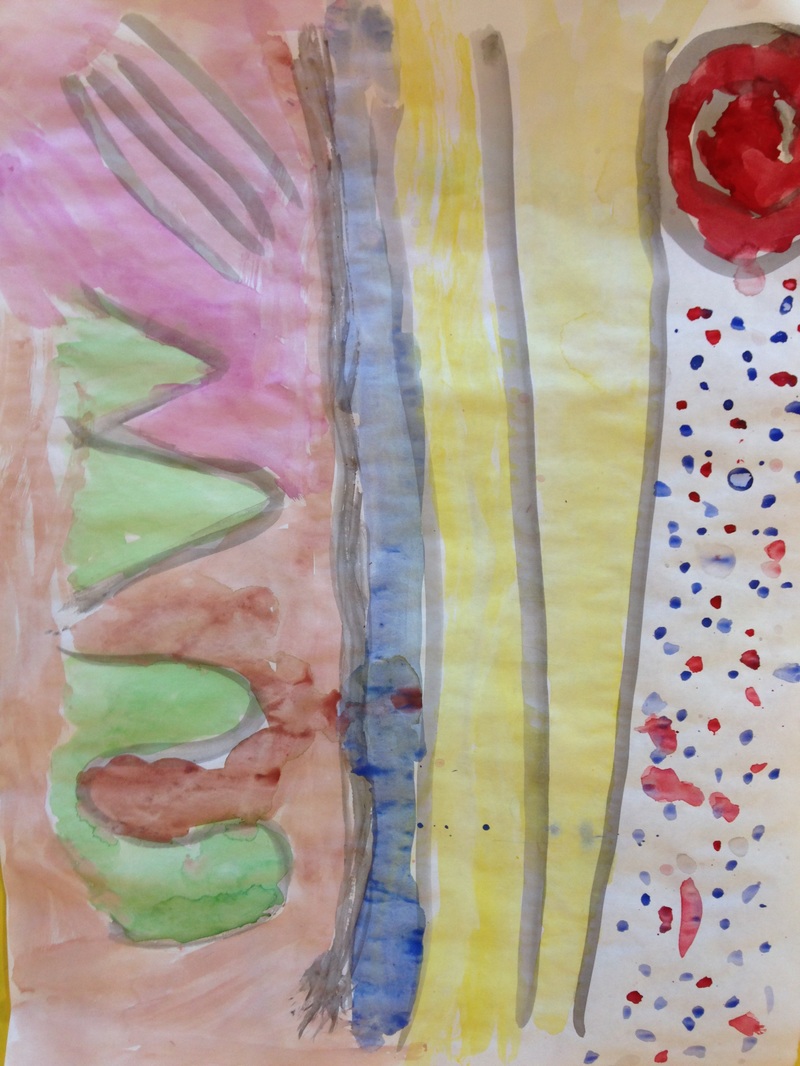
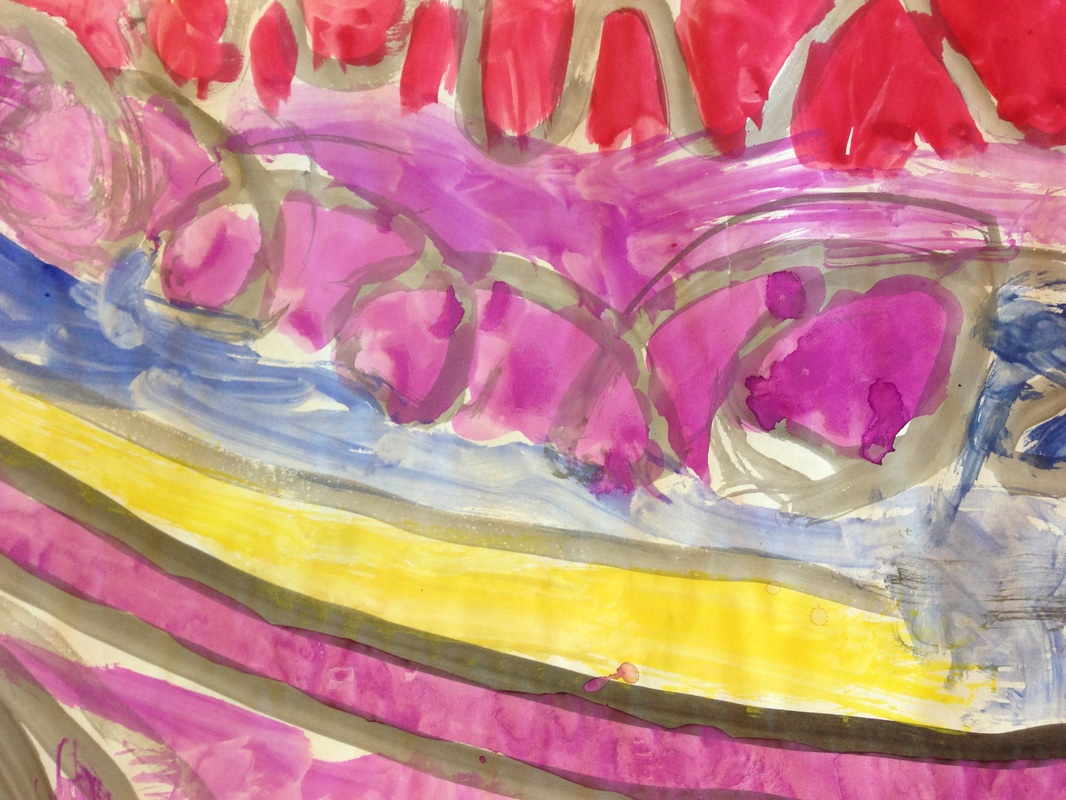
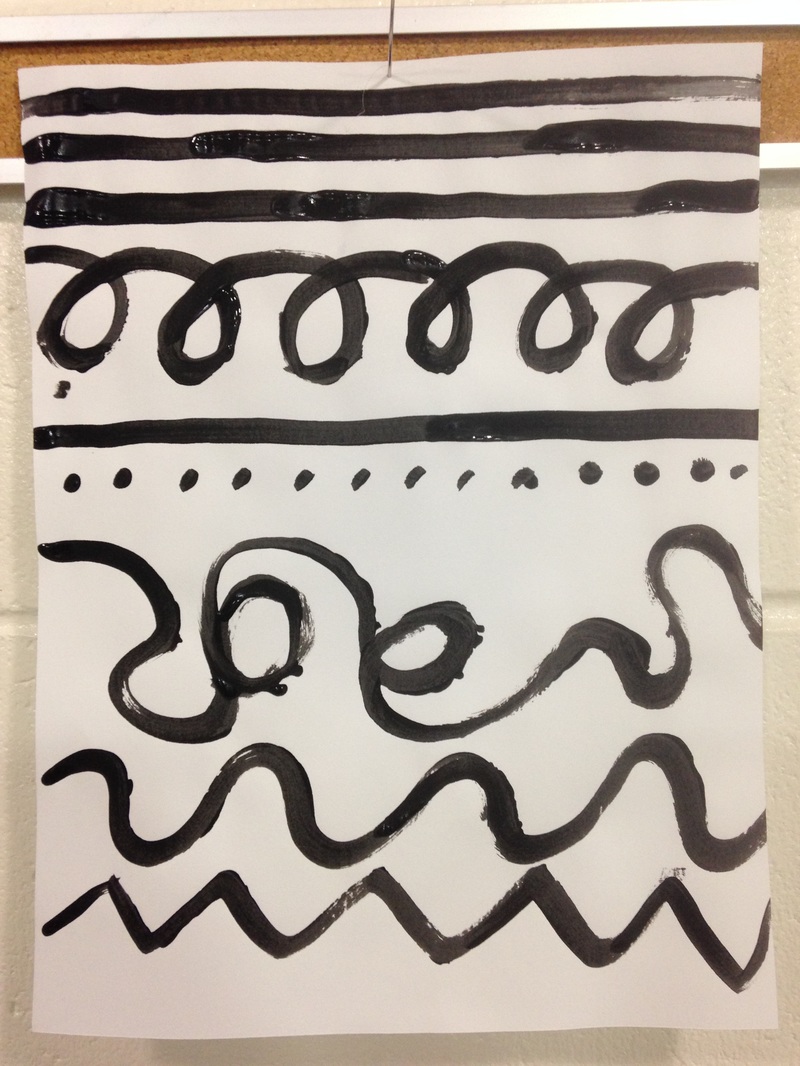
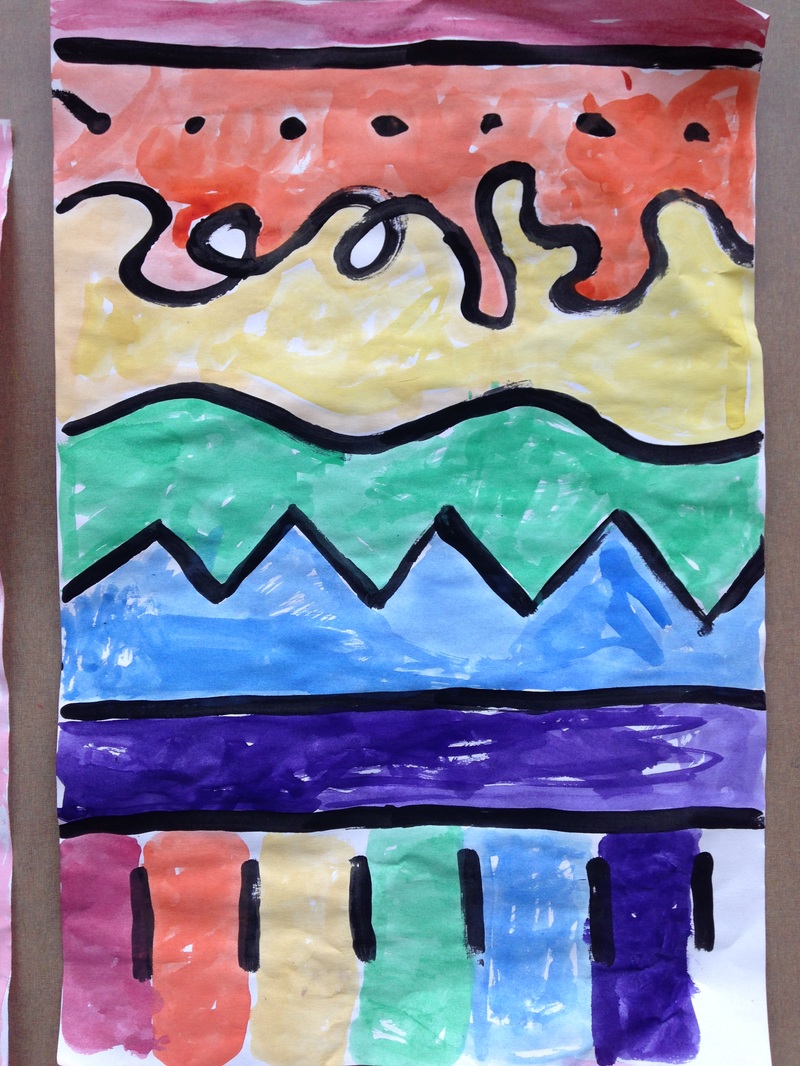
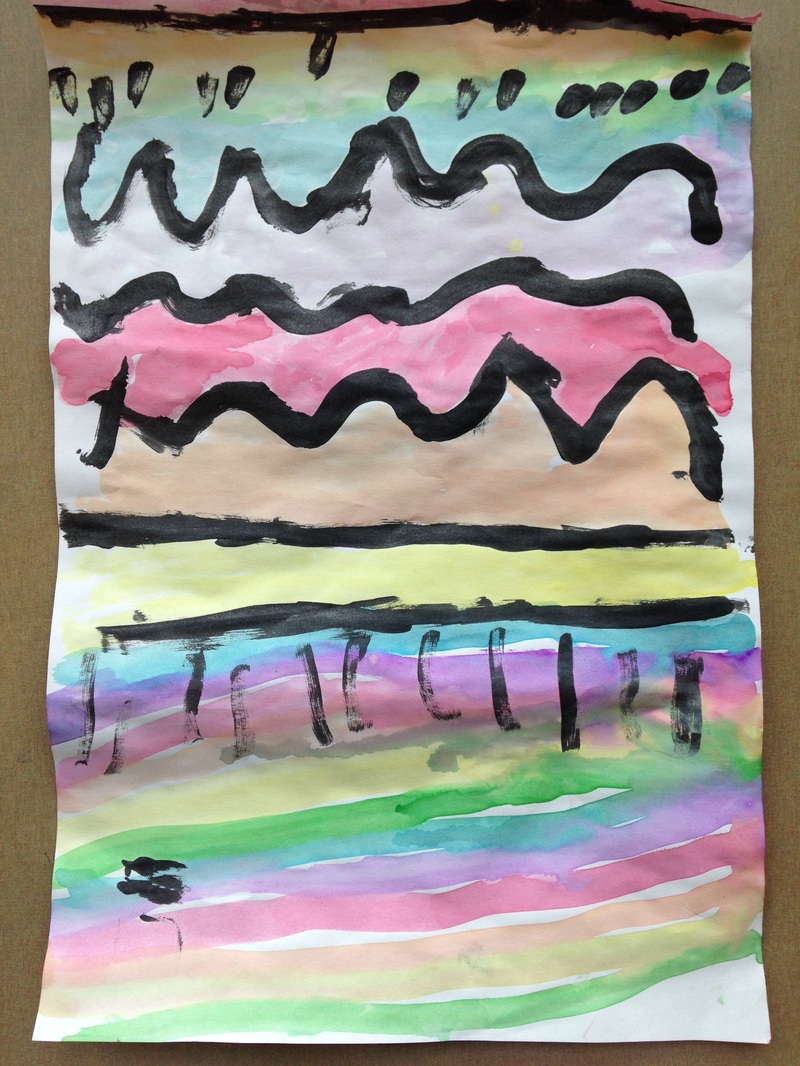
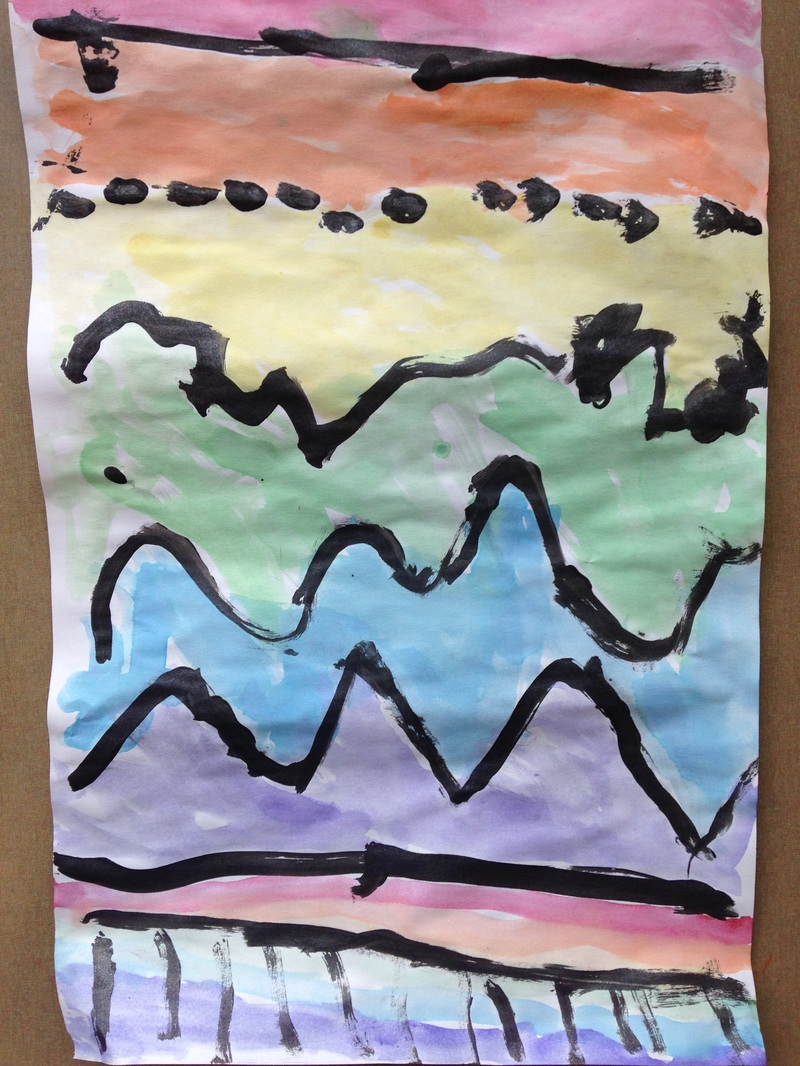
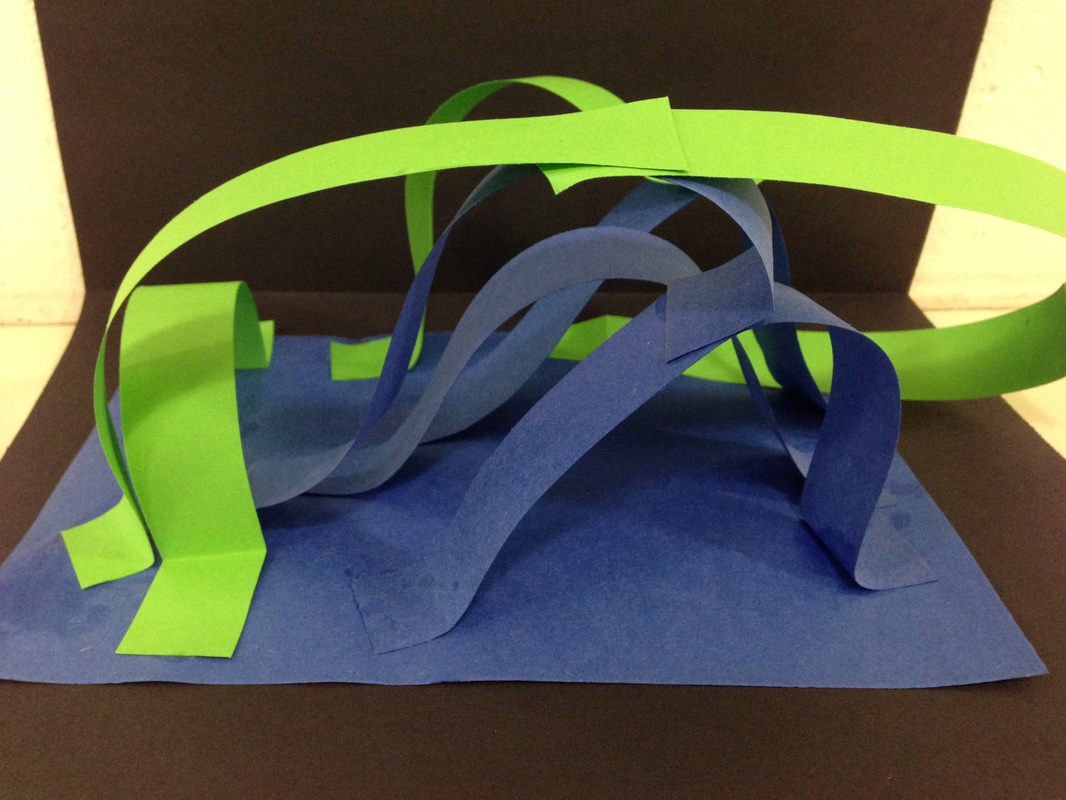
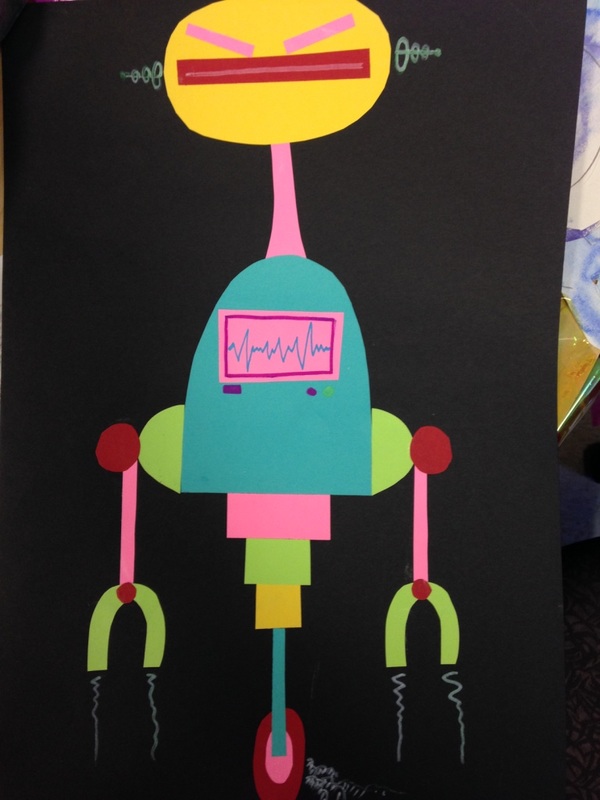
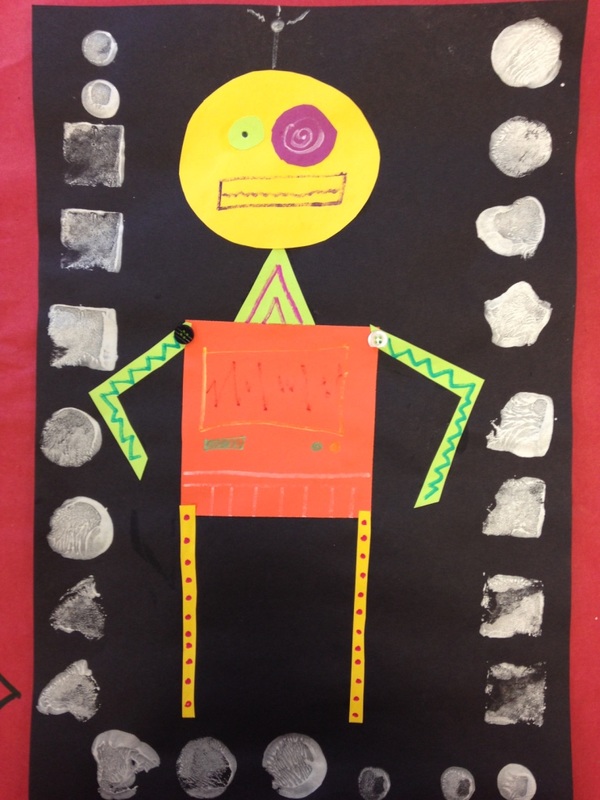
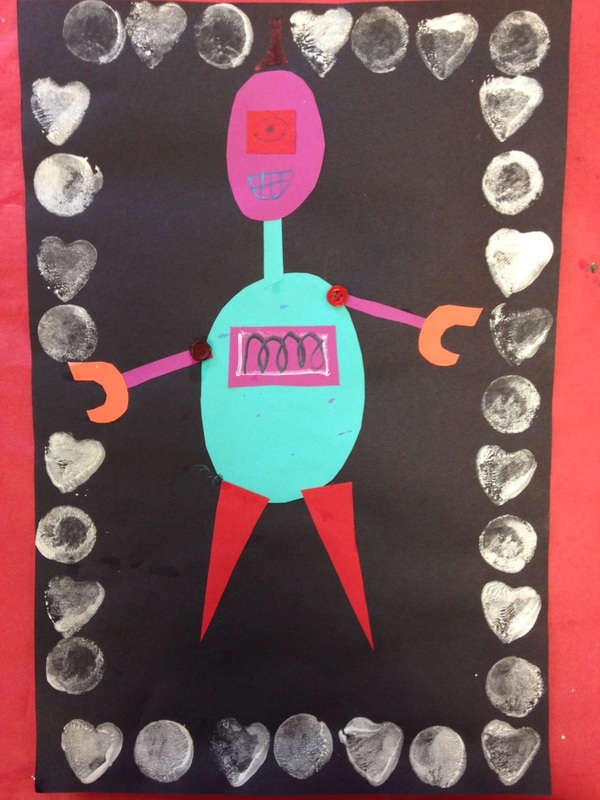
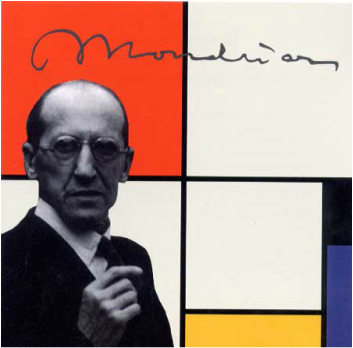 Like the first and second graders, the kinders also learned about Piet Mondrian so if you read my post about the first or second grade Mondrian projects, some of this might sound familiar. I thought Mondrian would be a good introduction into shape while also still dealing a bit with color and lines. It also just so happens that Mr. Mondrian is my FAVORITE artist! Mondrian was a Dutch painter who lived from 1872 to 1944. He was a leader of the artistic movement 'de stijl.' "Mondrian, and the artists of De Stijl, advocated pure abstraction and a pared down palette in order to express a utopian ideal of universal harmony in all of the arts. (www.theartstory.org)" Mr. Mondrian is known for only using the primary colors (red, yellow, and blue). He also only used straight vertical and horizontal lines which created squares and rectangles. No diagonals! These were the focus of our lessons. We began class by watching OK GO's music video The Primary Colors. Then we watched Broadway Boogie-Woogie (named after and inspired by one of Mondrian's paintings). The kids loved the Boogie-Woogie video! And if they were super quick cleaners at the end of class, we watched it a second time. Throughout the lesson I stressed the primary colors (red, yellow, and blue) and how they were the building blocks to all the other colors. You cannot mix any two colors together to make a primary color. You have to go to Walmart or another store to buy them! The kids caught on pretty quickly to the primary colors. Then we turned our attention to vertical and horizontal lines. Since we have been learning so much about lines, my kinders were masters of knowing the difference between vertical and horizontal. To start the project, we re-touched on how lines have to hold their hands to create a shape. For this project, the shapes we would be making were squares and rectangles. Students practiced their scissor-skills by cutting out squares and rectangles out of primary colored papers. Our scissors were SOOOOO hungry after not eating any paper all summer! The kids were asked to fill most of their page with color, but it was fine if they had a little bit of white showing. They really got into this project and cutting out squares and rectangles carried over into a second day of the project. After they had finished gluing down all their shapes, they were then asked to dip a piece of cardboard in black paint and print vertical and horizontal lines. I LOVE how well these turned out! Another continuation of Cassie Stephens' unit on lines. For this class, we of course had to talk more about lines! We once again practiced making lines with our bodies and with Larry the Line. The kids were really starting to catch onto the names of lines by now. We took a look at some artwork by Wassily Kandsinky. Mr. Kandinsky was a Russian painter who was one of the first people to ever paint abstractly/non-representationally. He was largely influenced by music due to his synesthesia. Synesthesia is a condition in which one of your senses becomes activated due to the stimulation of another sense. So when Kandinsky heard music, he would oftentimes see colors and vice versa. While looking at his work, we tried to see if we could find some of the lines that we had been talking about. After that, because they had shown expertise in the previous class during my guided line drawing, they were allowed to paint whatever kinds of lines they wanted to! Like Kandinsky, we painted to music. The kids were asked to fill their papers with black lines. After the paper had been filled with black lines, they could then paint colors between their lines. While they worked, we listened to "Peter and the Wolf" by Sergei Prokofiev. This selection of music uses a different instrument for each character and allows for the students to interpret the sounds differently. This is a continuation of Cassie Stephens unit on lines. So we started off class looking at some snake lines that I had made. Each snake was a different kind of line and we practiced saying their names. As we called out the name of the line, we made that particular line with our arms. I couldn't help but giggle at 20+ kindergartners chanting out "vertical (with their arms straight in the air), horizontal, angle..." After that, we learned a poem about Larry the Line (he's a stuffed snake). After reciting the poem a few times, we got to meet Larry the Line (a toy stuffed snake). Larry's FAVORITEEEE thing to do in the WHOLE WIDE WORLD is to make lines. So as Larry made lines with his body, students who could tell me the name of the line got to come up and pet him. Next, I challenged them to paint the same lines that I could paint. Typically, I'm not one for doing guided lessons, but I wanted to see what the students were capable of painting. By the end of class, I had tons of beautifully painted black lines. We set the paintings on the back burner for a couple classes and then came back to them. We watched a funny music video about ROY G BIV that the kids LOVED! ROY G BIV is the acronym to remember the order of the colors for the rainbow. Then we watched another quick video of a lady reading a book about rainbows. Then we got to paint again! The students were given back their guided line paintings. They were shown how to paint a rainbow between the lines of their painting and then were asked to do the same. The paintings turned out lovely! 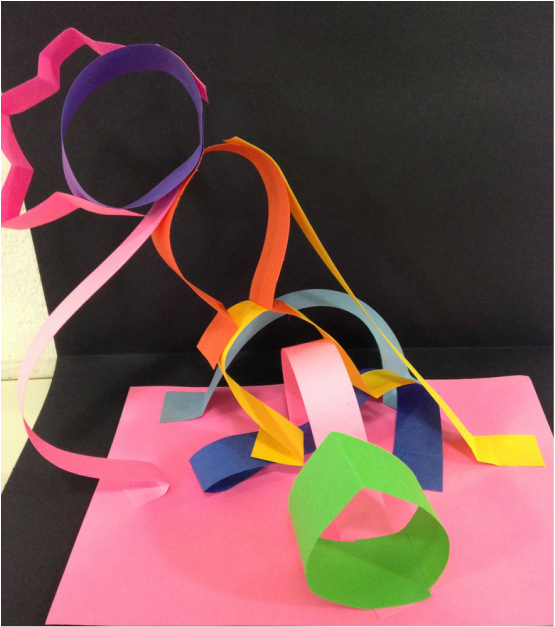 This student made their sculpture so tall that it kept tipping over. She asked how she could fix it and I told her to take a couple minutes to see if she could figure it out herself. She created a couple lines that ran from the ground to the top of the sculpture acting like a anchor so that it no longer tipped over. SO IMPRESSED! Sculptures! Kindergarteners were so excited to make these (after they learned what a sculpture was). So I'm starting a big unit on lines based on one that Cassie Stephens does with her students. Cassie is probably the most well-known art teacher in America and for good reason. She is A-M-A-Z-I-N-G at what she does. So we started our first class talking about what sculptures were and we came to a definitive conclusion that sculptures are NOT flat. They are 3D which means that they can be seen all the way around! We looked at a PowerPoint of different sculptures/statues and talked about what they could be made of. Then we transitioned into making our own sculpture made from strips of paper (lines). When asked how we could make the strips of paper stand up on our paper, we came to the agreement that glue would work. But how could we use the glue to make that happen? By giving our lines feet! Stinky feet, I might add! I showed the students how to fold feet on their strips of paper and then apply a small dot of glue to the bottom of their feet. This usually resulted in a squeal from our lines because they had ticklish feet or the glue was cold. I emphasized that we had to count to ten when gluing the lines to our paper. Counting to ten was good practice for the kids but we had to make sure that we always took a moment to shake our booties when we got to the number nine. I asked the students to add four lines to their sculpture and then they went to work. I couldn't help but laugh to look around the room and see a class of kindergarteners counting to ten under their breath and shaking their bottoms every time they got to nine. For the next class, we saw how many different kinds of lines we could name. The students came up with zig-zag, curvy, wavy, straight, loop-de-loop, and the lines that are on the road (dotted/dashed). Then we talked about how lines could be used to create shapes, as long as the line held its own hand. I demonstrated to the students that when a line curved all the way around and connected with itself (held its hand) it could create circles, triangles, squares, and so many other shapes. Then I showed them how to make some of these shapes using the paper strips. To make zig-zags we had to fold the paper. Then fold again. And again. And again. And AGAIN! To make shapes, we had to glue our strips hands together which made a circle. If they wanted to make other shapes, we had to give our circle a pinch. OUCH! This created a water-drop shape. If pinched a second time it made an eye, football, or ellipses. If pinched three times, they then had a triangle. And if pinched four times, they got a square. Of course we had to say "OUCH!" for each pinch. After gluing each of these shapes onto my sculpture (and making sure to count to ten!) the students set to work making their own crazy lines and shapes. I asked them to make five lines/shapes for this class period. I am so happy with how well these turned out! Next class we get to paint lines! I had a blast with this project. It was similar to my leaves project that I did at Black River Falls but I took it a little further this time. we started off reading The Very Hungry Caterpillar. I then talked to them about texture. After having a kid run his hand up my calf and proclaim "Mr. Calvert's texture is hairy!" We finally got to work. We used large sheets of butcher paper and went outside on a texture scavenger hunt. They filled their whole paper with different texture crayon rubbings. The next class, we read Waiting for Wings. Then we talked about symmetry and painted the outline to a huge butterfly, making sure that our wing designs were symmetrical. On the last day, we used liquid watercolor to paint the butterfly, making sure that the colors were symmetrical between the wings. The liquid watercolor had mixed results depending on what color the paper was because the butcher paper has a slightly waxy coating and doesn't take the paint super well. They then used Q-Tips to add white dots on the black outline. 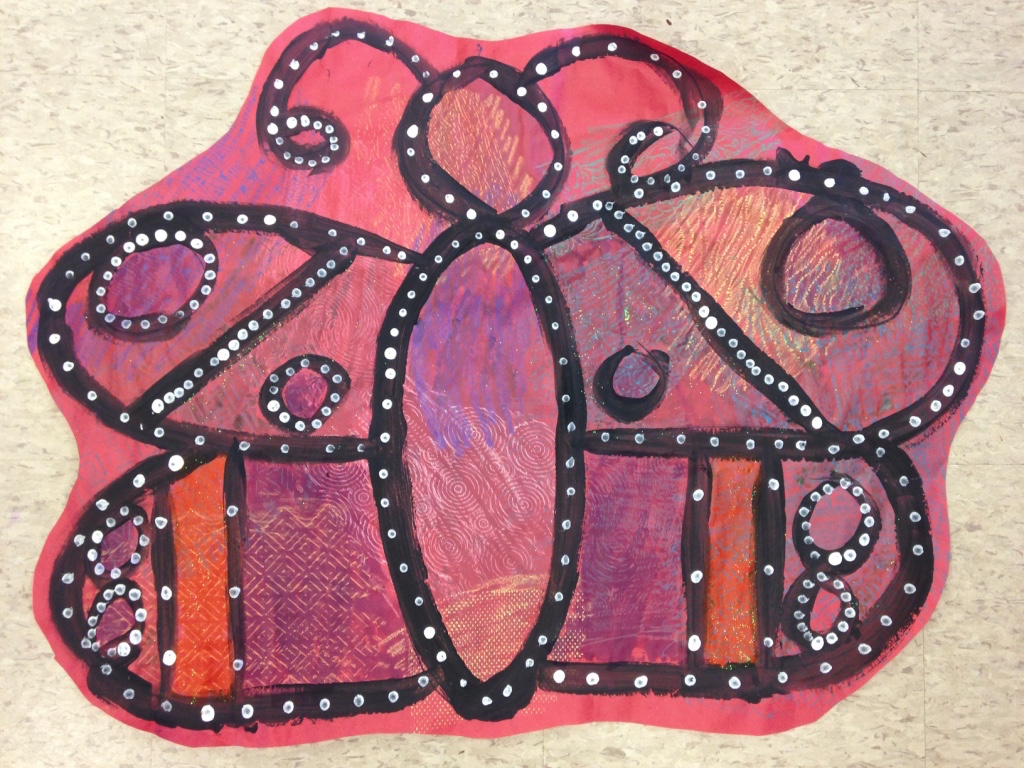  Kids wanted to do a texture rubbing of my back. Free back rubs! This was another one of Cassie Stephens' projects. We talked about what self-portraits were and then drew ourselves. Then we outlined ourselves in black crayon and painted using tempera cakes. Then we painted a pattern using tempera paint onto the background, cut ourself out and glued ourself on. Lastly, we cut out a shirt (with a folded collar) and art apron for ourselves. 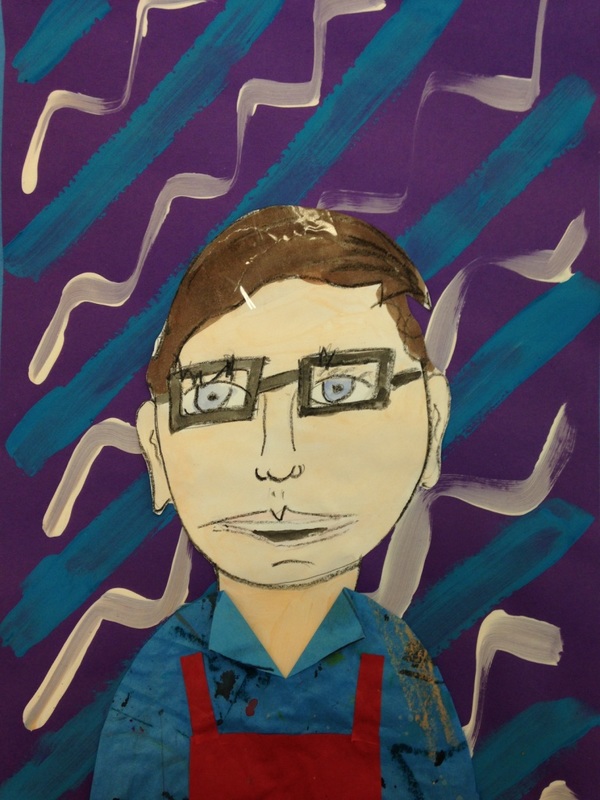 This was a quick two day project for us. The first day, I set out bins of blue watercolor paint that had soap in it. The students took straws and blue bubbles into the water until it had a bunch of suds. They then laid their paper on the suds to create bubble prints. The next day, we talked about printmaking and gyotaku. We then inked up some rubber fish and printed them on top of our bubbles. 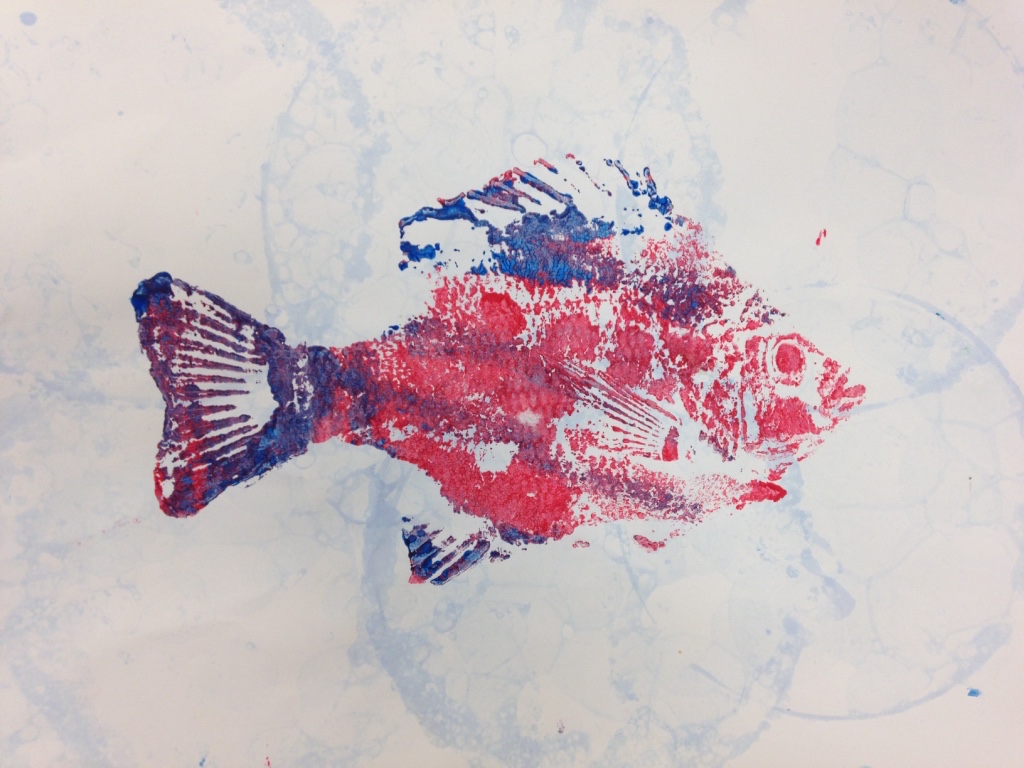 For this project, we practiced our cutting skills by cutting out shapes for our shape robots. They glued them down and created a robot. Then we took gel markers and added some details to the robots. Lastly, we glued on buttons and used stamps with silver paint to add a border. Today, we talked about the colors of the rainbow. We then drew a nice big pillowy cloud using chalk pastel and blended it with our finger. Then we took strips of colored cellophane and glued them in their correct position according to the rainbow. 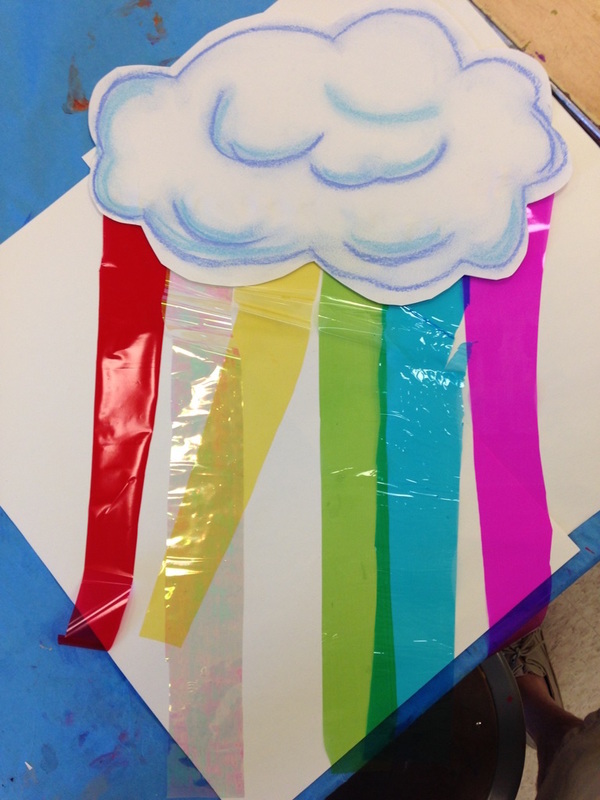 |
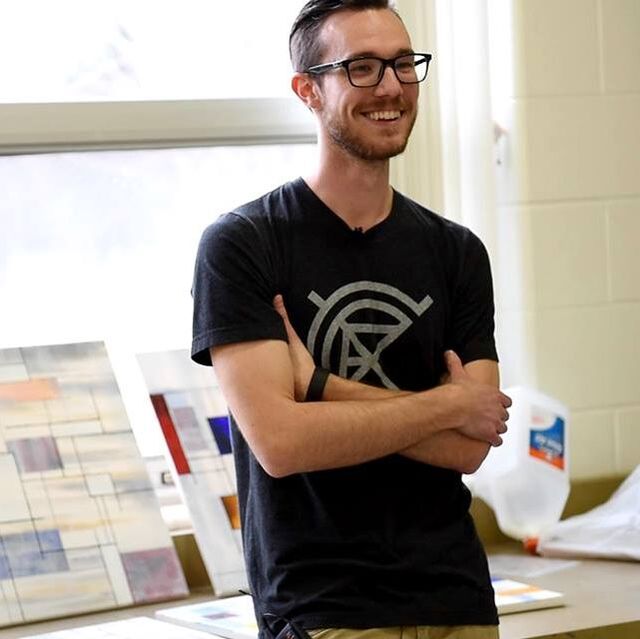
Devon CalvertHarmony and Consolidated Elementary Art Teacher in Milton, WI. UW-Eau Claire graduate. WAEA President. Apple Teacher. 
Archives
March 2019
Categories
All
|


 RSS Feed
