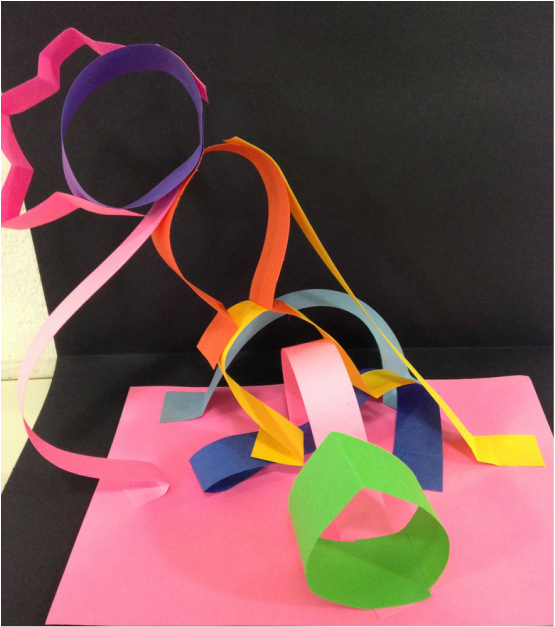
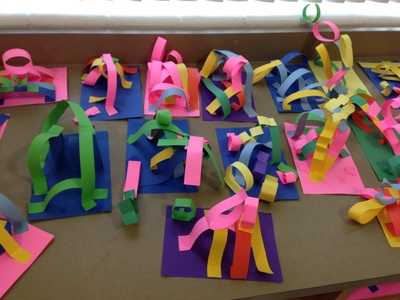
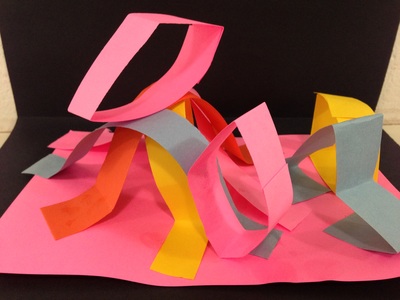
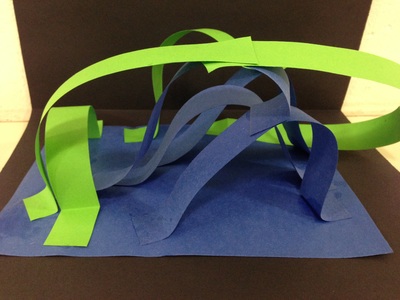
 This student made their sculpture so tall that it kept tipping over. She asked how she could fix it and I told her to take a couple minutes to see if she could figure it out herself. She created a couple lines that ran from the ground to the top of the sculpture acting like a anchor so that it no longer tipped over. SO IMPRESSED! Sculptures! Kindergarteners were so excited to make these (after they learned what a sculpture was). So I'm starting a big unit on lines based on one that Cassie Stephens does with her students. Cassie is probably the most well-known art teacher in America and for good reason. She is A-M-A-Z-I-N-G at what she does. So we started our first class talking about what sculptures were and we came to a definitive conclusion that sculptures are NOT flat. They are 3D which means that they can be seen all the way around! We looked at a PowerPoint of different sculptures/statues and talked about what they could be made of. Then we transitioned into making our own sculpture made from strips of paper (lines). When asked how we could make the strips of paper stand up on our paper, we came to the agreement that glue would work. But how could we use the glue to make that happen? By giving our lines feet! Stinky feet, I might add! I showed the students how to fold feet on their strips of paper and then apply a small dot of glue to the bottom of their feet. This usually resulted in a squeal from our lines because they had ticklish feet or the glue was cold. I emphasized that we had to count to ten when gluing the lines to our paper. Counting to ten was good practice for the kids but we had to make sure that we always took a moment to shake our booties when we got to the number nine. I asked the students to add four lines to their sculpture and then they went to work. I couldn't help but laugh to look around the room and see a class of kindergarteners counting to ten under their breath and shaking their bottoms every time they got to nine. For the next class, we saw how many different kinds of lines we could name. The students came up with zig-zag, curvy, wavy, straight, loop-de-loop, and the lines that are on the road (dotted/dashed). Then we talked about how lines could be used to create shapes, as long as the line held its own hand. I demonstrated to the students that when a line curved all the way around and connected with itself (held its hand) it could create circles, triangles, squares, and so many other shapes. Then I showed them how to make some of these shapes using the paper strips. To make zig-zags we had to fold the paper. Then fold again. And again. And again. And AGAIN! To make shapes, we had to glue our strips hands together which made a circle. If they wanted to make other shapes, we had to give our circle a pinch. OUCH! This created a water-drop shape. If pinched a second time it made an eye, football, or ellipses. If pinched three times, they then had a triangle. And if pinched four times, they got a square. Of course we had to say "OUCH!" for each pinch. After gluing each of these shapes onto my sculpture (and making sure to count to ten!) the students set to work making their own crazy lines and shapes. I asked them to make five lines/shapes for this class period. I am so happy with how well these turned out! Next class we get to paint lines!
2 Comments
Sue VanDenLangenberg
9/20/2015 10:22:23 pm
My son (Will) came home talking about his sculpture he made in art class and he showed me how he made lines with his arms :) Thanks for making art class fun and educational!
Reply
Mr. Calvert
9/21/2015 09:38:10 am
I'm glad that what I'm teaching in class is being remembered out of the classroom! My kindergartners are blowing me away! Will has been such a pleasure to have in class!
Reply
Leave a Reply. |
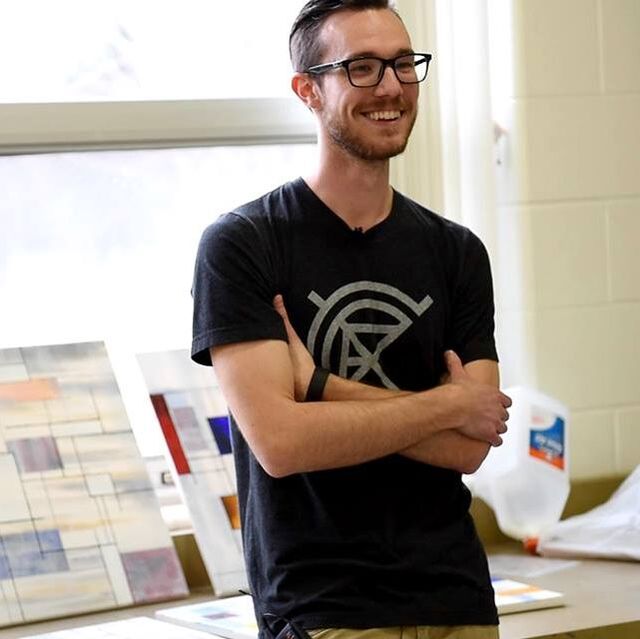
Devon CalvertHarmony and Consolidated Elementary Art Teacher in Milton, WI. UW-Eau Claire graduate. WAEA President. Apple Teacher. Archives
March 2019
Categories
All
|

 RSS Feed
