|
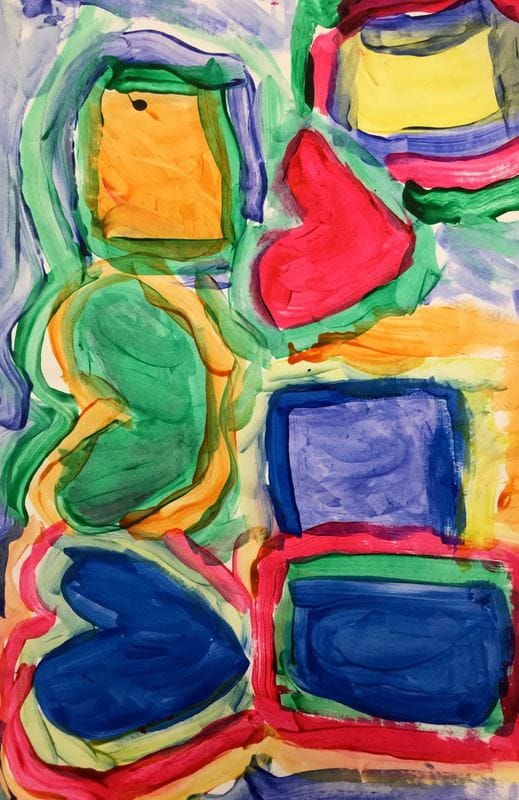
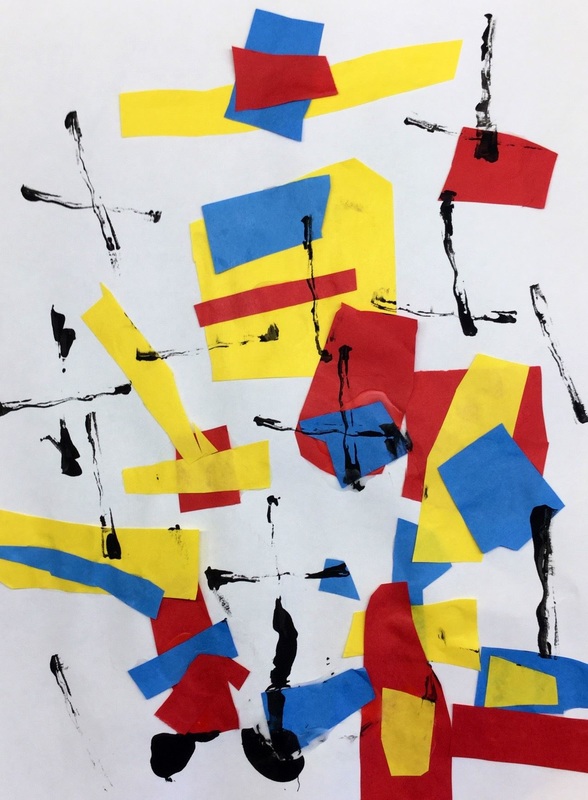
Like our last project, after creating our shape boxes, we painted shapes! This was the kiddos' first time using tempera paint so I had to go over some basics with them. I emphasized that their brush needs to paint on it's toes like a ballerina (got this from Cassie Stephens) not scoot around on it's booty. I often times see kids scrubbing their paper with their brush when trying to paint so I am working on teaching proper brush usage. The students used the tempera paint to paint different colored shapes. When switching to a different color, we worked on making sure to clean our brush in our water cups and then drying them off on our sponge. This helps to keep the kids from mixing and dirtying the paint cups. After they had a bunch of shapes, we worked on giving the shapes outlines and eventually filling in the rest of the background. 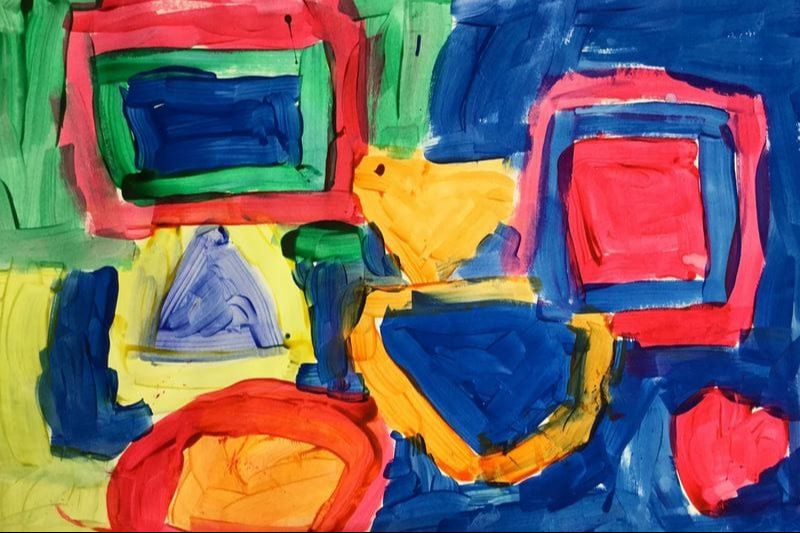
0 Comments
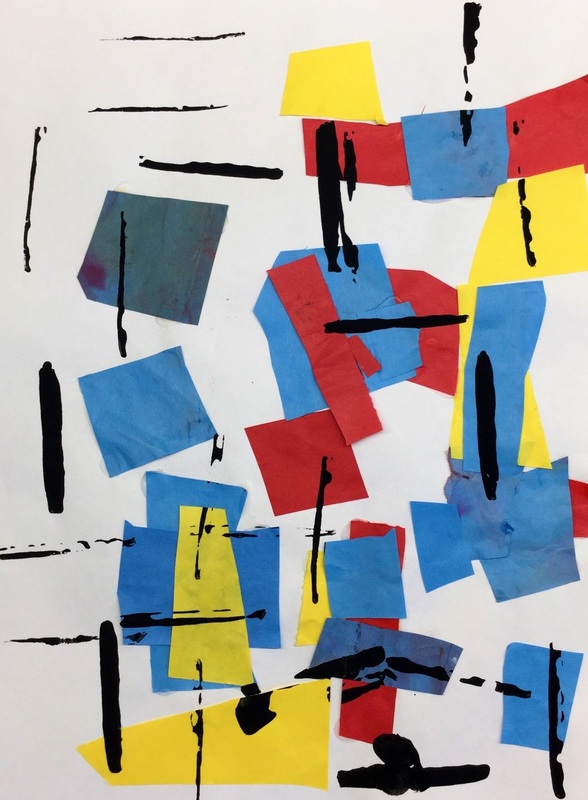
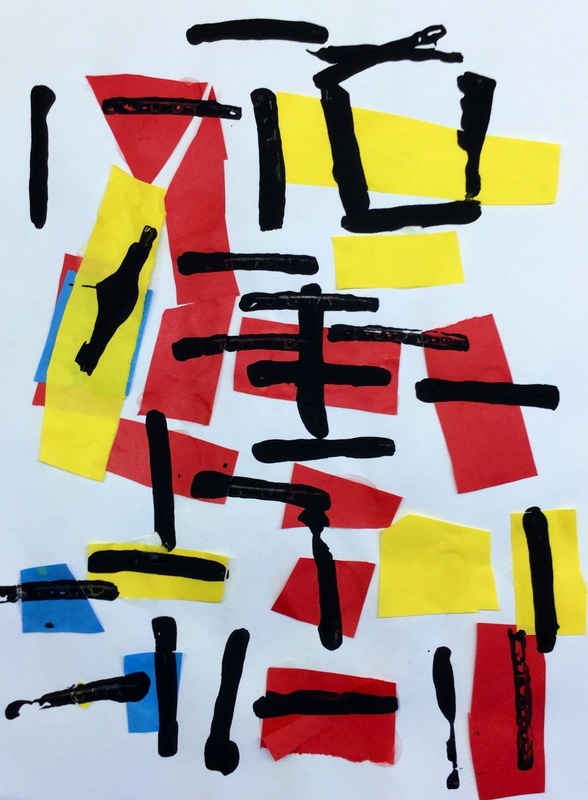
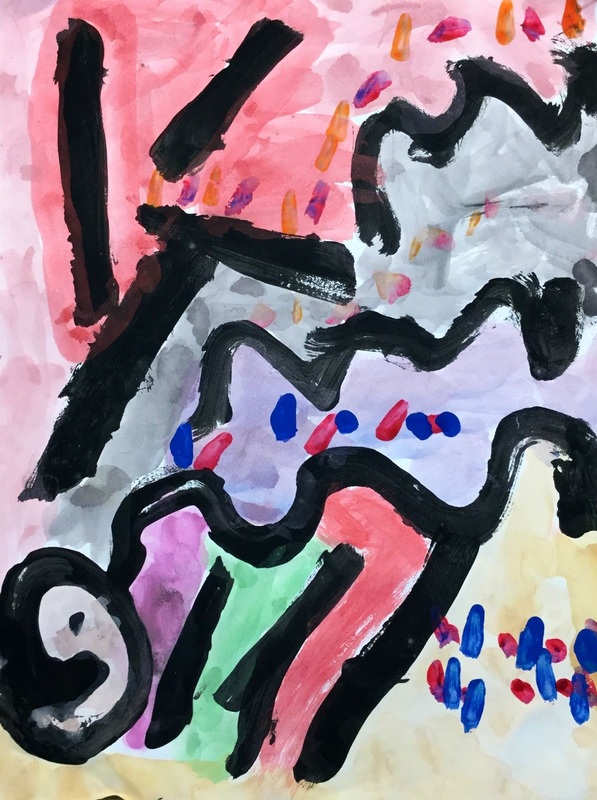
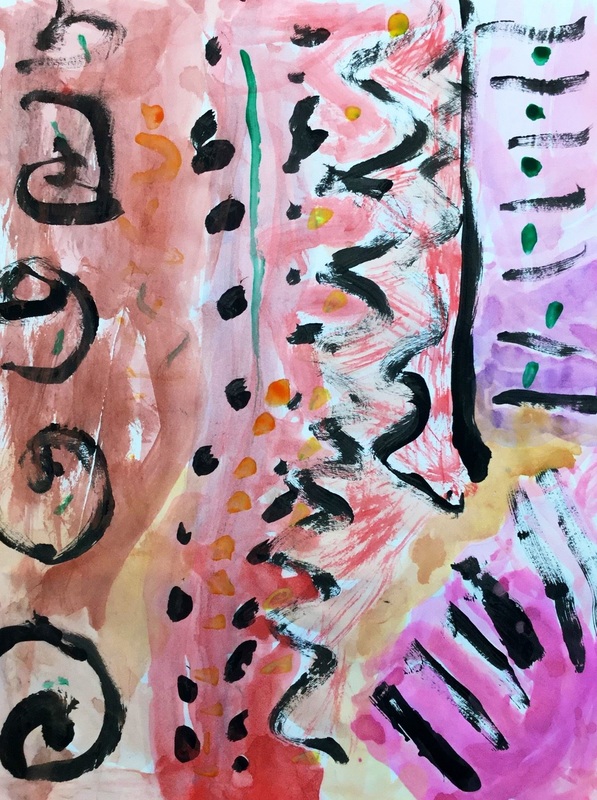
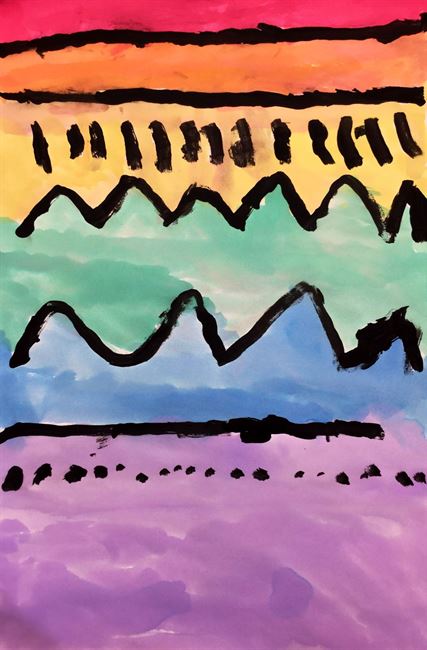
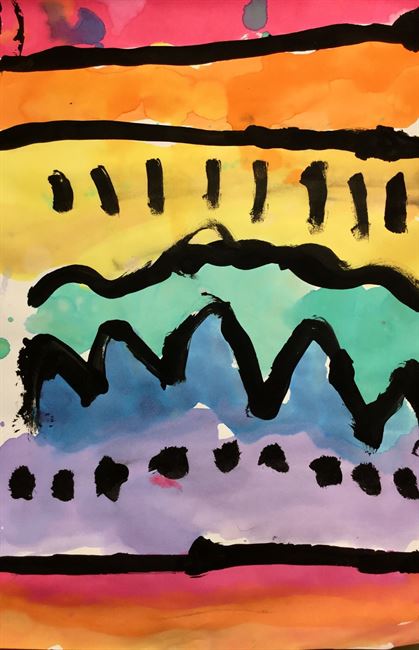
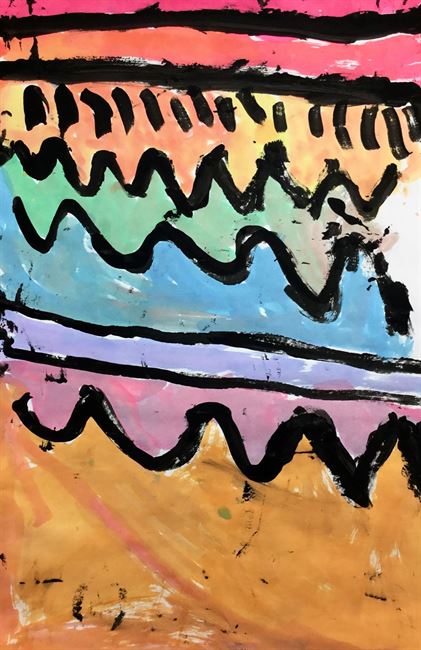
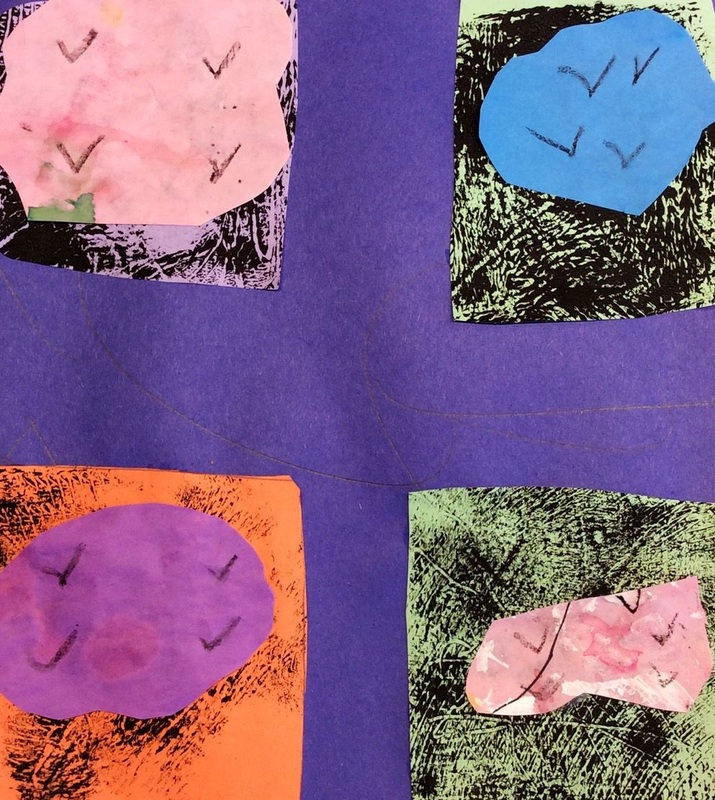
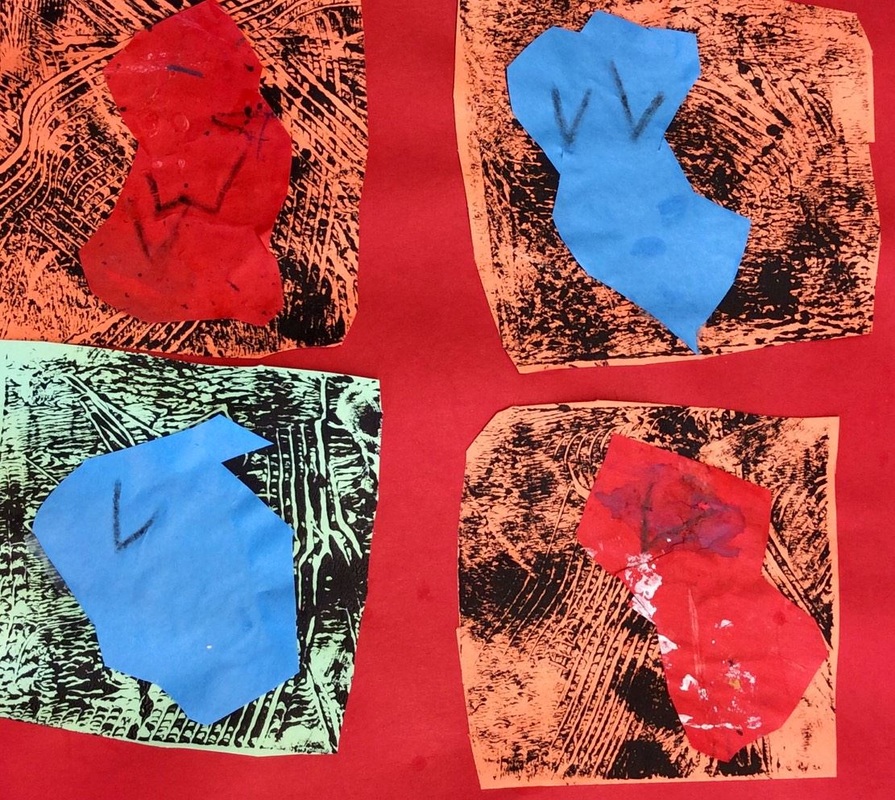
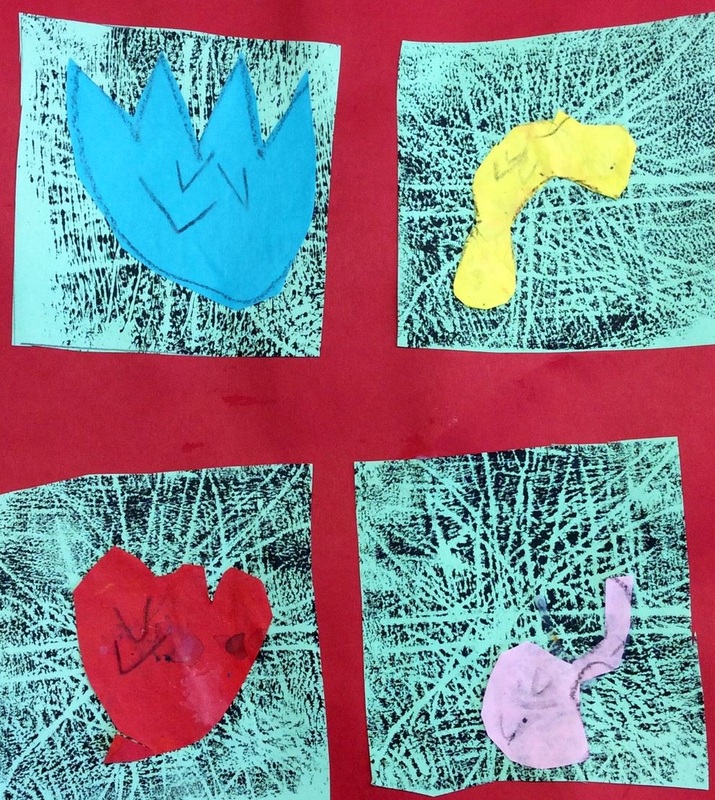
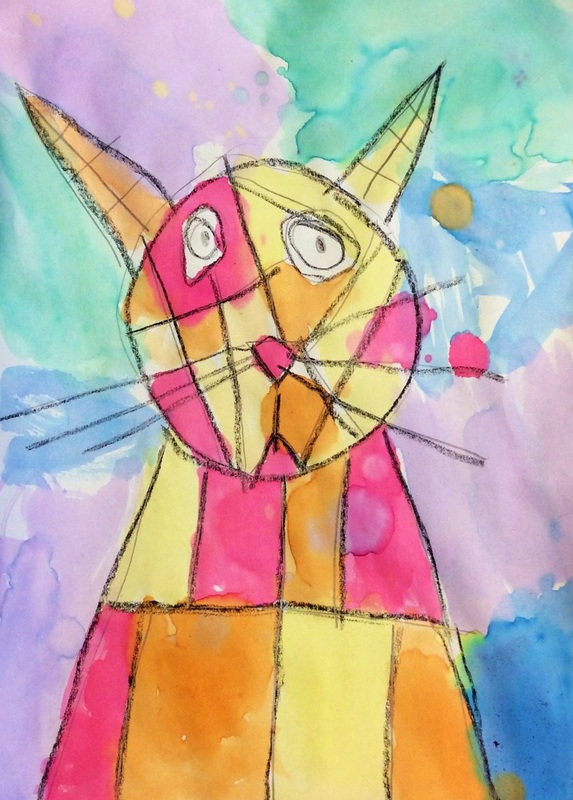
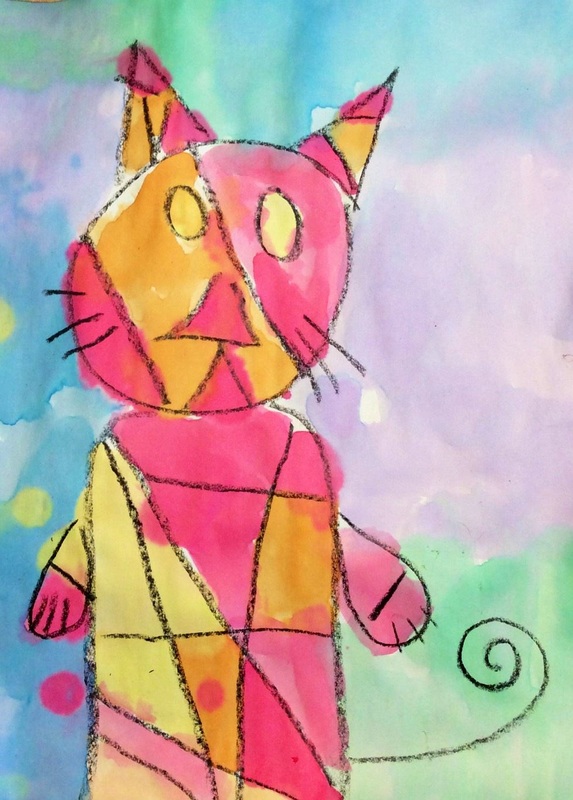
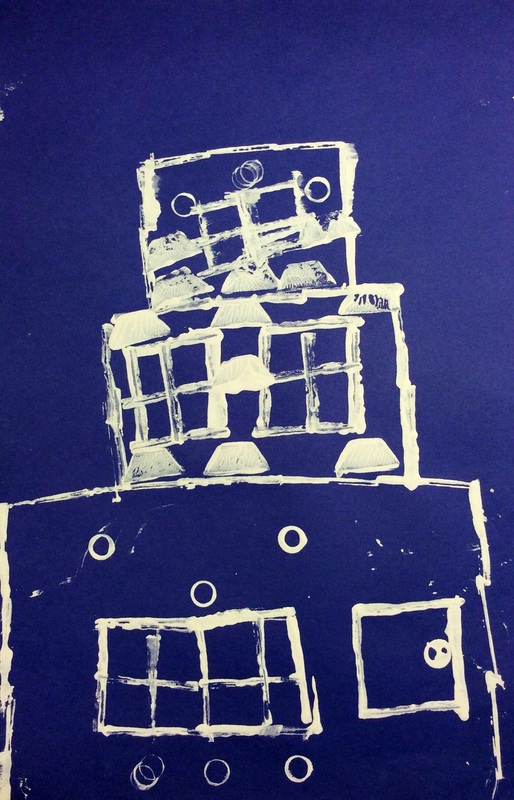
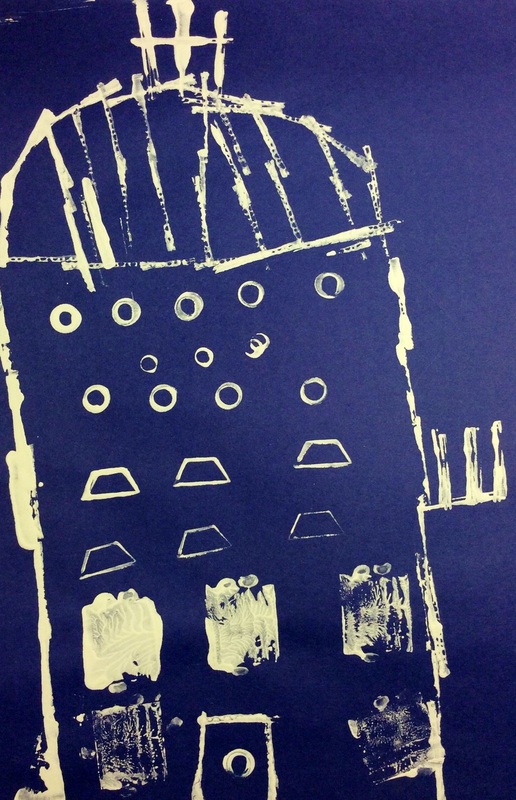
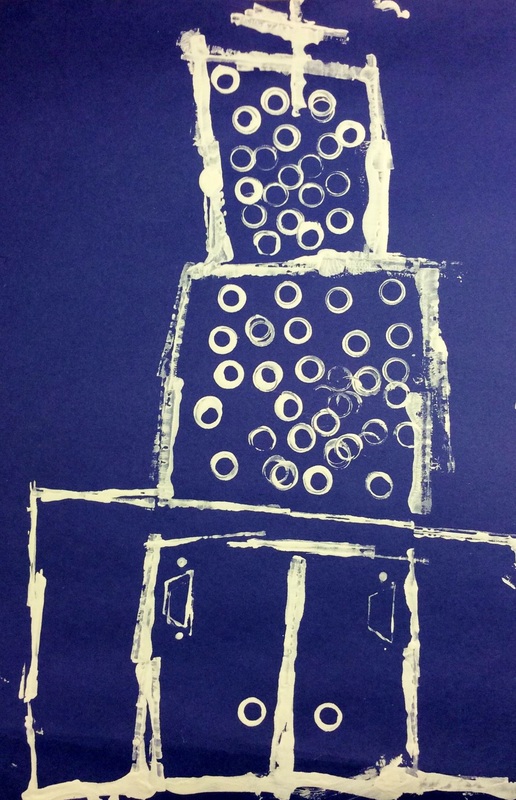
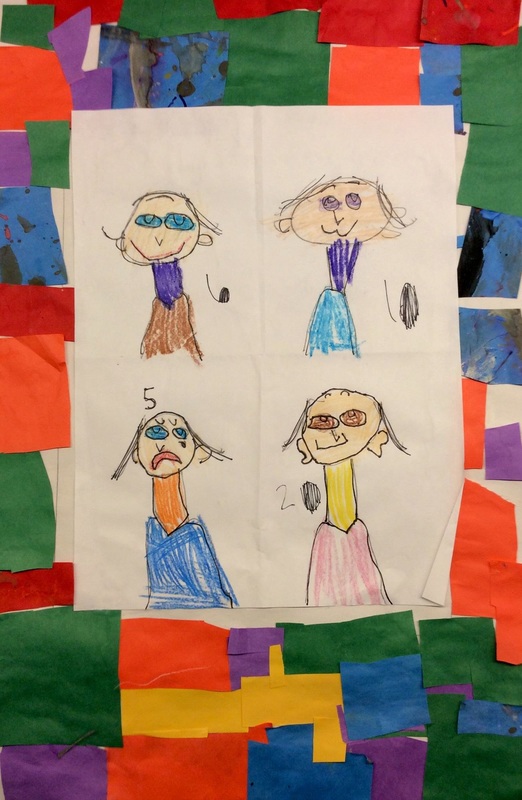
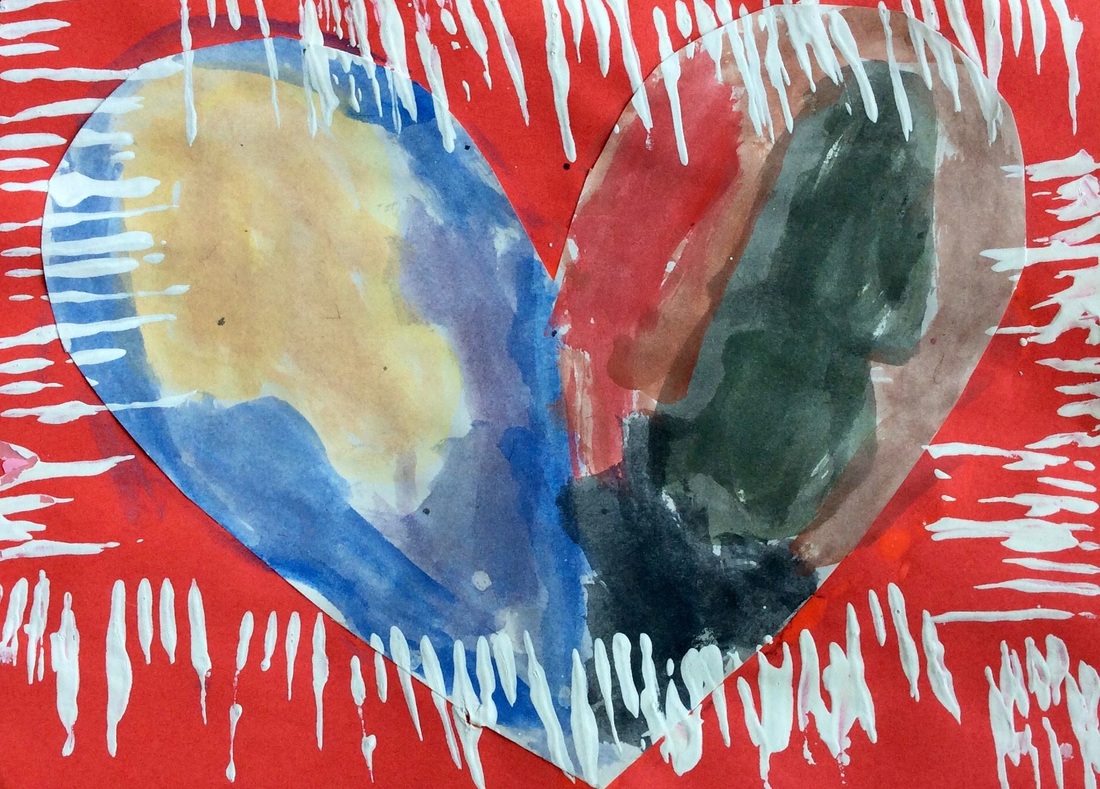
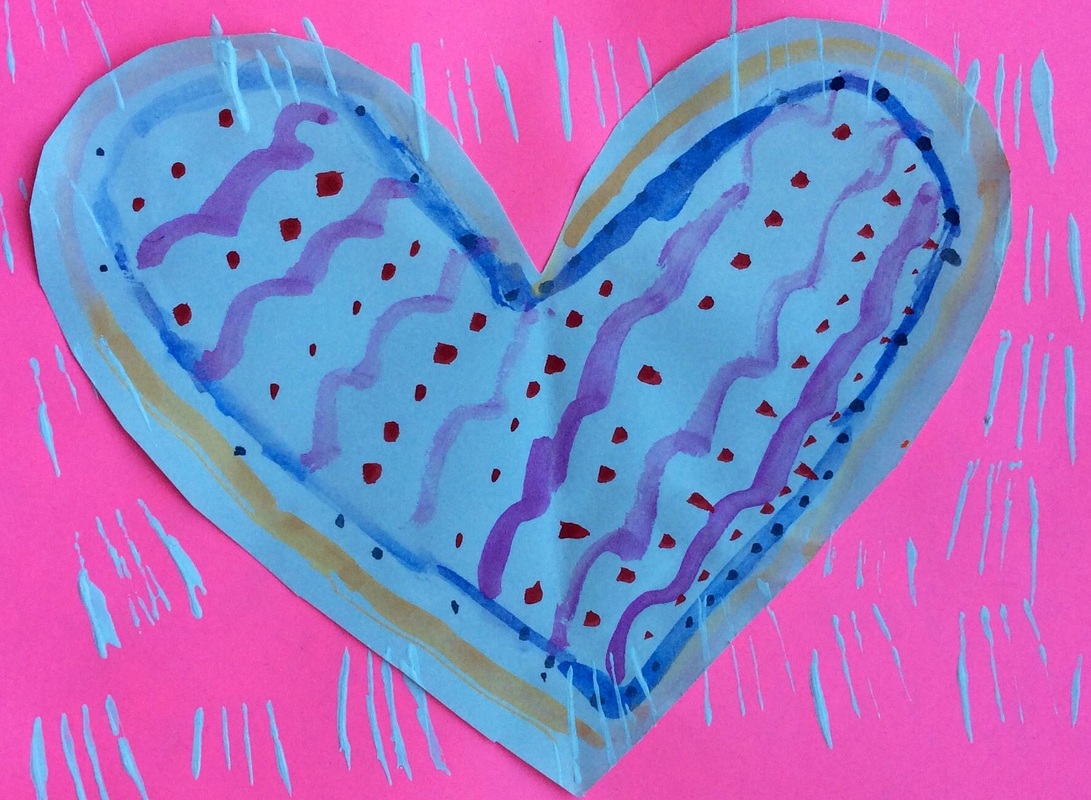
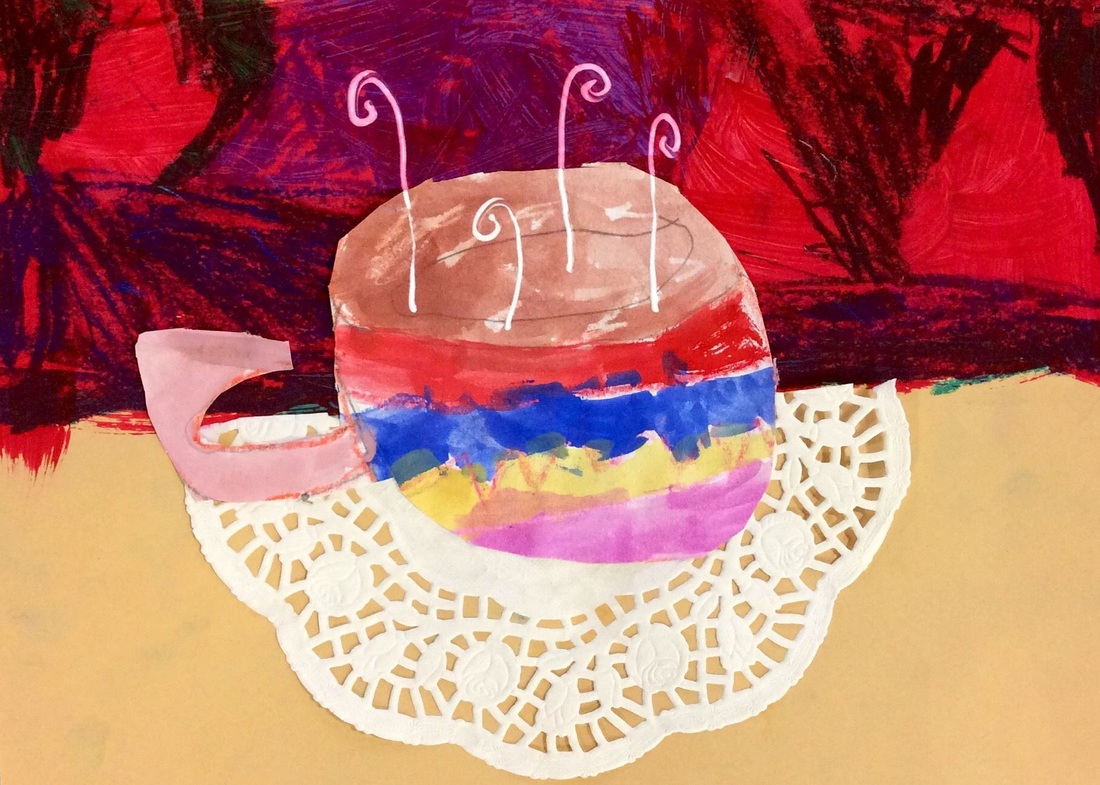
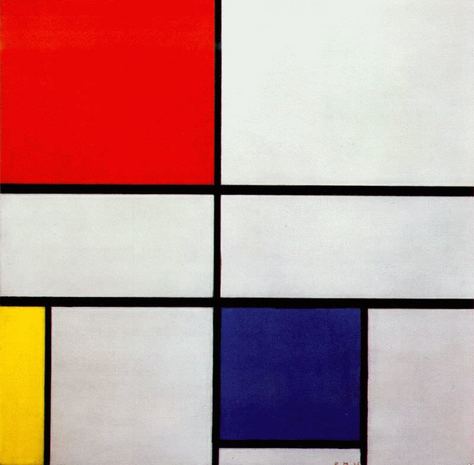 I thought Piet Mondrian would be a good introduction into shape while also still dealing a bit with color and lines. It also just so happens that Mr. Mondrian is my FAVORITE artist! Mondrian was a Dutch painter who lived from 1872 to 1944. He was a leader of the artistic movement 'de stijl.' "Mondrian, and the artists of De Stijl, advocated pure abstraction and a pared down palette in order to express a utopian ideal of universal harmony in all of the arts. (www.theartstory.org)" Mr. Mondrian is known for only using the primary colors (red, yellow, and blue). He also only used straight vertical and horizontal lines which created squares and rectangles. No diagonals! These were the focus of our lessons. We began class by watching OK GO's music video The Primary Colors. Then we watched Broadway Boogie-Woogie (named after and inspired by one of Mondrian's paintings). The kids loved the Boogie-Woogie video! And if they were super quick cleaners at the end of class, we watched it a second time. We also looked at some of my artwork which is largely influenced by Mondrian. It was fun to listen to them compare and contrast Mondrian and I. 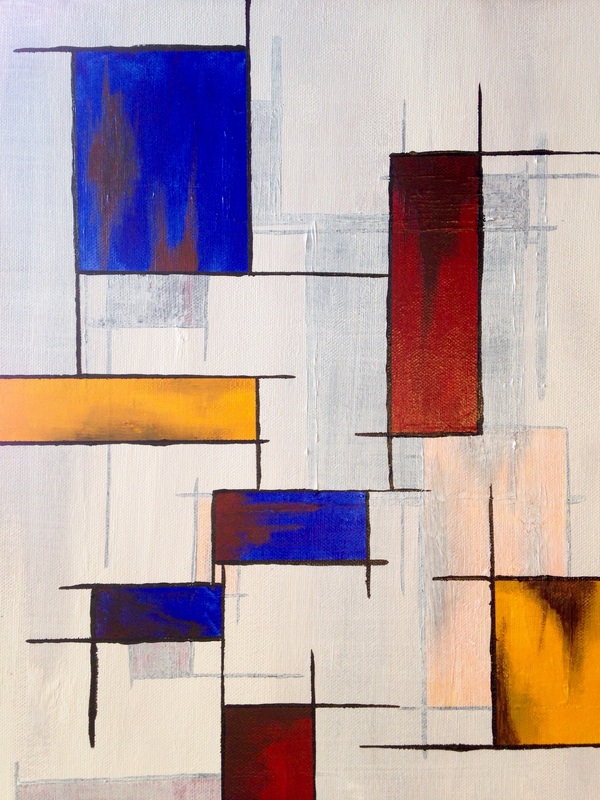 This is one of my paintings. Throughout the lesson I stressed the primary colors (red, yellow, and blue) and how they were the building blocks to all the other colors. You cannot mix any two colors together to make a primary color. You have to go to Walmart or another store to buy them! The kids caught on pretty quickly to the primary colors. Then we turned our attention to vertical and horizontal lines. Since we have been learning so much about lines, my kinders were masters of knowing the difference between vertical and horizontal. To start the project, we re-touched on how lines have to hold their hands to create a shape. For this project, the shapes we would be making were squares and rectangles. Students practiced their scissor-skills by cutting out squares and rectangles out of primary colored papers. Our scissors were SOOOOO hungry after not eating any paper all summer! The kids were asked to fill most of their page with color, but it was fine if they had a little bit of white showing. They really got into this project and cutting out squares and rectangles carried over into a second day of the project. After they had finished gluing down all their shapes, they were then asked to dip a piece of cardboard in black paint and print vertical and horizontal lines. I LOVE how well these turned out 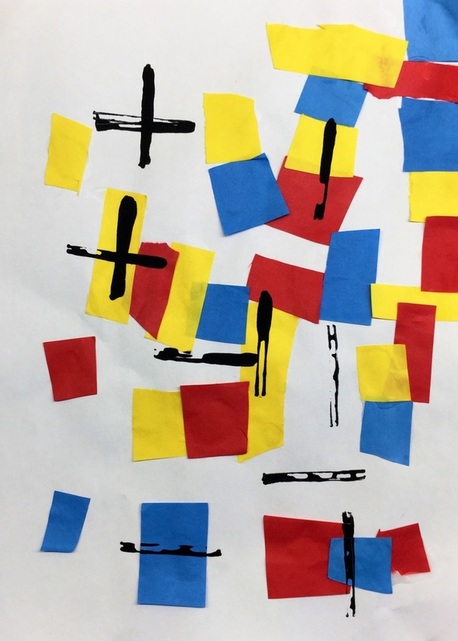 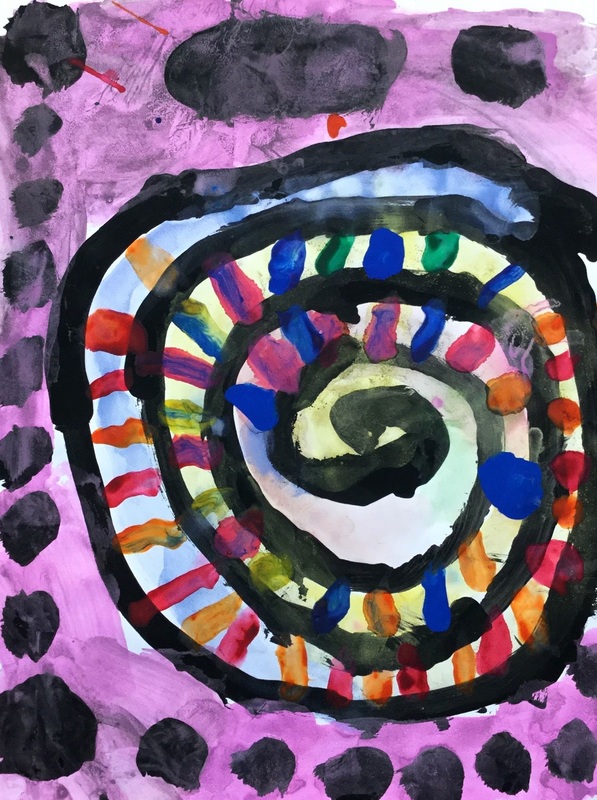 Another continuation of Cassie Stephens' unit on lines. For this class, we of course had to talk more about lines! We once again practiced making lines with our bodies and with Larry the Line. The kids were really starting to catch onto the names of lines by now. We took a look at some artwork by Wassily Kandsinky. Mr. Kandinsky was a Russian painter who was one of the first people to ever paint abstractly/non-representationally. He was largely influenced by music due to his synesthesia. Synesthesia is a condition in which one of your senses becomes activated due to the stimulation of another sense. So when Kandinsky heard music, he would oftentimes see colors and vice versa. While looking at his work, we tried to see if we could find some of the lines that we had been talking about. After that, because they had shown expertise in the previous class during my guided line drawing, they were allowed to paint whatever kinds of lines they wanted to! Like Kandinsky, we painted to music. The kids were asked to fill their papers with black lines. After the paper had been filled with black lines, they could then paint colors between their lines. While they worked, we listened to "Peter and the Wolf" by Sergei Prokofiev. This selection of music uses a different instrument for each character and allows for the students to interpret the sounds differently. This year, I added one more layer to the painting. After using tempera cakes to paint to music, the next class we used tempera to add patterns. We talked about creating patterns using lines, colors, shapes, numbers, letters, or a combination of all of them! 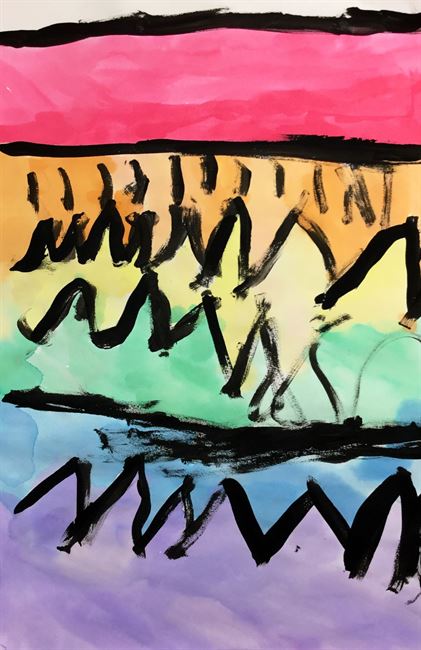 Although most of my other grades will be doing new projects this year, I am keeping kindergarten largely the same. I was SUPER impressed with where they were at by the end of last year so I want to repeat what was so successful. Like last year, we are working really hard on learning about lines. This is a continuation of Cassie Stephens unit on lines. So we started off class looking at some snake lines that I had made. Each snake was a different kind of line and we practiced saying their names. As we called out the name of the line, we made that particular line with our arms. I couldn't help but giggle at 20+ kindergartners chanting out "vertical (with their arms straight in the air), horizontal, angle..." After that, we learned a poem about Larry the Line (he's a stuffed snake). After reciting the poem a few times, we got to meet Larry the Line (a toy stuffed snake). Larry's FAVORITEEEE thing to do in the WHOLE WIDE WORLD is to make lines. So as Larry made lines with his body, students who could tell me the name of the line got to come up and pet him. Next, I challenged them to paint the same lines that I could paint. Typically, I'm not one for doing guided lessons, but I wanted to see what the students were capable of painting. By the end of class, I had tons of beautifully painted black lines. We set the paintings on the back burner for a couple classes and then came back to them. We watched a funny music video about ROY G BIV that the kids LOVED! ROY G BIV is the acronym to remember the order of the colors for the rainbow. Then we watched another quick video of a lady reading a book about rainbows. Then we got to paint again! The students were given back their guided line paintings. They were shown how to paint a rainbow between the lines of their painting and then were asked to do the same. The paintings turned out lovely! 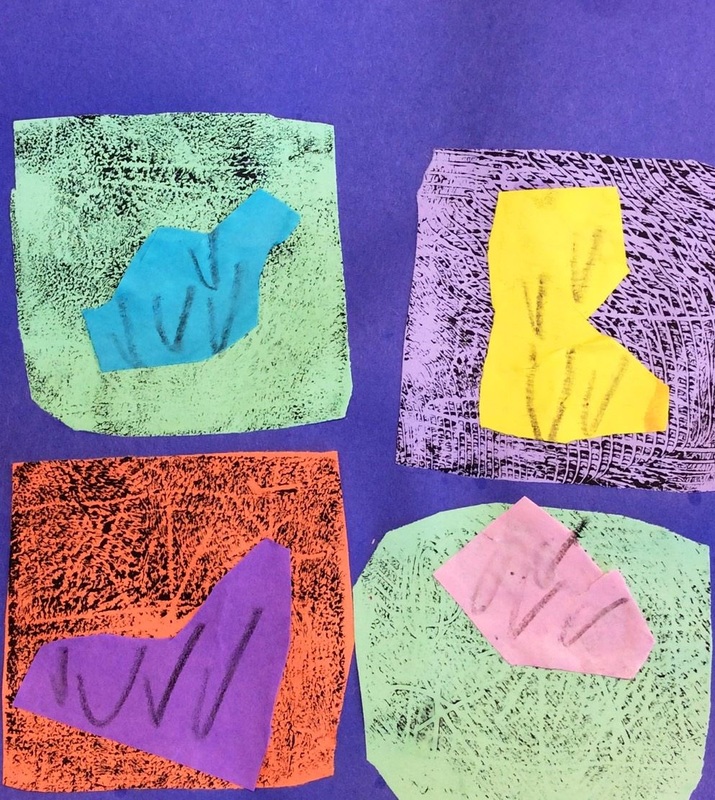 This lovely new warm weather is AMAZINGGGG! And I can't wait to see all of the wildlife that it will bring about, like flowers! We took a look at an artwork by Andy Warhol that had flowers on it. Warhol is wildly famous for his Pop Art which features the repetition of popular things like celebrities, flowers, and food! I definitely had to pluck out a couple grey hairs that I grew during the first day of this project. Because we've been talking so much about printmaking lately, we used that to create the small square backgrounds to their flowers. Everyone made four prints using styrofoam. We used actual ink and brayers and inked up our piece of styrofoam. Then we used combs and forks to gently scratch and scrape away ink to make marks in our prints. It was EXTREMELY busy and hectic! To finish off the project, we cut out our printed squares and glued them onto our backgrounds. Then we learned about organic shapes. These are shapes that look like blobs or as I tell the kids, spilled milk. Students cut out 4 organic shapes to represent their flowers and glued them onto their small printed squares. Lastly, they put small black check-marks in their flowers to represent the flowers' pistils. 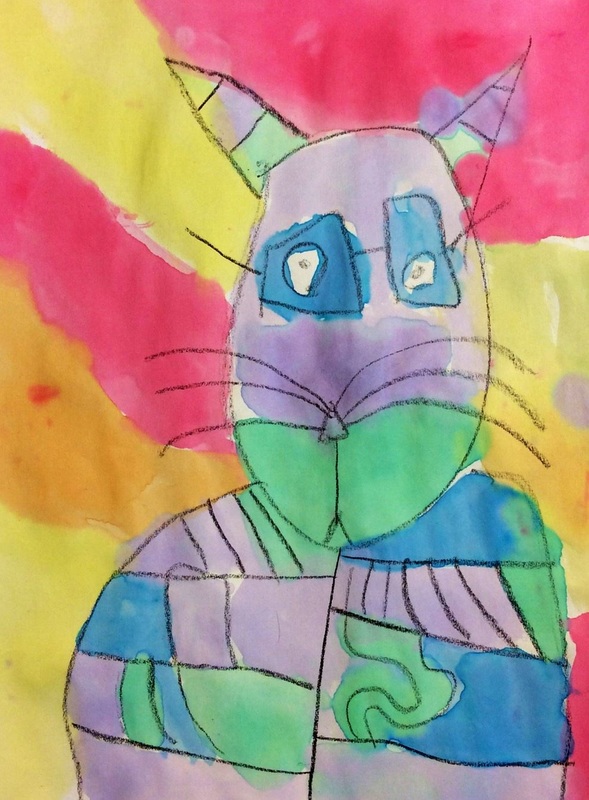 This was a quick one-dayer that i saw somewhere on Pinterest. We watched a quick video about Paul Klee and noticed that he likes to break up figures into squares. We drew our cats using black crayons so that it would resist our paint later on in the project. We talked about the difference between warm and cool colors. Warm colors reminded us of fire while cool colors reminded us of things like water and ice. Students used watercolors to paint their cat either cool colors with a warm background or a warm cat with a cool background. This was also a good project to practice our good brush use. I couldn't help but laugh at hearing kinders whispering "ballerinas dance on their toes, not their bootys" (this is a little saying I got from Cassie Stephens to help the kids remember how to use the brush right). I'd say this project was a pretty cooooool one. Get it? 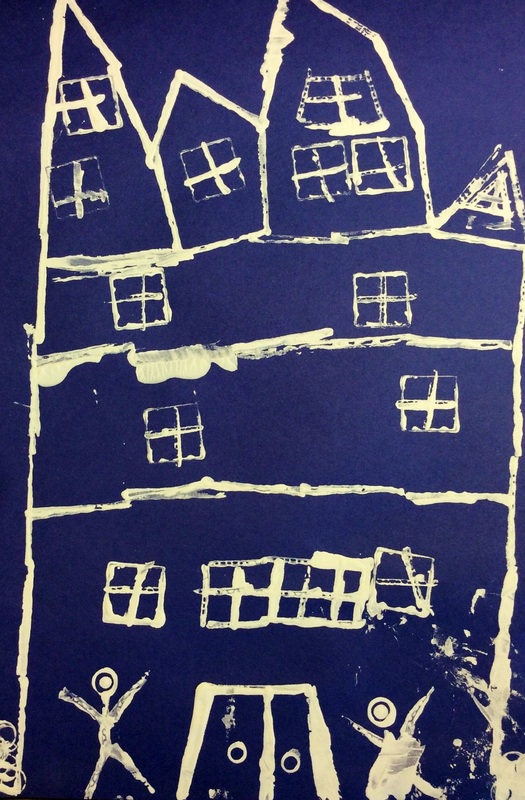 The little people are just too cute! With my recent spring break trip to Chicago and my LOVE for architecture, I thought it fitting that we do a little architecture project. We took a look at some skyscrapers in Chicago and I talked to them about the Great Chicago Fire and how this cleared out a large part of the city which was rebuilt with skyscrapers. I was blown away when one of my kinders already knew all about it! We had a little chat about architects and their use of blueprints to design buildings. We also talked about printmaking which is sorta like using a stamp. For this project, we used pieces of cardboard, marker caps, and some trapezoid-shaped pieces of plastic to print white paint onto blue paper. I told them that the building could be any kind of building that they wanted: bank, restaurant, hotel, dream house, etc! I loved seeing all the details they made like stairs and decks! 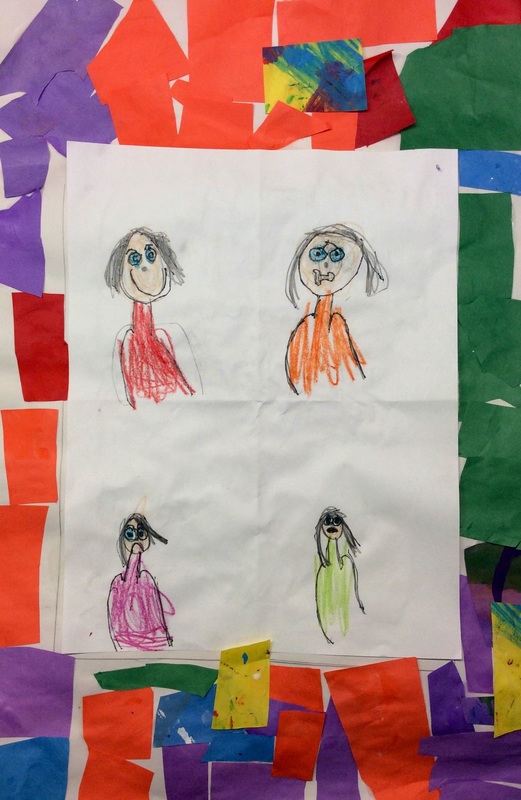 We started off by talking about self-portraits and emotions. We took a look at ways to change your facial expression. This can be done by changing someone's eyebrows or their mouths. Students were given a paper that was folded into fourths. They were asked to draw a self-portrait with a different emotion in each square. Lastly, they sharpie'd and colored with crayons. The next two classes were spent making the backgrounds. We hadn't used our scissors in a while so our scissors were SUPERRR hungry. We cut tons and tons of squares and rectangles, no bigger than our hand, and glued them to the background. Some students chose to use all the colors on their background, others were much more selective with their colors. After they had finished their background, they glued their self-portraits on top. When they finished, they helped their neighbors finish their backgrounds. It was funny to see assembly lines of kindergartners cutting and gluing squares! These turned out so well! 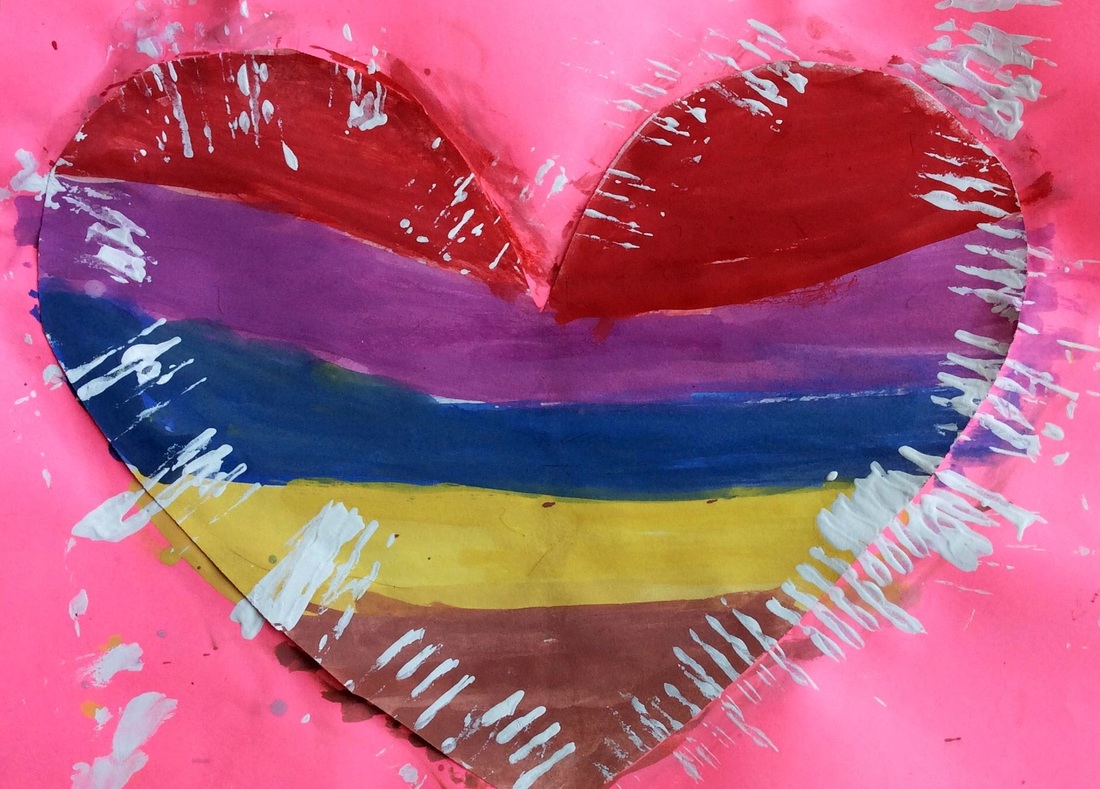 The kiddos begged me to do a project for Valentine's Day so we made these adorable hearts. This is a project that I got from my friend, Tasha Newton, over at iartmyjob.weebly.com. We talked about tints and shades. Tints are colors mixed with white and shades are colors mixed with black. We mixed the tints and shades right on our tempera cakes. The students added these colors however they liked to their pre-cut hearts. We glued them on a background and then used a fork with white paint to print a border. 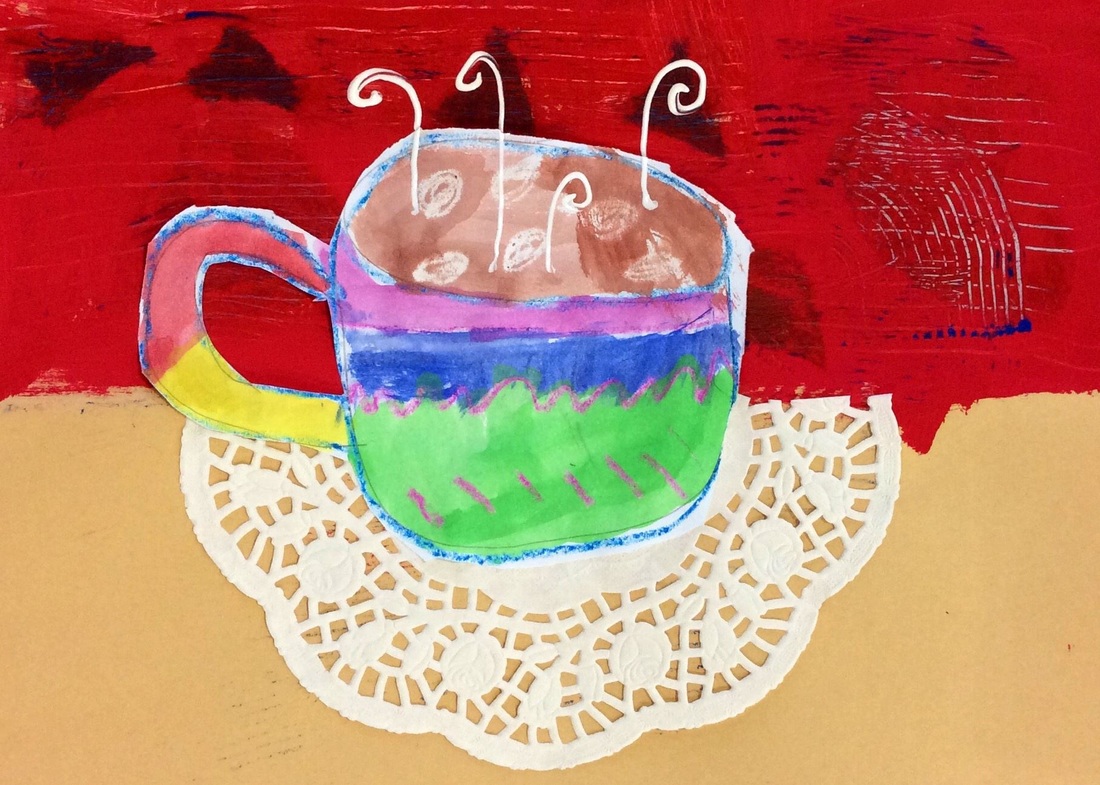 Looks delicious enough to drink! The kinders started off by adding patterns to half a sheet of paper. Then they chose one color and painted over it. Lastly, thy used combs to scratch design into the paint. Using the combs helps to reveal the bright colors of the pastels underneath. The second day, we learned how to draw a cup of hot chocolate. We incorporated the lines that we have learned about to decorate the mug. We also made ART MAGIC by using white crayons to add marshmallows to the mug! Then we painted them with itty bitty brushes using tempera cakes. The kids were blown away when their marshmallows began to magically appear as they painted! The final day, we glued down a doily, carefully cut out their mugs (I cut out the inside of the handles) and glued them on top of the doily. Lastly, I came around and added some white puffy paint for steam. We celebrated with a delicious hot chocolate party after it was all said and done. Yum! |
Devon CalvertHarmony and Consolidated Elementary Art Teacher in Milton, WI. UW-Eau Claire graduate. WAEA President. Apple Teacher. 
Archives
March 2019
Categories
All
|


 RSS Feed
